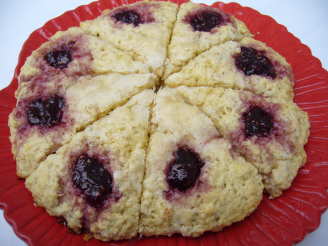
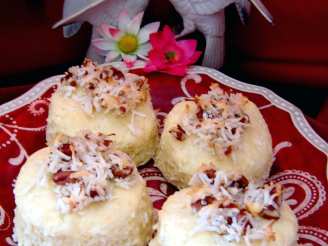
The Ultimate Coconut Scones

"I'm now 32 years old and I've never tasted/baked scones. But 2 weeks ago I made a recipe and loved it. So now I'm in search of great looking recipes for scones. And this one seems to be delish and also I love coconut. From the blog Heather's Dish"
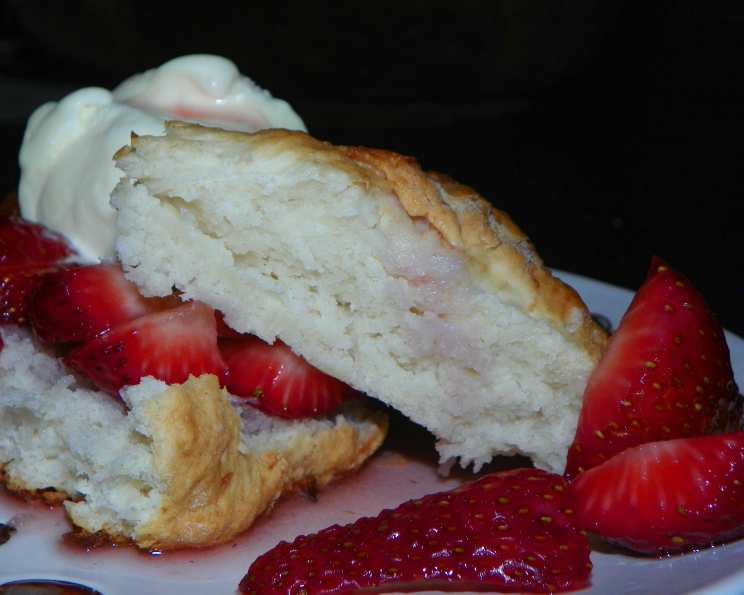
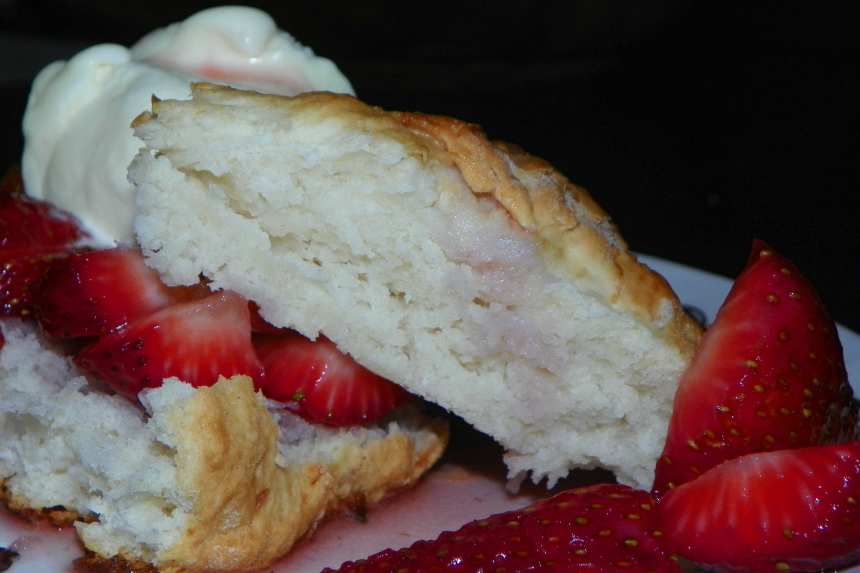
photo by Baby Kato


- Ready In:
- 25mins
- Ingredients:
- 7
- Serves:
-
8
ingredients
- 2 cups all-purpose flour
- 1 tablespoon baking powder
- 1⁄4 cup sugar
- 1⁄2 teaspoon sea salt
- 5 tablespoons butter, cut into cubes and very cold
- 1 cup full-fat coconut milk (you can use the coconut milk chunks, you really should use full-fat if you want full flavor!)
- 1⁄2 cup shredded unsweetened coconut
directions
- Preheat your oven to 450°F Line a baking sheet with parchment paper or a Silpat.
- In a food processor pulse together the flour, sugar, baking powder, and salt. Add in the butter and pulse a few times until the mixture is crumbly. Add the shredded coconut and pulse 2-3 times, just to mix.
- Pour into a large bowl and add the coconut milk; using a spoon mix together until the dry ingredients are incorporated.
- Press into a 9-inch circle and cut into eighths. Place on baking sheet and bake 12-15 minutes or until the bottoms are just slightly browned. Serve hot with a simple glaze of powdered sugar and milk, with a pat of butter, or just plain!
Questions & Replies

Got a question?
Share it with the community!
Reviews
-
 I made these for the first time at the weekend as i was looking for a coconut scone recipe. Im in the UK but do have cup measuring spoons by mum got for me one Christmas, so thought I would give this a try. ABSOLUTLY AMAZING, they were so good im making them again this weekend, I used the recipe to the letter, but added in cherrys too, so good. I did find as another did that I needed a bit more flour, so added a bit more when rolling out as the dough was quite sticky, and I used desiccated coconut. They did last long, my fussy daughter also loved them, this is a winning scone recipe in my book. Thank you for such a great recipe.
 -
 I really enjoyed these lovely scones, they were light, tender, flaky and delicious. Just perfect served warm with a little butter and just as great toasted with a little more butter and homemade raspberry jam. I made them as written, but I did use flaked coconut. My batter was a little sticky so I added a little extra flour to shape it, just before baking. Thank you for sharing this winner with all of us Boomie. I can't wait to try these with stewed strawberries and cream. Updated: I made strawberry shortcake with your scones, split them, added stewed strawberries and vanilla ice cream, for an amazing dessert. Thanks again for sharing this versatile treat.
 -
I had high hopes for these scones as I love coconut. Sadly the coconut flavor was too light and the texture a little heavy. I think using regular flake coconut and part coconut flour could help boost the flavor. I'm not sure why they were heavy - maybe from the coconut milk ??? or a little too much flour though it seems like the right proportions, and I was very careful not to over handle the dough. I think I would try them again with a little less flour to see if that would help . Made for PRMRT
RECIPE SUBMITTED BY

<p><strong><span>I'm the host of Bargain Basement tag game in the cooking game forum. You're welcome to play anytime. You'll be surprised to find great recipes that were never reviewed. <br /></span></strong></p>
<p>~~~~~~~~~~~~~~~~~~~~~~~~~~</p>
<p><strong><span>I want to say a big thank you to everyone who tries my recipes and post photos. I don't always have the time to say thanks to each of you but be sure it's so appreciated :)</span></strong></p>
<p>~~~~~~~~~~~~~~~~~~~~~~~~~~</p>
<p> </p>
<p><img src=http://i195.photobucket.com/albums/z205/jubespage/zwt6%20banners%20and%20photos/captain.jpg alt=width=150 height=200 /></p>
<p><br /><img src=http://i27.photobucket.com/albums/c175/emmyduckie/zwt/ZwizzleBadge.jpg alt=width=200 height=300 /><br /> <br /><a title=banner3 href=http://www.flickr.com/photos/26630178@N05/3510953178></a><img src=http://farm4.static.flickr.com/3387/3510953178_b35b3086a8.jpg alt=banner3 width=500 height=250 /> <br /><img src=http://i23.photobucket.com/albums/b399/susied214/permanent%20collection/captain.jpg border=0 alt=Photobucket /> <br /><img src=http://i23.photobucket.com/albums/b399/susied214/permanent%20collection/PAC08Main.jpg border=0 alt=Photobucket /> <br /><img src=http://i23.photobucket.com/albums/b399/susied214/permanent%20collection/adoptedspring08.jpg border=0 alt=Photobucket /> By Brooke The Cook in WI <br /><img src=http://i147.photobucket.com/albums/r317/j_welcome/pics2/food/PRMRcopy.jpg alt=/ /> <br /><a href=http://www.recipezaar.com/bb/viewtopic.zsp?p=3510511#3510511> <br /> <br /><img src=http://i23.photobucket.com/albums/b399/susied214/projects/200_PACpic.jpg border=0 alt=Photo /> <br /> <br /></a><a title=Photo href=http://www.flickr.com/photos/boomette1/514183676></a><img src=http://farm1.static.flickr.com/252/514183676_f79b486466_m.jpg alt=good width=240 height=137 /> <br /><img src=http://i23.photobucket.com/albums/b399/susied214/permanent%20collection/Adopted1smp.jpg border=0 alt=Photo /> <br /><img src=http://i23.photobucket.com/albums/b399/susied214/permanent%20collection/smPACp.jpg border=0 alt=Photo /></p>
<p><img src=http://img.photobucket.com/albums/v726/annacia/Permanent%20Banners/ZTAA-sm.jpg border=0 alt=Photobucket /></p>
<p><img src=http://i21.photobucket.com/albums/b280/carolinamoon21/Ingredients/BANNERS/Pets-STKR.jpg alt=width=200 height=200 /></p>