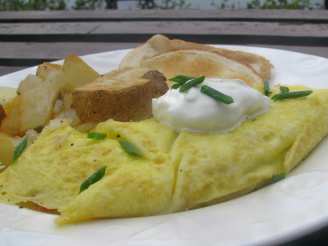
Chard and Onion Omelet (Trouchia)

"This is a simple and delicious springtime recipe from Debora Madison's essential cookbook, "Vegetarian Cooking For Everyone".
The traditional trouchia is a specialty of Nice, where slices of it are sold and eaten cold on the street. This is a very versatile recipe. You can substitute almost any green (kale, beet greens, mustard greens) serve this warm, room temperature or cold, as an appetizer or main dish, and at any meal. It even makes a great sandwich filling.
The trick to this recipe's success is to cook everything slowly so that the flavors really deepen and sweeten."
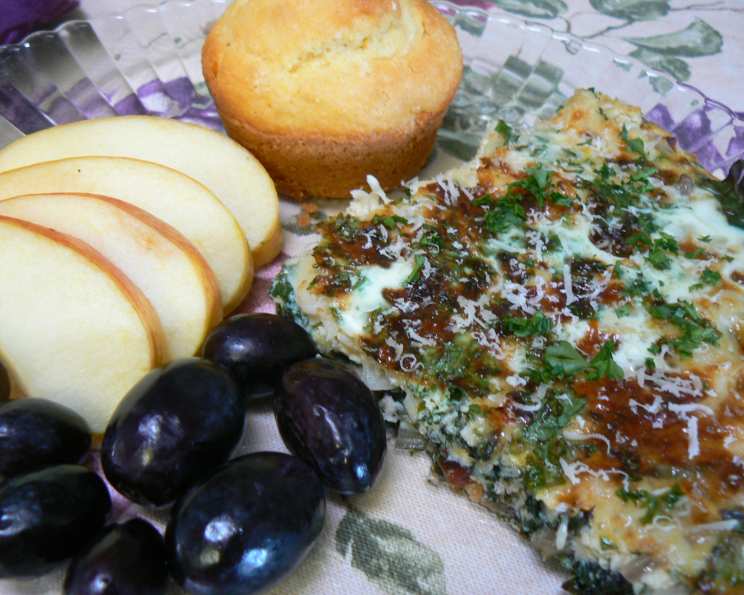
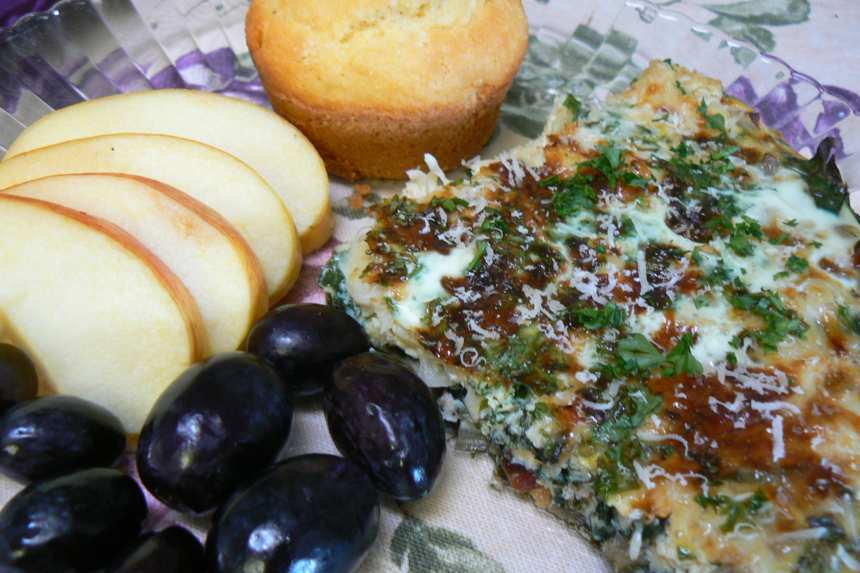
photo by Scott Binder

- Ready In:
- 45mins
- Ingredients:
- 11
- Serves:
-
6
ingredients
- 3 tablespoons olive oil
- 1 large red onions or 1 large white onion, quartered and thinly sliced crosswise
- 1 bunch chard leaves, leaves only, chopped
- salt & freshly ground black pepper
- 1 garlic clove
- 6 -8 eggs, lightly beaten
- 2 tablespoons chopped parsley
- 2 tablespoons chopped basil
- 2 teaspoons chopped thyme
- 1 cup grated gruyere
- 2 tablespoons freshly grated parmesan cheese
directions
- Heat 2 tablespoons of the oil in a 10-inch skillet, add the onion, and cook over low heat, stirring occasionally, until completely soft but not colored, about 15 minutes. Add the chard and continue cooking, stirring occasionally, until all the moisture has cooked off and the chard is tender, about 15 minutes. Season well with salt and pepper.
- Meanwhile, mash the garlic in a mortar with a few pinches of salt (or chop them finely together), then stir it into the eggs along with the herbs. Combine the chard mixture with the eggs and stir in the Gruyere and half the parmesan.
- Preheat the broiler. Heat the remaining oil in the skillet and, when it's hot, add the eggs. Give a stir and keep the heat at medium-high for about a minute, then turn it to low. Cook until the eggs are set but still a little moist on top, 10 to 15 minutes. Add the remaining Parmesan and broil 4 to 6 inches from the heat, until browned.
- Serve trouchia in the pan or slide it onto a serving dish and cut it into wedges. The gratinéed top and the golden bottom are equally presentable.
Questions & Replies

Got a question?
Share it with the community!
Reviews
-
 LOVE this recipe! I recommend it to everyone and served it at Easter for the family. It was gobbled up! It is great warm, room temp... or right out of the fridge. I make it in the morning and let it sit on the counter to be picked at all day. A favorite even if chard is not a enjoyed by the diner! Very portable once cool: you can grab a slice and go! Easy to make too especially if your pans go from stove to oven!
RECIPE SUBMITTED BY

<img src="http://i23.photobucket.com/albums/b399/susied214/permanent%20collection/adoptedspring08.jpg" border="0" alt="Photobucket">