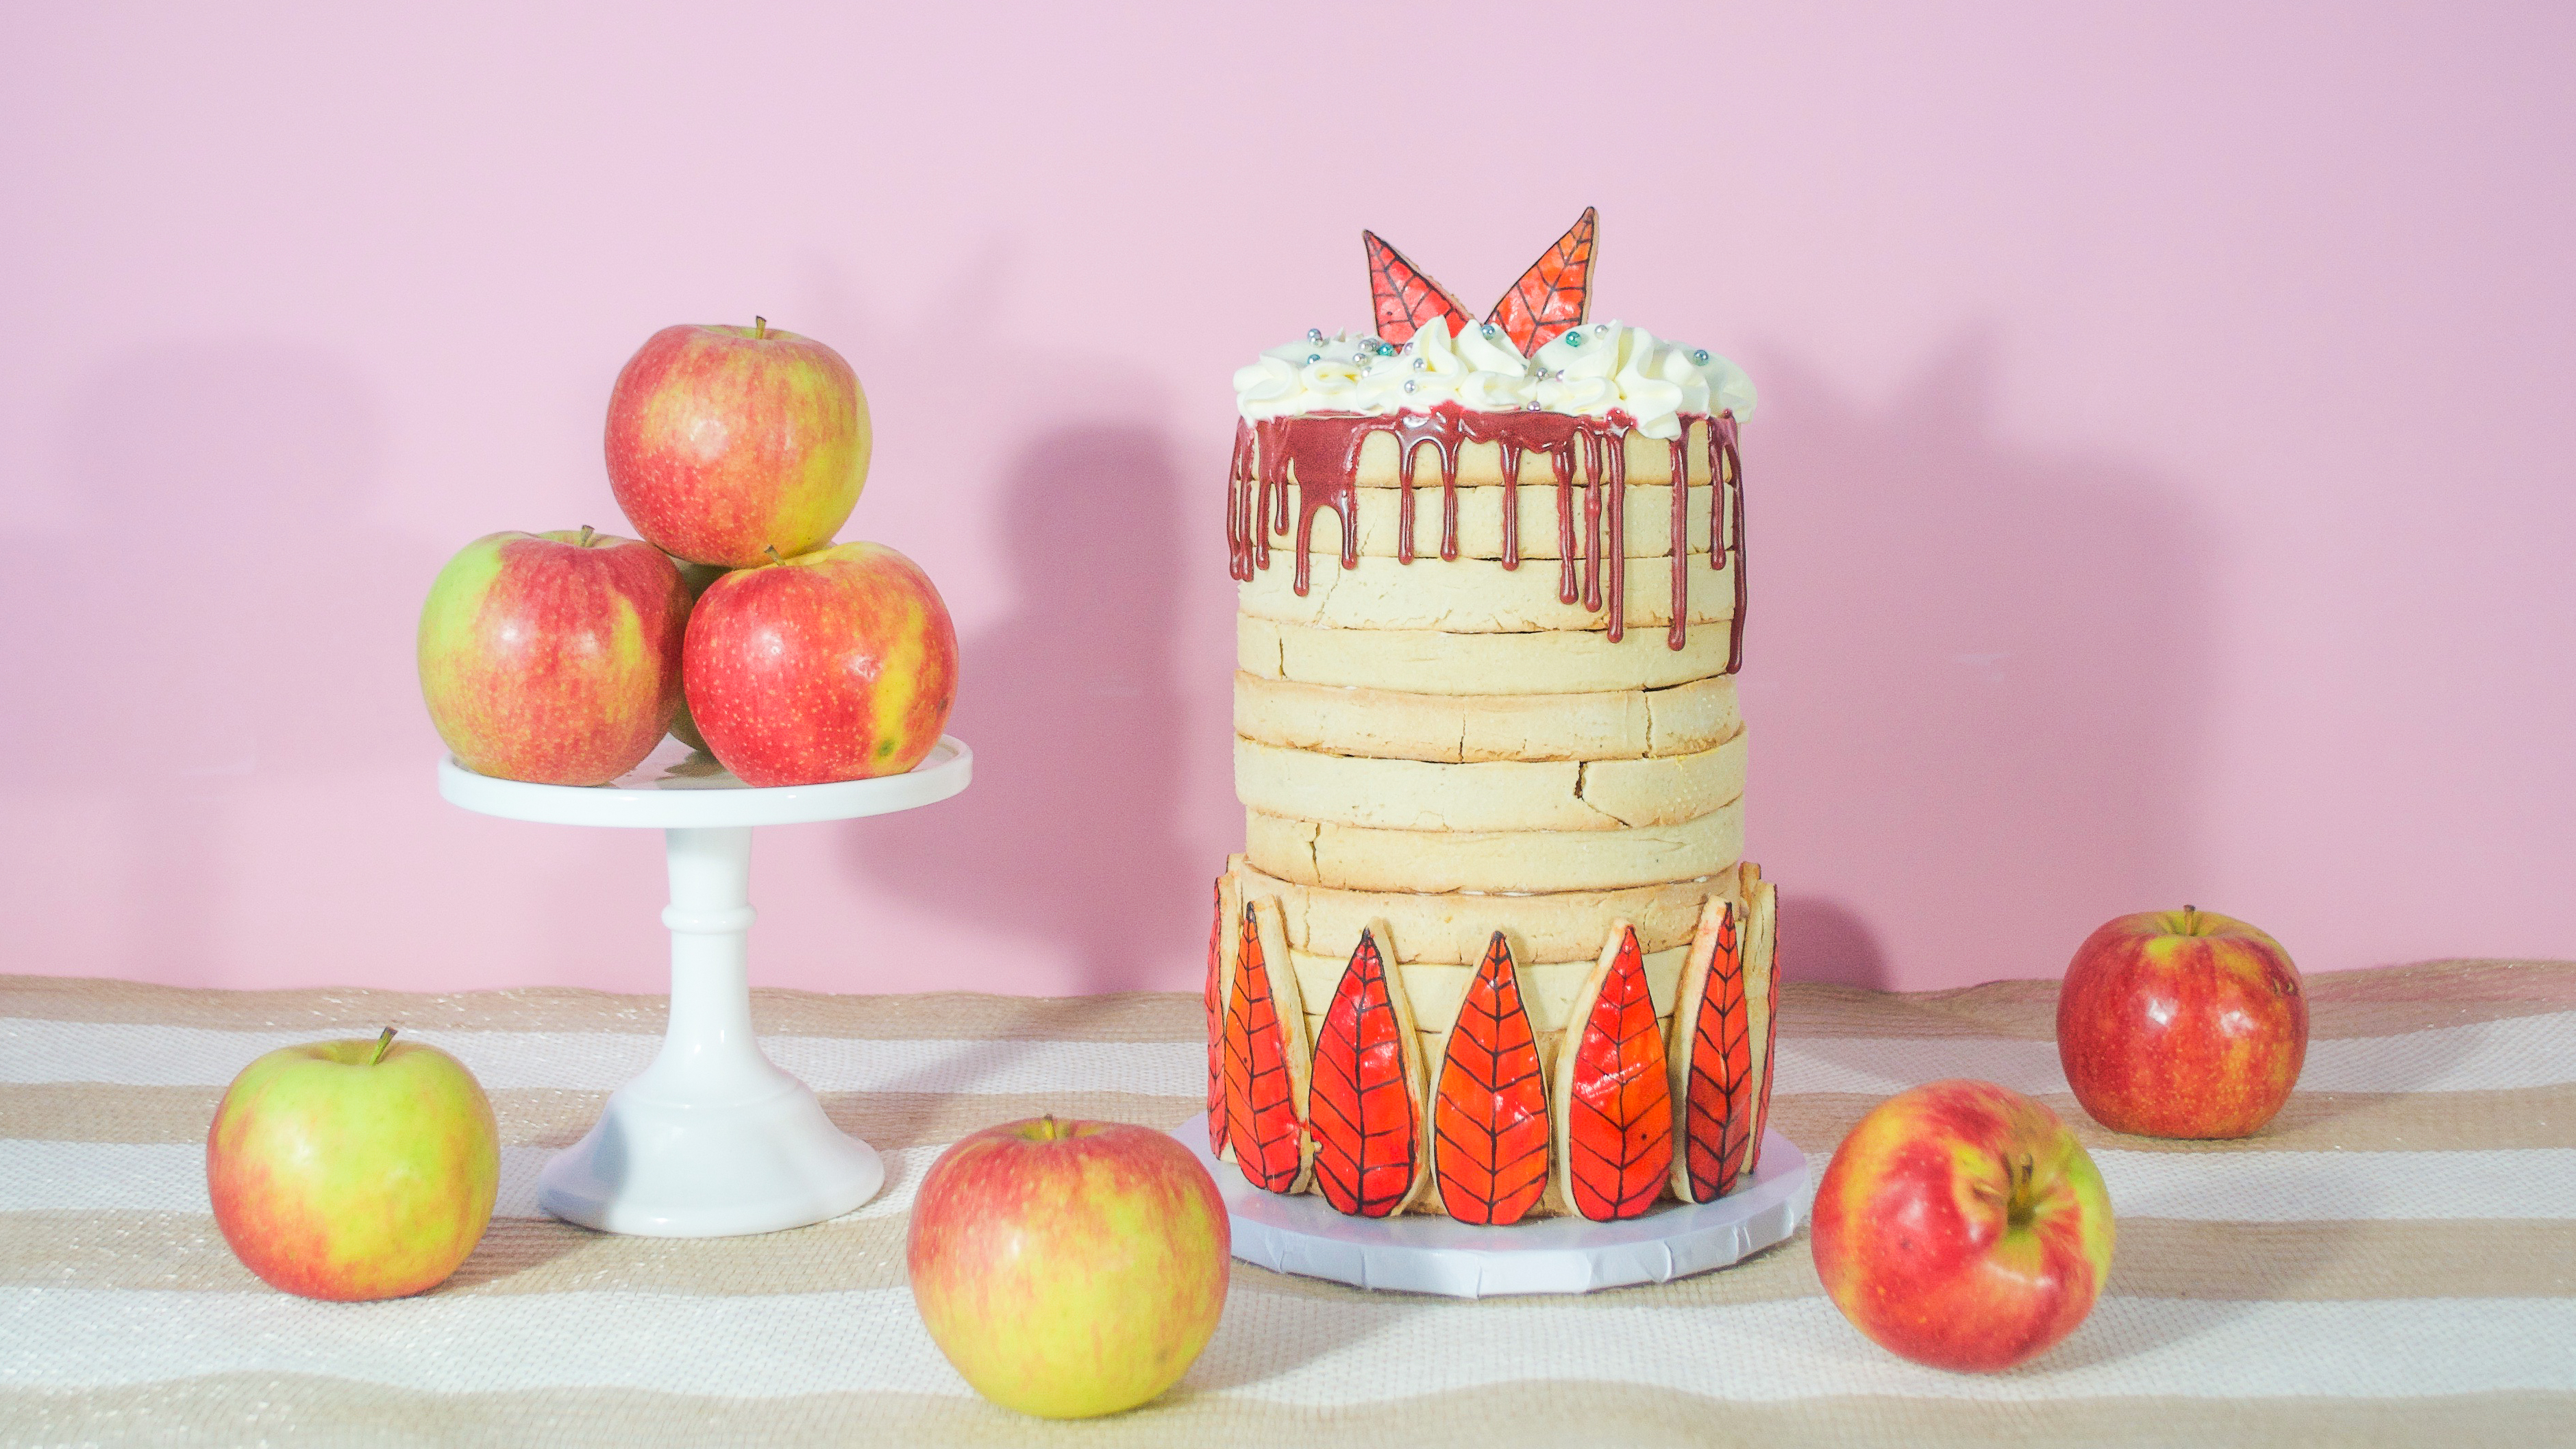
Why Bake a Pie When You Can Bake a Cherpumple Cheesecake Pie-Scraper?

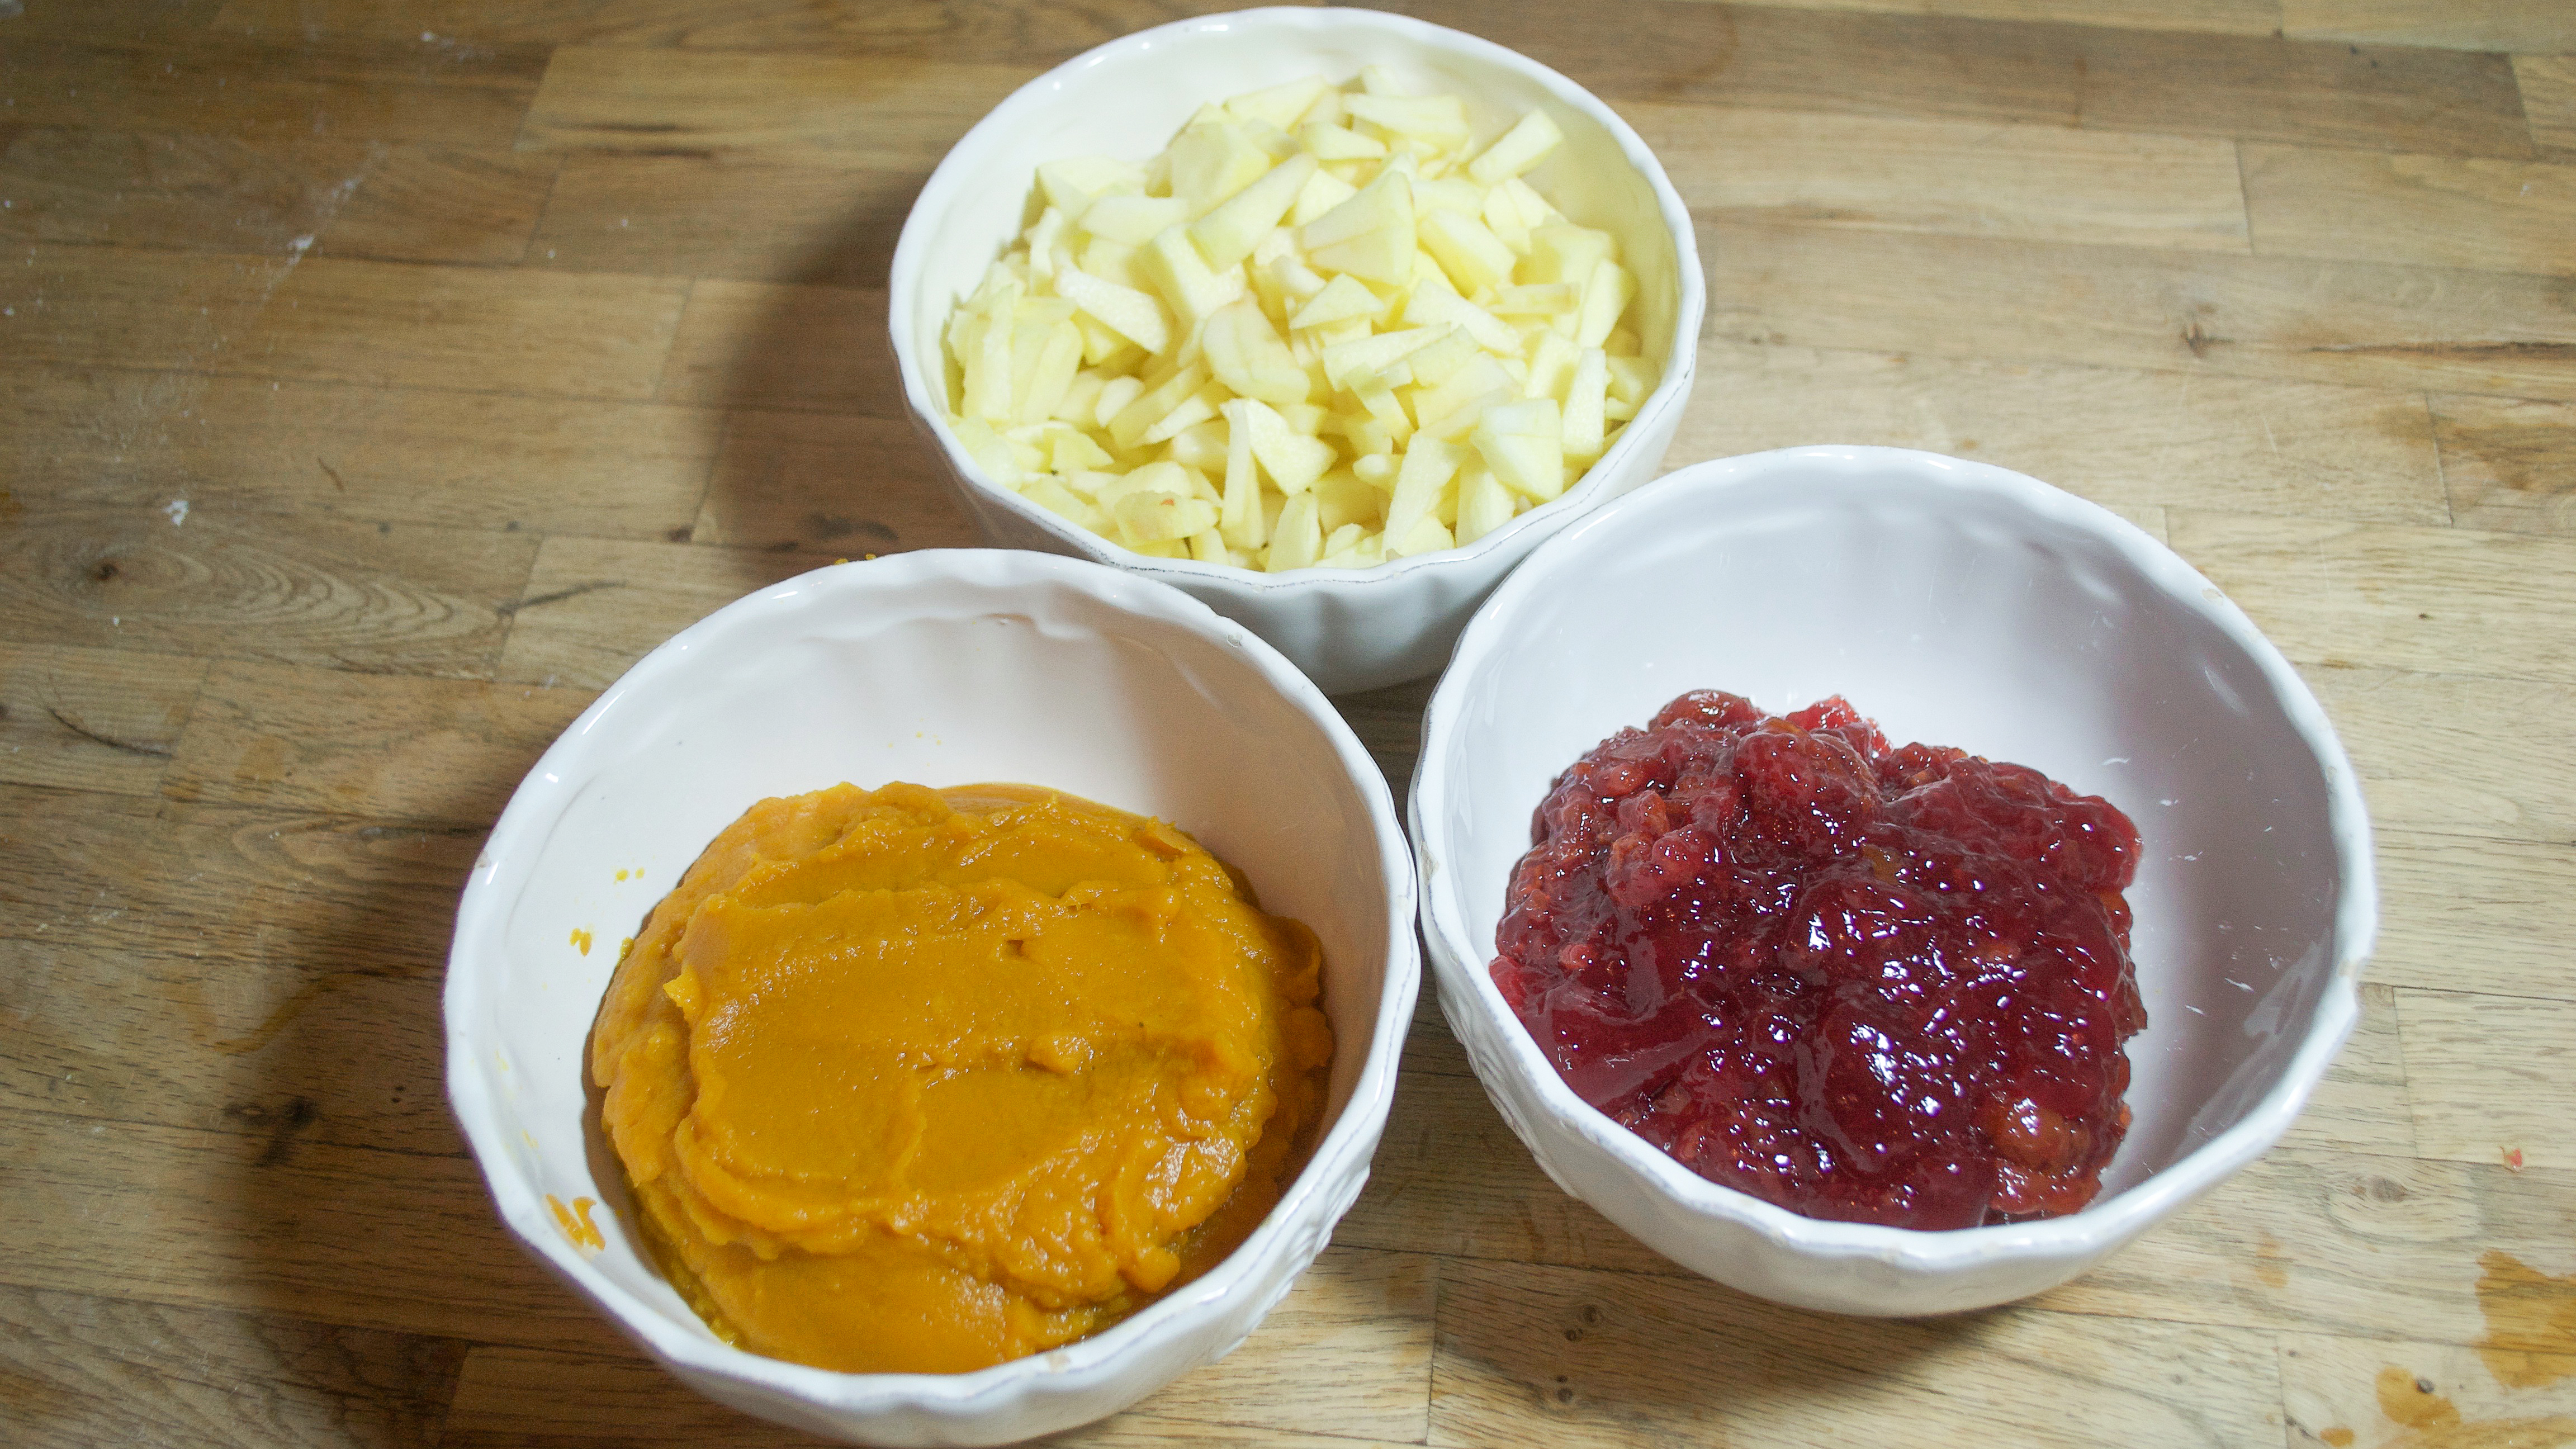
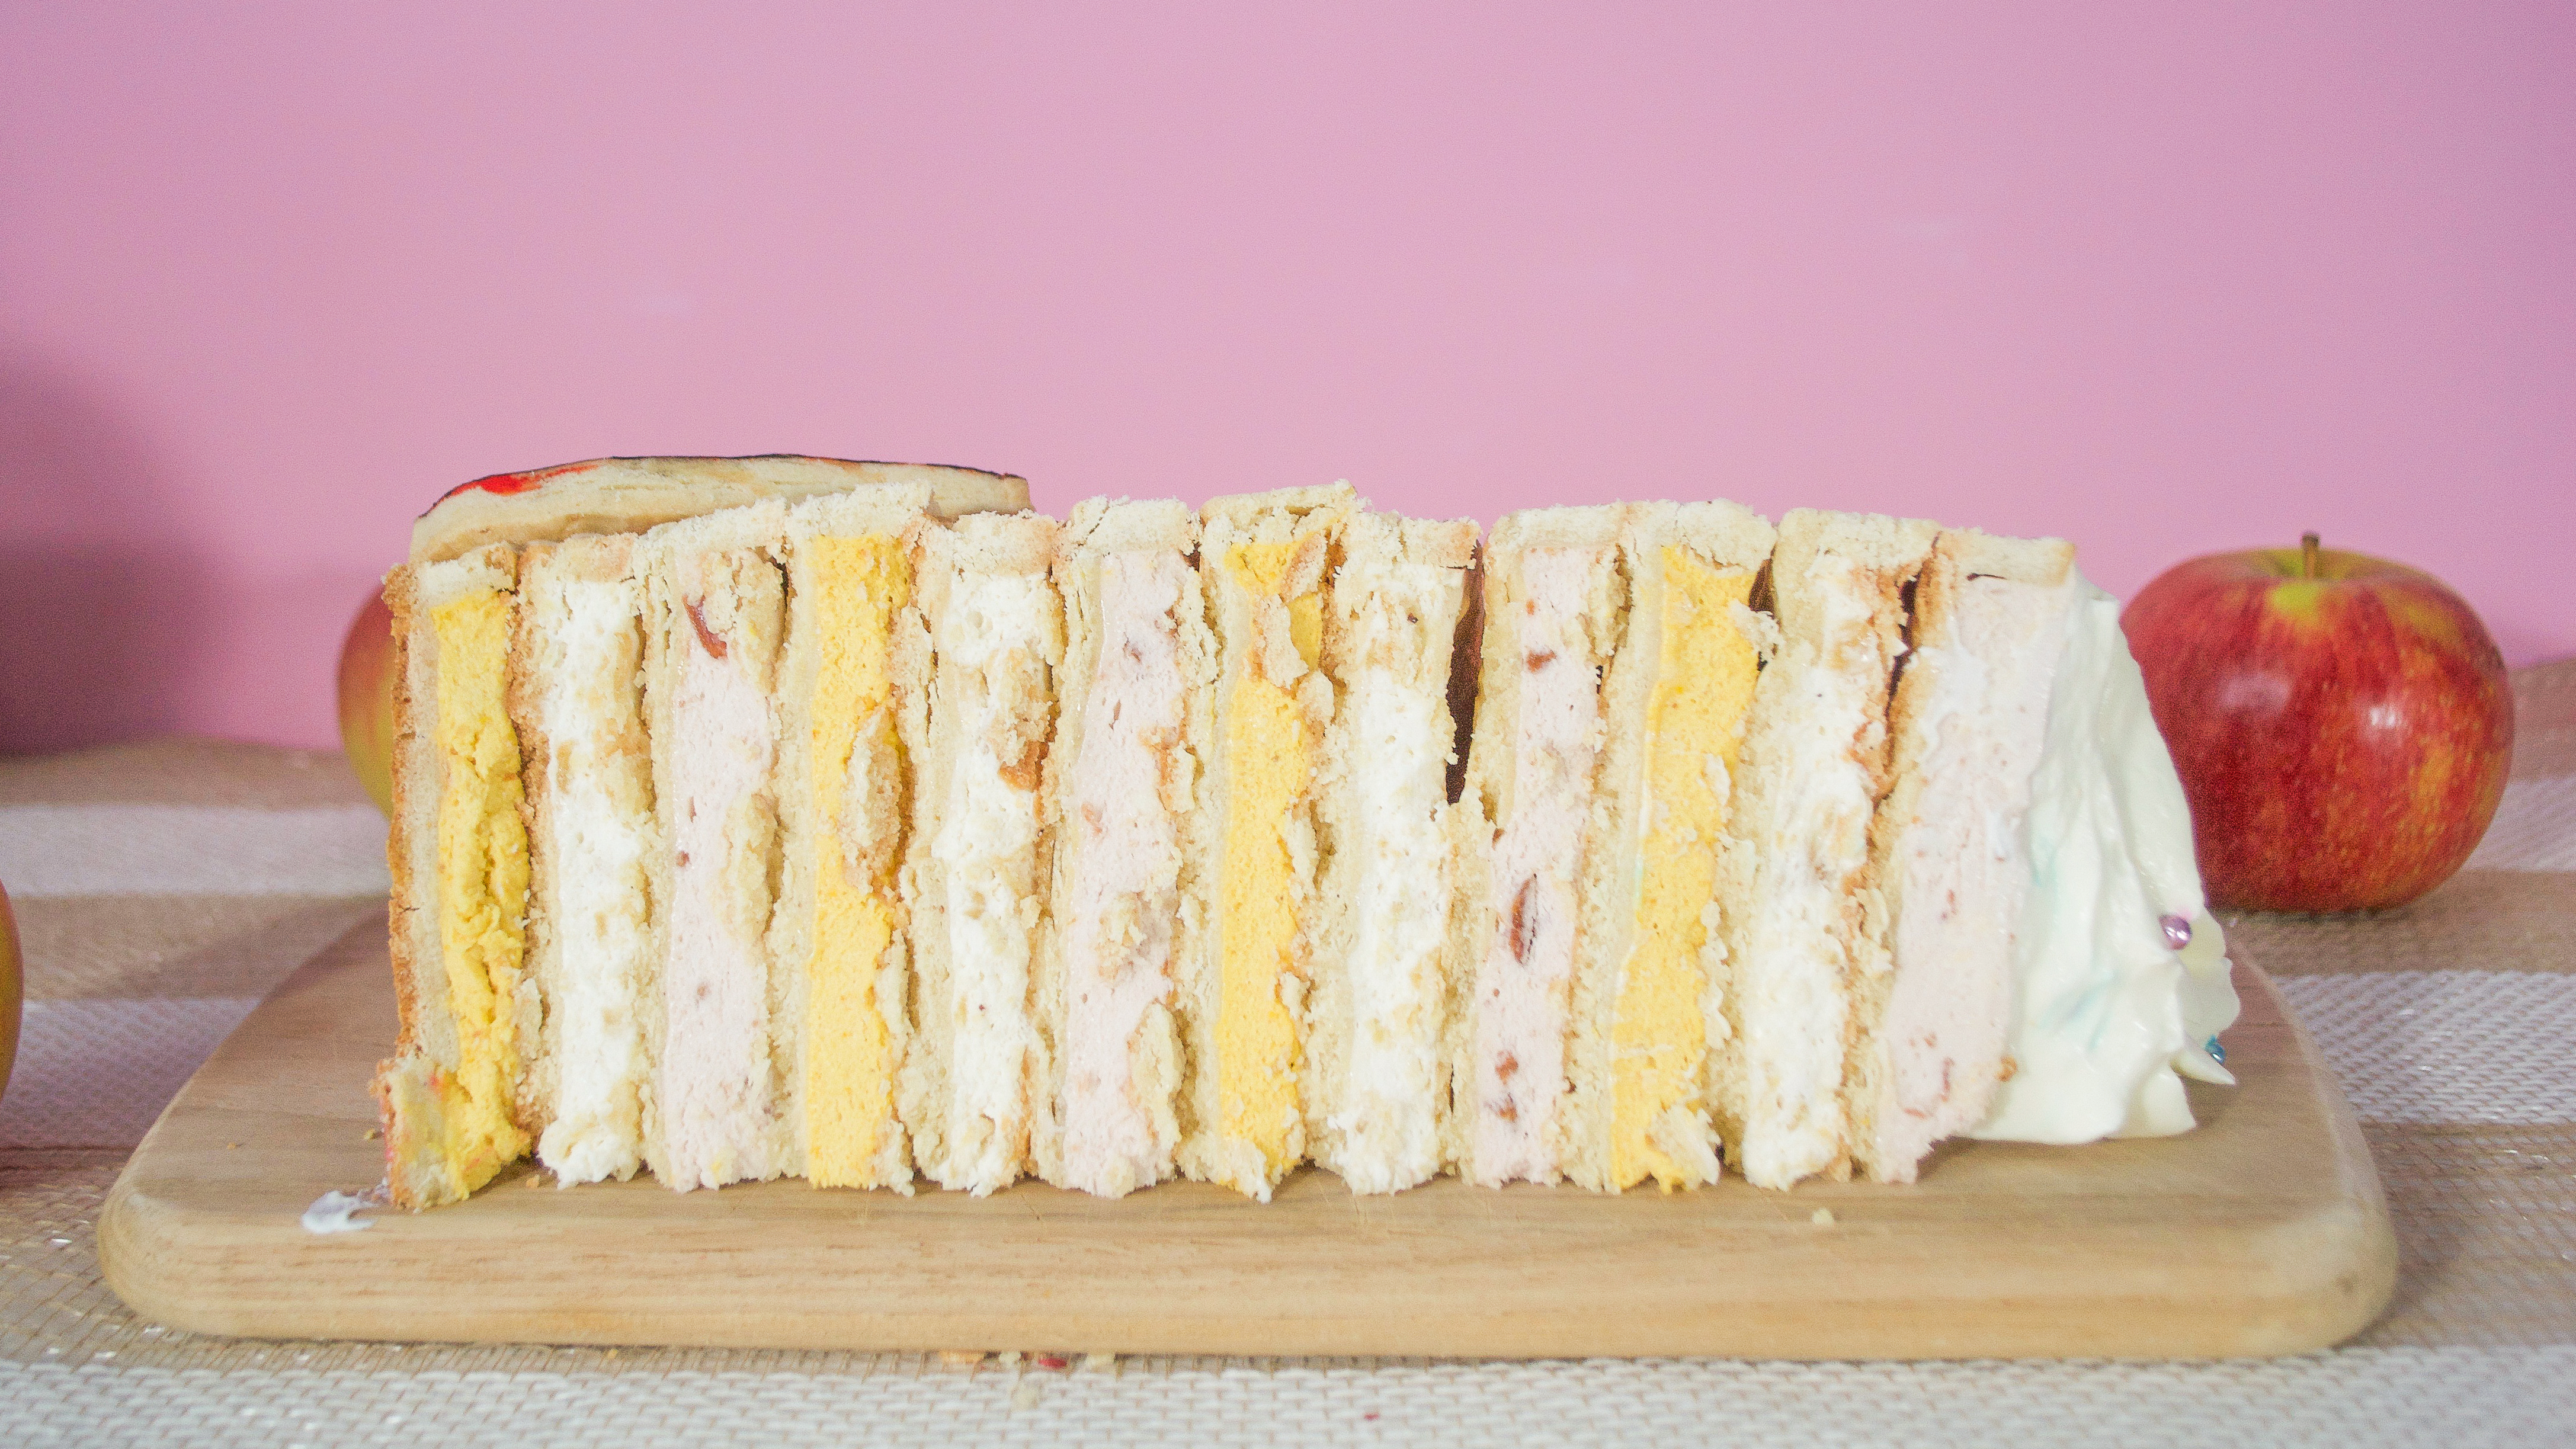
Milkmoon Kitchen takes this sky-high Cherpumple—a cherry, pumpkin and apple pie hybrid—and brings it to the next level by adding cheesecake into the mix.

Cherpumple Cheesecake Pie-Scraper

You've heard of the Turducken, but have you heard of the Cherpumple? This recipe takes the pie-inside-a-cake concept, adds cheesecake and turns it into a skyscraper of pie!

Get Crackin' on Crusts

Add a pinch of cinnamon for some warm, cozy flavor. Then, wrap the doughs individually in plastic to keep them from drying out.

Prep Time!

Can you peel your apples in one go?

Assemble Your Fillings

Cherry, pumpkin and apple are the flavors of Cherpumple, so grab some sour cherry jam, canned pumpkin and sliced apple. Each layer will also get a cheesecake twist.

They See Me Rollin'

Flour up your work surface and use a rolling pin to roll out the crusts into large circles, about 1/8th of an inch thick.

Crusts Take Shape

On a parchment-lined half-sheet pan, nestle the pie dough into a round tart pan. You should be able to fit two or three crusts on one half-sheet pan.

Trimmed to Perfection

Cut away the excess pie dough from the top of the tart pan with a small knife. Press the dough into the corners and fill any cracks with extra dough. Don't forget to save the scraps!

Poke & Repeat

Repeat the process until you have filled two half-sheet pans with crusts. Refrigerate for 30 minutes, then remove and poke the bases with a fork to prevent bubbling. Cover with parchment, fill with pie weights or beans, then bake. Repeat until all 12 crusts have been baked.

Fill, Baby, Fill!

Pour your fillings into the pie crusts. You should have four filled with cherry, four filled with pumpkin and four filled with apple. Level out with an offset spatula, then refrigerate until they set. The gelatin makes them surprisingly stackable!

Pies on pies on pies

Choose a flavor for the bottom layer and place it on a sturdy base. Add a bit of leftover filling to the top for security, then start stacking! This pie-scraper started with pumpkin, followed by apple and then cherry. Cover your creation in plastic wrap and refrigerate it overnight.

Fall Foliage

With the scraps from your pie crusts, use a cookie cutter (or a sharp knife) to create decorative leaves. Paint them with red, orange and yellow gel food coloring to give them autumn vibes. Bake for two minutes to set the colors, paint the leaves with an egg wash, then finish baking until the bottoms are golden.

Give life to leaves

Finish up with black lines for a bold, leafy look! Make sure to use the thinnest brush you can find for a nice fine line.

Final Decorations

Grab a whisk or haul out the stand mixer and make some whipped cream and pipe it on top of the Cherpumple using a pastry bag and your favorite piping tip.

Ooey-Gooey Sugar Glaze

Mix water into a cup of powdered sugar until it reaches a pourable consistency, then color to your liking with red food gel. Work your way around the edge so that the sugar drips down the sides.

Arrange your leaves

Using some melted chocolate, attach your leaf decorations. You can line them up around the base like this, or you can create a whirlwind of cascading leaves—the choice is entirely up to you!

The Big Reveal!

Slice down to show those beautiful layers of Cherpumple deliciousness!

Challenge Accepted!

Enjoy your Cherpumple this holiday season with family and friends. Just make sure that you keep it cold at all times, since it will become less stable at room temperature!

KEEP SCROLLING FOR NEXT STORY