Ice Cream Cone Cakes

"From Ricardo magazine. Perfect for a children party! Made them at home and brought them to my niece and nephew so they could decorate them - fun! fun! fun!"
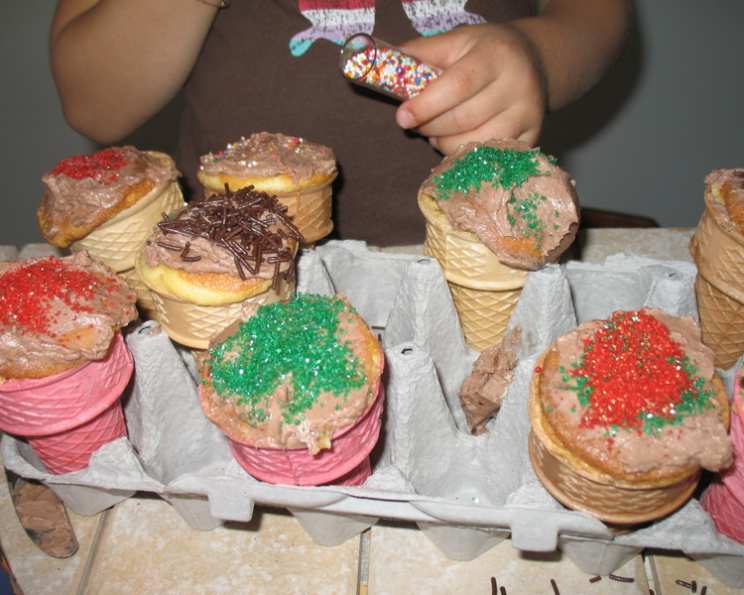
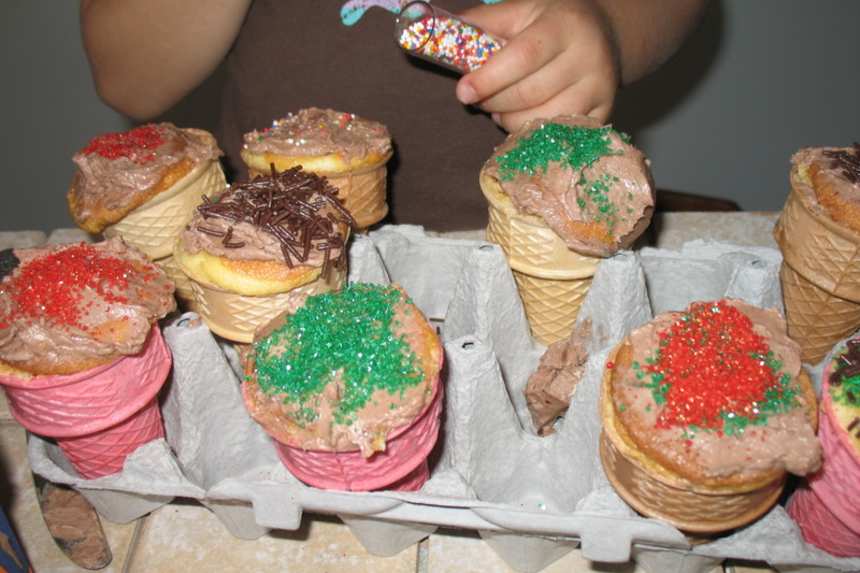
photo by Redsie


- Ready In:
- 40mins
- Ingredients:
- 14
- Serves:
-
9
ingredients
-
Conecakes
- 1⁄2 cup pastry flour
- 1⁄2 teaspoon baking powder
- 1⁄2 cup sugar
- 2 eggs, separated
- 2 tablespoons canola oil
- 1⁄2 teaspoon vanilla extract
- 1⁄4 cup milk
- 9 flat-bottomed ice cream cones
-
Icing
- 3⁄4 cup unsalted butter, softened
- 2 1⁄2 cups icing sugar
- 2 tablespoons milk
- 1⁄2 teaspoon vanilla extract
- cocoa powder (for icing coloured like chocolate ice cream)
- red food coloring (for icing coloured like strawberry ice cream)
directions
-
Conecakes:
- With the rack in the middle position, preheat the oven to 350°F.
- In a bowl, combine the flour, baking powder and half the sugar.
- In another bowl, beat the egg whites with an electric mixer until soft peaks form. Sprinkle with the remaining sugar and beat until stiff peaks form. Set aside.
- Make a well in the dry ingredients and add the egg yolks, oil, vanilla and milk. Mix well with an electric mixer. Using a spatula, fold in the beaten egg whites.
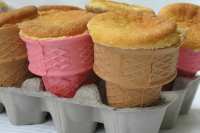
- Pour the batter into the cones, filling to the rim. Arrange the cones on a baking sheet. Bake until a toothpick inserted in the centre of a cupcake comes out clean, about 20 minutes.
- Let cool before icing.
-
Icing:
- In a bowl, use an electric mixer to beat the butter, icing sugar, milk and vanilla until creamy. Mix 1/3 of the icing with cocoa powder until chocolate-coloured, 1/3 with red food colouring until strawberry-coloured and leave 1/3 white (vanilla coloured). Ice the cupcakes.
Questions & Replies
Got a question?
Share it with the community!
Reviews
-
 These won't win any taste competitions, but it didn't matter. The kids thought they were delicious and had a great time. We made a batch and brought them with us visiting - it gave the kids something to do. We slapped on some icing and they got to choose from the myriad of sprinkles available. A huge huge huge HIT!
RECIPE SUBMITTED BY

Canadian girl that loves to cook for herself and for everyone around her!! I always enjoyed cooking but more so since I started taking better care of myself by eating healthier food (I am a Weight Watchers Lifetime member!). I still love my chocolate though!
<img src="http://www.recipezaar.com/members/home/1956/samethingsticker.jpg">
<img src="http://i23.photobucket.com/albums/b399/susied214/permanent%20collection/PAC08Main.jpg" border="0" alt="Photobucket">
<img src="http://i23.photobucket.com/albums/b399/susied214/permanent%20collection/adoptedspring08.jpg" border="0" alt="Photobucket">
<img src="http://www.recipezaar.com/members/home/1956/SoupsandsaladSTICKER.jpg">
<img src="http://i21.photobucket.com/albums/b280/carolinamoon21/Ingredients/PastastickerJPEG.jpg">
<img src="http://img.photobucket.com/albums/v204/derf16/food%20photography%20series/MuffinLovesticker.jpg">
<img src="http://i21.photobucket.com/albums/b280/carolinamoon21/Ingredients/Other/photo-swap-7sticky.jpg">
<img src="http://www.recipezaar.com/members/home/1956/L%5B1%5D.F-stickJPEG.jpg">
<img src="http://i273.photobucket.com/albums/jj240/marienixon_715/kittencaljpg.jpg">
<img src="http://img.villagephotos.com/p/2003-11/484938/Spelling-Bee-stick2jpg.jpg">
<img src="http://i21.photobucket.com/albums/b280/carolinamoon21/Octoberevent.jpg">
<img src="http://i23.photobucket.com/albums/b399/susied214/projects/200_PACpic.jpg" border="0" alt="Photo Sharing and Video Hosting at Photobucket">
<img src="http://i23.photobucket.com/albums/b399/susied214/projects/pacbanner.jpg" border="0" alt="Photo Sharing and Video Hosting at Photobucket">
<img src="http://i23.photobucket.com/albums/b399/susied214/permanent%20collection/untitled.jpg" border="0" alt="Photobucket - Video and Image Hosting">
<img src="http://i23.photobucket.com/albums/b399/susied214/permanent%20collection/200_artistrichardneuman-art-prints_.jpg" border="0" alt="Photobucket - Video and Image Hosting">
<img src="http://i21.photobucket.com/albums/b280/carolinamoon21/TasteofYellow.jpg">
<img src="http://www.recipezaar.com/members/home/1535/CLC1.gif">
<img src="http://i21.photobucket.com/albums/b280/carolinamoon21/Derfcookathon.jpg">

