Whole-Wheat Pie Crust

"It’s hard to find a healthy pie crust recipe. While high in fat calories, the coconut oil in this recipe at least makes it a healthy fat. I’d always had trouble getting whole-wheat pie crusts to taste good, but in this case the coconut oil gives it a texture, lightness, and flakiness that whole wheat crust has a hard time obtaining with other fat sources.
With pie crust, which has just a few simple, plain ingredients, the success of the finished product depends solely on technique. This method is my own. I’ve perfected it over the years and will do my best to explain the process in this recipe. Too much working of the dough can make the difference between tough and common or flaky and memorable. You can apply these techniques to any pie crust you make, whole wheat crust or not. Once you turn out this type of a pie crust, you will never want to use a purchased crust again."
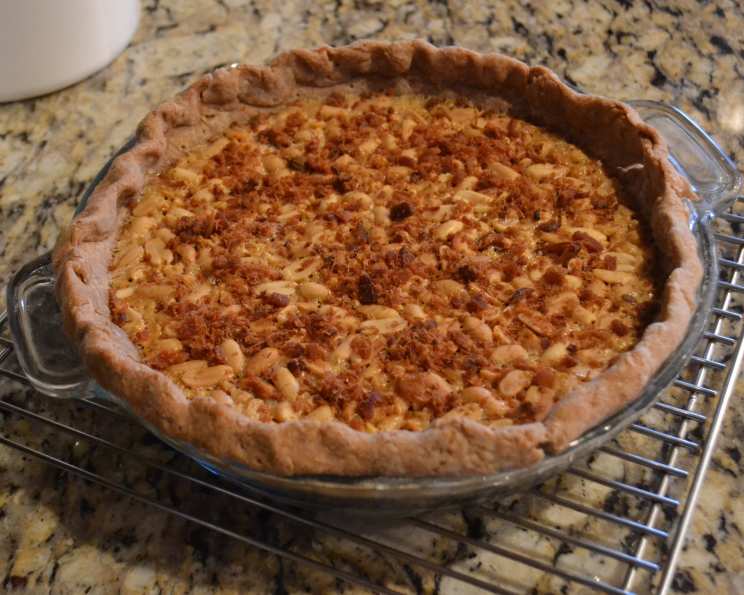
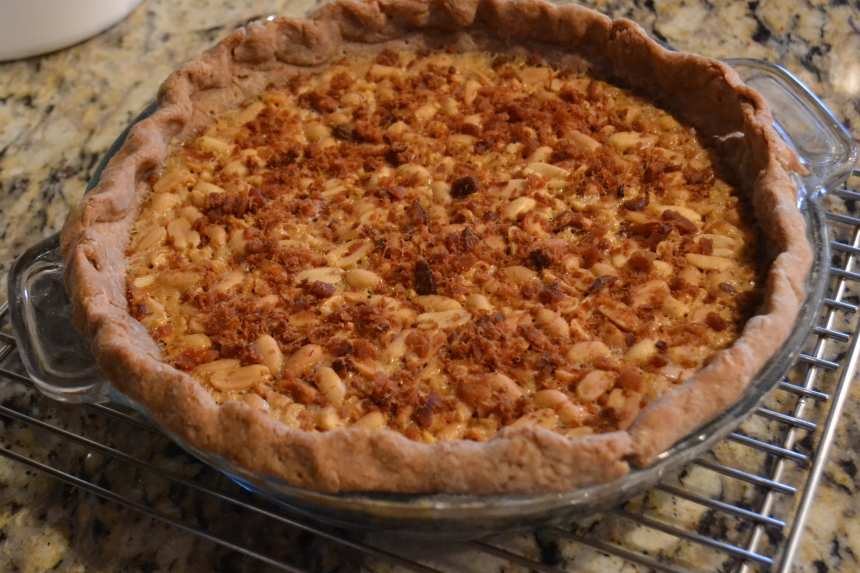
photo by NancyAnne

- Ready In:
- 15mins
- Ingredients:
- 3
- Yields:
-
1 8 or 9-inch pie crust
ingredients
- 2 cups whole wheat flour (do yourself a favor and use King Arthur- the texture is superior)
- 1⁄4 teaspoon salt
- 2⁄3 cup coconut oil
directions
- Standard method (by hand): In a medium bowl, stir together the flour and salt with a table fork. Taste it for salt. If you feel you need a little more, now is the time to add it. Dump the coconut oil into the middle of it and, before you do anything else, fill the cup you used for the coconut oil half way with ice, then add water until it is almost full. You want to give enough time for the water to get ice cold.
- Still using the same fork, cut the coconut oil into the flour mixture until it is in almost microscopic pieces. You want them to be very small and well integrated into the flour. At this point, pour just a couple of tablespoons of water into the flour mixture. Working quickly and lightly with the same fork, gently mix the water into just the section of the dough that the water hit when it went into the bowl. Add a couple of more tablespoons of water (just estimate with your eyes) in to another section of the flour mixture in the bowl and quickly mix it inches You may need to add more water to your ice in your cup.
- At this point, the dough may be trying to hold together a bit, and that’s a good thing. Continue to work little bits of water in until the dough just starts to hold together fairly well when you press it with your hands.
- If you have a food processor, the process is even easier: Instead of mixing in a bowl, put the flour and salt into your processor with the blades attached and pulse to combine them. Unplug, then taste for salt (you don’t want to whack your fingers off!). Now add in the coconut oil and fill the cup it was in with ice and water. While the water chills, pulse the coconut into the flour mixture until you can’t see any chunks anymore. Adding just a tablespoon or two at a time, pulse the water into the flour mixture. When it just begins to hold together, you are ready to shape it.
- At this point, regardless of the mixing method, turn the dough out onto a floured surface, keeping the water nearby. Roll the dough out, aiming for a round-ish shape. Be prepared- it is probably going to crumble a bit. That is what the remaining water is for. Use the cold water as glue to hold pieces of dough together and continue flouring (to keep it from sticking to the rolling pin) and rolling until the dough is the thickness and size you want for your pie plate. You don’t want to over-roll, as handling it too much will toughen it, but do roll it wide enough for about an inch of hangover on the sides once it is in the pan.
- Gently fold the dough around the rolling pin and use it to transfer the dough to the pie plate. Carefully press the dough into the bottom of the plate and shape the edge of your crust however you want (I usually roll mine under and pinch it to seal and make a pretty edge). It’s probably not going to look picture-perfect, but this is the sign of a homemade crust.
- Continue on with whichever your recipe you are making. This works as well for a quiche or pot pie as it does for a dessert pie.
- If you have leftover pie crust, roll it out again and cut it into short strips (shape does not matter). Sprinkle with cane sugar and cinnamon and bake in the oven at 375 for 8-10 minutes, or until light brown. If you have small children this is a great time to give them your already dusty cutting board and rolling pin, along with some cookie cutters and whatever else you trust them with, and let them make their own “pie crust cookies”. You don’t need to worry about them nibbling dough, as there is nothing in this that will really hurt them. (Although they may not be hungry for dinner.) My kids used to have a lot of fun doing this! I would always bake their creations and let them have them as a special treat.
Questions & Replies

Got a question?
Share it with the community!
Reviews
-
 Total waste of coconut oil. I've never had trouble with pie crust. I tried this one out because I had a new jar of CO. It took an entire cup of water to get it to stick together when I rolled it out. At that point it was so tough that I gave up trying to roll it out.
 -
 Two-thirds cup coconut oil to 2 cups flour almost made a batter so I added 2 more cups of flour. The first crust I rolled out completely fell apart, so I put it back in the bowl, crumbled it some more and added more water. I managed to get that one into the pie plate. The top crust held together better but I have little faith in the crust. It's in the oven at the moment and I have a feeling I'll have to cut it with a chisel as I've had to do many times before with other whole wheat pie crusts. If by some miracle it turns out better than expected, I'll change this review. Luckily my sister taught me how to flute edges nearly 50 years ago, so at least it's not ugly, too.
 -
I've been making white flour piecrusts all my life, and was excited to try this healthier version. I wasn't expecting much, but it was absolutley delicious! Yes, the whole wheat flour is going to be little more challenging to work with, as it doesn't stick together as well as white flour. Don't let that deter you: you just have to patch it up a little more as you get it into the pie plate. I used the food processor method, and it really couldn't have been easier. The crust looked charmingly rustic.
-
I have to start this review by saying I have never been able to make a decent pie crust! ;) That being said this one came out pretty good and I will definitely make it again. I used the food processor method. The dough seemed a bit sticky and I don't think I rolled it thin enough but it still came out pretty flaky and quite tasty so a good accomplishment for me! Used this to make your recipe #511463 and we really enjoyed it - thanks for sharing your recipe! Made for Spring Pick-A-Chef 2014
RECIPE SUBMITTED BY

NancyAnne
Wichita Falls, 83
I'm a mom of seven and grandma to four (so far) living in Bloomington, Indiana. Now that the kids are raised I have been able to go back to work as the assistant manager at My Sister's Closet, a local not-for-profit upscale clothing thrift store that provides low income and at-risk women with interview and getting-started outfits appropriate for their new job.
I'm also a certified personal trainer and health coach, although I no longer use these certifications.


