Salted Chocolate Tart
"I have always avoided making chocolate tarts, not out of laziness (I love a bit of pastry-making, in the right mood), but because I have never really felt that the pastry served the chocolate, or was worth the effort here. This is my simple solution: make a base out of chocolate biscuits. And the filling is just as easy to make, too. Not that you’d know from the taste. (Recipe courtesy Simply Nigella)"
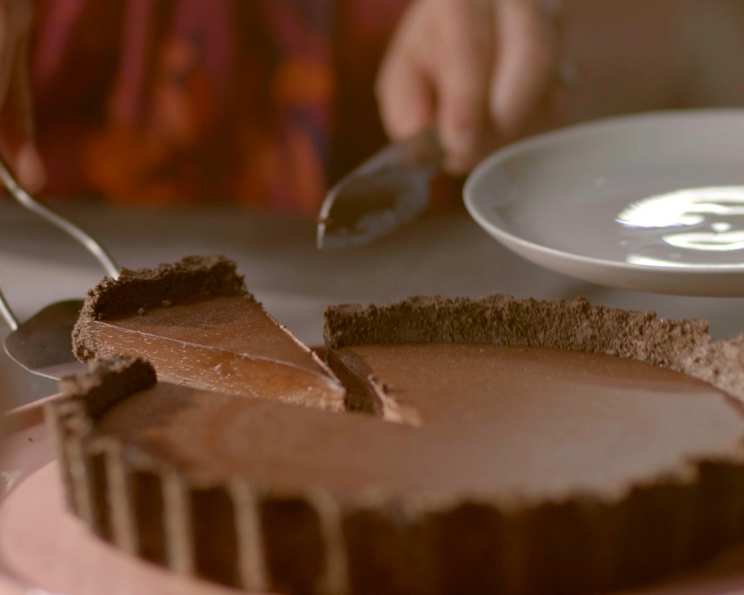
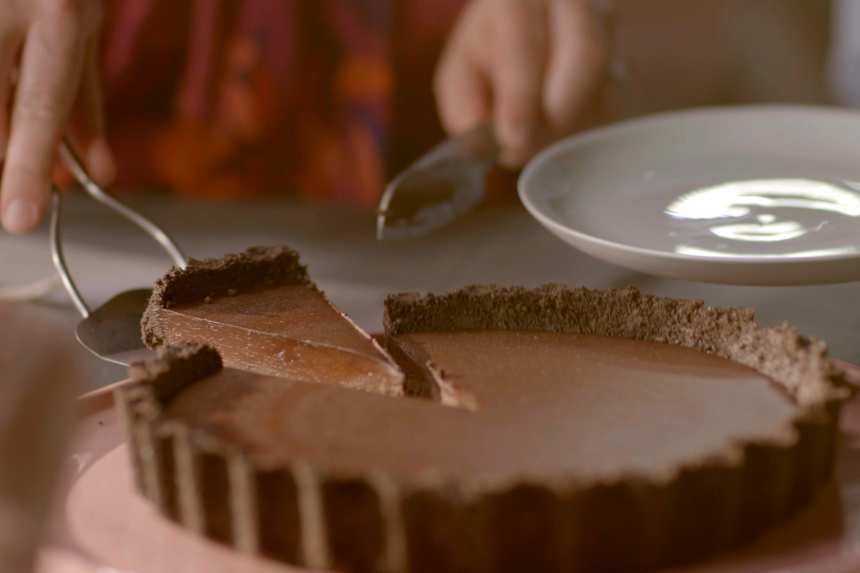
photo by Nigella Lawson


- Ready In:
- 30mins
- Ingredients:
- 14
- Yields:
-
14 slices
ingredients
-
FOR THE BASE
- 2 (154 g) packets Oreo cookies (28 biscuits in all)
- 50 g dark chocolate (min. 70% cocoa solids)
- 50 g soft unsalted butter
- 1⁄2 teaspoon smoked flaked sea salt
-
FOR THE FILLING
- 100 g dark chocolate (min. 70% cocoa solids)
- 25 g cornflour
- 60 ml full-fat milk
- 500 ml double cream
- 50 g cocoa, sieved
- 2 teaspoons instant espresso powder or strong instant coffee powder
- 75 g caster sugar
- 1 teaspoon vanilla bean paste or 1 teaspoon extract
- 2 teaspoons extra virgin olive oil
- 3⁄4 teaspoon flaked sea salt, smoked
directions
- Equipment: 23cm/10in deep-sided (approx. 5cm/2in deep), loose-bottomed flan tin.
-
For the base:
- Snap the biscuits into pieces and drop them into the bowl of a food processor. Do likewise with the chocolate, then blitz them together until you have crumbs. Add the butter and salt, and blitz again until the mixture starts to clump together. If you’re doing this by hand, bash the biscuits in a freezer bag until they form crumbs, finely chop the chocolate and melt the butter, then mix everything, along with the salt, in a large bowl with a wooden spoon or your hands encased in disposable vinyl gloves.
- Press into your tart tin and pat down on the bottom and up the sides of the tin with your hands or the back of a spoon, so that the base and sides are evenly lined and smooth. Put into the fridge to chill and harden for at least 1 hour, or 2 hours if your fridge is stacked. I wouldn’t keep it for longer than a day like this as the Oreo crust tends to get too crumbly.
-
For the filling:
- Finely chop the chocolate. Put the cornflour into a cup and whisk in the milk until smooth. (I find it easier to use cups for the liquids – in which case the milk measure is equivalent to an American quarter cup, and you’ll need 2 cups of cream.).
- Pour the cream into a heavy-based saucepan into which all the ingredients can fit and be stirred without splashing out of the pan, then add the finely chopped rubble of chocolate, the sieved cocoa (or just sieve it straight in), espresso or instant coffee powder, sugar, vanilla paste or extract, olive oil and smoked salt. Place over a medium to low heat and whisk gently – I use a very small whisk for this, as I’m not aiming to get air in the mixture, I’m just trying to banish any lumpiness – as the cream heats and the chocolate starts melting.
- Off the heat, whisk in the cornflour and milk mixture until it, too, is smoothly incorporated, and put the pan back on a low heat. With a wooden spoon, keep stirring until the mixture thickens, which it will do around the 10-minute mark, but be prepared for it to take a few minutes more or less. Take the pan off the heat every so often, still stirring, so that everything melds together, without the cream coming to a boil. When ready, it should be thick enough to coat the back of a wooden spoon, and if you run your finger through it (across the back of the spoon) the line should stay.
- Pour into a wide measuring jug or batter jug (it should come to about the 600ml/2 1/2 cup mark). Now run a piece of baking parchment or greaseproof paper under the cold tap, wring it out and place the damp, crumpled piece right on top of the chocolate mixture, then put the jug into the fridge for 15 minutes. The mixture will still be warm, but will be the right temperature to ooze into the base without melting it.
- Pour and scrape the mixture into the biscuit-lined flan tin and put back in the fridge overnight. Don’t leave it longer than 24 hours, as the base will start to soften.
- Take out of the fridge for 10 minutes before serving, but unmould straight away. Sit the flan tin on top of a large tin or jar and let the ring part fall away, then transfer the dramatically revealed tart to a plate or board. Leave the tin base on.
- Slice modestly – this is rich and sweet, and people can always come back for more – and serve with crème fraîche; the sharpness is just right here. Leftovers will keep in the fridge for 4–5 days, but the base will soften and the sides crumble a bit. That will not detract from your eating pleasure too much, but I still like to give it its first outing at optimal stage!
- MAKE AHEAD NOTES: Base can be made 1 day ahead. When firm, cover and keep refrigerated until needed. Tart/filling can be made 1 day ahead. Fill tart and refrigerate overnight, until set. Tent with foil, trying not to touch the surface of the tart.
- STORE NOTE: Store the tart in fridge until needed. Leftovers will keep in fridge for 4–5 days. The base will soften gradually as the tart stands.
Questions & Replies

-
What is corn flour?
Reviews
Have any thoughts about this recipe?
Share it with the community!
RECIPE SUBMITTED BY
Nigella Lawson
United States
Author of best-selling cookbooks and host of a beloved television series, Nigella is a household name in the kitchen. Her new series, Simply Nigella, is all about creating recipes that make you feel better and more alive.
.jpg)

