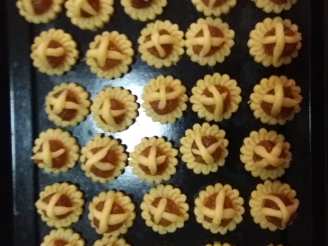
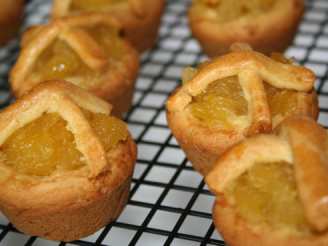
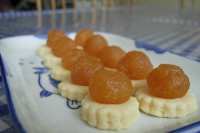
Pineapple Tarts

"Lovely tarts which are SO popular in this part of the world...Especially popular during festivals! Amount of tarts that you can make is just an estimate"
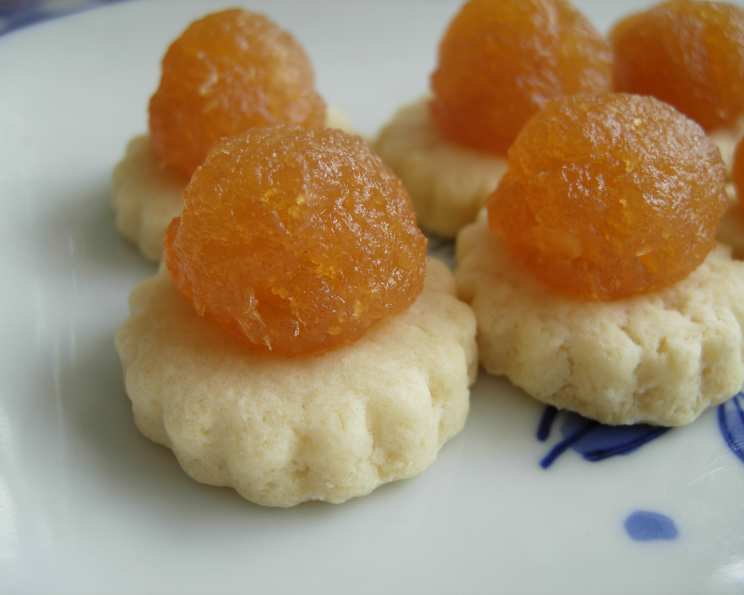
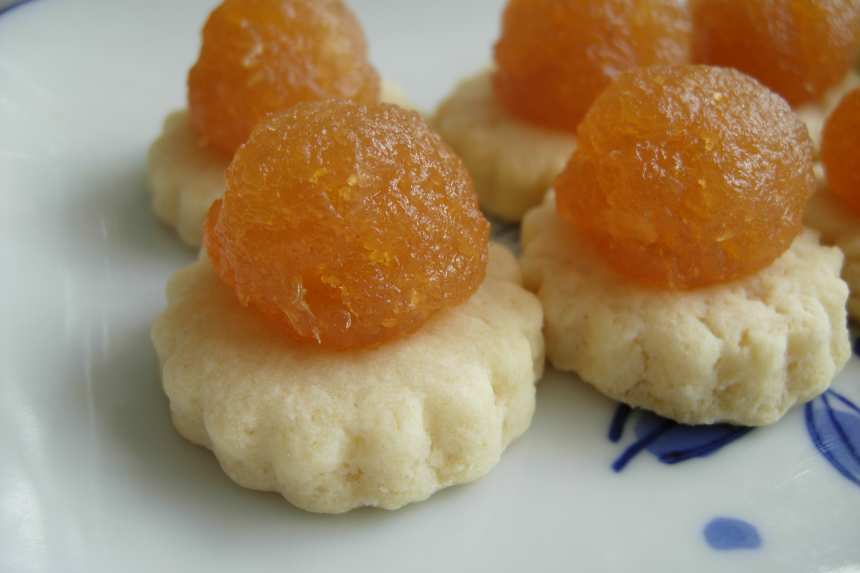
photo by tunasushi


- Ready In:
- 2hrs 20mins
- Ingredients:
- 12
- Yields:
-
50 tarts
- Serves:
- 50
ingredients
-
pineapple jam
- 100 -120 g granulated sugar
- 1 pineapple
-
pastry dough
- 500 g all-purpose flour, sifted
- 350 g unsalted butter, cut into smaller cubes and kept chilled
- 50 g powdered sugar
- 1⁄2 teaspoon salt
- 1⁄2 teaspoon vanilla essence
- 1 teaspoon baking powder
- 2 egg yolks, lighten beaten
- 3 tablespoons milk
- 1 egg, beaten and added with
- 1 tablespoon water (for eggwash)
directions
- Pineapple Jam.
- Grate the pineapple and keep the juice.
- Cook pineapple and juice over medium heat until it is almost dry.
- Add sugar and stir continuously over low heat to prevent burning, until it caramelises and dries up.
- Cool the jam down and keep it in the fridge for one night to dry it sufficiently so that it can be rolled into balls for filling of the tarts.
- Pastry.
- Sift the dry ingredients into a large bowl. Set aside.
- Add in the butter and rub into the dry mixture until mealy crumbs are formed.
- Add vanilla essence and 3 tbsp of cold milk into the egg yolks and pour egg mixture into the crumbs.
- Knead quickly to combine the dough. The dough should be soft and slightly sticky.
- Divid the dough into 2 portions. Flatten each ball slightly and wrap it up using clingwrap. Make sure it is airtight to prevent dough from drying out and then chill for at least ½ hour before use.
- While dough is chilling, prepare your pineapple jam filling by making pineapple jam balls, each from a heaping teaspoonful.
- Lightly flour a clean working surface and roll dough out to about 0.5cm thick.
- Cut out the tart bottoms with a pineapple tart cutter or round cookie cutter and place onto a baking sheet prepped with parchment paper. Top them with your prepared balls of pineapple jam.
- You may also make lattices to decorate the top of the tarts using scrap pastry dough. Lightly brush the lattices using a pastry brush and the eggwash mixture.
- Alternatively, you may make pineapple balls: pinch a small portion of dough, about 25g / 1 oz, flatten manually and use it as a wrap around a pineapple jam ball.
- Place the tarts/balls on a flat baking dish and bake in a 180C oven for about 15-20 minutes, depending on the crispy-ness of the tart you desire. (i.e. bake longer for a harder, crispier, tart crust) or until the pastry is a pale gold.
- Cool on a wire tray, then store in an airtight container, using a piece of parchment or doily in between layers.
Questions & Replies

Got a question?
Share it with the community!
Reviews
Have any thoughts about this recipe?
Share it with the community!
RECIPE SUBMITTED BY

my flickr page: http://flickr.com/photos/tunasushi
Hey there!
Thanks for stopping by to look @ my profile :)
I'll be 15 on the 11th of September 2006....Ive been using Zaar for quite a while now and I've made tons of friends so far......
I started cooking when I was umm....12 and a half and Ive been in love with it ever since...My first project was the classic batch of brownies. I used a pan that was too big and I got really really flat brownies.....For the frosting I used granulated sugar and had crunchy frosting haha.....
Ive gotten much better since then!
I tend to get discouraged very easily if something I make does not come out like it was expected to....I can even get depressed over it.....
I have plans on going to Le Courdon Bleu Sydney in mid 2008 and completing the Grand Diploma there......
This is my cat Kiara. I found her in the backyard when I was 10, and I started feeding her toast and grape jelly. She's on a normal cat's diet now haha.
<img src="http://i25.photobucket.com/albums/c76/tunasushi/kiaraaaa.jpg" alt="Image hosting by Photobucket">
This is Pluto, and sadly he went missing just before Christmas....
<img src="http://i25.photobucket.com/albums/c76/tunasushi/PlutO.jpg" alt="Image hosting by Photobucket">
The small pic is when I was 4, and the other is a recent pic :)
<img src="http://i25.photobucket.com/albums/c76/tunasushi/ff.jpg" alt="Image hosting by Photobucket">
<img src="http://i25.photobucket.com/albums/c76/tunasushi/meme.jpg" alt="Image hosting by Photobucket">
Lookin a bit mad...hehe