Leapin' Lizard Leather

"The kids will love it!!"
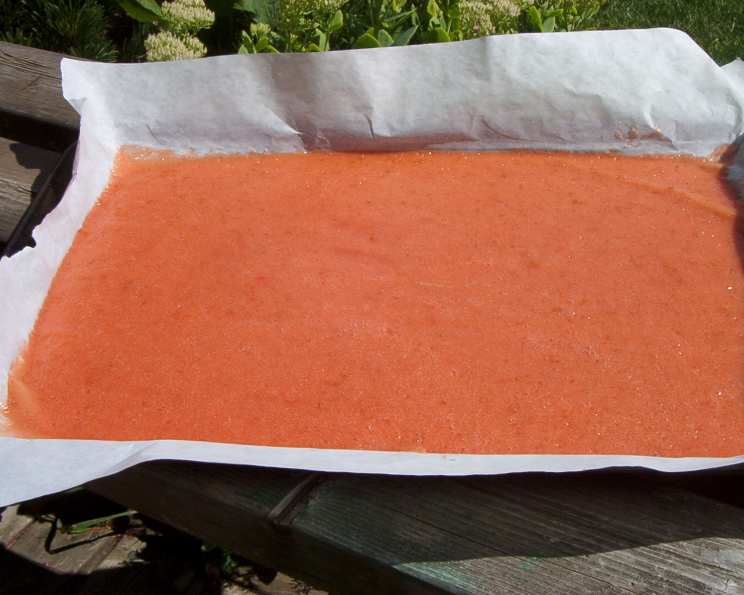
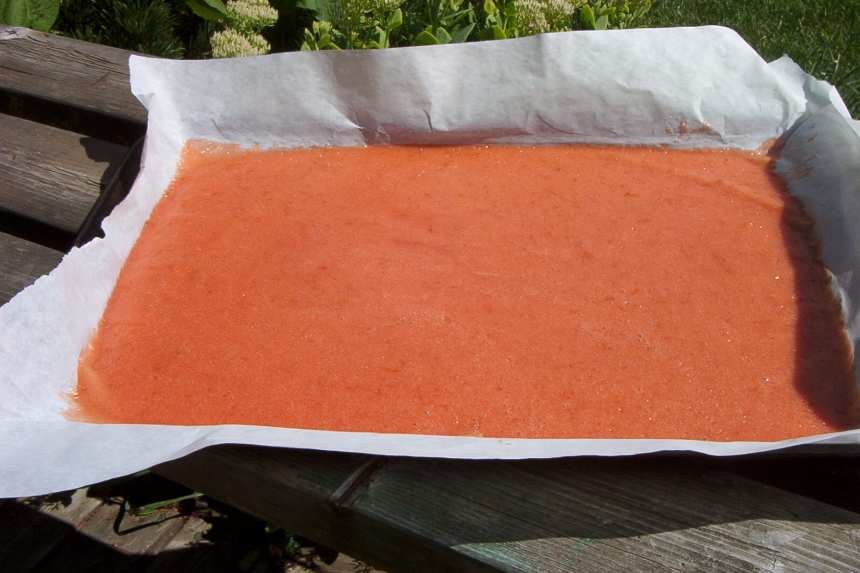
photo by Leslie


- Ready In:
- 6hrs 15mins
- Ingredients:
- 2
- Serves:
-
4
ingredients
- 1 1⁄2 cups very ripe chopped fruit (try kiwi, it's Green!)
- 1⁄4 cup light corn syrup
directions
- Place the chopped fruit and the corn syrup in a blender and puree.
- The puree should be smooth, without any lumps.
- Place plastic wrap over baking sheet and pour the puree onto it.
- Smooth the puree so that it covers the baking sheet evenly.
- (the mixture should be thin,about 0.125 inch thick) Put the baking sheet in a warm oven, 150 degrees, for 4-6 hours , checking it every half hour.
- Dry the puree until it is pliable and has the feel of leather.
- It shouldn't be wet or very sticky.
- Using hot pads, remove the baking sheet from the over.
- Let the leather cool and then roll it up in the plastic wrap.
Questions & Replies

Got a question?
Share it with the community!
Reviews
-
 Tjis recipe was really good, except i found i had my oven temperature too high. make sure the oven temp is as low as possble because otherwise the end result it hard instead of leathery
 -
 This was really good with mango, but just okay with nectarines. Had the same problem as others, outer edges a little over down. Overall - 4 stars.
 -
 My 5 year old just loved this! We made it as a rainy afternoon project and it turned out great! I used parchment paper instead of plastic wrap as I was afraid the plastic wrap may melt. We used very over ripe fruit that I otherwise would have tossed...too ripe to eat normally. We used Kiwi's and Yellow plums for the first batch, and added some red food colouring to make it more eye appealing. The second batch we used peaches and added some orange food colouring. It turned out great!! I made sure to spread very evenly, so the outer edges were as thick as the inside. As it cooked we peeled off some of the outer edges for taste testers as it got done quicker than the rest. The rest I cut into strips, wrapped in plastic wrap and froze. It thaws well and DD takes it to School in her lunch for a super sweet yet nutritous snack! Thanks for a fabulous recipe!!
 -
 I thought that this recipe turned out really delicious. The outer edges were a bit more done than the middle, but all in all it was great!
Tweaks
-
My 5 year old just loved this! We made it as a rainy afternoon project and it turned out great! I used parchment paper instead of plastic wrap as I was afraid the plastic wrap may melt. We used very over ripe fruit that I otherwise would have tossed...too ripe to eat normally. We used Kiwi's and Yellow plums for the first batch, and added some red food colouring to make it more eye appealing. The second batch we used peaches and added some orange food colouring. It turned out great!! I made sure to spread very evenly, so the outer edges were as thick as the inside. As it cooked we peeled off some of the outer edges for taste testers as it got done quicker than the rest. The rest I cut into strips, wrapped in plastic wrap and froze. It thaws well and DD takes it to School in her lunch for a super sweet yet nutritous snack! Thanks for a fabulous recipe!!
RECIPE SUBMITTED BY

Christine
Indianapolis, Indiana


