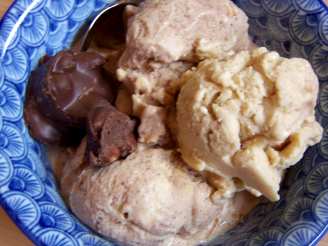
Coffee Almond Ice Cream

"A recipe from the blog of The Family Kitchen. This is something I have to try this summer. I love coffee ice cream. The preparation time is the time it has to cool in the fridge."
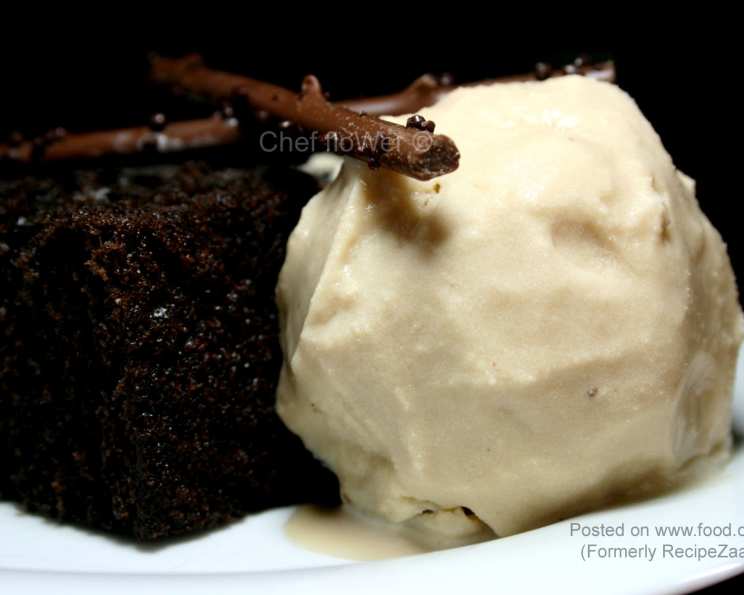
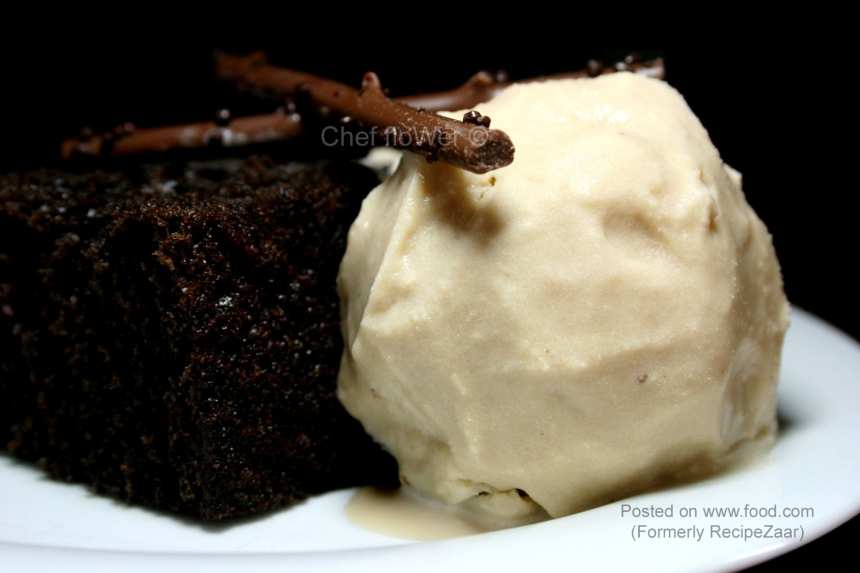
photo by Chef floWer

- Ready In:
- 8hrs 20mins
- Ingredients:
- 7
- Serves:
-
8-10
ingredients
- 4 cups whole milk
- 2 cups heavy cream
- 4 egg yolks
- 1 1⁄2 cups sugar
- 1 -2 shots espresso (I guess it's about 1 or 2 small cups of espresso)
- 1 teaspoon vanilla extract
- 1⁄2 teaspoon almond extract
directions
- Combine milk, cream, egg yolks, sugar and espresso in a saucepan. Whisk well and bring to 170 degrees. Then refrigerate well overnight.
- Pour in ice cream maker and churn for 25 minutes. Freeze until it’s firm.
Questions & Replies

Got a question?
Share it with the community!
Reviews
-
 I was given an ice cream machine for Christmas and this was the first ice cream I tired in it. I normally buy an Aldi's brand Coffee flavour ice cream, which has chocolate flakes so I added the flakes in it as well. This was great, the only "problem" I had with it was I had enough mixture to make two batches, so I made two batches (Not a big problem to have just more ice cream). For those who have nut allergies family's you could easily not use the Almond flavour and it still would be outstanding.. Thanks for posting your recipe Boomette.
 -
 just got done churning the ice cream this morning. It's in the freezer but I just had to sample as I was working (quality control ya know) LOL anyway this is really really really good. Since I'm making it for children I used a single shot of decaf expresso. I'm sure they will be loving this tomorrow. I know I do.
RECIPE SUBMITTED BY

<p><strong><span>I'm the host of Bargain Basement tag game in the cooking game forum. You're welcome to play anytime. You'll be surprised to find great recipes that were never reviewed. <br /></span></strong></p>
<p>~~~~~~~~~~~~~~~~~~~~~~~~~~</p>
<p><strong><span>I want to say a big thank you to everyone who tries my recipes and post photos. I don't always have the time to say thanks to each of you but be sure it's so appreciated :)</span></strong></p>
<p>~~~~~~~~~~~~~~~~~~~~~~~~~~</p>
<p> </p>
<p><img src=http://i195.photobucket.com/albums/z205/jubespage/zwt6%20banners%20and%20photos/captain.jpg alt=width=150 height=200 /></p>
<p><br /><img src=http://i27.photobucket.com/albums/c175/emmyduckie/zwt/ZwizzleBadge.jpg alt=width=200 height=300 /><br /> <br /><a title=banner3 href=http://www.flickr.com/photos/26630178@N05/3510953178></a><img src=http://farm4.static.flickr.com/3387/3510953178_b35b3086a8.jpg alt=banner3 width=500 height=250 /> <br /><img src=http://i23.photobucket.com/albums/b399/susied214/permanent%20collection/captain.jpg border=0 alt=Photobucket /> <br /><img src=http://i23.photobucket.com/albums/b399/susied214/permanent%20collection/PAC08Main.jpg border=0 alt=Photobucket /> <br /><img src=http://i23.photobucket.com/albums/b399/susied214/permanent%20collection/adoptedspring08.jpg border=0 alt=Photobucket /> By Brooke The Cook in WI <br /><img src=http://i147.photobucket.com/albums/r317/j_welcome/pics2/food/PRMRcopy.jpg alt=/ /> <br /><a href=http://www.recipezaar.com/bb/viewtopic.zsp?p=3510511#3510511> <br /> <br /><img src=http://i23.photobucket.com/albums/b399/susied214/projects/200_PACpic.jpg border=0 alt=Photo /> <br /> <br /></a><a title=Photo href=http://www.flickr.com/photos/boomette1/514183676></a><img src=http://farm1.static.flickr.com/252/514183676_f79b486466_m.jpg alt=good width=240 height=137 /> <br /><img src=http://i23.photobucket.com/albums/b399/susied214/permanent%20collection/Adopted1smp.jpg border=0 alt=Photo /> <br /><img src=http://i23.photobucket.com/albums/b399/susied214/permanent%20collection/smPACp.jpg border=0 alt=Photo /></p>
<p><img src=http://img.photobucket.com/albums/v726/annacia/Permanent%20Banners/ZTAA-sm.jpg border=0 alt=Photobucket /></p>
<p><img src=http://i21.photobucket.com/albums/b280/carolinamoon21/Ingredients/BANNERS/Pets-STKR.jpg alt=width=200 height=200 /></p>