Community Pick
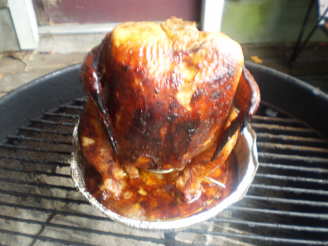
Barbecued Beer Can Chicken

"This is simply the best beer can chicken I have ever had. You first rub a spice mixture over the chicken, then baste it with a delicious glaze. We've had it many times this summer. Winter's coming, and I can't wait to try it in the oven! This recipe makes two chickens; simply cut it in half if you prefer just one."
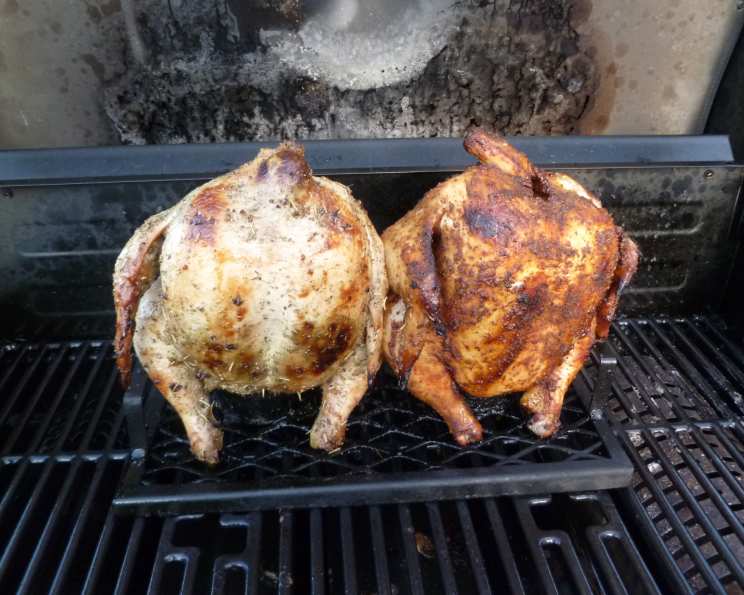
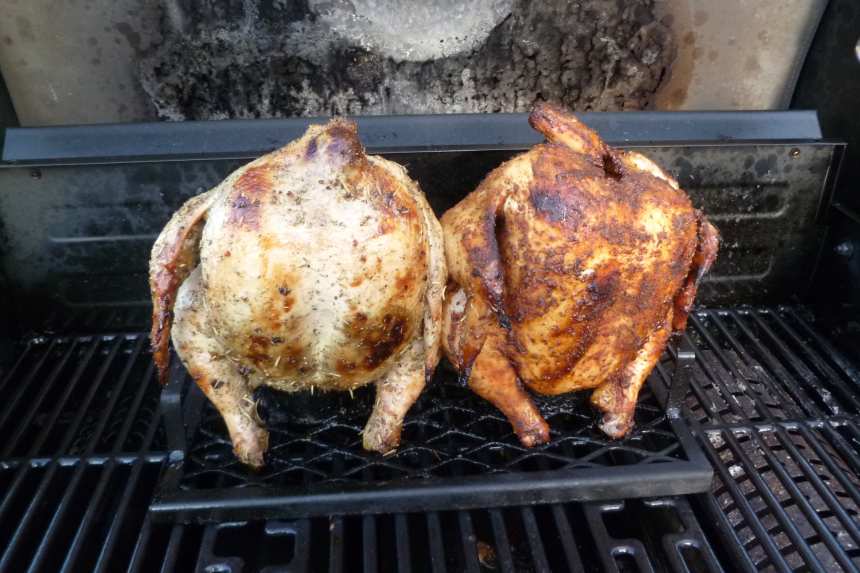
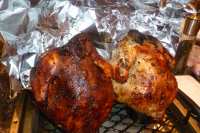
photo by Cathy17


- Ready In:
- 1hr 50mins
- Ingredients:
- 13
- Serves:
-
4-6
ingredients
- 2 tablespoons packed light brown sugar
- 2 tablespoons paprika
- 1 tablespoon salt
- 1 tablespoon black pepper
- 1 teaspoon cayenne pepper
- 2 tablespoons packed light brown sugar
- 2 tablespoons ketchup
- 2 tablespoons white vinegar
- 2 tablespoons beer
- 1 teaspoon hot sauce
- 2 (12 ounce) cans beer
- 4 bay leaves, crumbled
- 2 (3 -3 1/2 lb) roasting chickens, patted dry
directions
- Turn all grill burners to high and close lid to preheat.
- For the spice rub: Mix 2 T. brown sugar, paprika, salt, black pepper and cayenne in a small bowl and set aside.
- For the glaze: Stir 2 T. brown sugar, ketchup, vinegar, beer (take from your beer cans) and hot sauce in a bowl; add 1 T. spice rub; set aside.
- Pour out about 1/2 cup or so from each can of beer. Using a church key can opener, punch holes in the top of the can to completely "open" the top; this will allow maximum steam to escape. Add 2 crumbled bay leaves to each can.
- Loosen the skin on the chicken breasts and thighs of the chicken by sliding your fingers between the skin and the meat. Massage the spice mixture on the skin, under the skin, and inside the cavity. Using a skewer, poke the skin all over to render as much fat as possible while cooking.
- Turn off all but primary grill burners, leaving main burner(s) on high (for my grill, I leave two burners on, but this will depend on how many burners your grill has -- mine has three. The temperature inside your grill should stay around 375). Place chickens on cans; place on cool part of grill, using drumsticks to stabilize them. Cover and grill until skin is very well browned and very crisp, 40 to 60 minutes. Brush with ketchup glaze and grill, covered, until thigh meat registers 170 degrees on instant-read thermometer, about 20 minutes longer.
- Transfer chickens to cutting board and let rest for 10 minutes.
Questions & Replies

Got a question?
Share it with the community!
Reviews
-
 Delicious!!! Maybe the bbq smoker made a difference? Very tasty & tender! Recommended! DS says it's best he's had after 3 recipes this summer. Now we bought perhaps a better quality chicken from whole foods as well. Fell off the bone & moist after 1hr. Thank u for another great recipe. Keep em coming
 -
 Made this tonight used my traeger smoker put it on smoke for 20 mins then turned it up to 325 for the rest of the cook, it is the best chicken I've ever made what a killer recipe
 -
EXCELLENT!!! I only used 1 chicken with half of the rub ingredients but the full amount for the glaze. This is the same recipe posted by 2Bleu (see Barbecued Beer Can Chicken - Cook's Country, recipe # 454976 on this site) but hepcat1's version has better instructions. I used mesquite wood chips to create the smoke in the grill.
-
 This is the best barbecued chicken that I have ever eaten! Just spicy enough to please the masses! There is a little learning curve with the gas grill to get the temperature right... but once you do, this is super easy to make! <br/>Great for summer barbecues, superbowl parties, etc. Thigh meat leftovers made the best chicken soup, too!<br/>Thanks for the fantastic recipe!
 -
 Wish I could give more than 5 stars. This was amazing. Followed the recipe pretty much exactly. Such a lovely crispy skin and nice flavour on the inside. I used a dual beer can cooker on the grill and did another kind of can chicken next to it. Love the blend of flavours in the rub and glaze. This is a keeper!
see 15 more reviews
RECIPE SUBMITTED BY

<img src="http://i3.photobucket.com/albums/y53/DUCHESS13/FFF/Switzerland-FFF4.gif">
After growing up in central Wisconsin, I moved to California and spent my 20's and part of my 30's there. I've since moved to the east coast to a small village in Northern Virginia - a huge change! We moved here mainly so we could live in an area better suited to raising children and closer to family. Although it's an adjustment, we really love it here. My husband and I were married in Feb 2003 and had our first daughter, Kylie, in Aug 2004. Our second daughter, Katie, was just born in July 2006. I was an HR Director until I became Mom, and I wouldn't trade this job for anything in the world!
I began cooking when I became a stay-at-home-mom, mostly out of necessity. We used to eat out for every meal...and I do mean EVERY meal. When our income was cut in half after my "early retirement", eating out was no longer an option. Therefore, if I was going to continue to eat all the delicious food I was accustomed to, I was going to have to...oh, the horror!!!...COOK IT MYSELF!!! I had grown up baking with my mom, but hadn't actually baked in years and had always left the cooking to her. To my utter surprise and delight (not to mention my husband's SHOCK and delight)...I loved it! Then, to find Recipezaar...well, it's become a much loved hobby and something I'll surely do for the rest of my life!
<embed type="application/x-shockwave-flash" wmode="transparent" src="http://w186.photobucket.com/pbwidget.swf?pbwurl=http://w186.photobucket.com/albums/x187/kristybernardo/15590867.pbw" height="360" width="360"></embed><a href="http://photobucket.com" target="_blank"><img src="http://pic.photobucket.com/album/slideshow/wrapper_logo.gif" style="float:left;border-width: 0;" ></a><a href="http://s186.photobucket.com/albums/x187/kristybernardo/?action=view¤t=15590867.pbw" target="_blank"><img src="http://pic.photobucket.com/album/slideshow/wrapper_viewshow.gif" style="float:right;border-width: 0;" ></a><a href="http://photobucket.com/slideshow?action=landing" target="_blank"><img src="http://pic.photobucket.com/album/slideshow/wrapper_getyourown.gif" style="float:right;border-width: 0;" ></a>