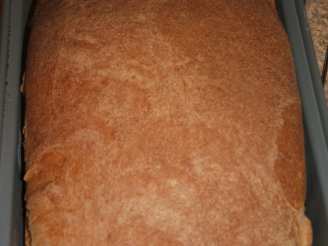
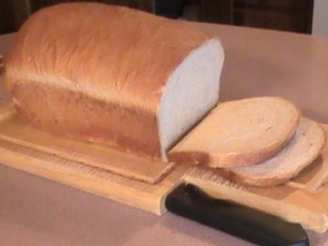
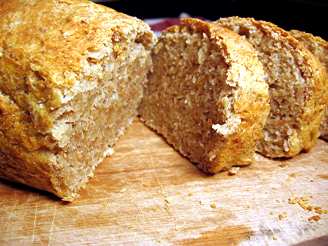
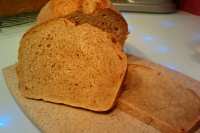
Wheat Sandwich Bread from Amish Starter

"I had an abundance of Amish friendship bread starter and wanted to try something different than the sickly-sweet quick bread recipes out there. I saw JanuaryBride's Sourdough French Bread - ABM (Amish Bread starter) at http://www.recipezaar.com/sourdough-french-bread-abm-amish-bread-starter-375789 and decided to adapt it a bit.
I have a Cuisinart SM-70 stand mixer, so my directions reflect this. Refer to your mixer's manual for the speed and duration to use for bread dough.
You can also use a bread machine on the French Bread setting. Follow your machine's instructions.
Keep in mind that the bulk of that prep time is idle time when your dough is rising and you can do other things. :)
NOTE: The starter ingredients at the beginning are here for nutritional info only. The system doesn't know the nutritional info for starter, so I gave approximate measurements of the starter's ingredients)."
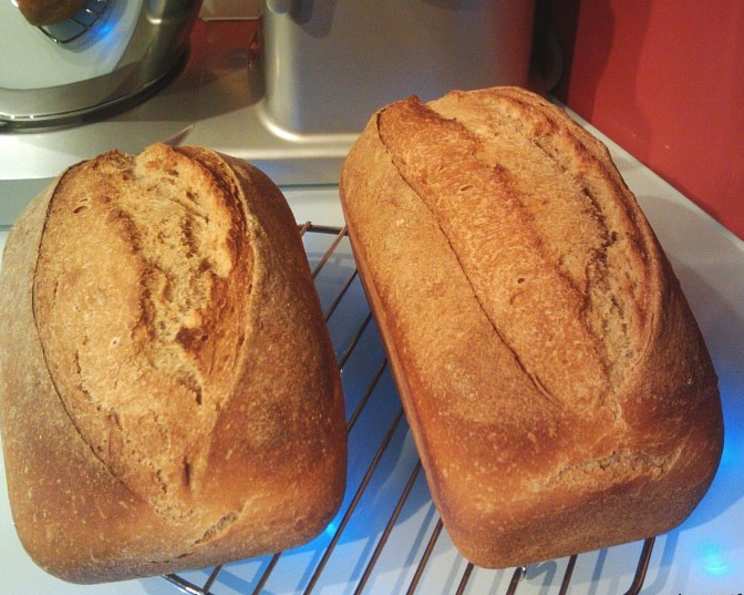

photo by Gardenwife


- Ready In:
- 3hrs 30mins
- Ingredients:
- 11
- Yields:
-
1 loaf
- Serves:
- 18
ingredients
-
STARTER (already made)
- 1⁄3 cup white sugar
- 1⁄3 cup flour
- 1⁄3 cup skim milk
-
BREAD
- 1 cup hot water (between 120-130 F)
- 1 cup amish starter
- 1 tablespoon olive oil
- 2 teaspoons salt
- 2 cups bread flour
- 2 cups white whole wheat flour
- 2 teaspoons active dry yeast
- 2 tablespoons water, as needed
directions
- Put water, starter and olive oil in mixer's bowl. Add remaining ingredients. Using dough hook attachment, mix on speed 2 until dough begins to form a ball on the dough hook, about 2 minutes. You may need to add a little more water, especially since whole wheat flour really soaks up the moisture.
- Now, increase the mixer's speed to 3 and let the dough hook knead the dough for four minutes on speed 3. If the dough starts creeping up past the guard on the top of the hook, it's because the dough is a bit too dry. Just sprinkle in a little water.
- After the four-minute knead by the mixer, let the dough rest in the bowl for about 5 minutes. This will help further develop the strands of gluten.
- Do a window pane test: Break off a little piece of the dough and roll it into a ball. Gently flatten the ball with your fingers and tease/stretch the dough out as if you're making a tiny pizza, getting it as thin as you can. If the dough is elastic and you can stretch it into a "window pane" through which light shines, the gluten is well developed and you're ready to proof the dough.
- If the dough rips instead of stretches, it's not kneaded quite enough. Give it a quick one-minute knead on speed 3. This is why I left it in the mixer bowl while letting it rest. ;).
- When the dough's ready turn it out into an oiled bowl and cover the bowl loosely with plastic or a damp tea towel. Place bowl in a warm place. I put the bowl in the oven with its light on, along with a bowl of hot water.
- When the dough's about doubled in size (roughly 90 minutes, but this can vary a bit), punch down the dough. Then, it rise another 45 minutes or so to develop more flavor. The second rise helps it develop more flavor.
- Punch down the dough then turn dough out onto lightly floured counter. Gently roll it out into a rectangle about 9" long and 6" wide. With your fingers, roll the flattened dough into a log, retaining tension as you do so. It's important you create surface tension on the loaf as you roll it up. Pinch the resulting seam together and tuck the ends under a bit.
- Place loaf into a greased loaf pan seam-side-down, cover with a lightly floured tea towel, and let rise about an hour. In a standard 9x5" loaf pan, the dough should rise until it's domed a bit above the loaf pan's top.
- Preheat oven to 375°F With a sharp knife or a razor blade, gently slash the top of the loaf about 1/2" deep all along the top. Bake loaf for 30-35, rotating the pan in the oven once about half way through. The bread is done when you can can turn the loaf over in an oven mitt and a thermometer inserted in the bottom of the loaf registers between 190-195°F The loaf will sound hollow if you thump the bottom.
- Note that ovens vary, and you may need to tent the loaf with tinfoil if the top crust is getting too dark.
- Let loaf cool in pan for 5 minutes, then turn out onto a cooling rack. Let the loaf cool *completely* before you slice it.
Questions & Replies
Got a question?
Share it with the community!
Reviews
Have any thoughts about this recipe?
Share it with the community!
RECIPE SUBMITTED BY

My chief passions include my marriage to my great husband, photography, writing, Internet, graphic design, gardening and animals. I share my home with one man, one mother-in-law, three dogs and two cats. My mother-in-law has a dog, too. They live in an apartment we made out of our walk-out basement. We're the House O'Hair.
I've been messing with computers since 1987 and if I had to choose between computers and all my other hobbies, I'm afraid computers would win out. My husband and I have met and become friends with THE greatest people online, especially through our memberships at <a href="http://davesgarden.com">Dave's Garden</a>.