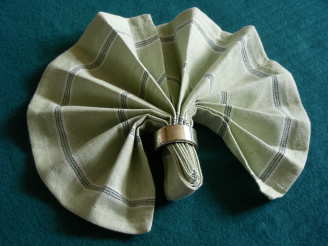
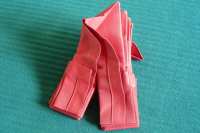
Serviette/Napkin Folding, Standing Fan Variation

"My interest in serviette folding was born on a wet day at my Grandmother's house, I was a preteen and helping her with the ironing and watched while she ironed serviettes into wonderful shapes and neatly stacked them for use. I asked her to show me how and she did. Once you know several folds and people see them, they often have at least one other that you haven't seen before, you gain knowledge of the new one and on it goes. Now that I have already posted all the napkin folds I know, I decided to look on the net for some new ones to learn. This one is a variation on Recipe #245530 and looks awesome on a plate. Now that I have made these several times, I can see that's it not actually really hard, rather the more precise and the neater you can make the second to last step, the easier it gets. This is not a fast and easy serviette, but it is one with a WOW factor and it could be made in advance if you iron them well and pack them tightly in a box ready for completion of the last two steps."
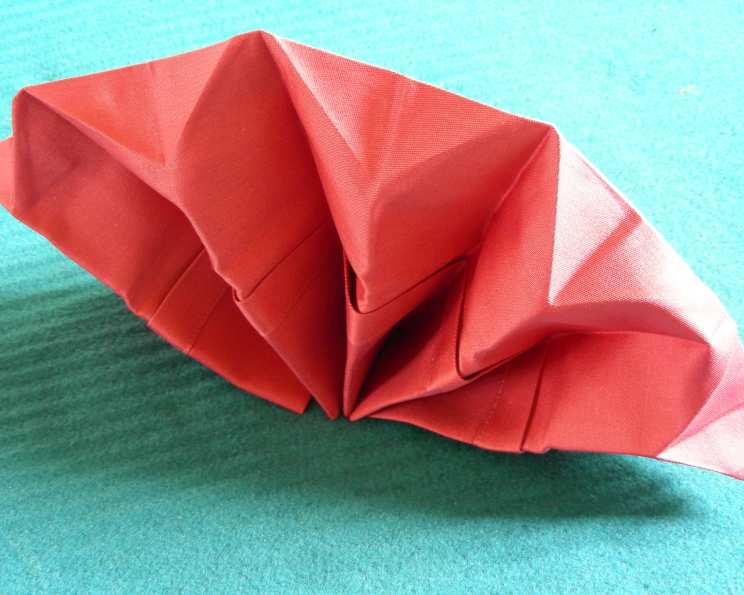
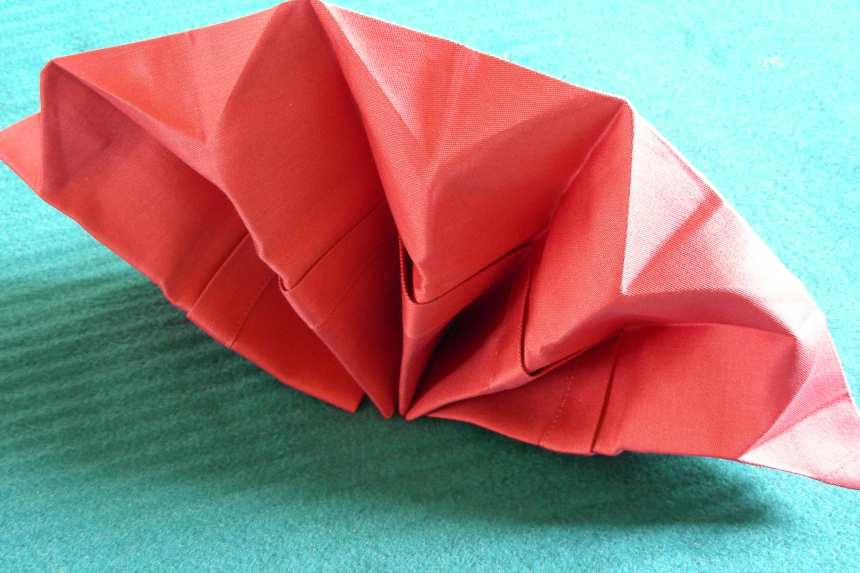
photo by kiwidutch


- Ready In:
- 4mins
- Ingredients:
- 2
- Serves:
-
2
ingredients
- 1 paper, serviette (large)
- 1 cloth, serviette (large)
directions
- Lay your serviette out flat and square before you.
- Take the top and bottom left hand corners and fold them over to the top and bottom right hand corners so that you now have a vertical rectangle before you, with the crease on the left.
- Take the top and bottom right hand corners and carefully fold them back towards the crease line, slightly less than half way.
- Carefully turn the serviette over (the crease from Step 2 should be at the top of your rectangle).
- Take the bottom left and bottom right corners and fold them half way up the serviette.
- Carefully turn the serviette so that it is vertical, and the narrow sides are now the top and bottom of the rectangle.
- From the narrow bottom left and bottom right corners, accordion fold all the way up to the top left and right corners.
- One side of the accordion will be thicker than the other, hold the thick side firmly and with your other hand pull the part of the top zig-zag that is furthest away from you, into the 'valley' in front of it so that you have an inverted peak. Ironing these so that they are sharp will increase the dramatic nature of the finished serviette. Repeat with all the "away' facing peaks.(the first time I tried this I was all thumbs so it helped to place the thick side of the serviette between my knees while I used both hands to sort out what I was doing at the top, you might need to do this as well with the next step.).
- This next step is tricky and so take your time and don't try and rush it. Turn the serviette around so that you are ready to work on the thick end of the accordion fold. This end actually has two layers of zig-zags and you will need to separate the two a little. It's not easy on first go but with a little persistence you will get there.
- I found it easier to do this with both hands and using my knees to keep the bottom in place, and I found it easier to pull then two zig-zag pleats gently away from each other and them to carefully re-pleat them again (separated).
- Pull these two sets of pleats until they form a small 'V" shape. The tighter and neater the folds are at this stage the more dramatic the end result will be.
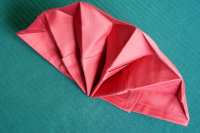
- Carefully set the top parts of the "V" shape down and release then main fan. This turns into a very pretty standing fan that is double sided and definitely will put the WOW factor onto your table.
- If you have made it this far, take a deep breath and be proud, this one was a little trickier than most but you made it! Well done!
Questions & Replies

Got a question?
Share it with the community!
Reviews
Have any thoughts about this recipe?
Share it with the community!
RECIPE SUBMITTED BY

kiwidutch
Netherlands