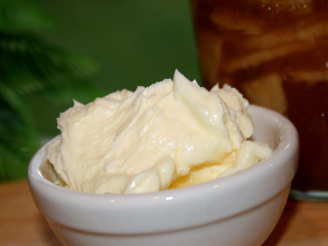
Homemade Butter

"This is how you can make butter at home. This is good for a group of kids to do, they can keep passing the bowl to one another when they get tired of shaking."


- Ready In:
- 10mins
- Ingredients:
- 2
- Yields:
-
1 lb butter
ingredients
- 1 quart heavy cream
- 1⁄2 - 1 teaspoon salt (optional)
directions
- Put the cream (and salt, if desired) in a Tupperware bowl with a lid.
- (If you don't want to do a lot of shaking, you can do this in a mixer, just like you would whipped cream, just keep beating it until the whipped cream breaks, and you may have to use the paddle attachment of your mixer once the lump starts to form.) Shake the dickens out of it!
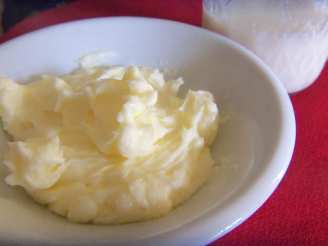
- After 10 minutes or so, you should notice a yellow lump in the cream and the cream will look like cloudy water, once this happens, you have butter (the lump) and buttermilk (the cloudy water).
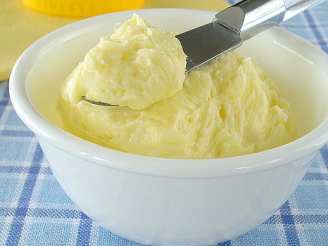
- Shape the butter as desired, and refrigerate, or freeze.
Questions & Replies

Got a question?
Share it with the community!
Reviews
-
 I do this with fresh heavy cream. There isn't a better butter!!! I can control the salt (and the kind of salt) that goes into it and it is perfect every time. I recommend longer more gentle shaking, especially if you want to use the left over buttermilk. It makes a difference in the flavor and quality of both butter and buttermilk. I also use a glass jar to shake the cream. It is easier to handle than a bowl and it doesn't take up any flavors from the plastic.
 -
 This was very easy to do, and tastes fantastic! I used my kitchen aid mixer, and it took a bit longer for some reason, I think I had it running too high. Once I slowed it down a bit, within seconds, there was the butter. I also put both the mixer bowl and the wisk I used in the freezer for a little bit before I started. I only wish this site was around when my kids were young, they would've loved to help with this. Even used up the buttermilk that was left! Thanks Jim, for a useful and fun recipe!
 -
 It was simple, easy and tasty. I used the jar method. I should have used a larger jar because once the cream expanded, it became really hard to shake. But I hung in there and butter resulted. I didn't keep the buttermilk this time but I will in the future. Thanks Jim!
 -
 I recommend a wide mouth glass jar. For two reasons: One; it's easier to get the butter out. Two: If your arms get tired. Lay it on the floor and gently rock it back and forth with your foot. Make sure you rinse the butter at the end as well. After draining out the cloudy milk, run some cold water in the container and swish around. Do this until the water is clear. It will help keep the butter longer.
RECIPE SUBMITTED BY

quotPink Eyedquot J
New Brunswick, 0
<p>I've been working in foodservice for over ten years now in many different guises. I like to think that I have a very unique perspective on food since I know it from so many different angles. Ask me anything. I don't bite, unless you look like food.</p>