Apple Extreme Upside-Down Cake

"The gooey goodness of this cake bakes up from a no-fuss, one-bowl batter spiced with ginger and cinnamon."
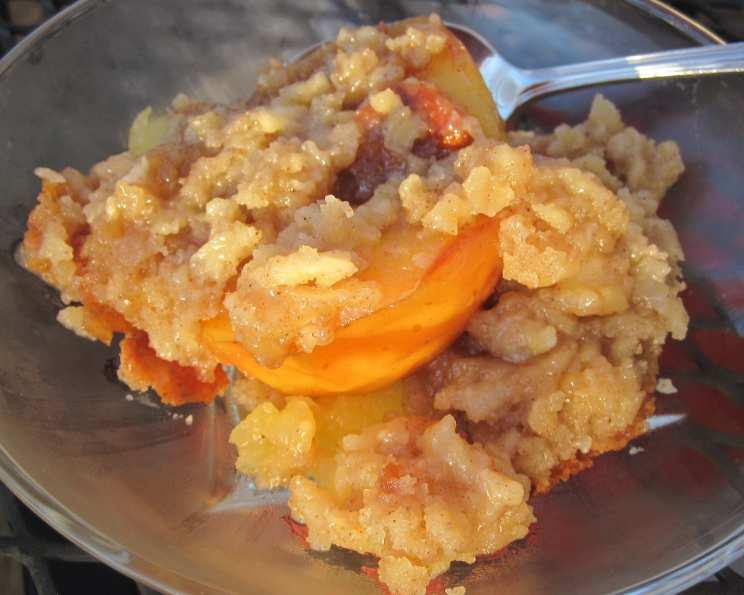
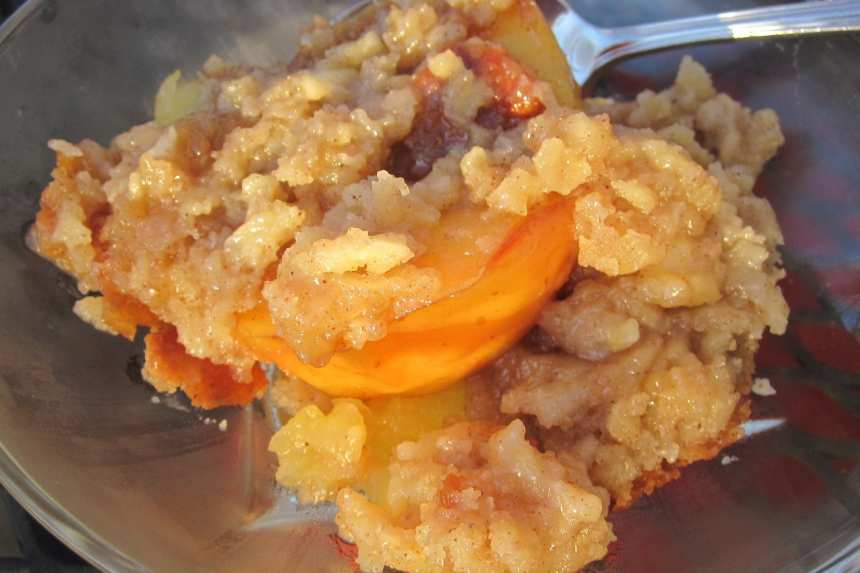
photo by mary winecoff

- Ready In:
- 1hr 20mins
- Ingredients:
- 13
- Serves:
-
9
ingredients
- 1⁄3 cup butter, cut up
- 1⁄3 cup packed brown sugar
- 6 small red baking apples, halved, stems removed, cored (1-1/4 to 1-1/2 lb.)
- 1 1⁄3 cups all-purpose flour
- 2⁄3 cup granulated sugar
- 2 teaspoons baking powder
- 1 teaspoon ground ginger
- 1 teaspoon ground cinnamon
- 2⁄3 cup milk
- 1⁄4 cup butter, softened
- 1 egg
- 1 teaspoon vanilla
- vanilla ice cream (optional)
directions
- Preheat oven to 350°F
- Place 1/3 cup butter in a 9x9x2-inch baking pan.
- Place in oven 5 minutes or until butter melts.
- Sprinkle brown sugar over butter; stir. Arrange 9 apple halves in mixture, cut sides down.
- Bake in oven 10 to 15 minutes or until bubbly.
- Meanwhile, peel remaining apples.
- Coarsely shred; set aside.
- In bowl combine flour, granulated sugar, baking powder, ginger, and cinnamon.
- Add shredded apple, milk, 1/4 cup butter, egg, and vanilla.
- Beat with electric mixer on low until combined; beat on medium 1 minute. Spoon over apples, spread evenly (apple may be exposed; some butter may come to surface).
- Bake 35 minutes or until wooden toothpick inserted near center comes out clean.
- Cool in pan on wire rack for 5 minutes. Loosen edges; invert onto platter. Spoon any topping in pan over top.
- Cool 20 minutes; serve with ice cream.
- Makes 9 servings.
Questions & Replies

Got a question?
Share it with the community!
Reviews
-
 What a great idea for fal apples! My diners described this as "baked apples surrounded by just enough spice cake." The half apples do lend to the feel of baked apples & turn out pretty when turned upside down. We liked the peel left on & I appreciated that this recipe is for a smaller cake. Thank you for sharing the recipe!
 -
 Great cake with wonderful apple flavor! I halved the recipe and peeled the apples, otherwise made as specified. Served warm with ice cream and really enjoyed - thanks for sharing the recipe!
 -
 This was wonderful and would have been even better with a scoop of vanilla ice cream! My boys did not like the skin remaining on the apples so next time I will just peel them before placing in the pan. Made for Photo Tag.