PART OF Holiday Central
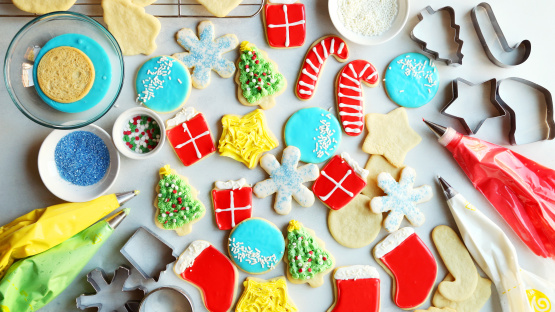
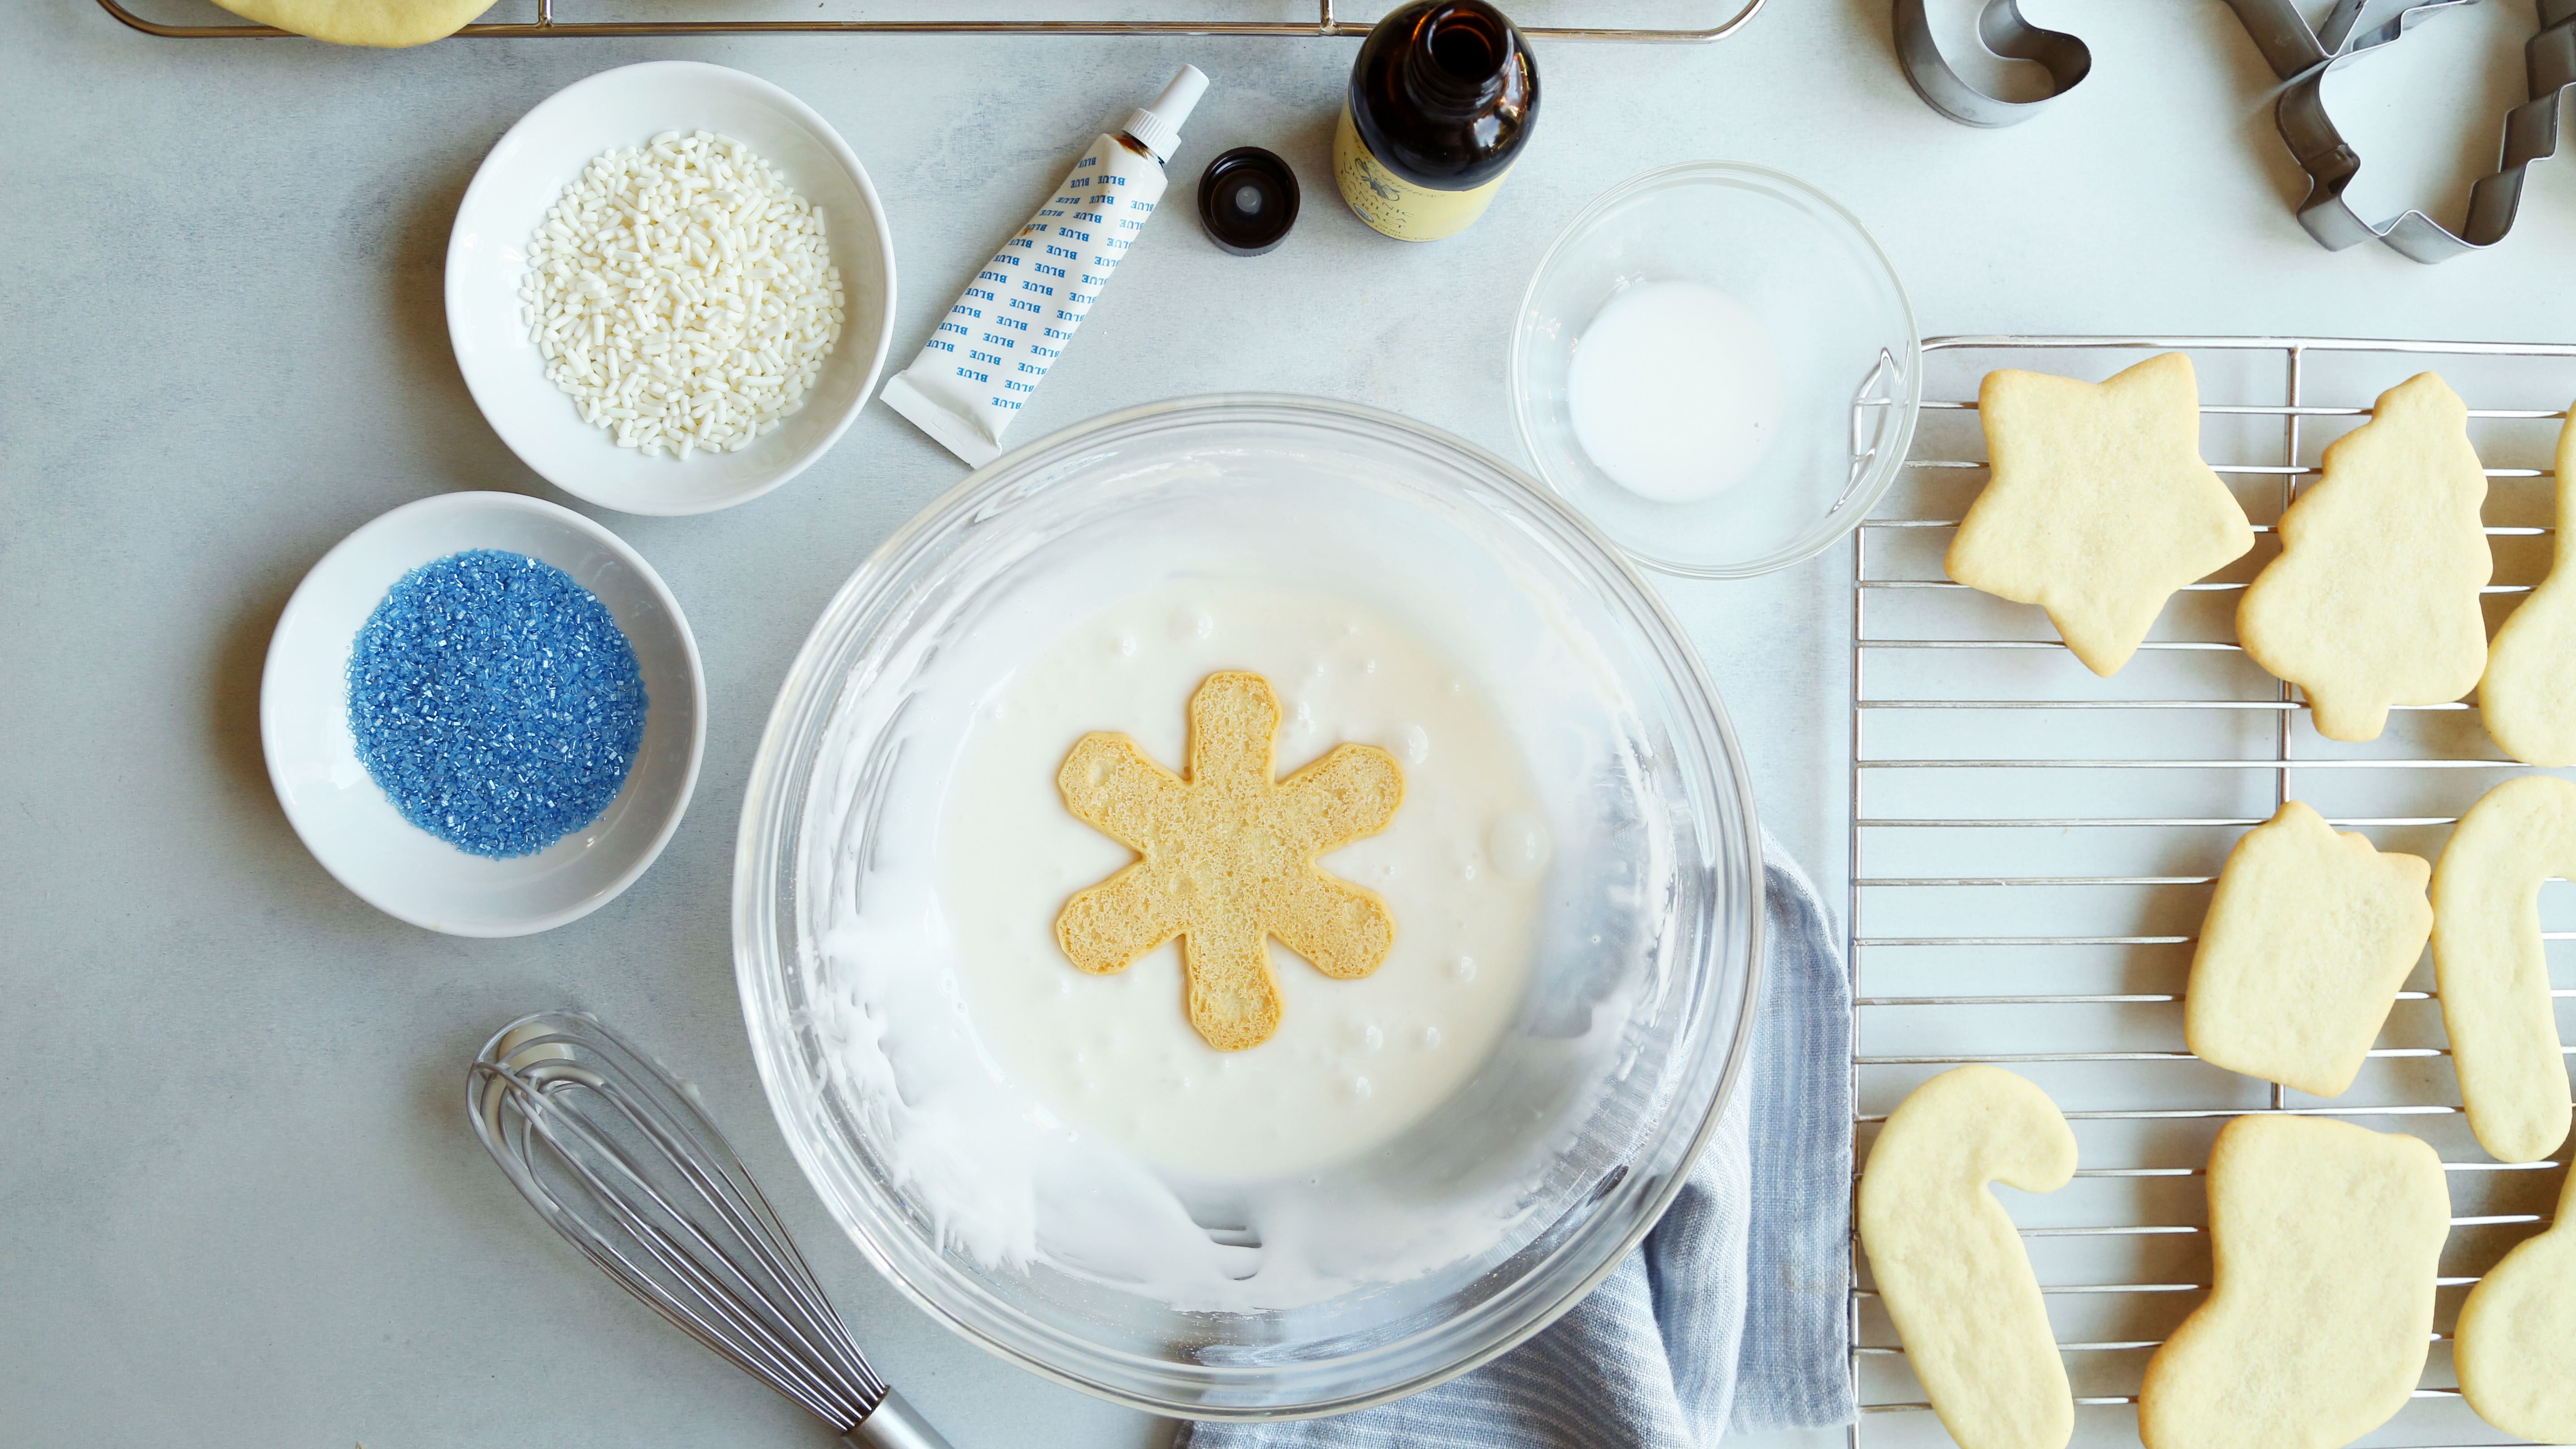
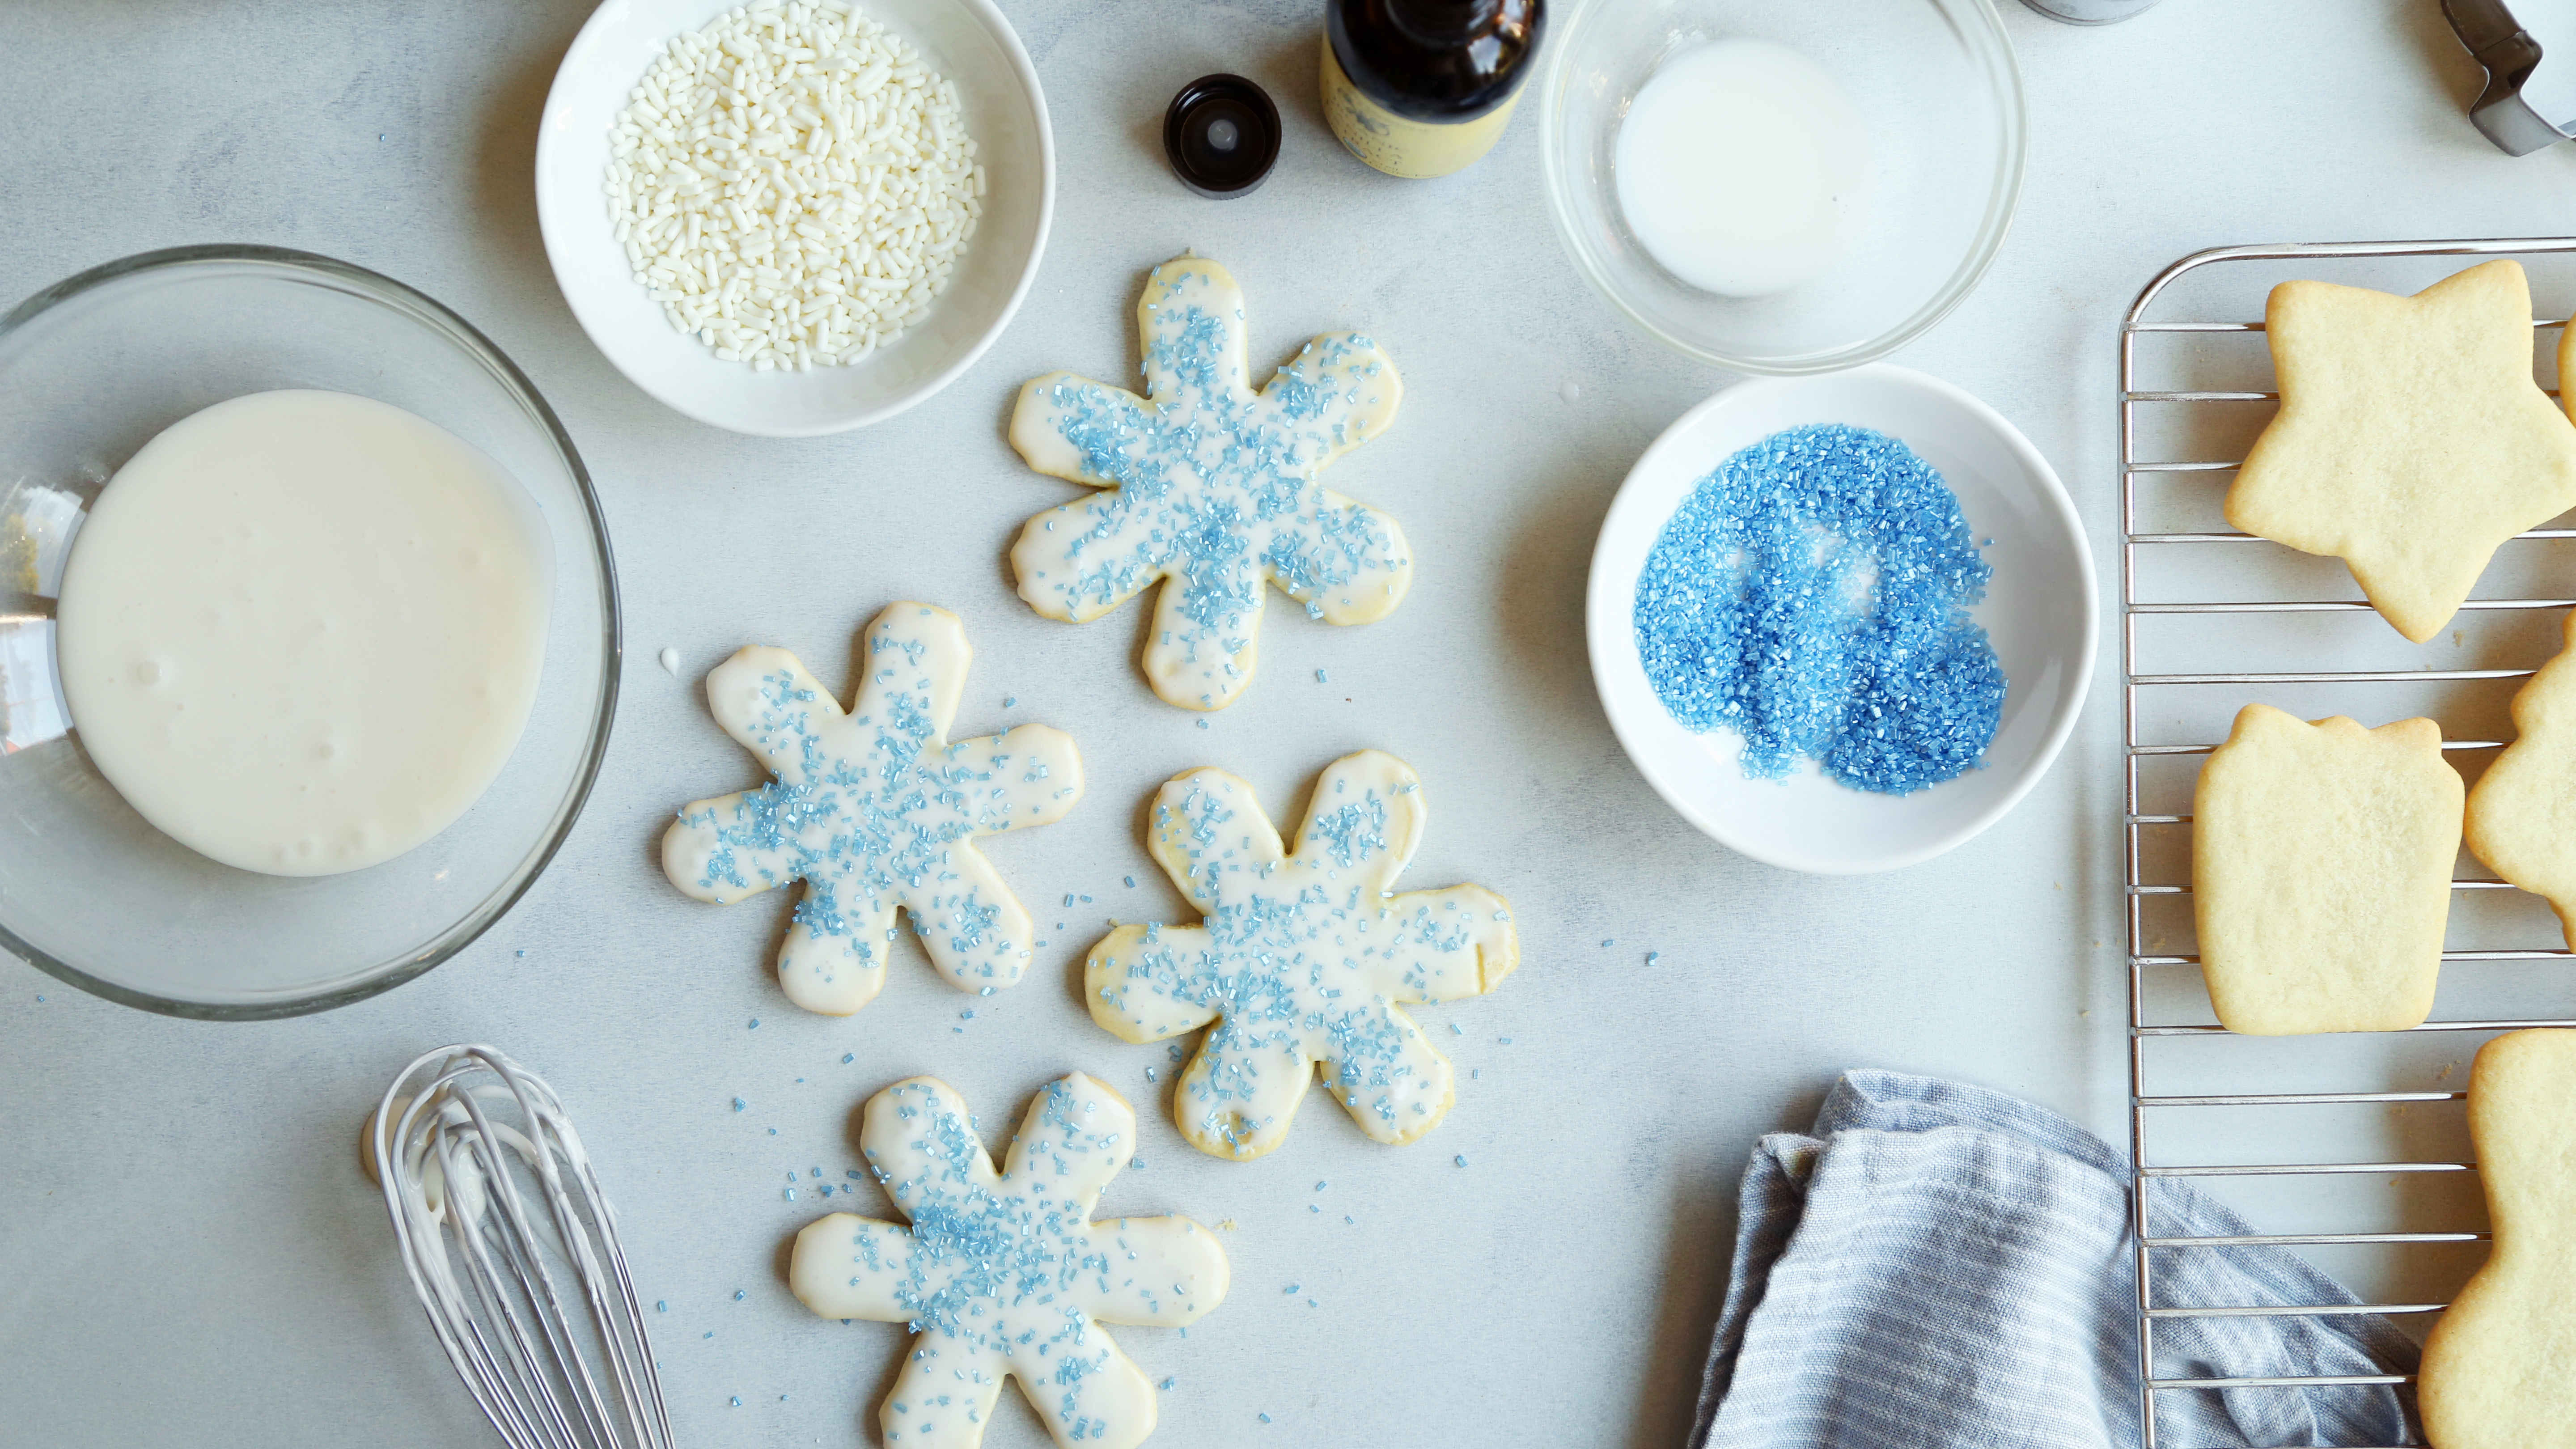
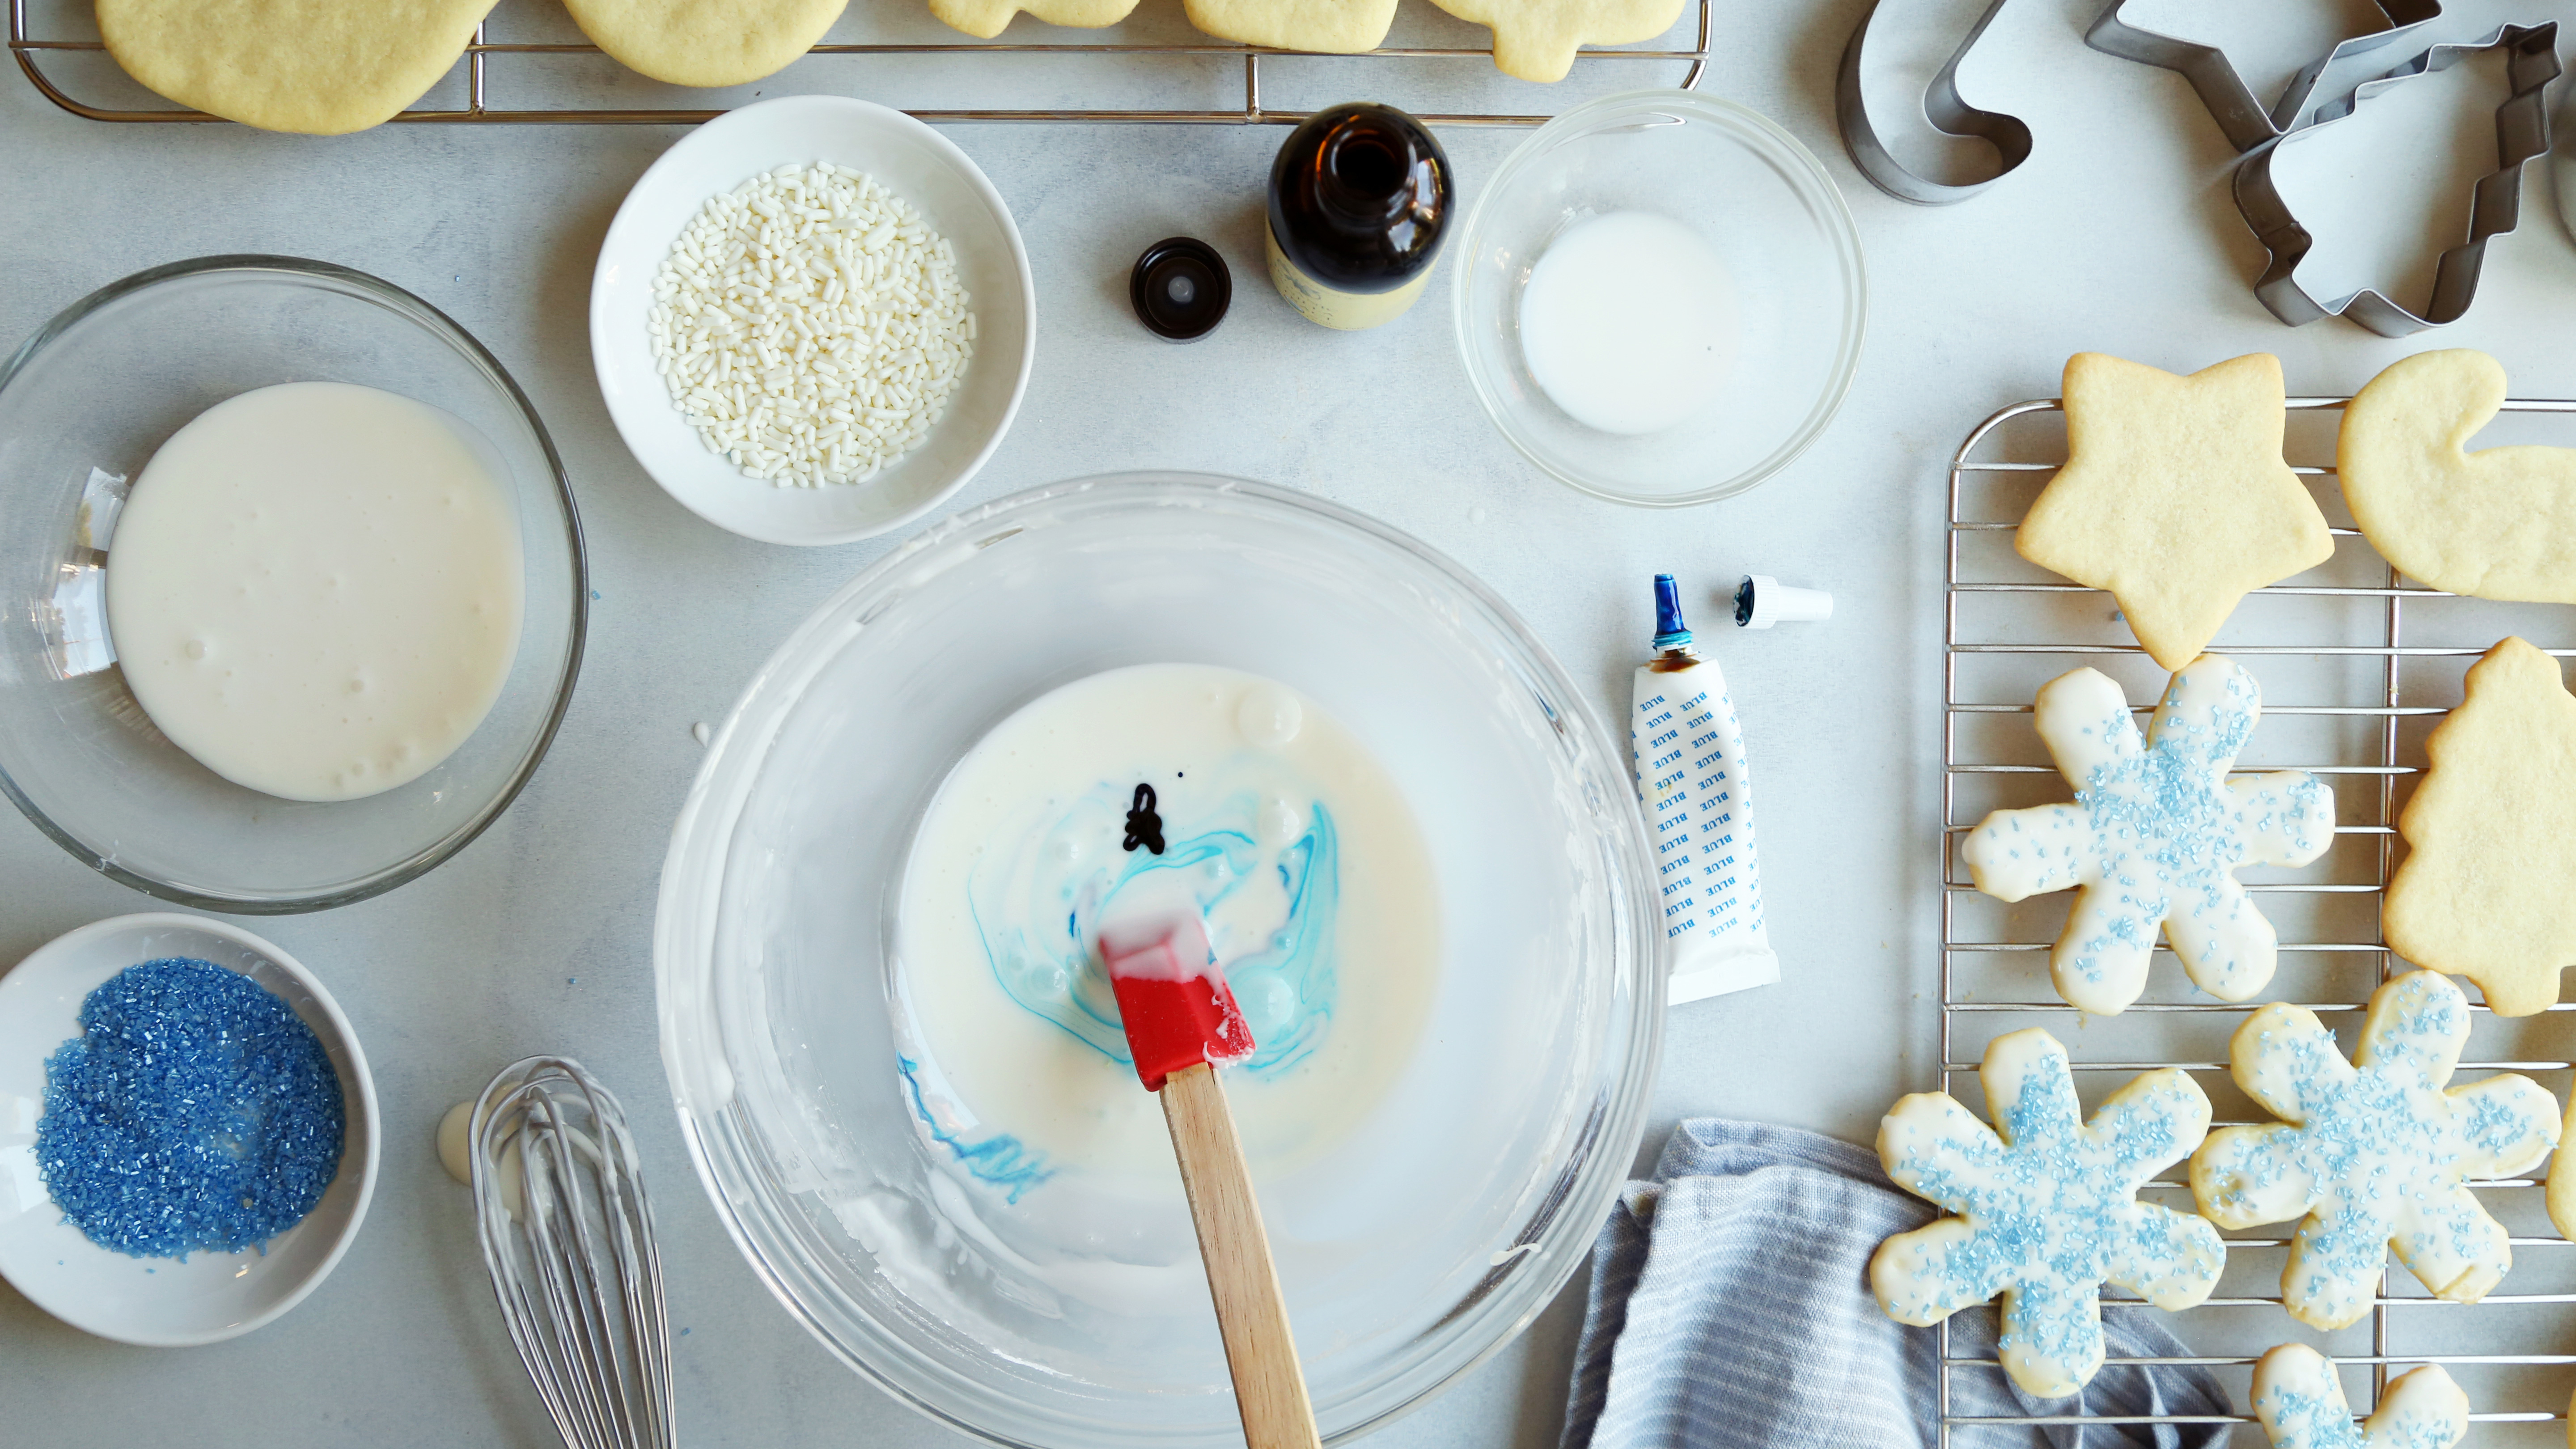
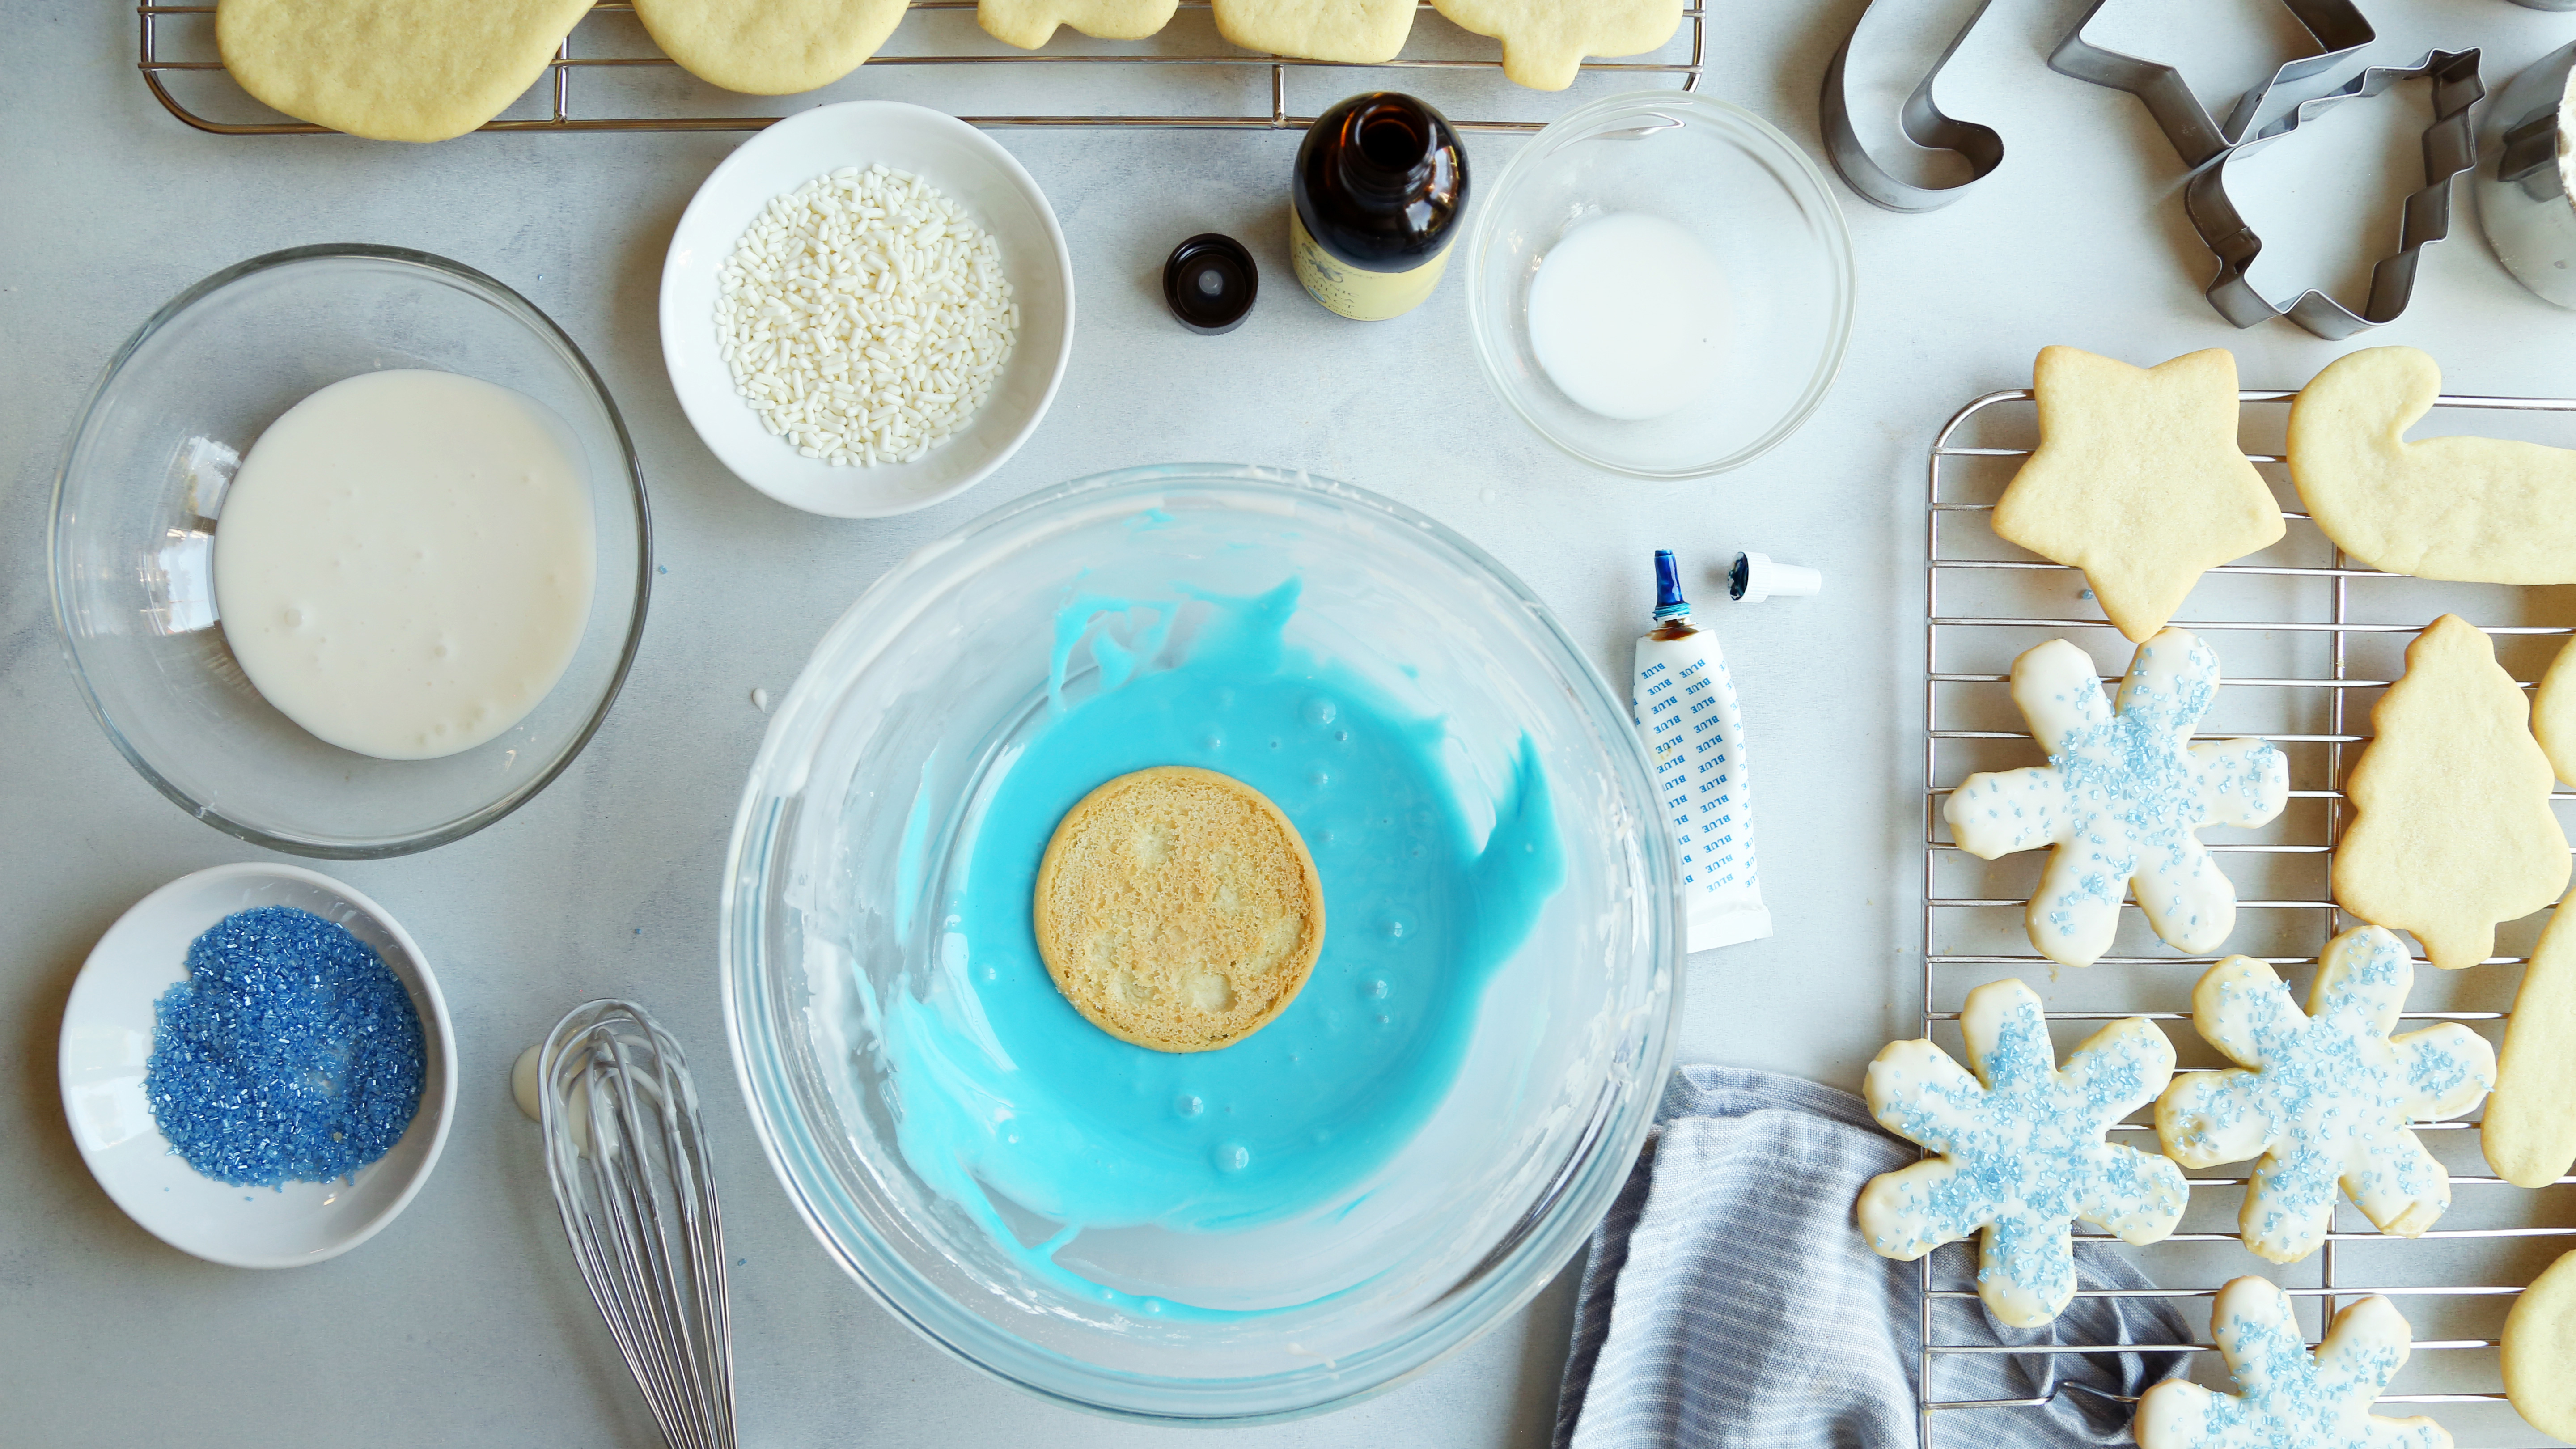
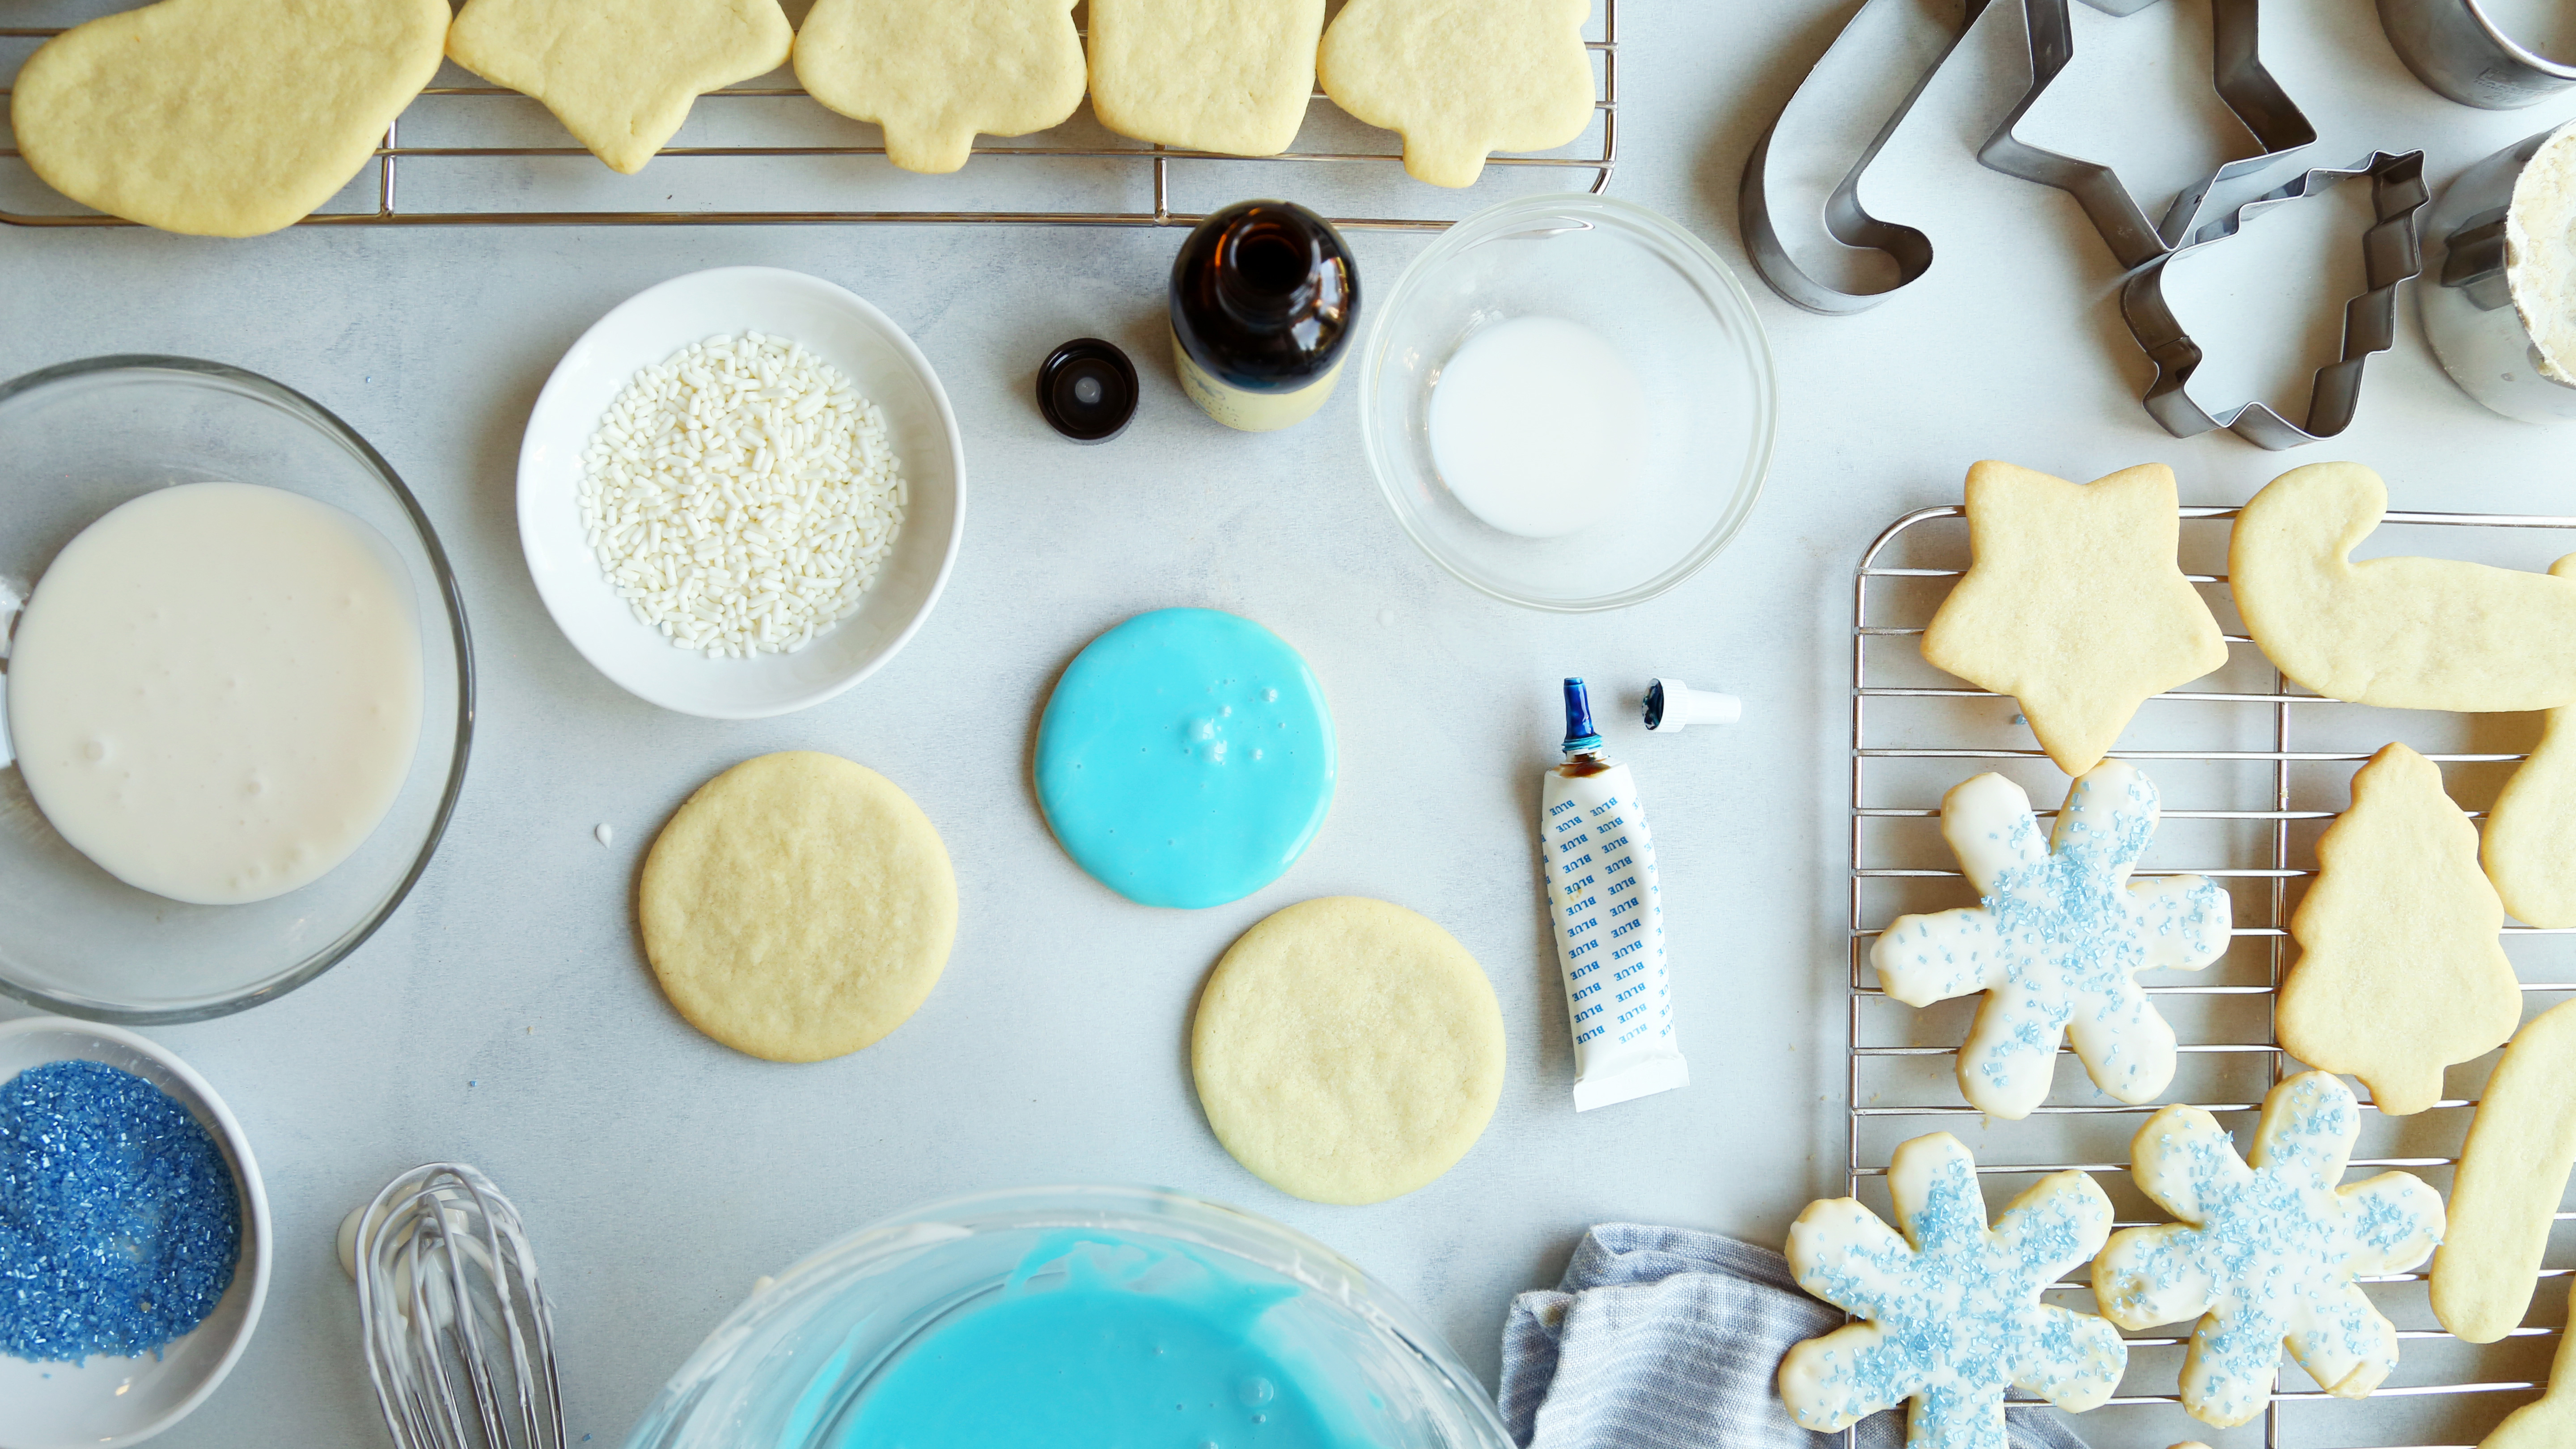
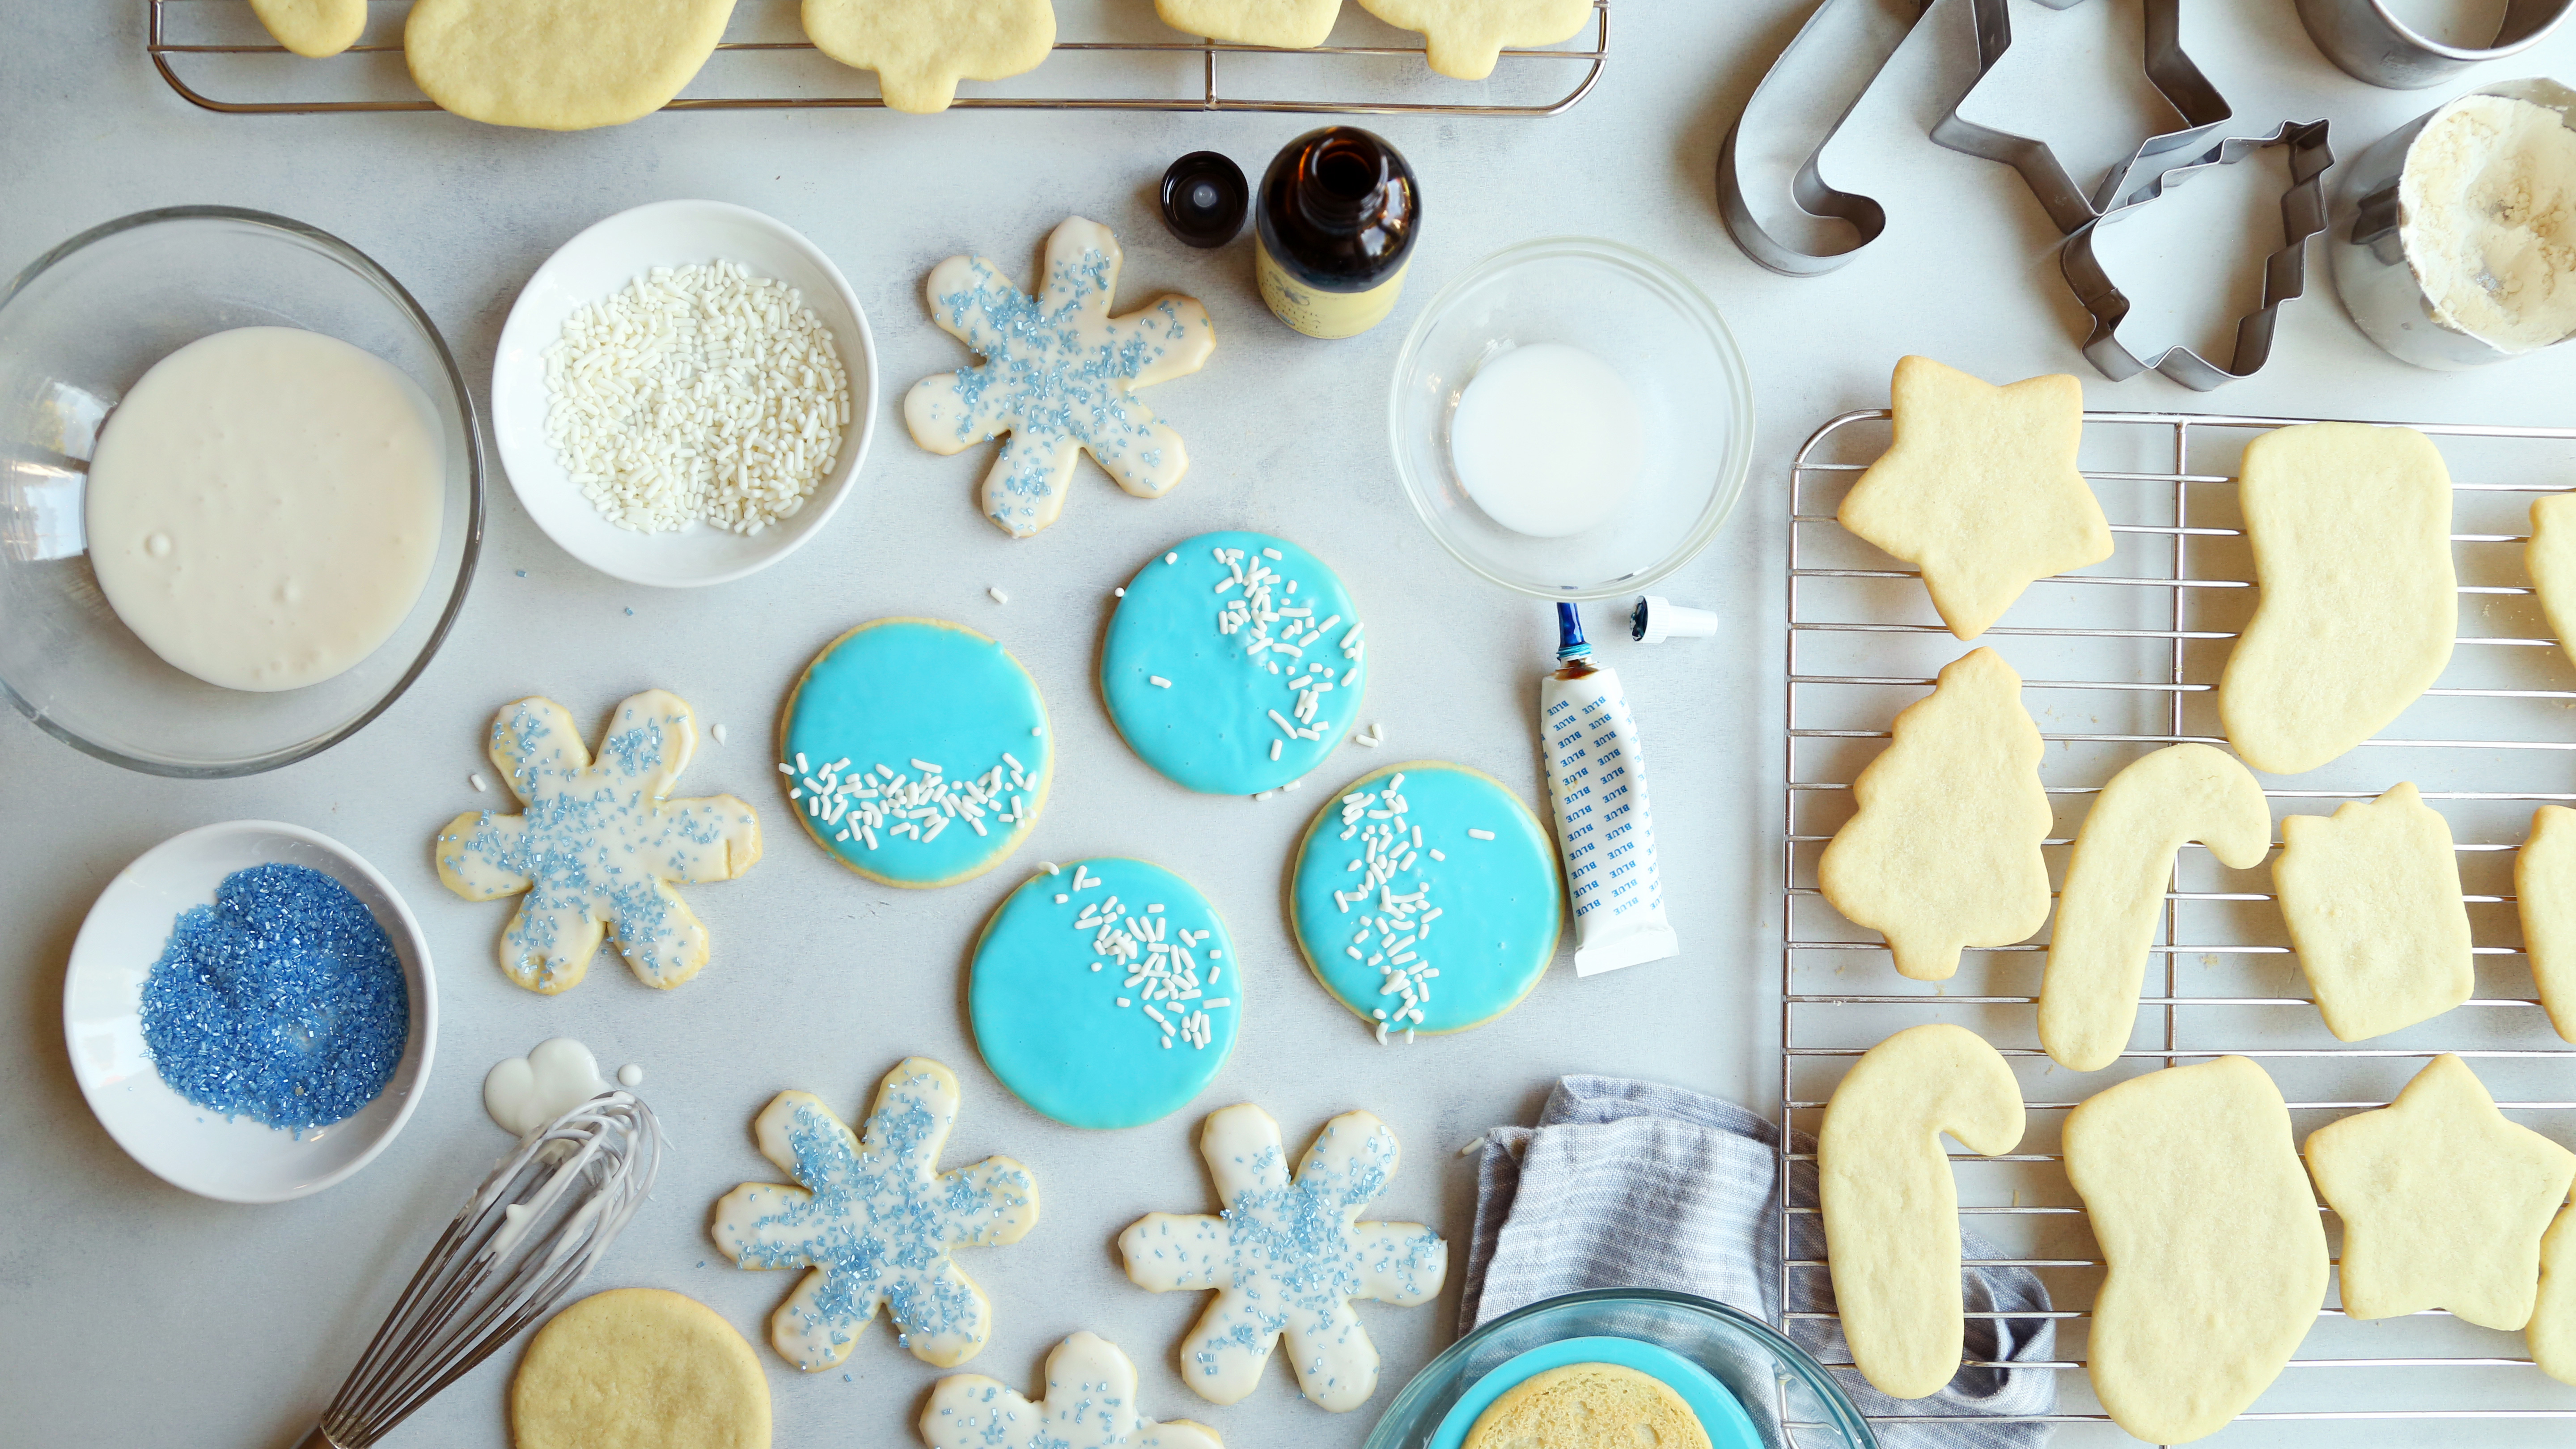
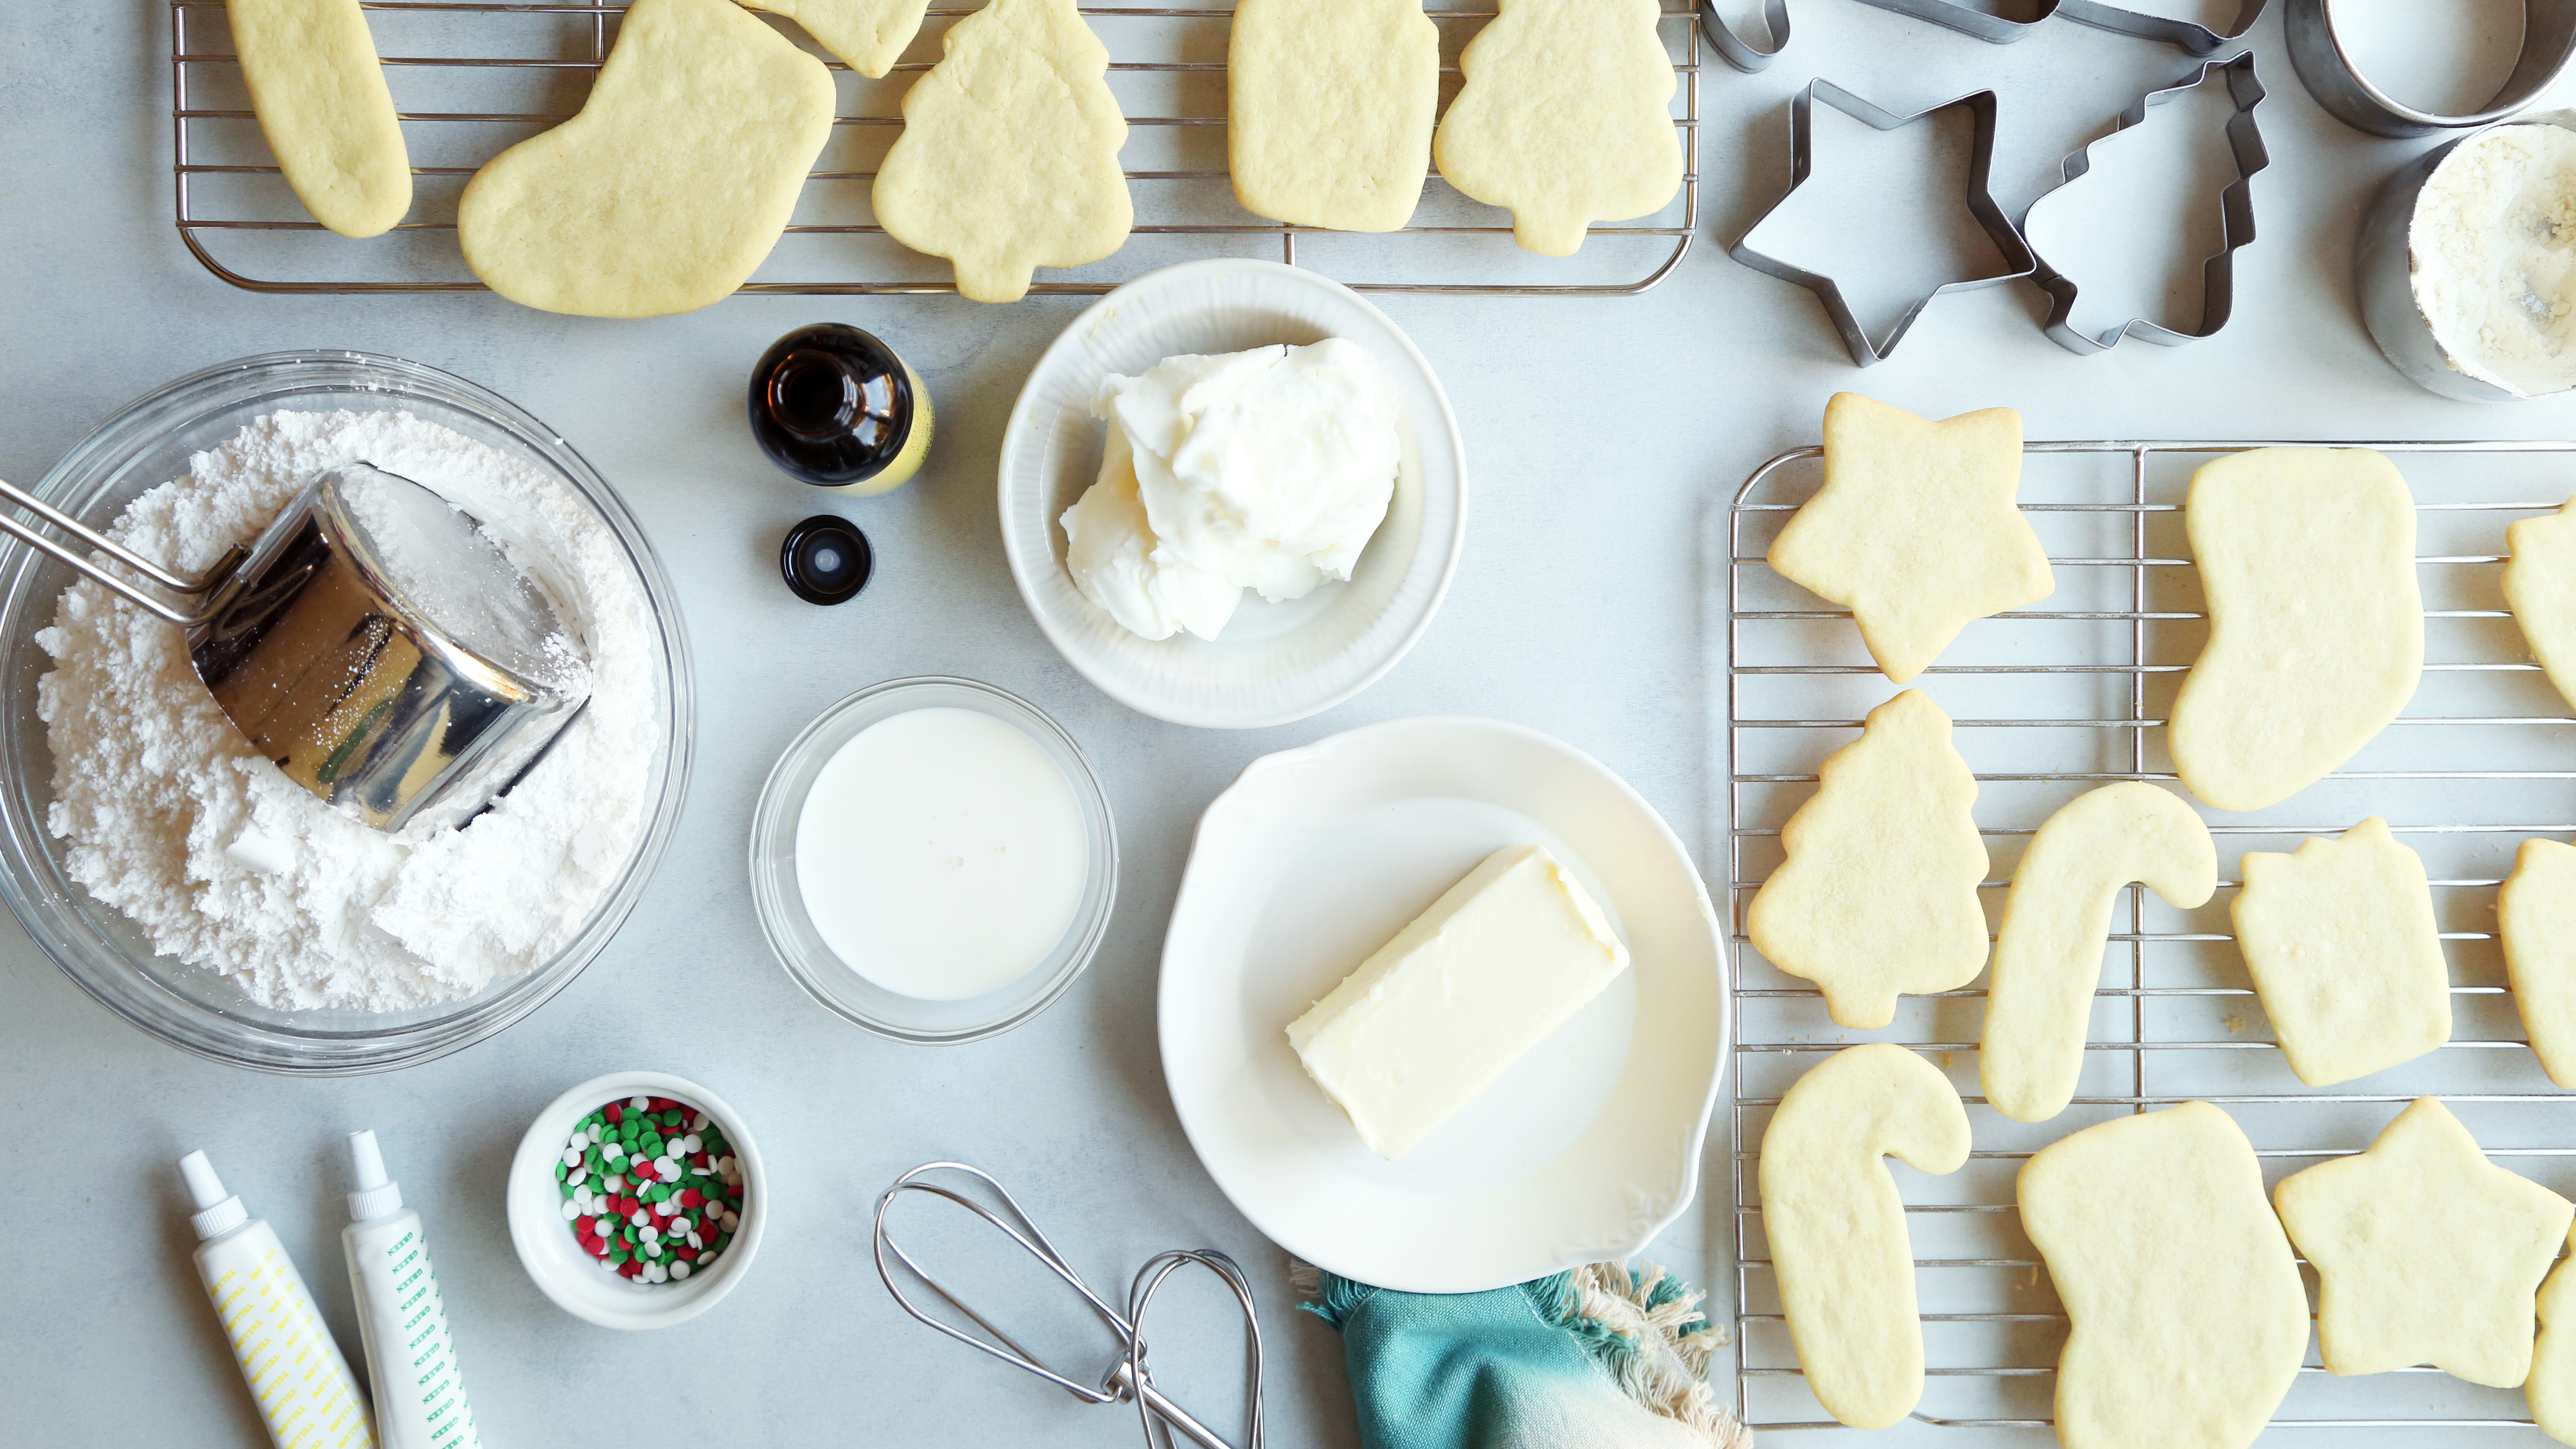
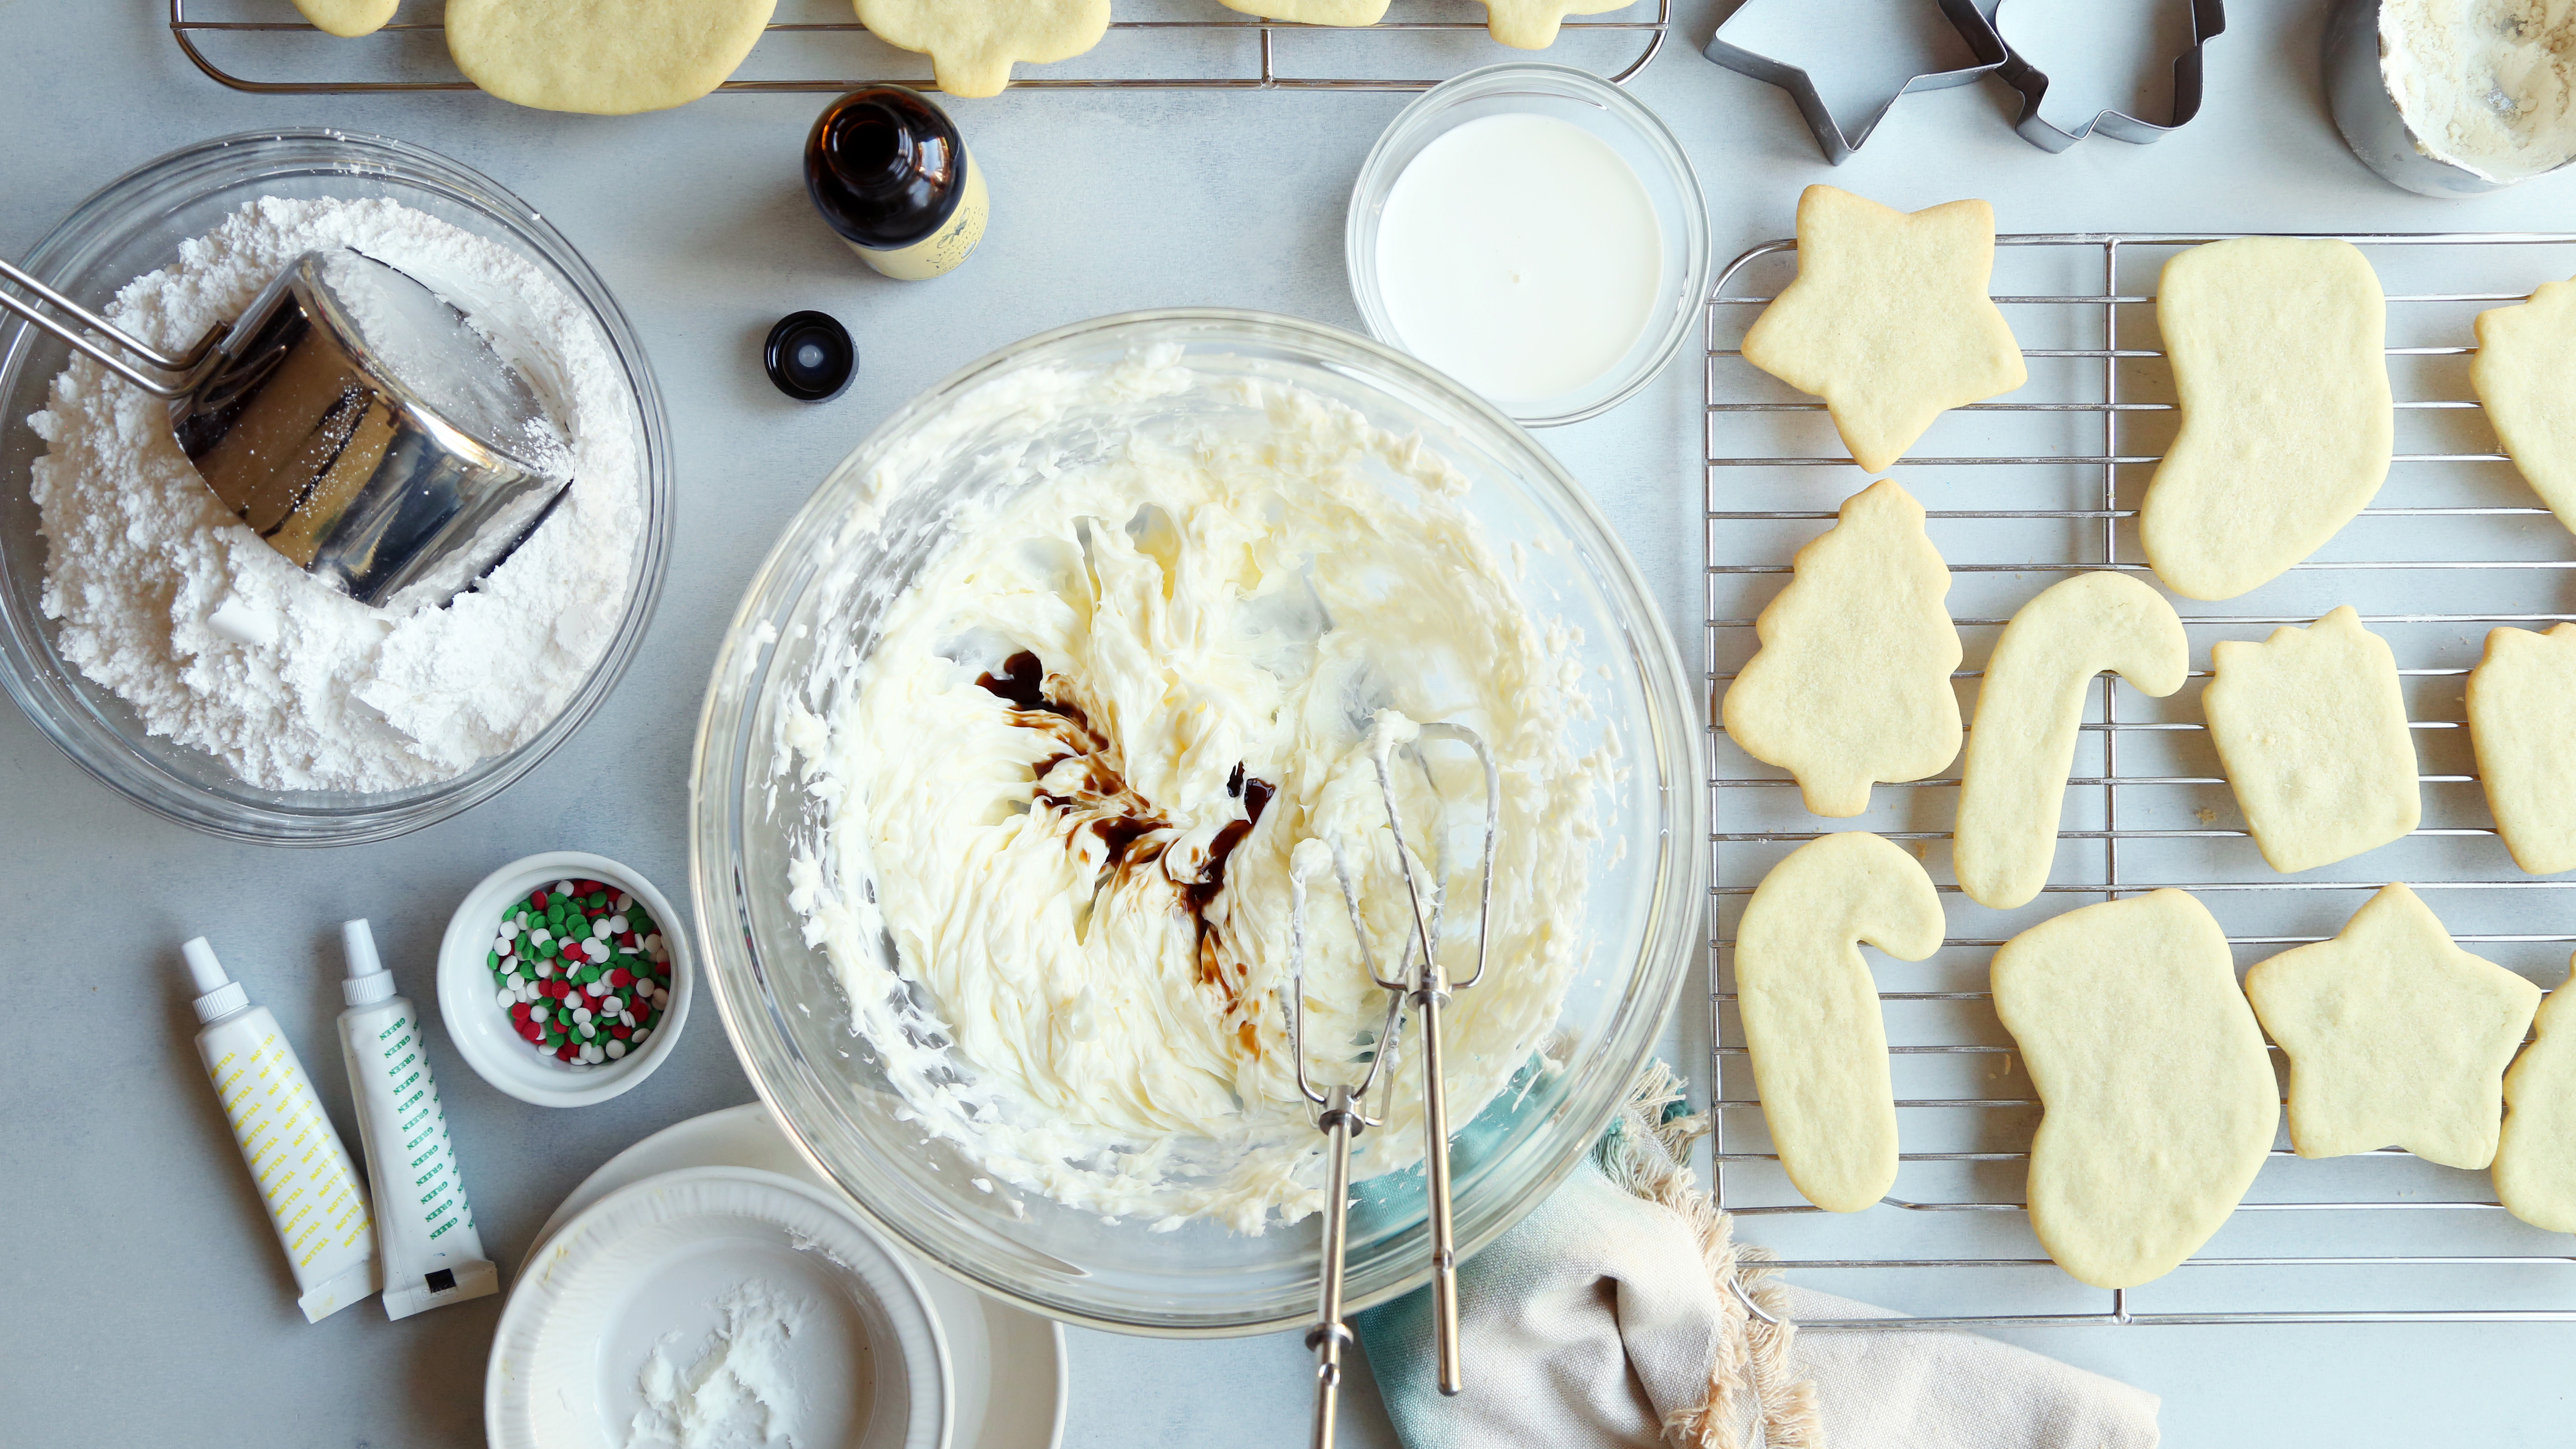
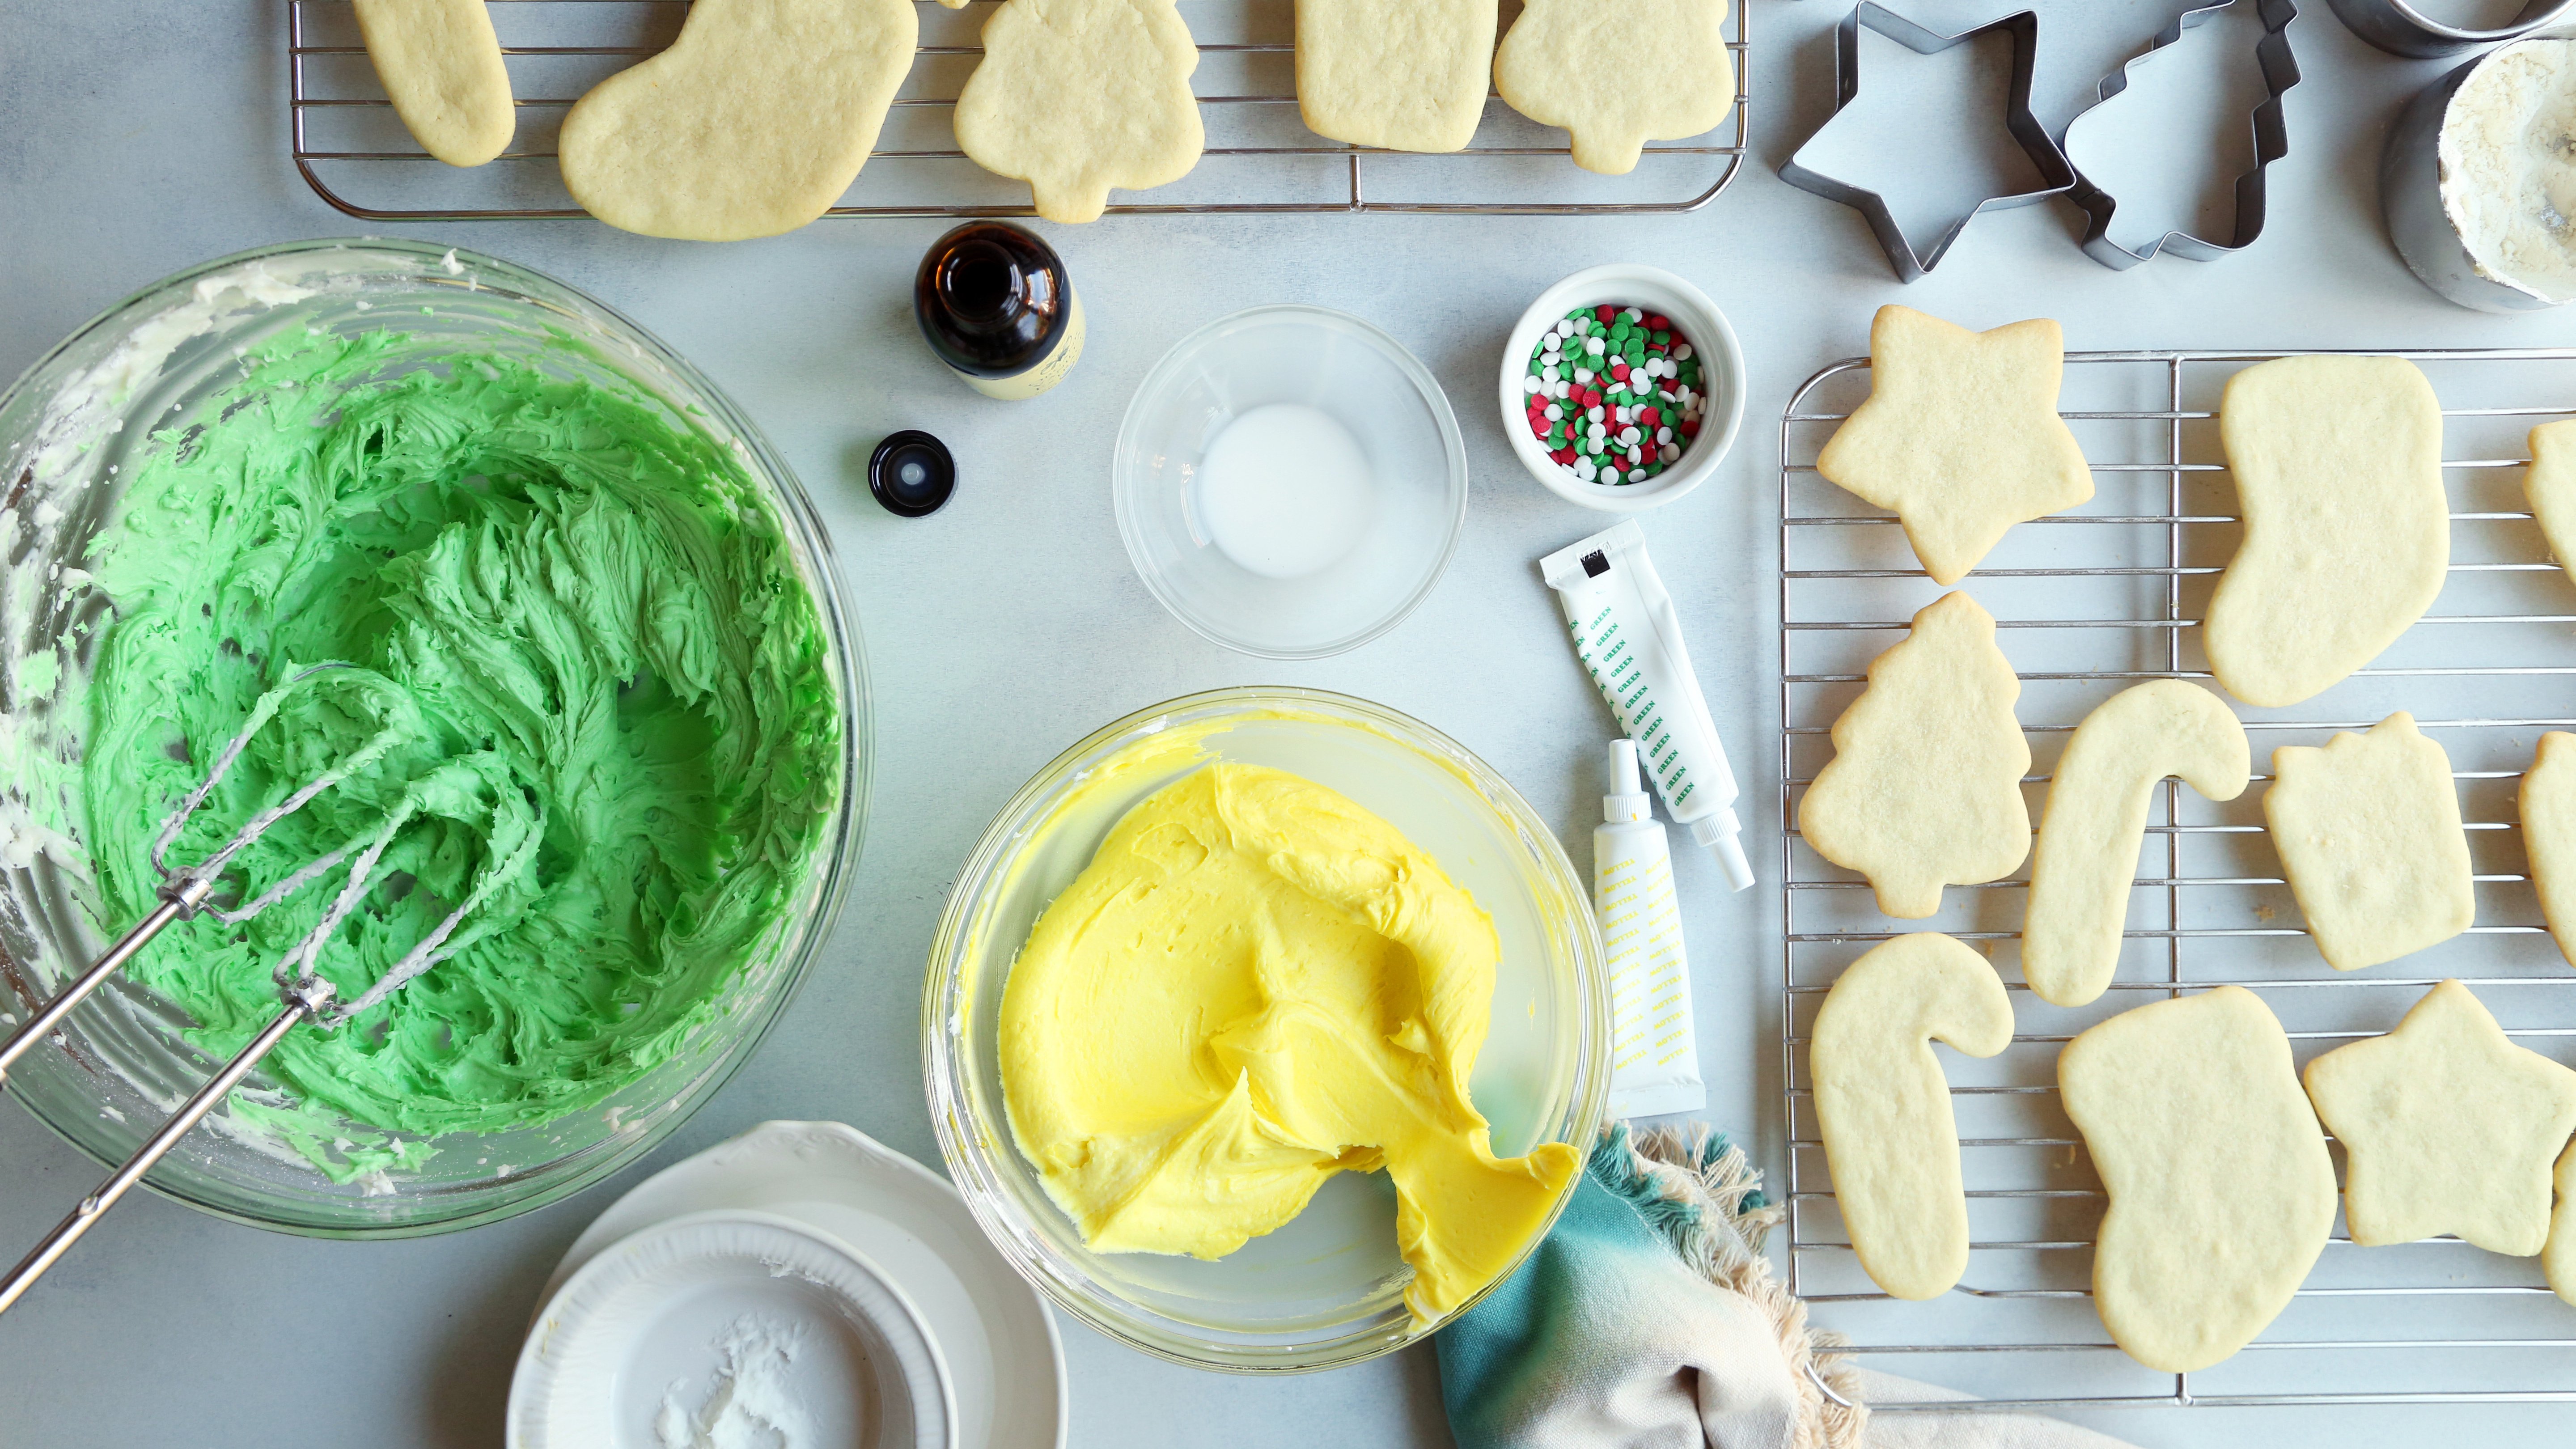
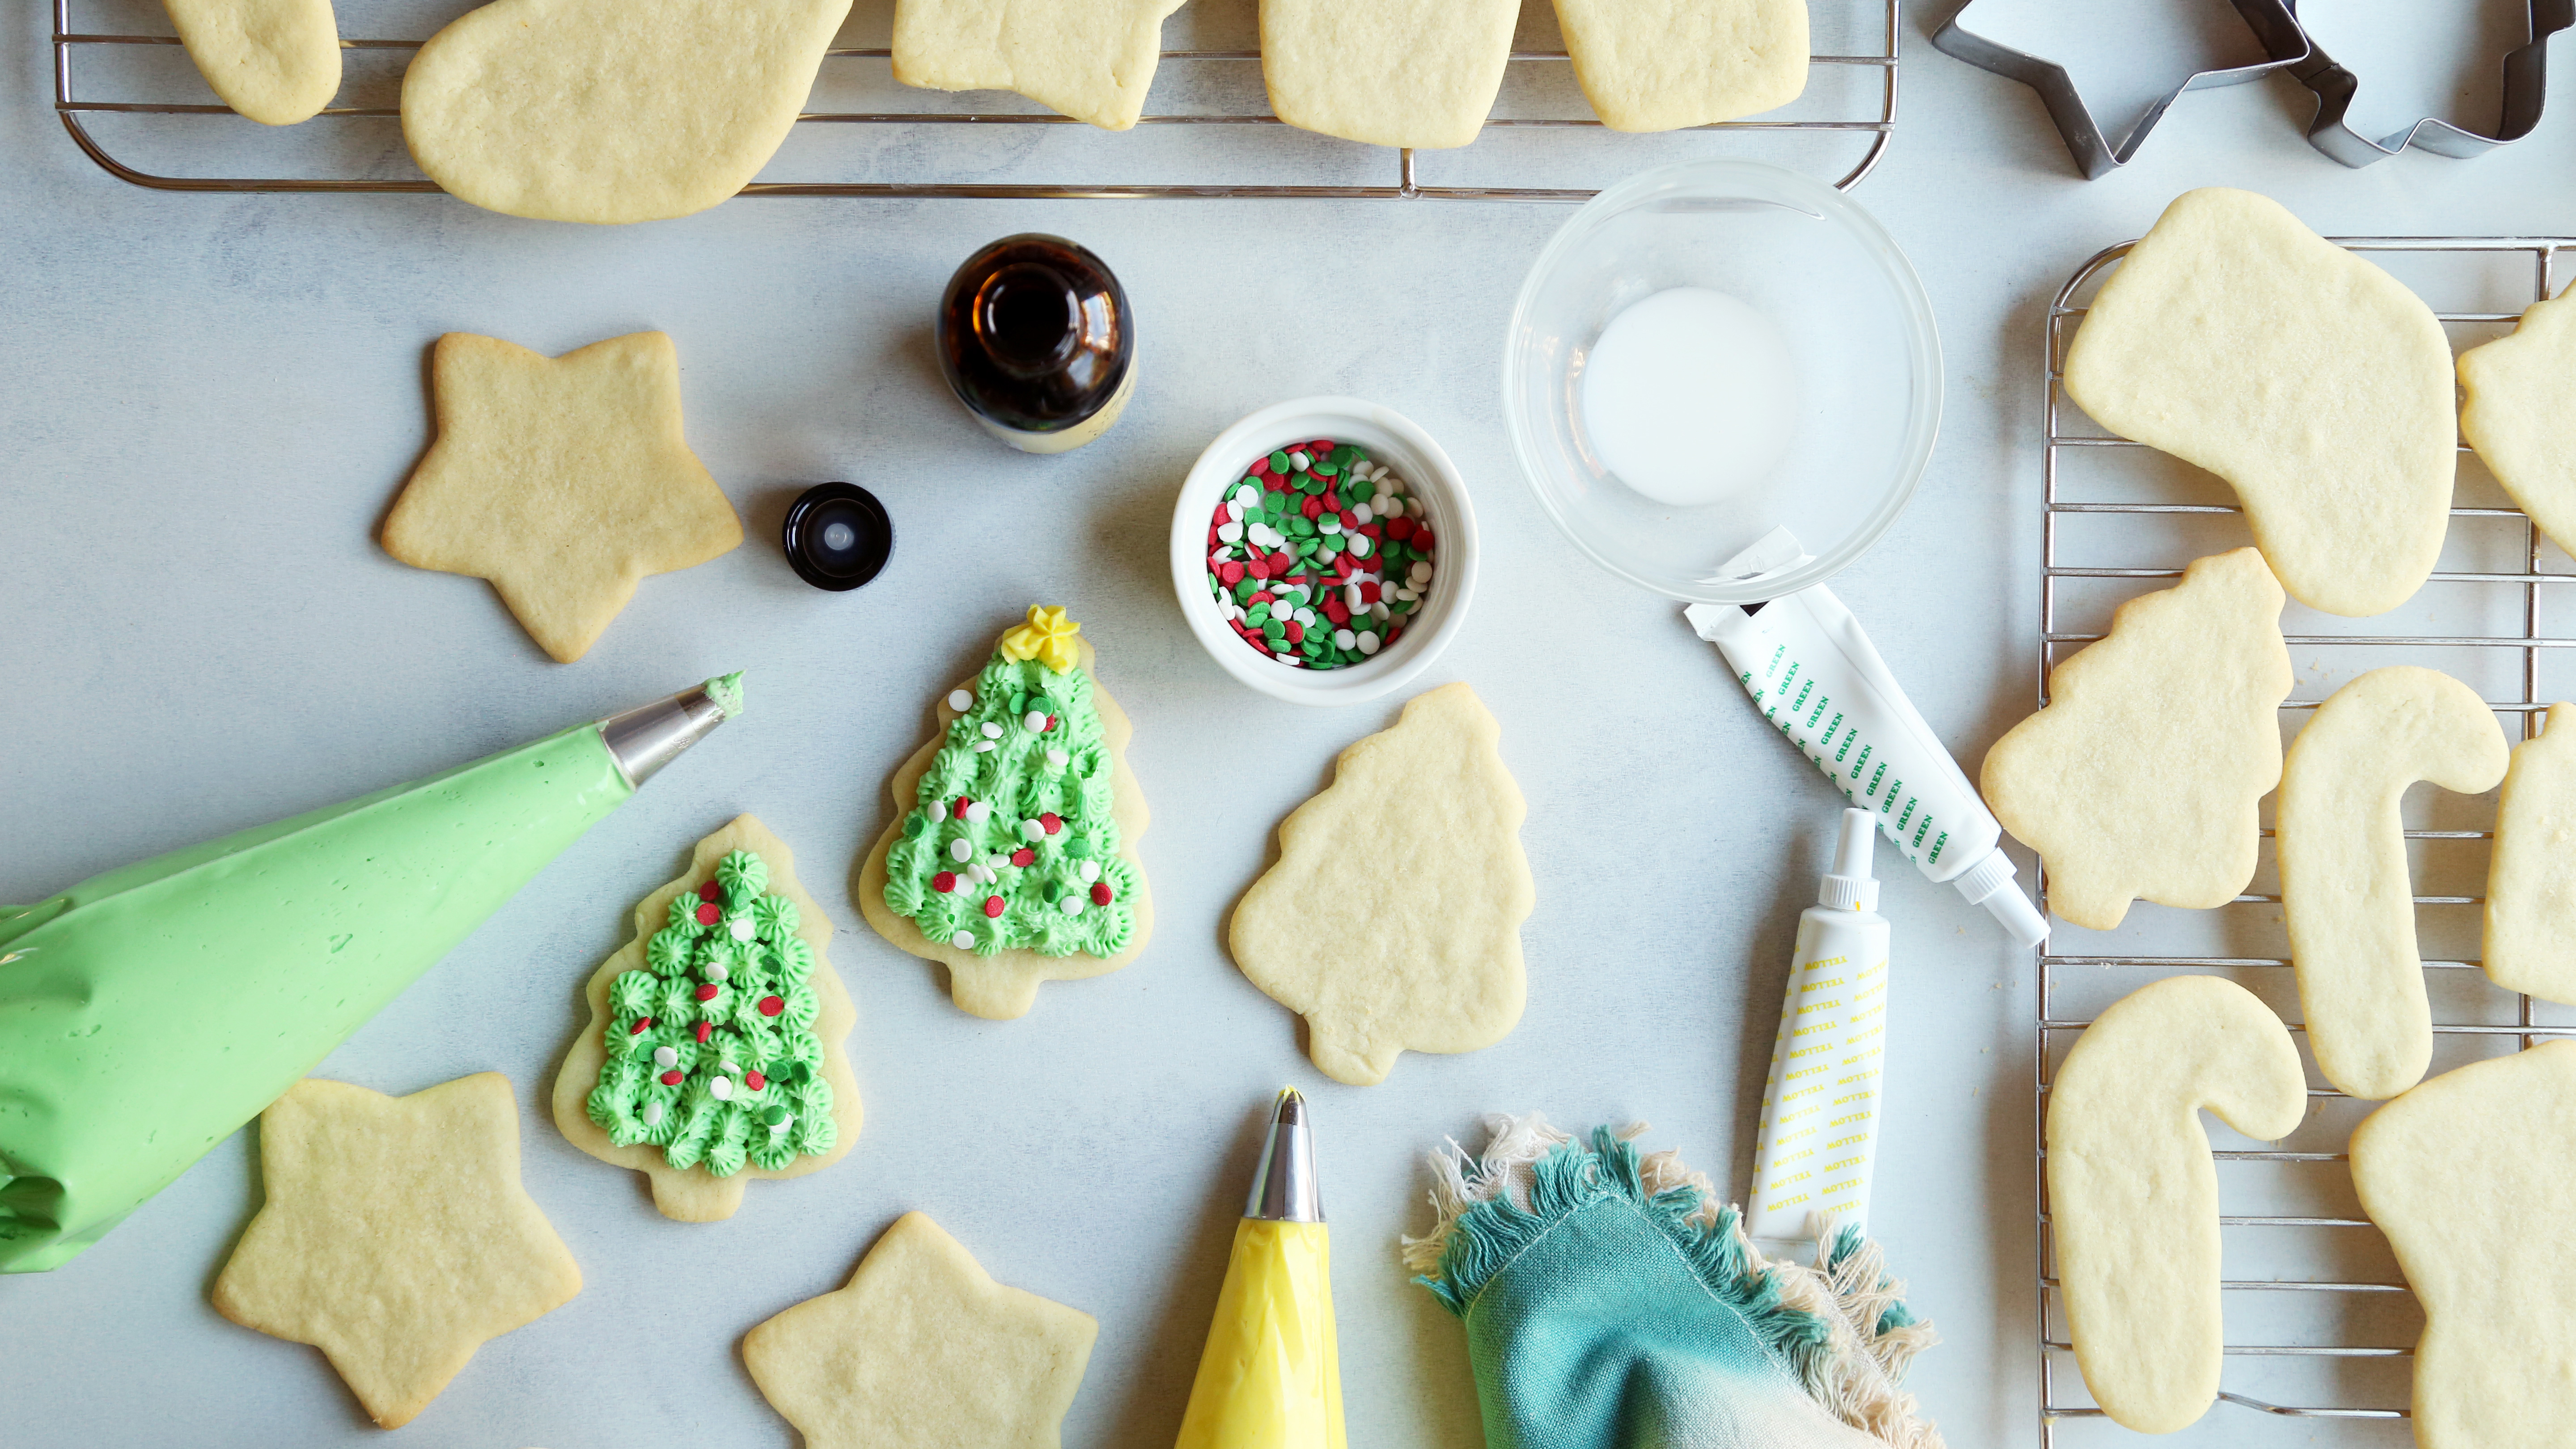
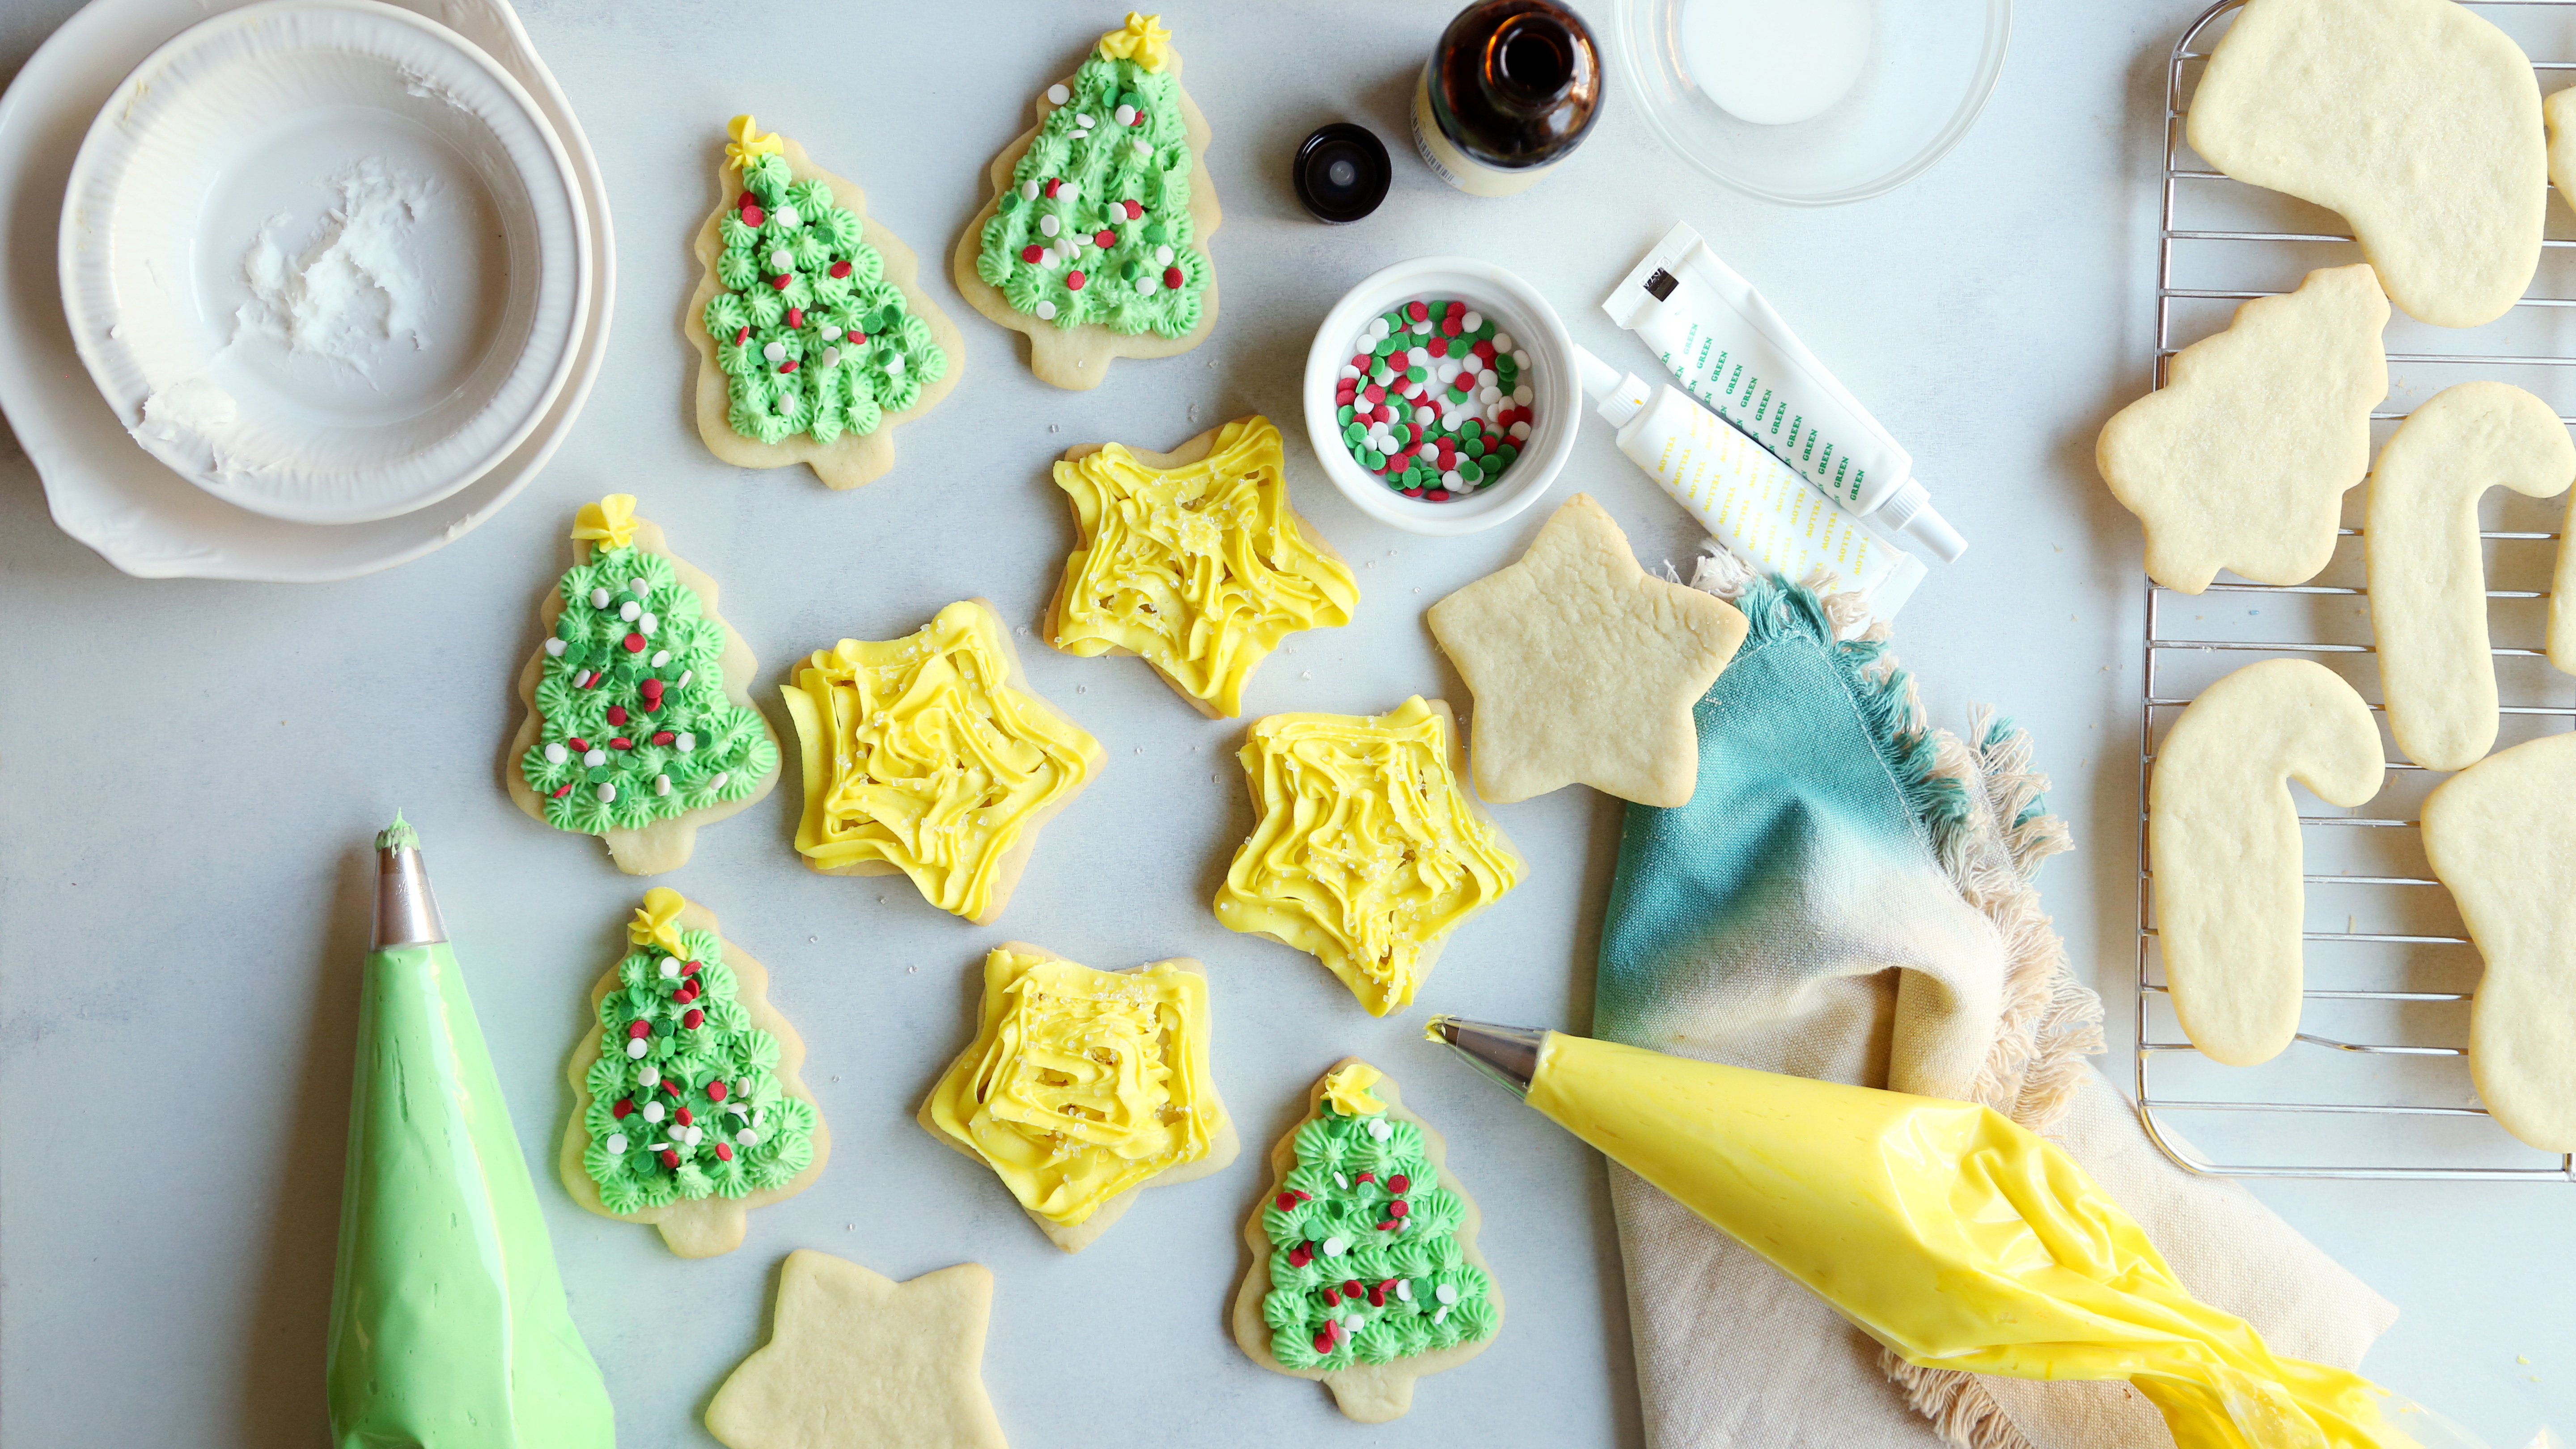
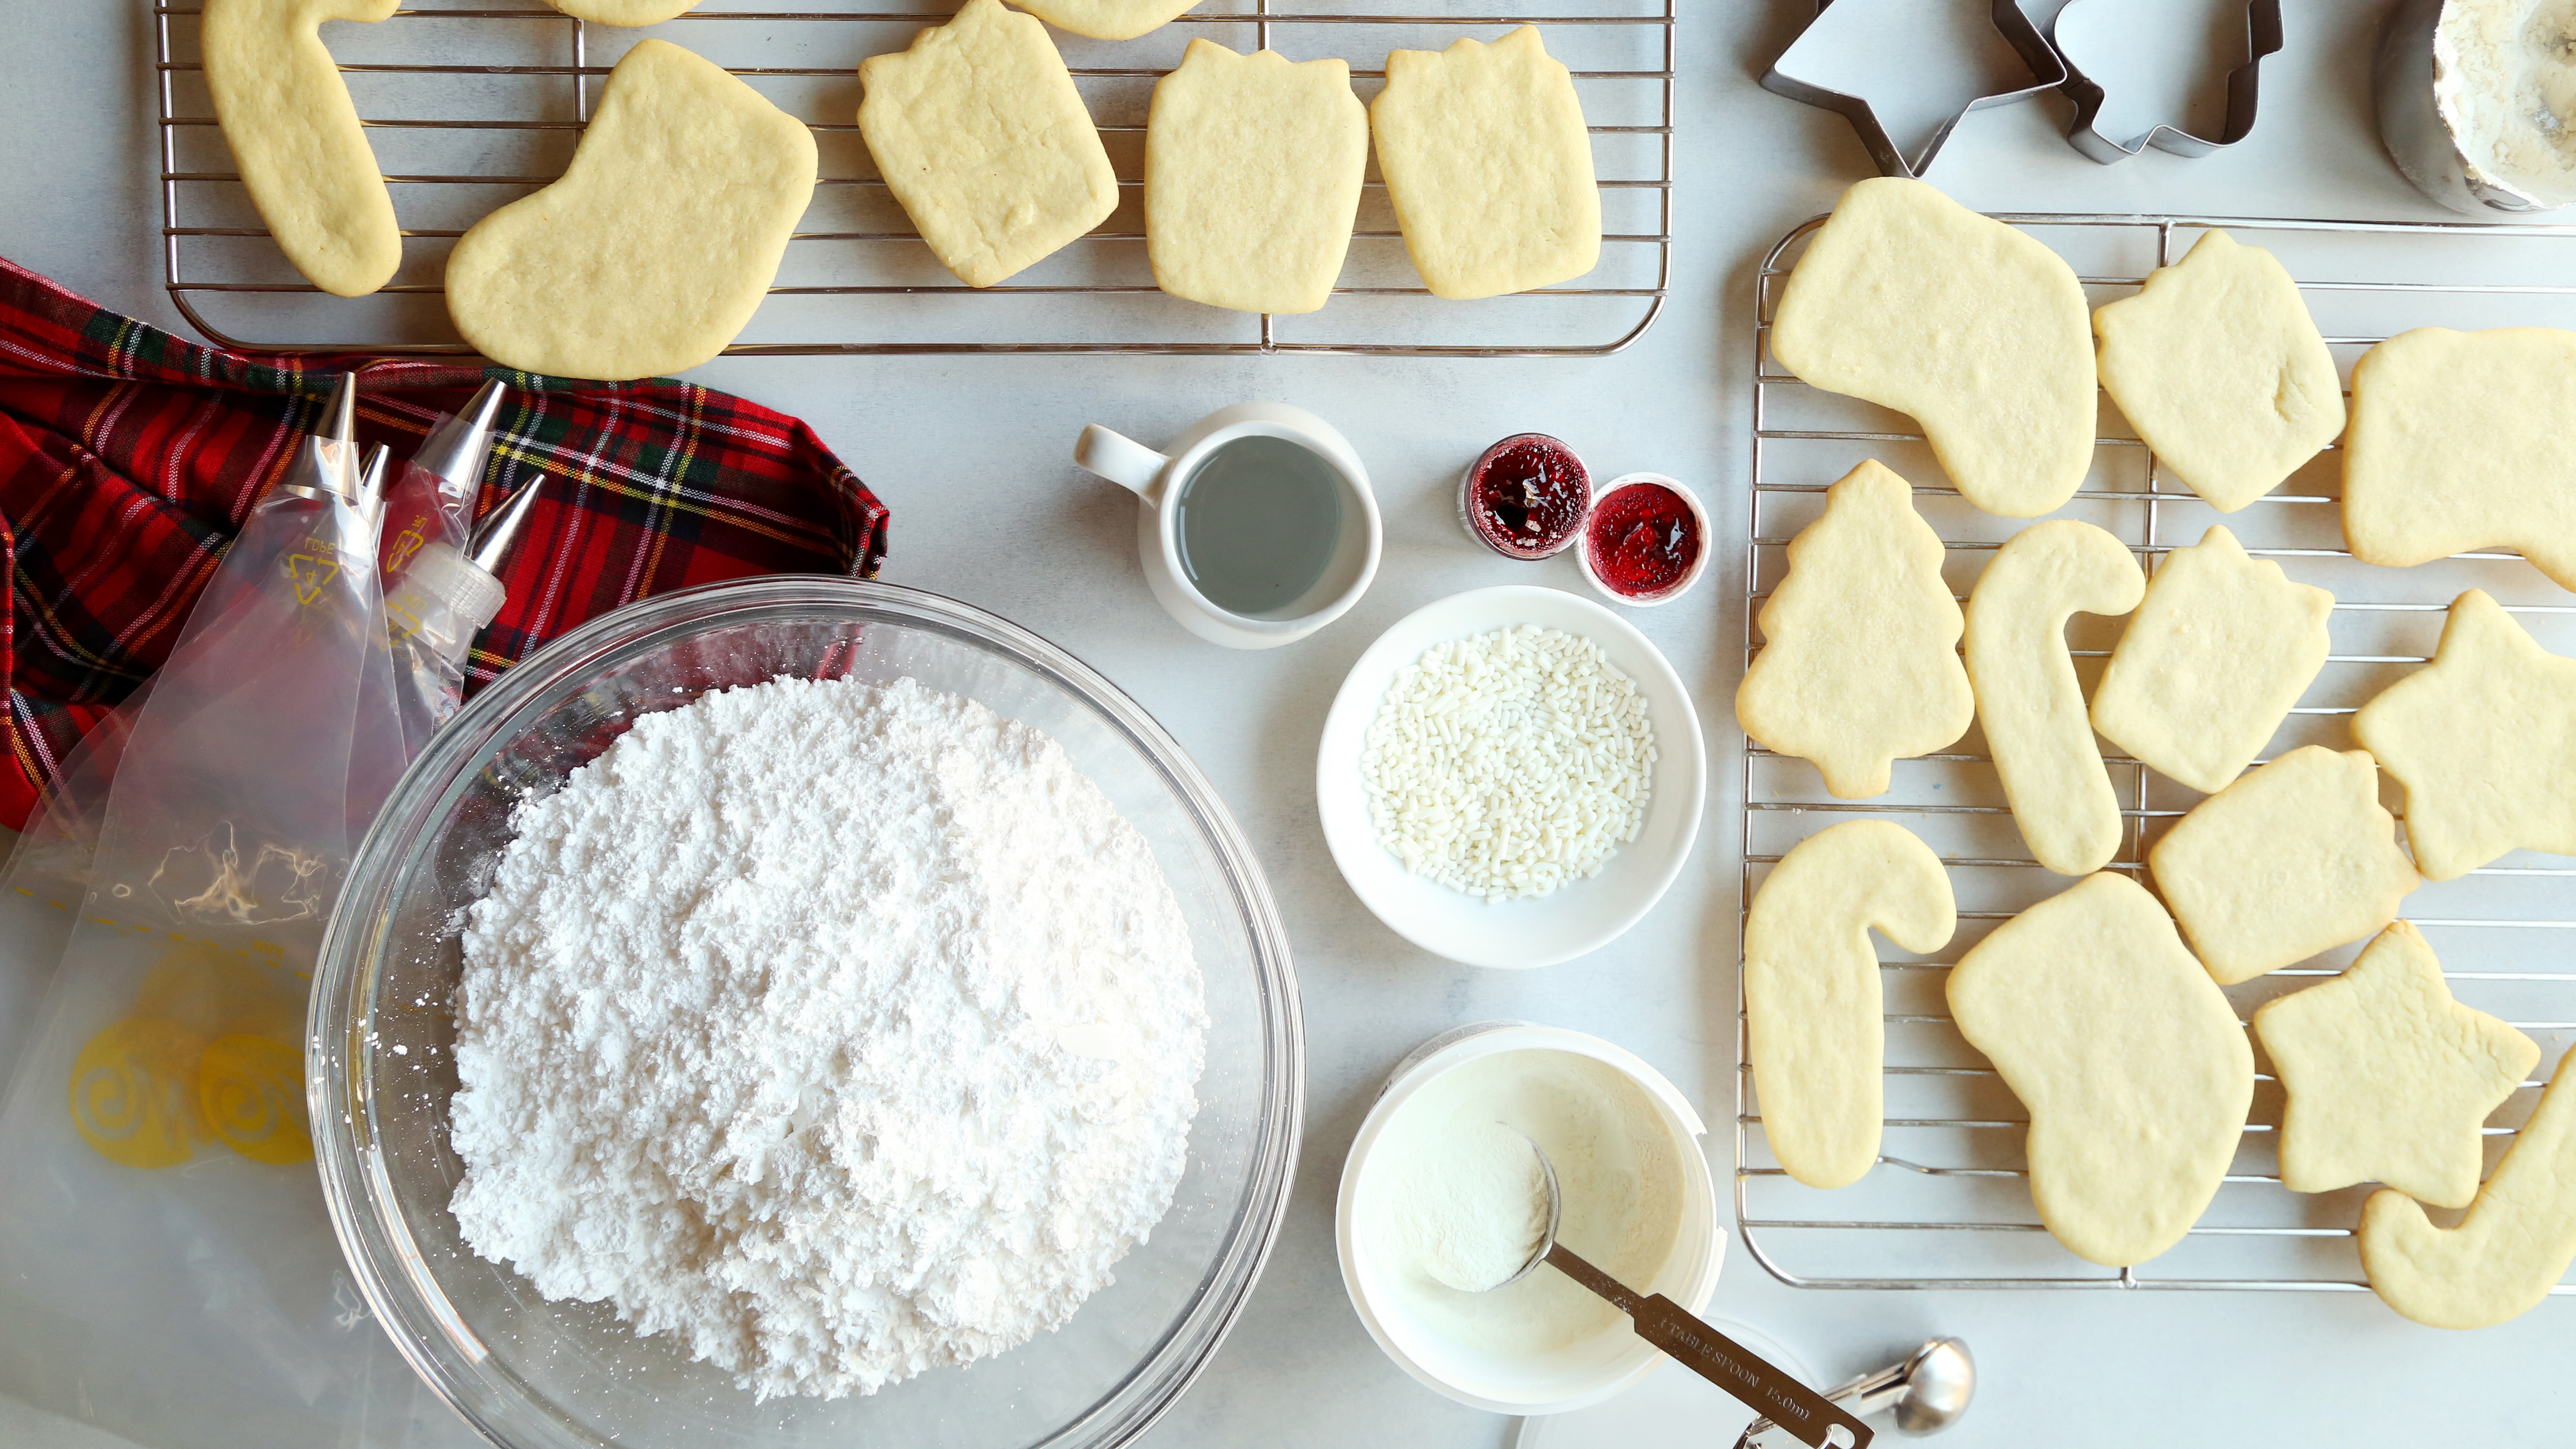
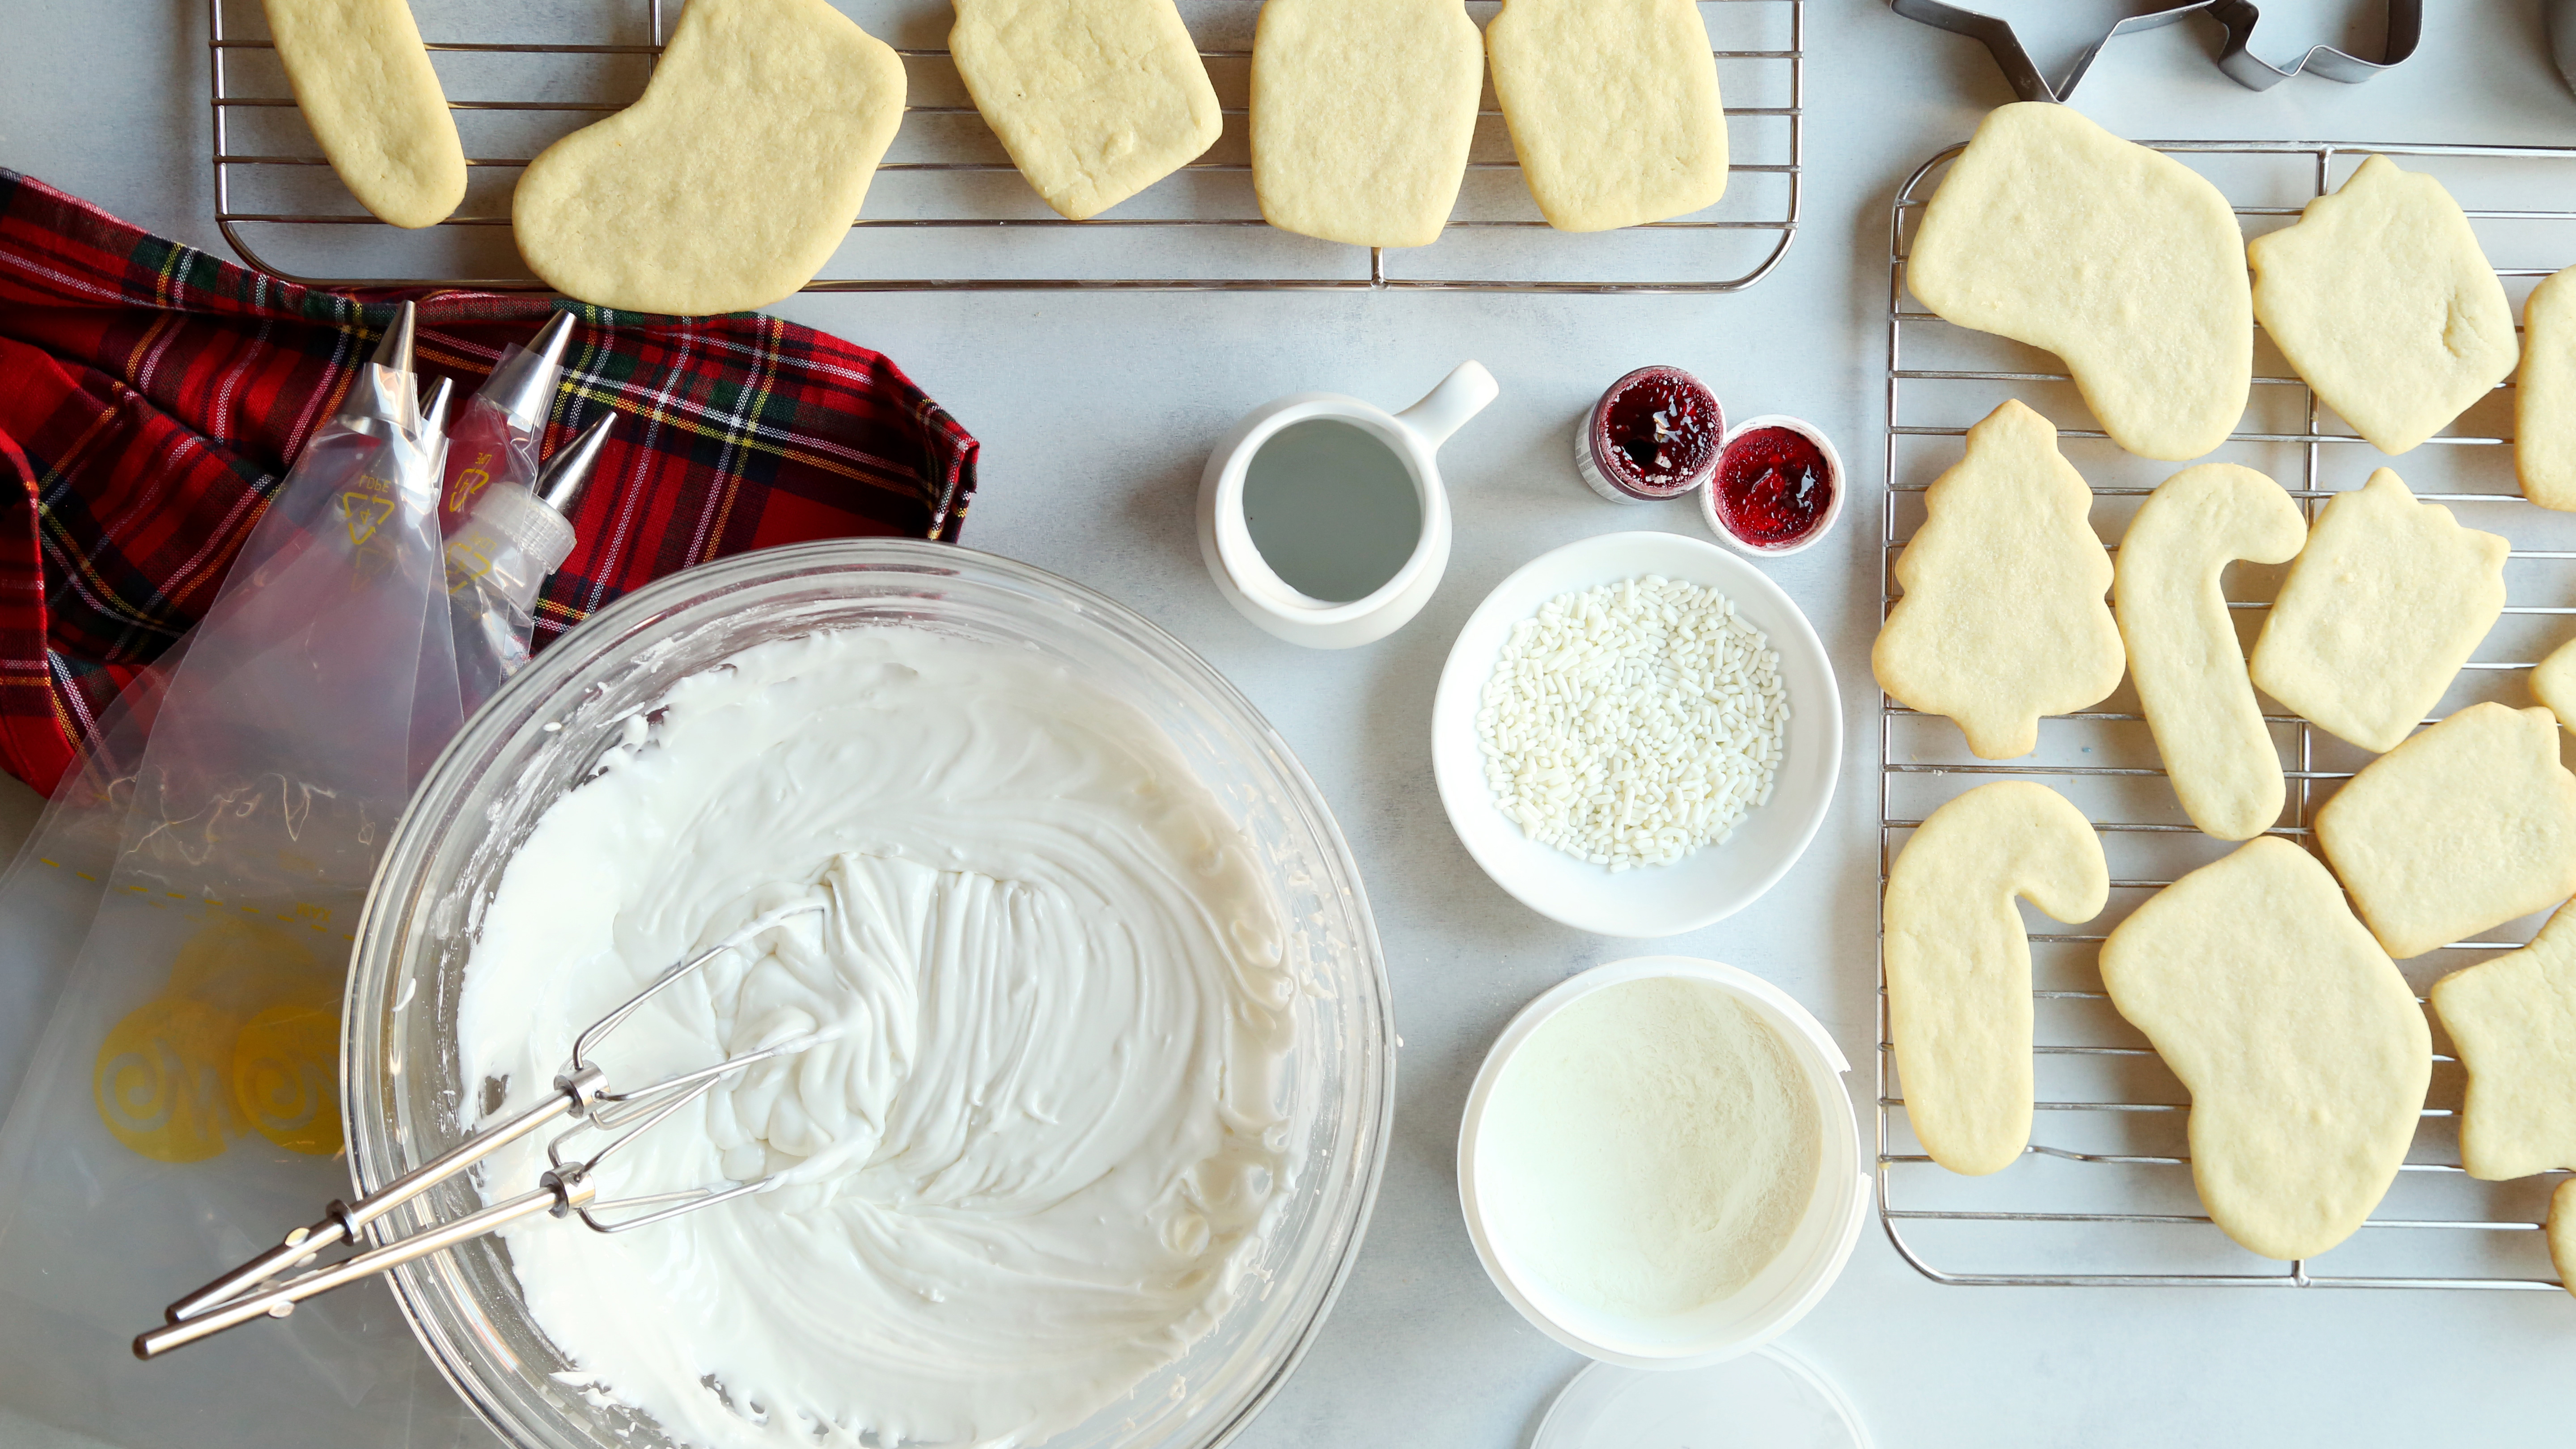
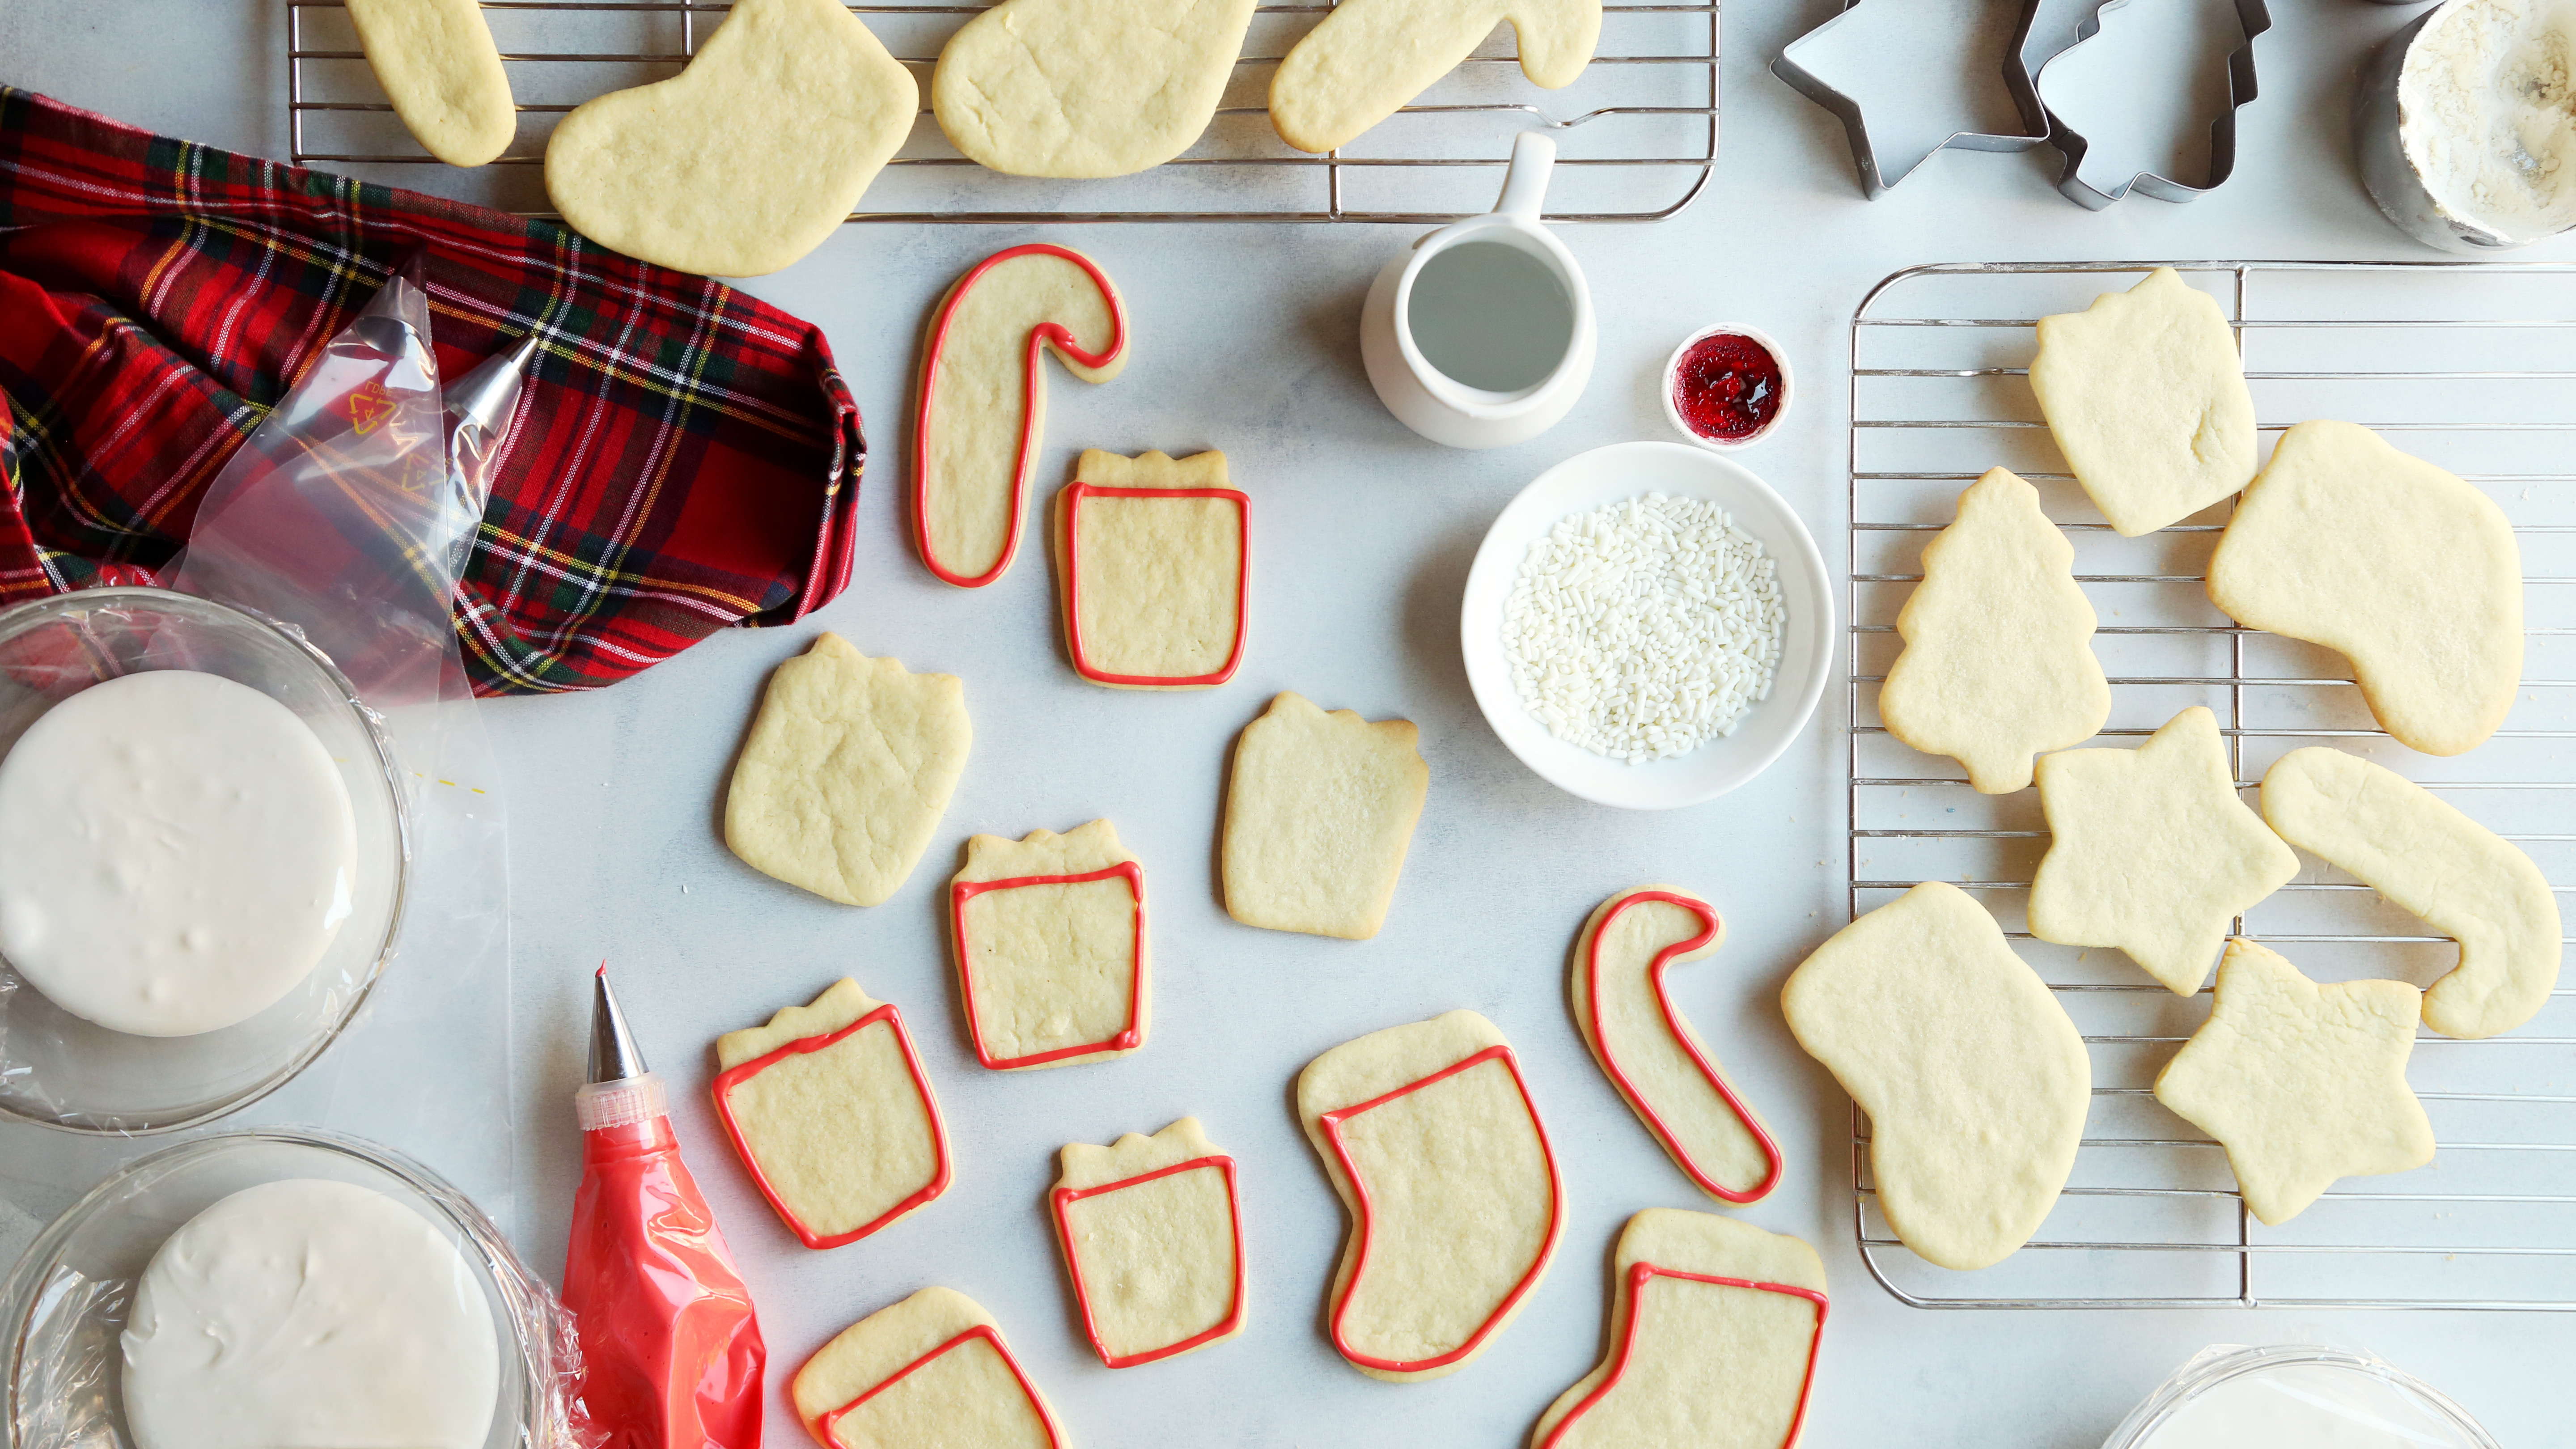
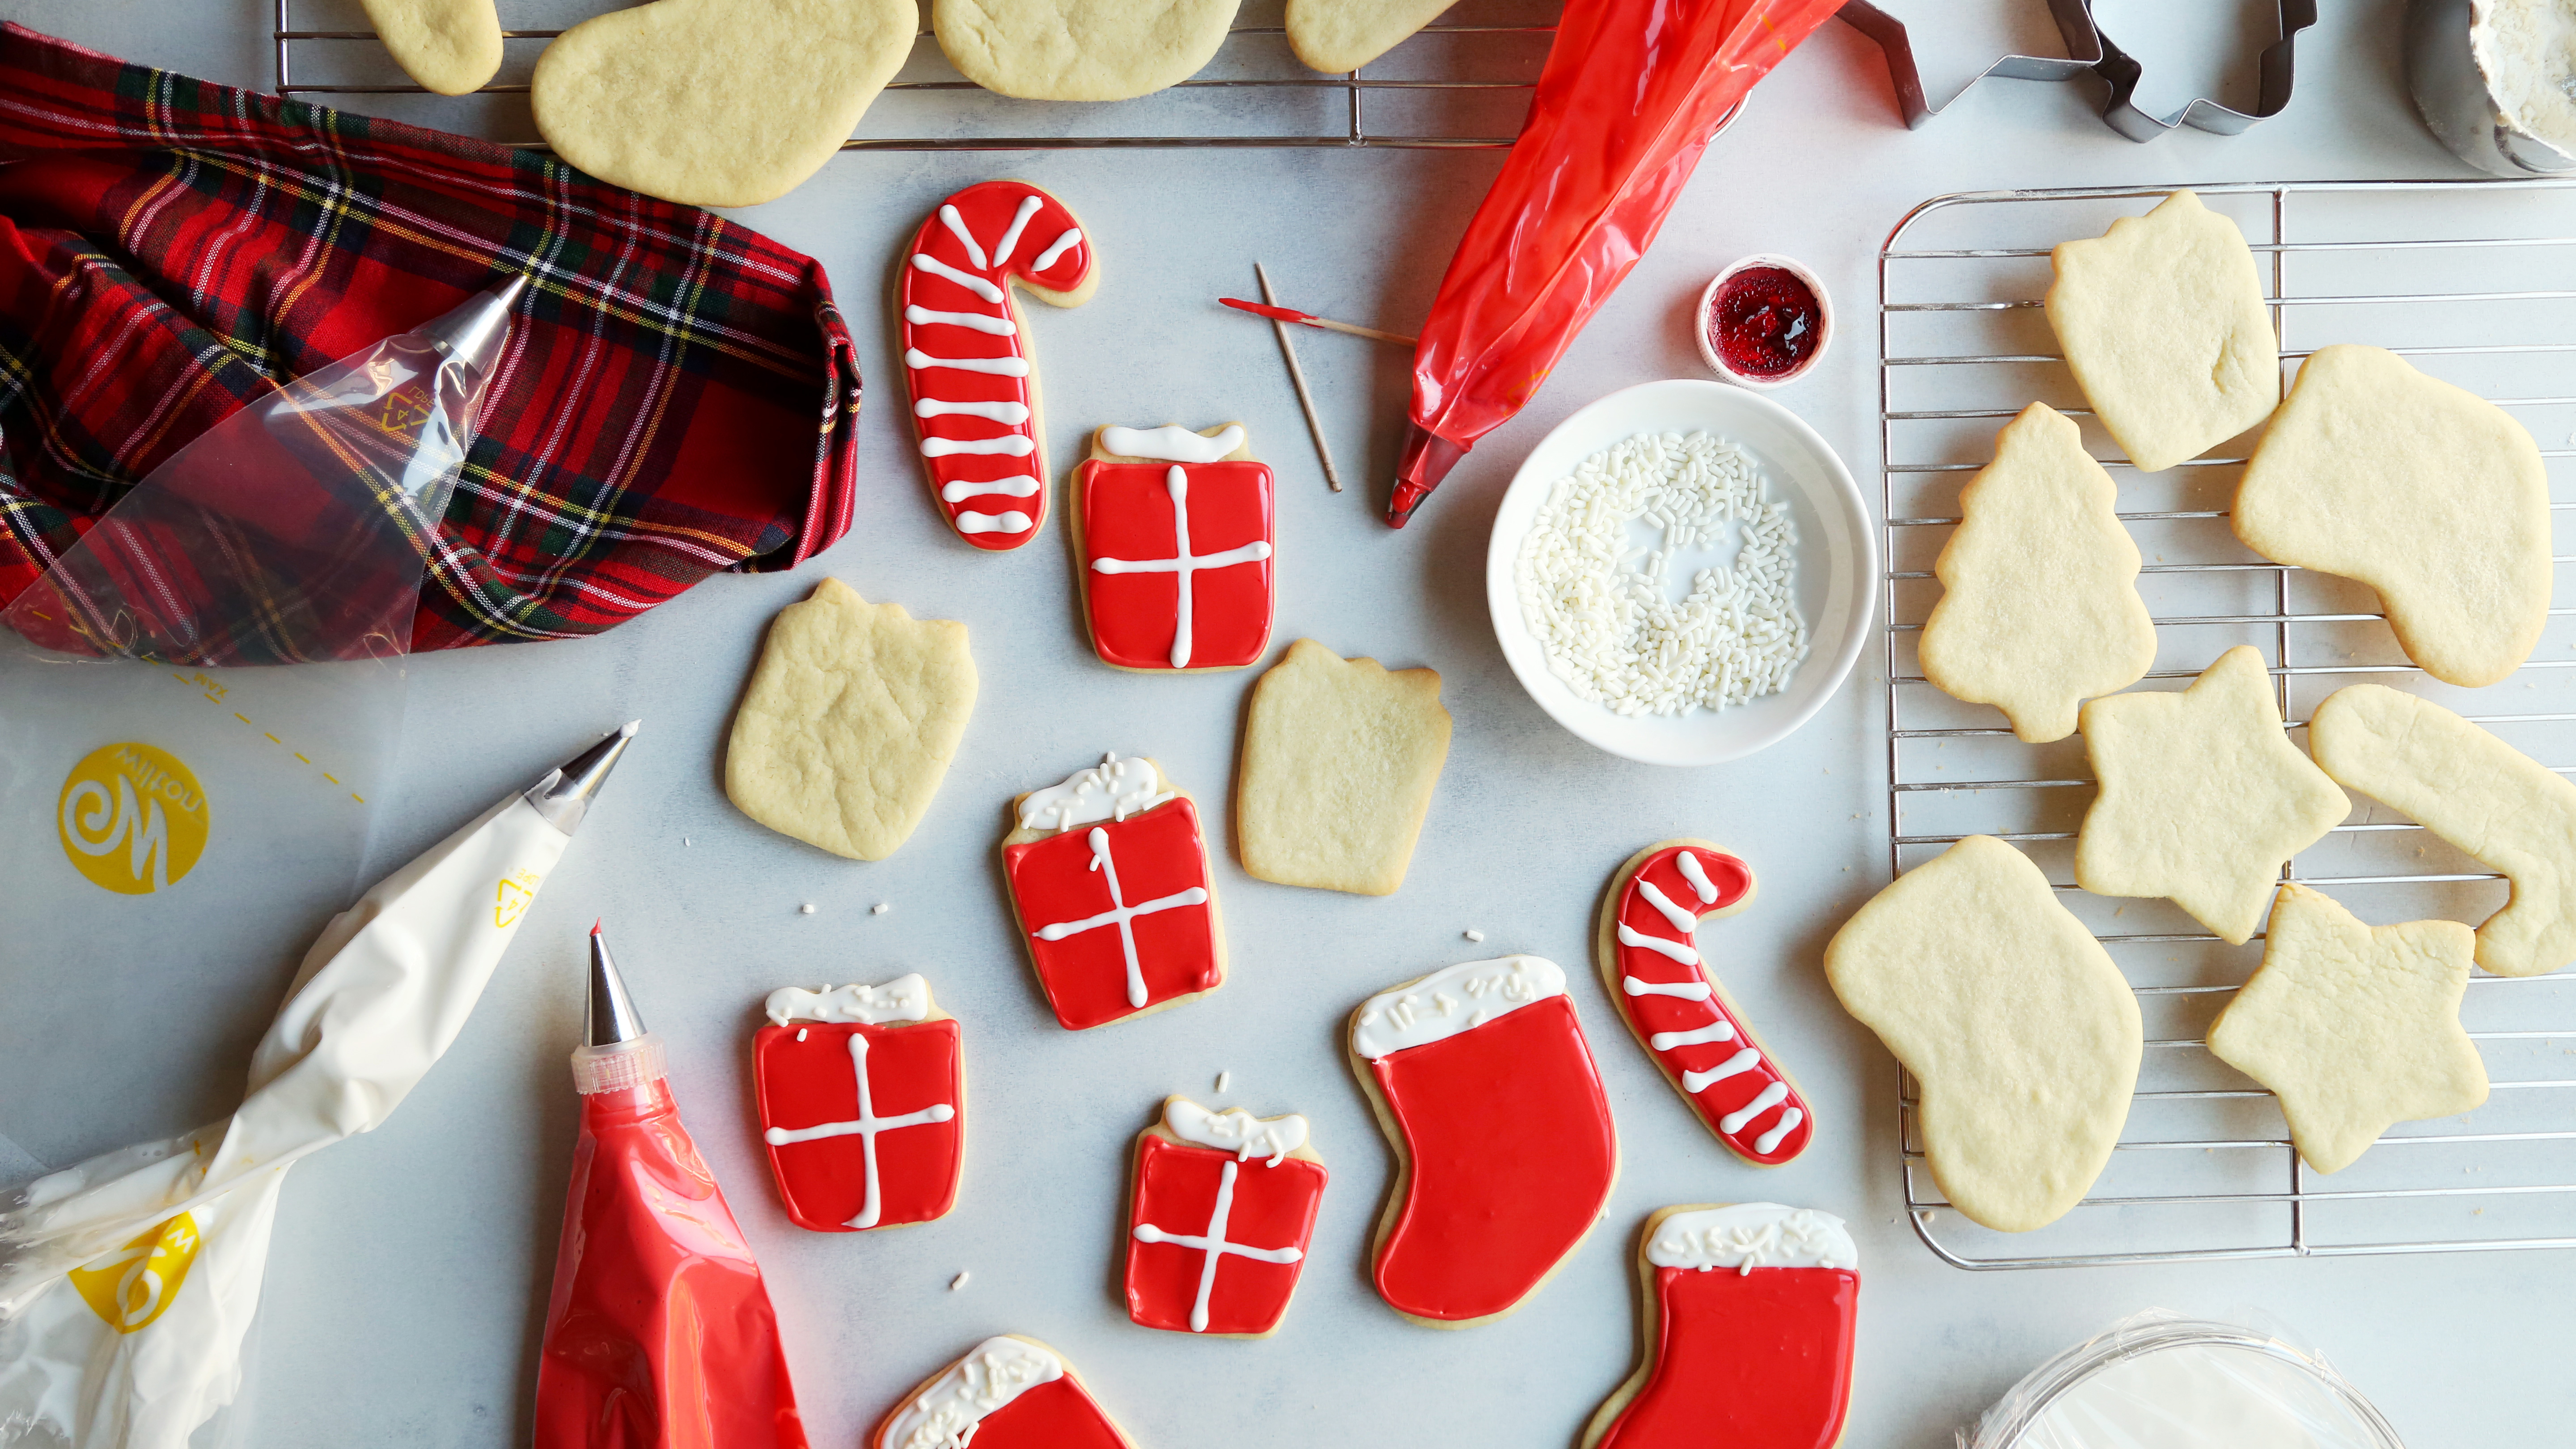
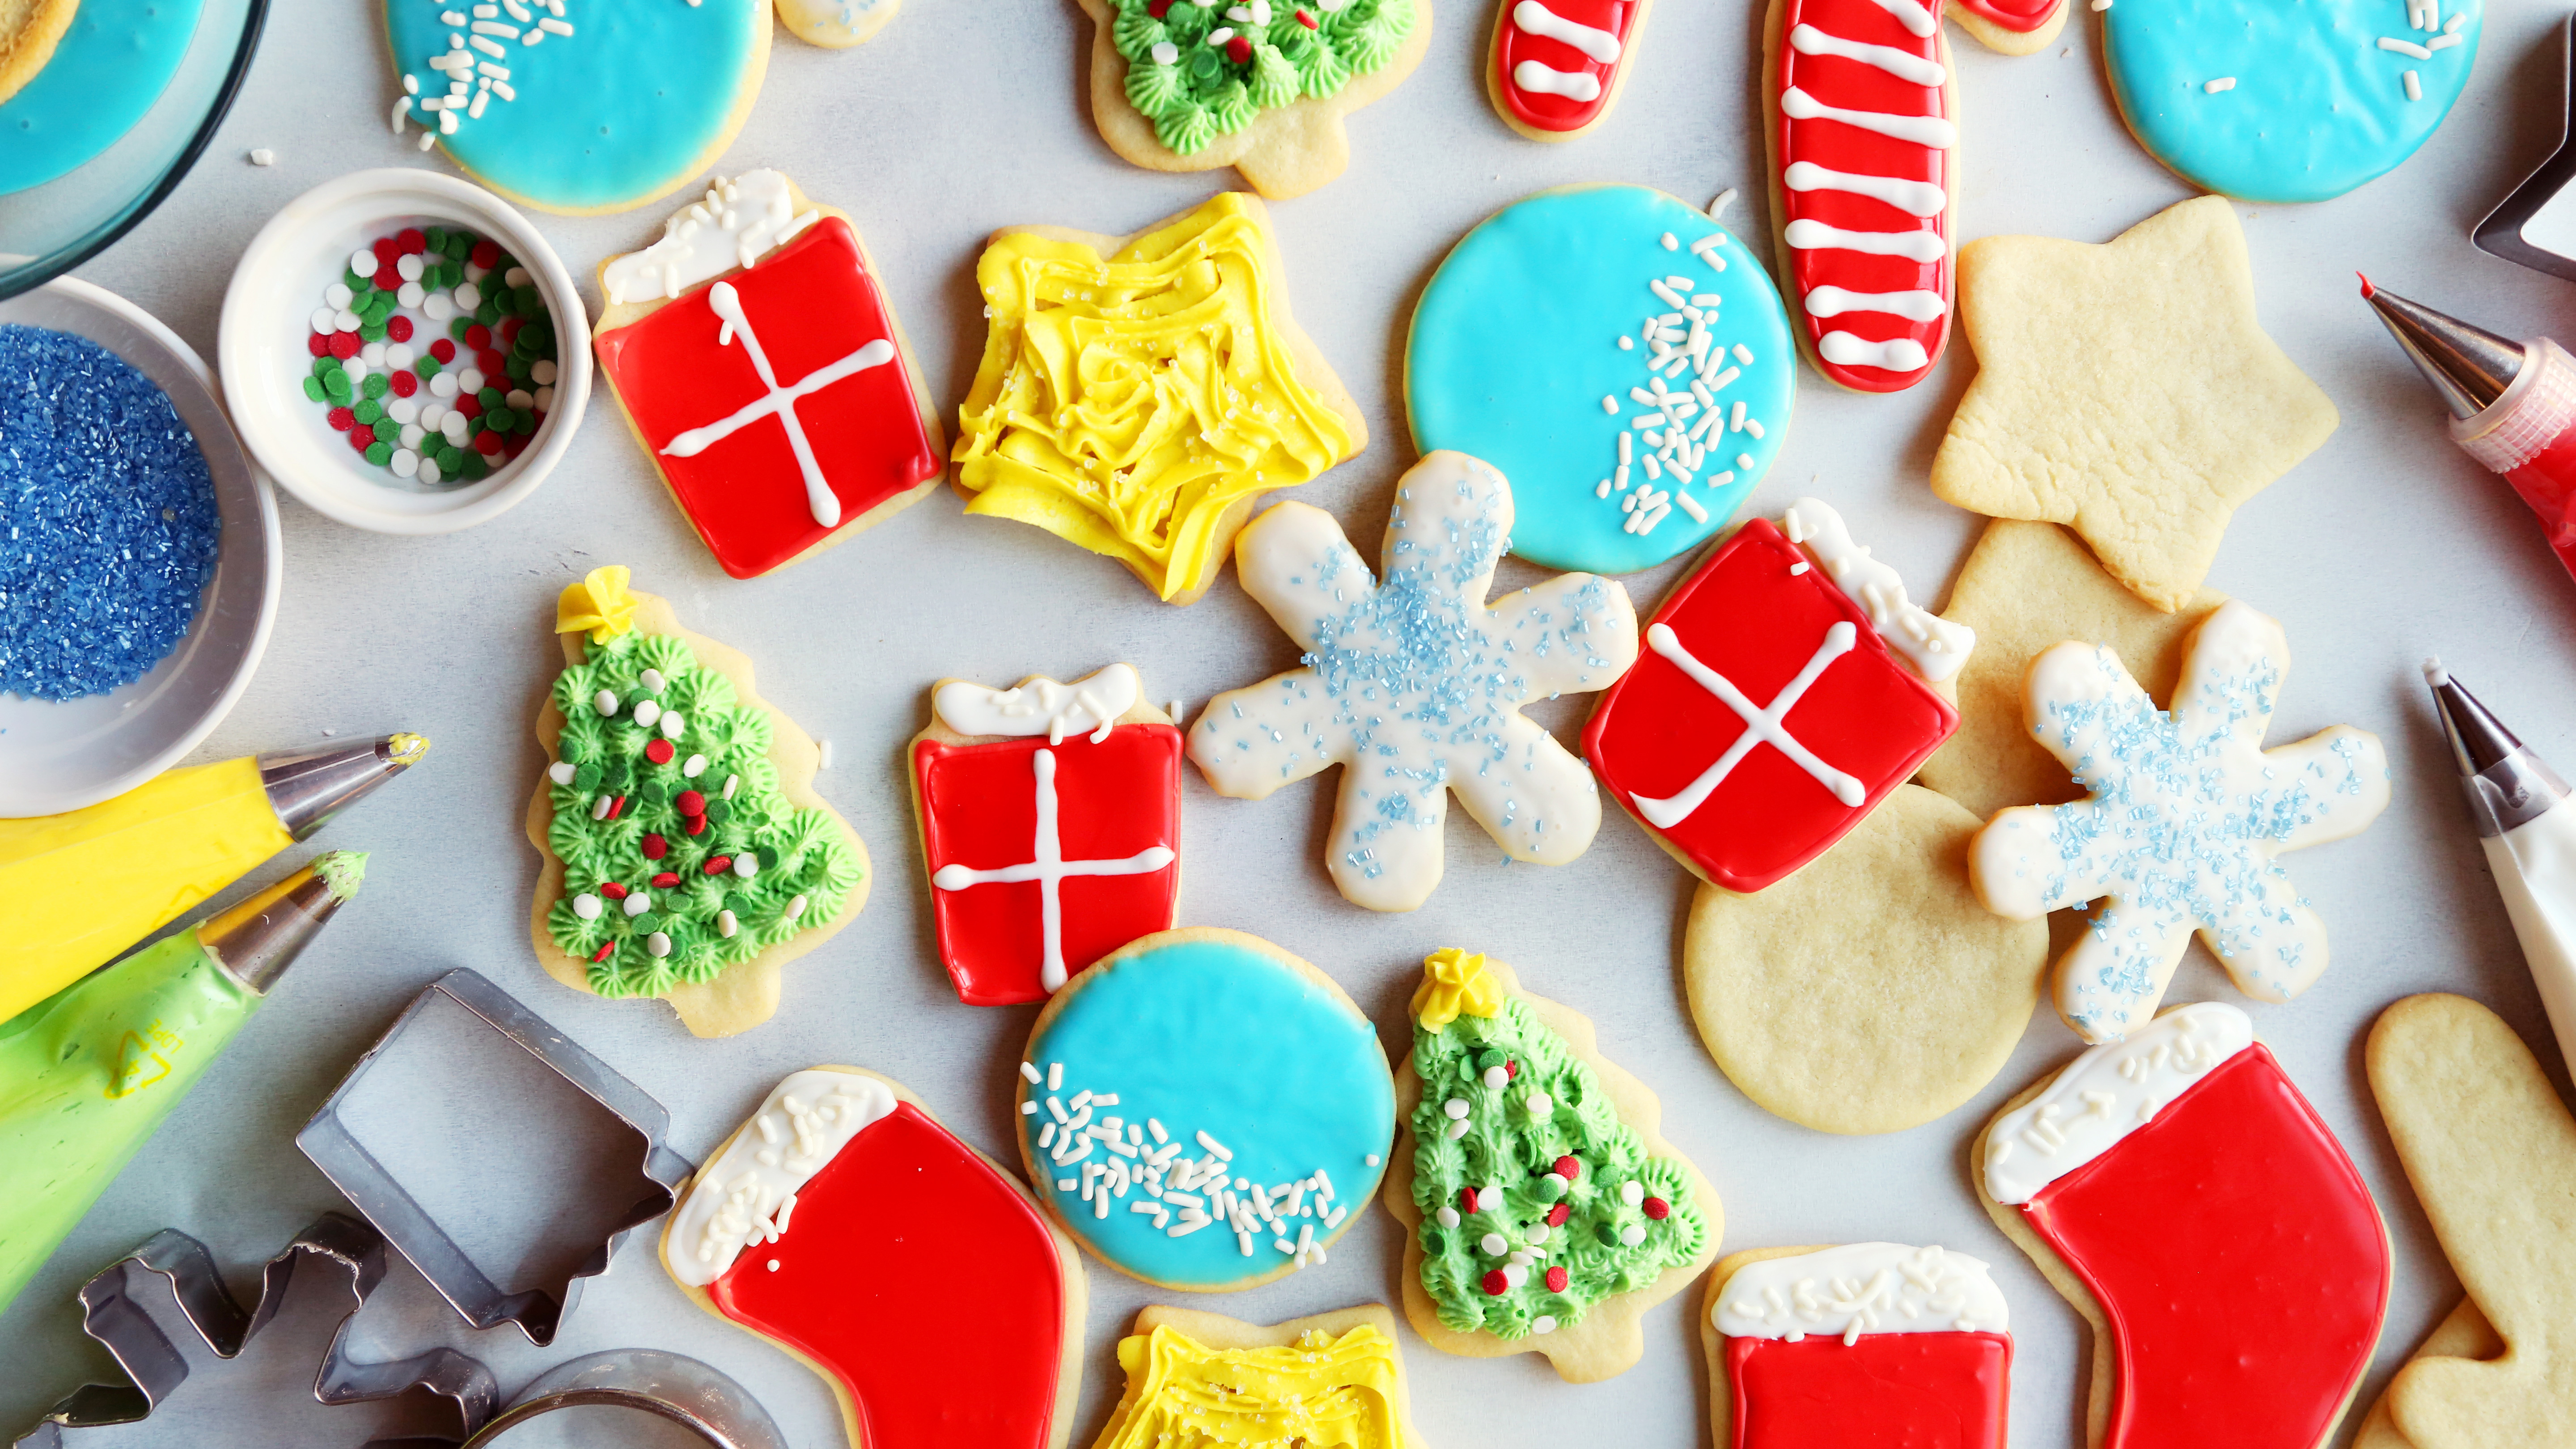
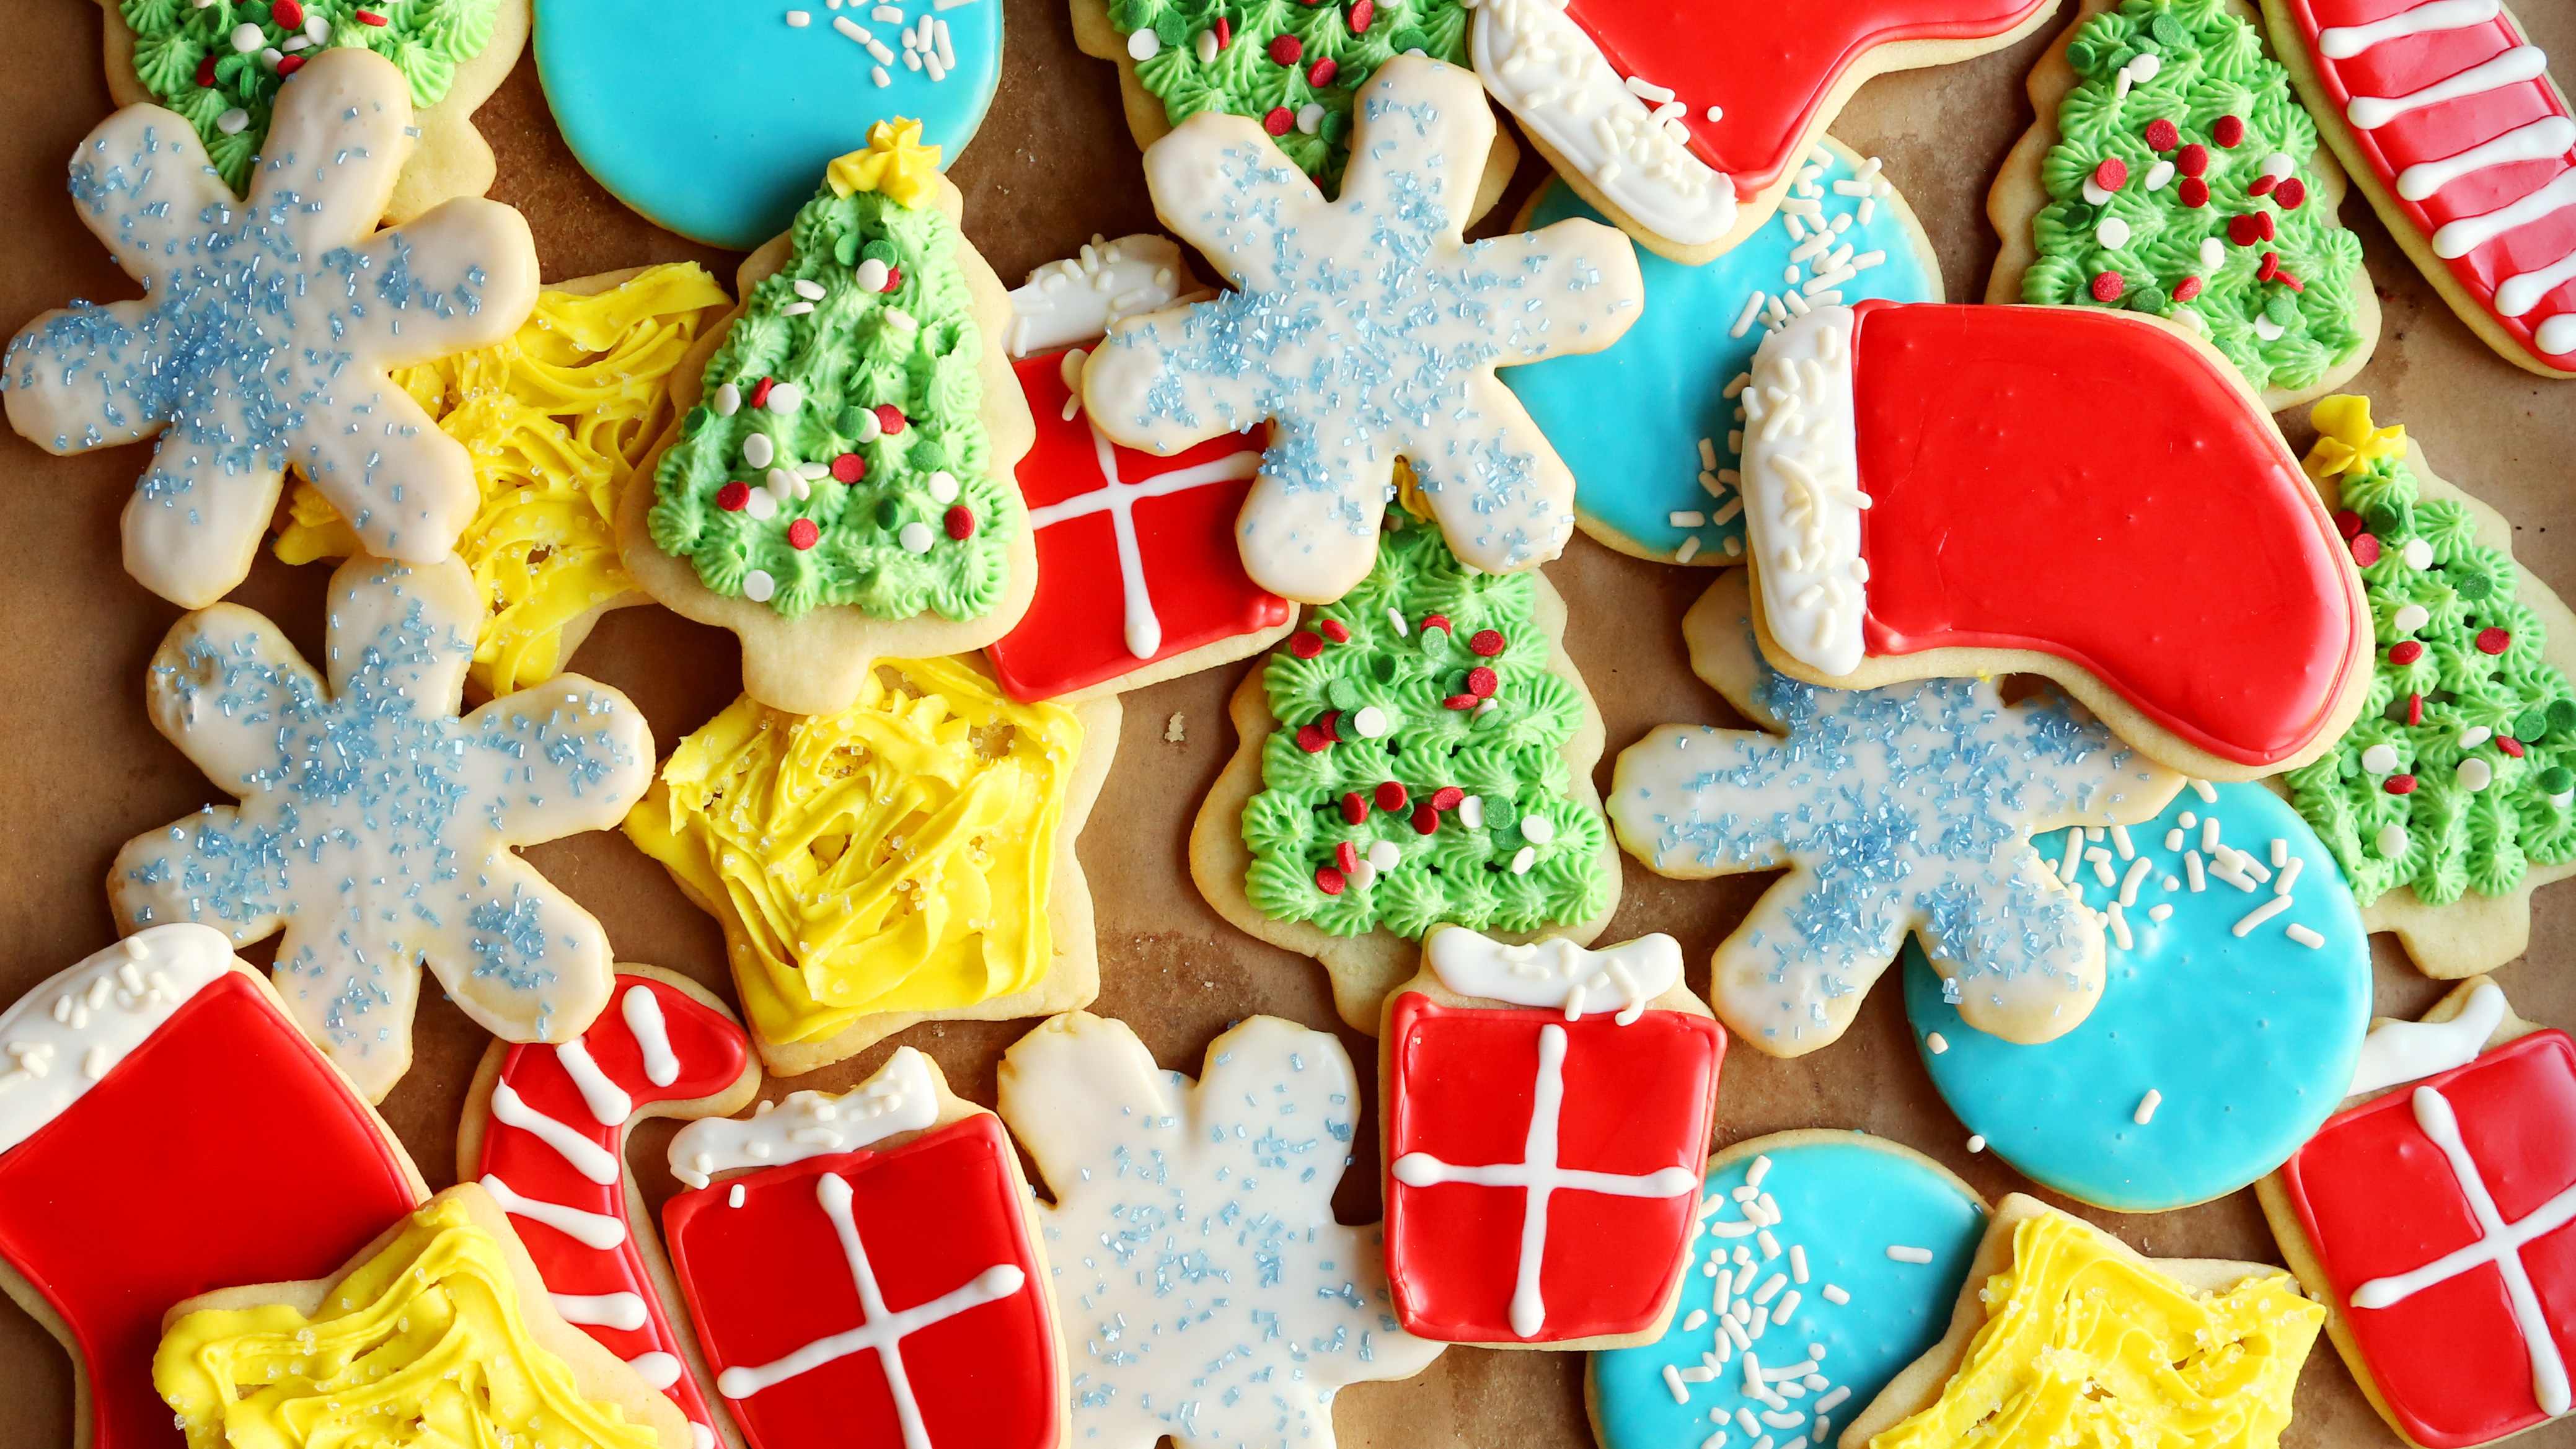
The Ultimate Guide to Icing Cookies
Whether you're baking for a holiday—like Christmas, Hanukkah or Kwanzaa—or simply celebrating the winter solstice, cookie decorating is a perfect (and delicious) activity for kids and adults alike.