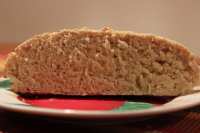
Oatmeal Amaranth Seeded Bread (CROCK POT)

"Always inspired by what I see and read, TRUE!
I SO hope I can in turn "inspire" My Food.com friend to make this and review!
The Crock-Pot bread is GREAT! So simple, easy to do!
I LOVE is SO versatile and HOPE you enjoy it too! WHOO HOO!
ORIGINAL SOURCE
What's On The List?
http://whatsonthelist.net/2013/04/18/oatmeal-amaranth-seeded-bread-cooked-in-a-what/
If you have any questions, feel free to PM me! :)"

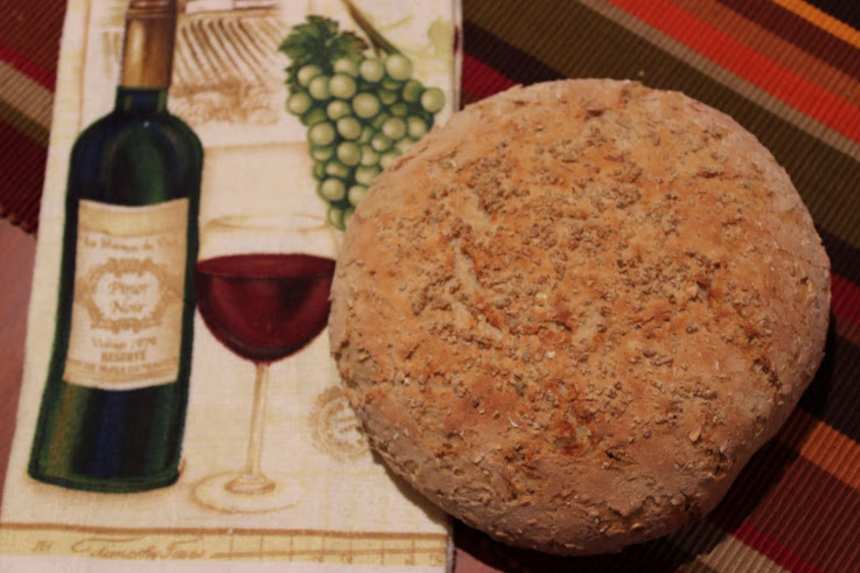
photo by mickeydownunder


- Ready In:
- 1hr 10mins
- Ingredients:
- 12
- Serves:
-
10-12
ingredients
- 2 cups bread flour
- 3⁄4 cup oat flour
- 1⁄4 cup amaranth flour
- 2 teaspoons fast rising yeast
- 1⁄2 tablespoon sugar
- 1 teaspoon salt
- 1 cup whole milk
- 1⁄2 cup water
- parchment paper
- 2 teaspoons sunflower seeds, finely ground
- 2 teaspoons pepitas, finely ground
- 2 teaspoons walnuts, finely ground
directions
- In a large bowl, combine all dry ingredients, except the topping.
- In a pan, combine milk and water; heat until 120°F (~50C).
- Make a well in the dry ingredients. Pour hot ingredients into the dry ingredients; combine WELL with a wooden spoon.
- Turn dough onto “well floured surface“, knead dough until (per the original recipe “until the dough is elastic/pliable and no longer tacky.”) I translated that into about 10 minutes of kneading and when the dough was “almost” as soft as a baby’s bottom too! ;-).
- Shape dough into a ball; place on a piece of parchment paper; sprinkle with topping ingredients making sure to “gently” press the topping into the dough too! ;-) ; lower into Crock-Pot.
- Hint and Tip.
- I trimmed the excess parchment paper and also made sure the parchment paper inside the Crock-Pot was not touching the bread. ;-).
- Turn Crock-Pot to HIGH.
- Cook for a MINIMUM of 45 minutes! Open lid and check. If it “feels like bread”, it is done.
- Hint and Tip.
- Use your finger to poke. It WILL tell you IF it is done. It WILL probably take additional cooking time. Mine too an additional 15 minutes. IF it needs longer, check ONLY at 15 minute intervals after the initial 45 minutes! :).
- When bread is done, remove from Crock-Pot; place on a flat tray; place on the middle rack of the griller/broiler until desired color.
- NOTE.
- Mine took about 15 minutes and note to self: A watched oven never cooks quicker! :).
- Remove from oven; place on a wire rack; cool completely before storing!
Questions & Replies
Got a question?
Share it with the community!
Reviews
Have any thoughts about this recipe?
Share it with the community!
RECIPE SUBMITTED BY

mickeydownunder
ADELAIDE, 0
<p>G'day! I'm 51, married, born and bred in NY, am now an Aussie who calls Australia home! I love animals, nature, reading, entering competitions and consider myself S-P-O-N-T-A-N-E-O-U-S and B-U-B-B-L-Y in my personality! I am quite FASCINATED with people and things U-N-I-Q-U-E, JUST like ME! I am VERY P-A-S-S-I-O-N-A-T-E about cooking and trying recipes from all world cusines! I LOVE to eat and enjoy our South Australian red wine! :)I have started a Home Cook blog which I am EXTREMELY P-A-S-S-I-O-N-A-T-E about called What's On The List? and I hope to be able to inspire people around the world one recipe and one event at a time too! http://whatsonthelist.net So come on over and please let me know what you think too!WHOO HOO WHOO HOO!</p>


