PART OF Summer Grilling
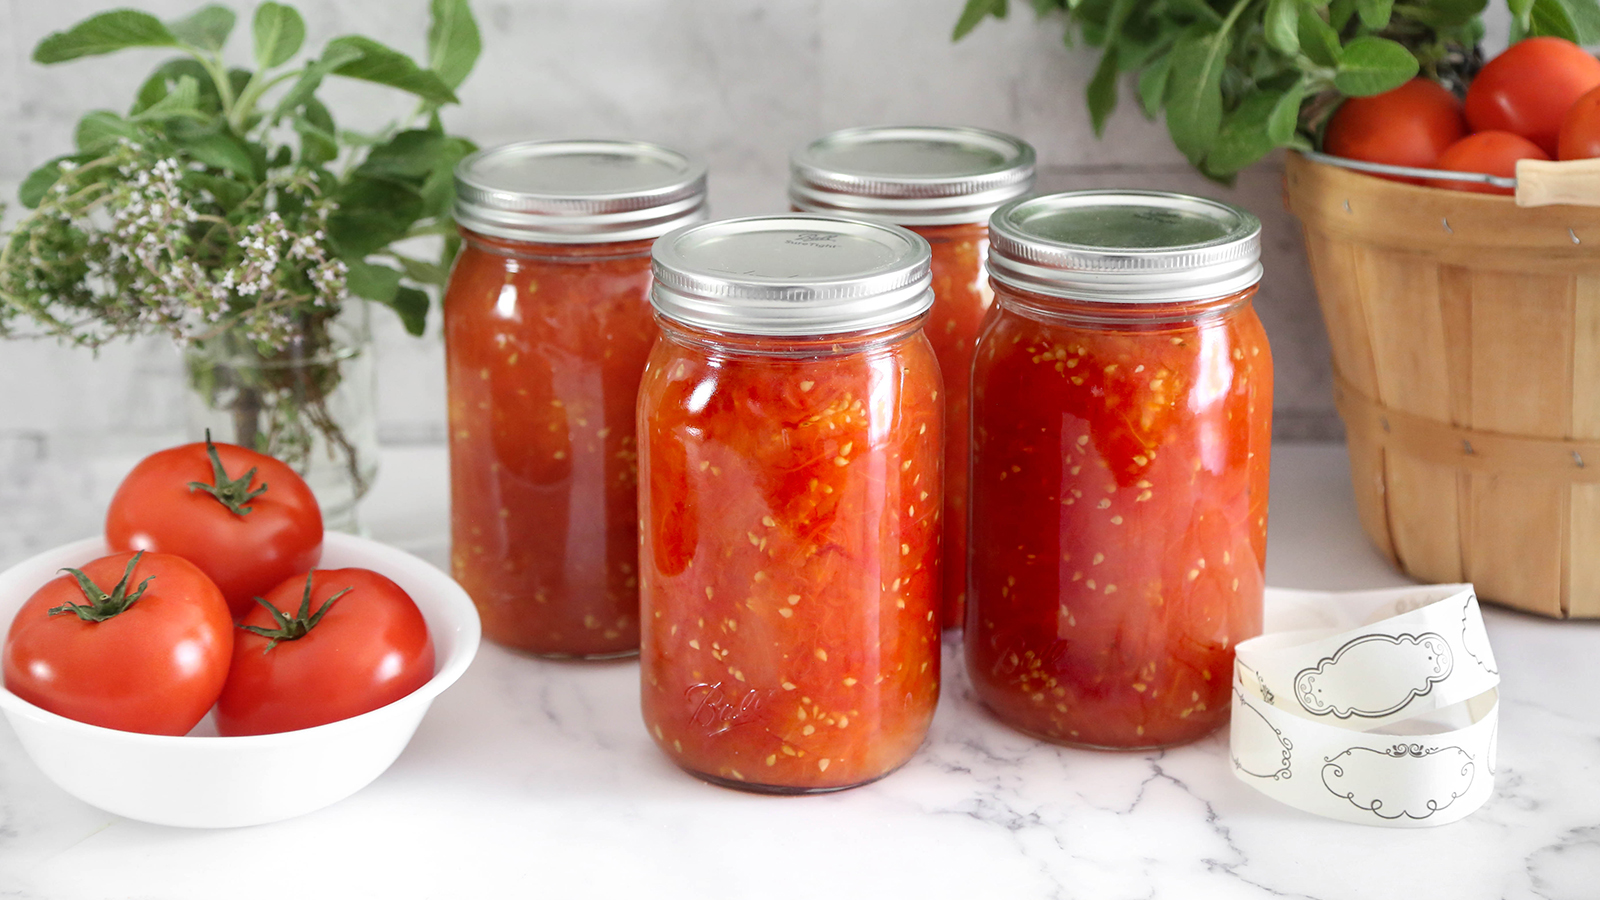
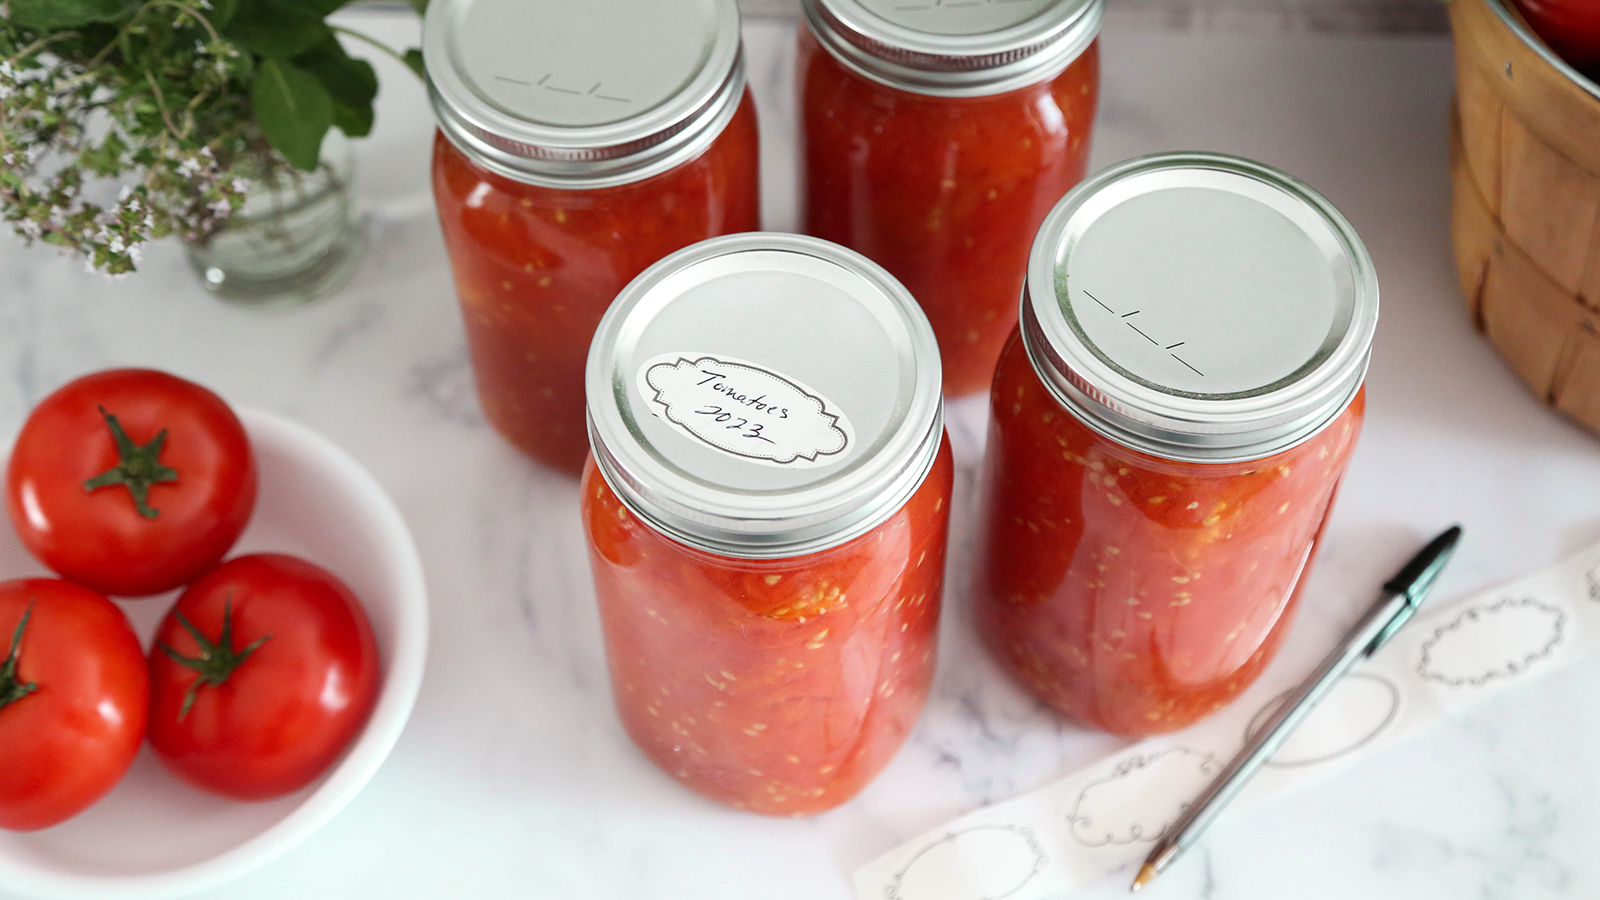
How to Can Tomatoes

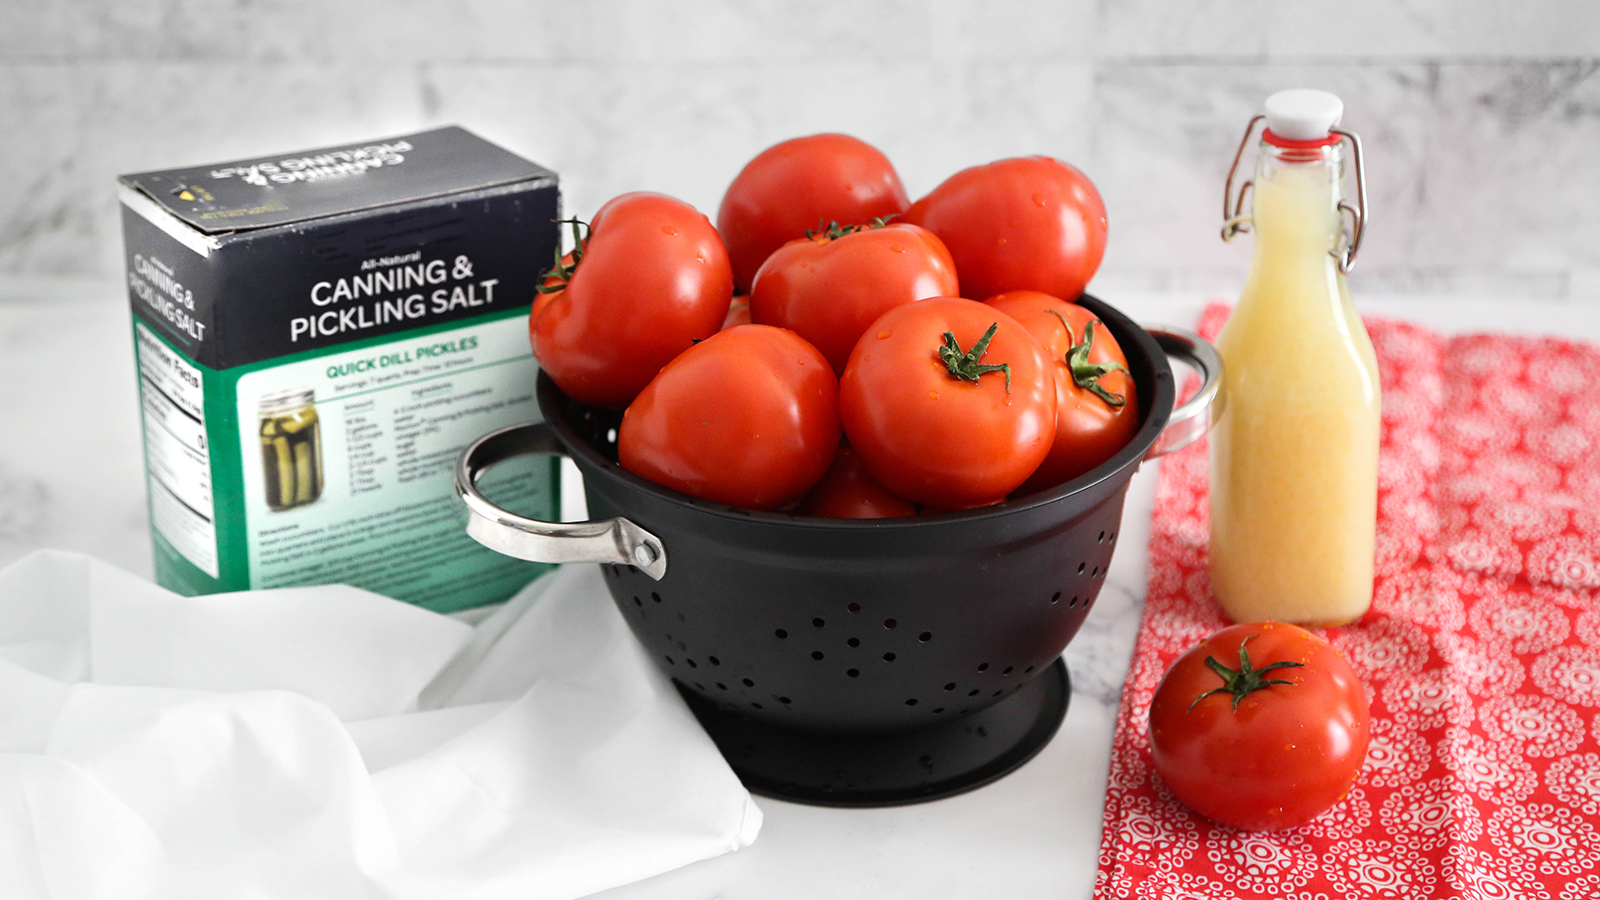
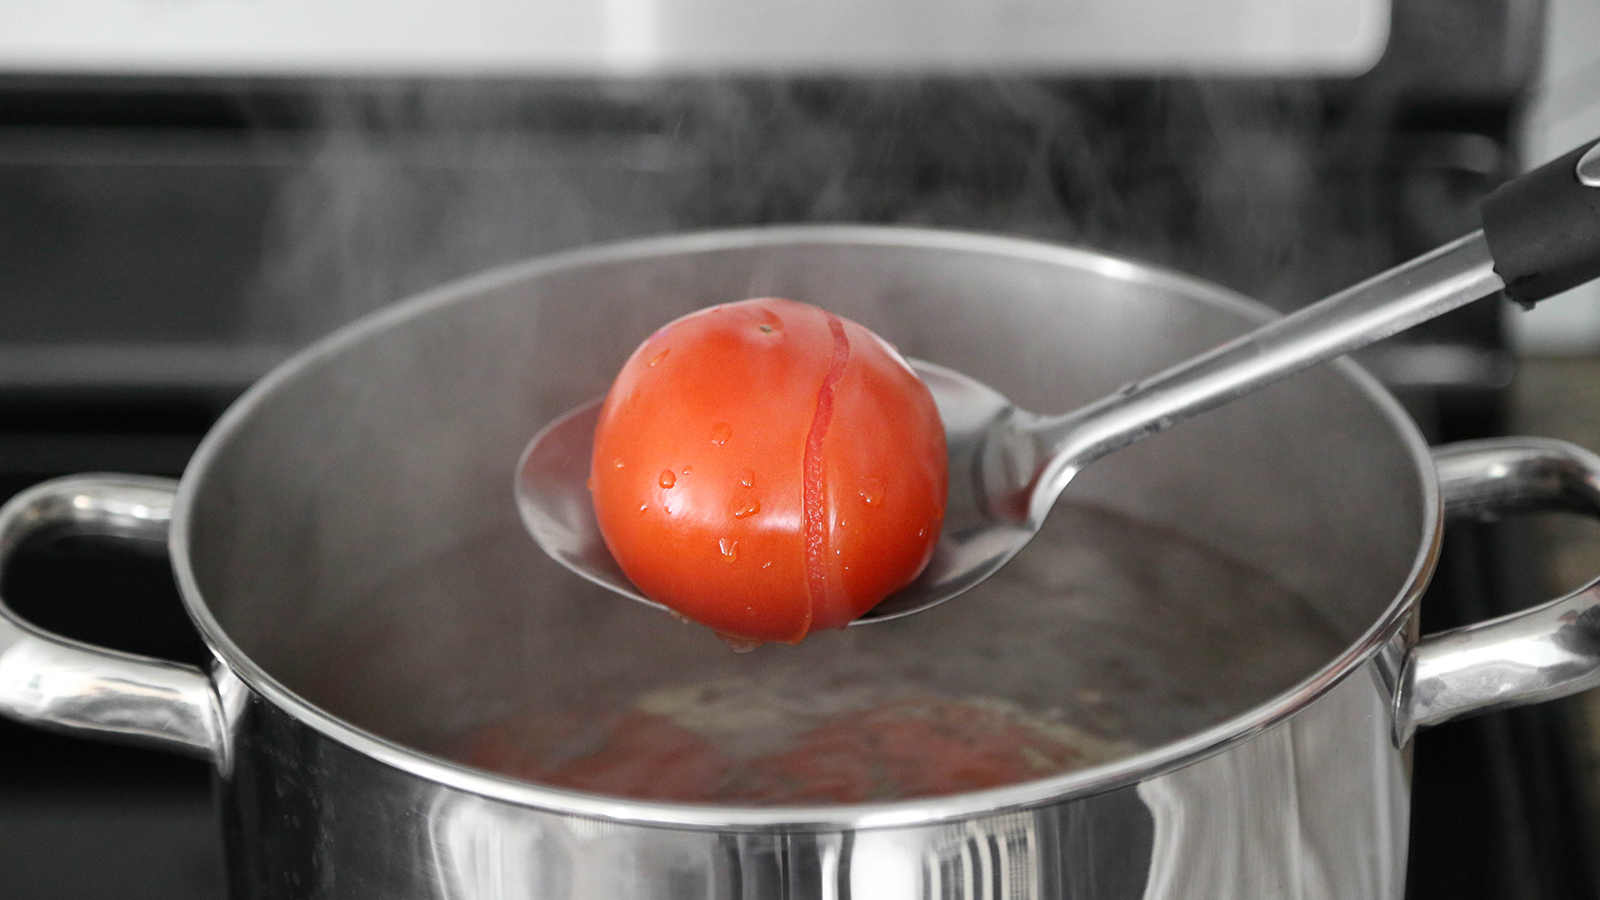
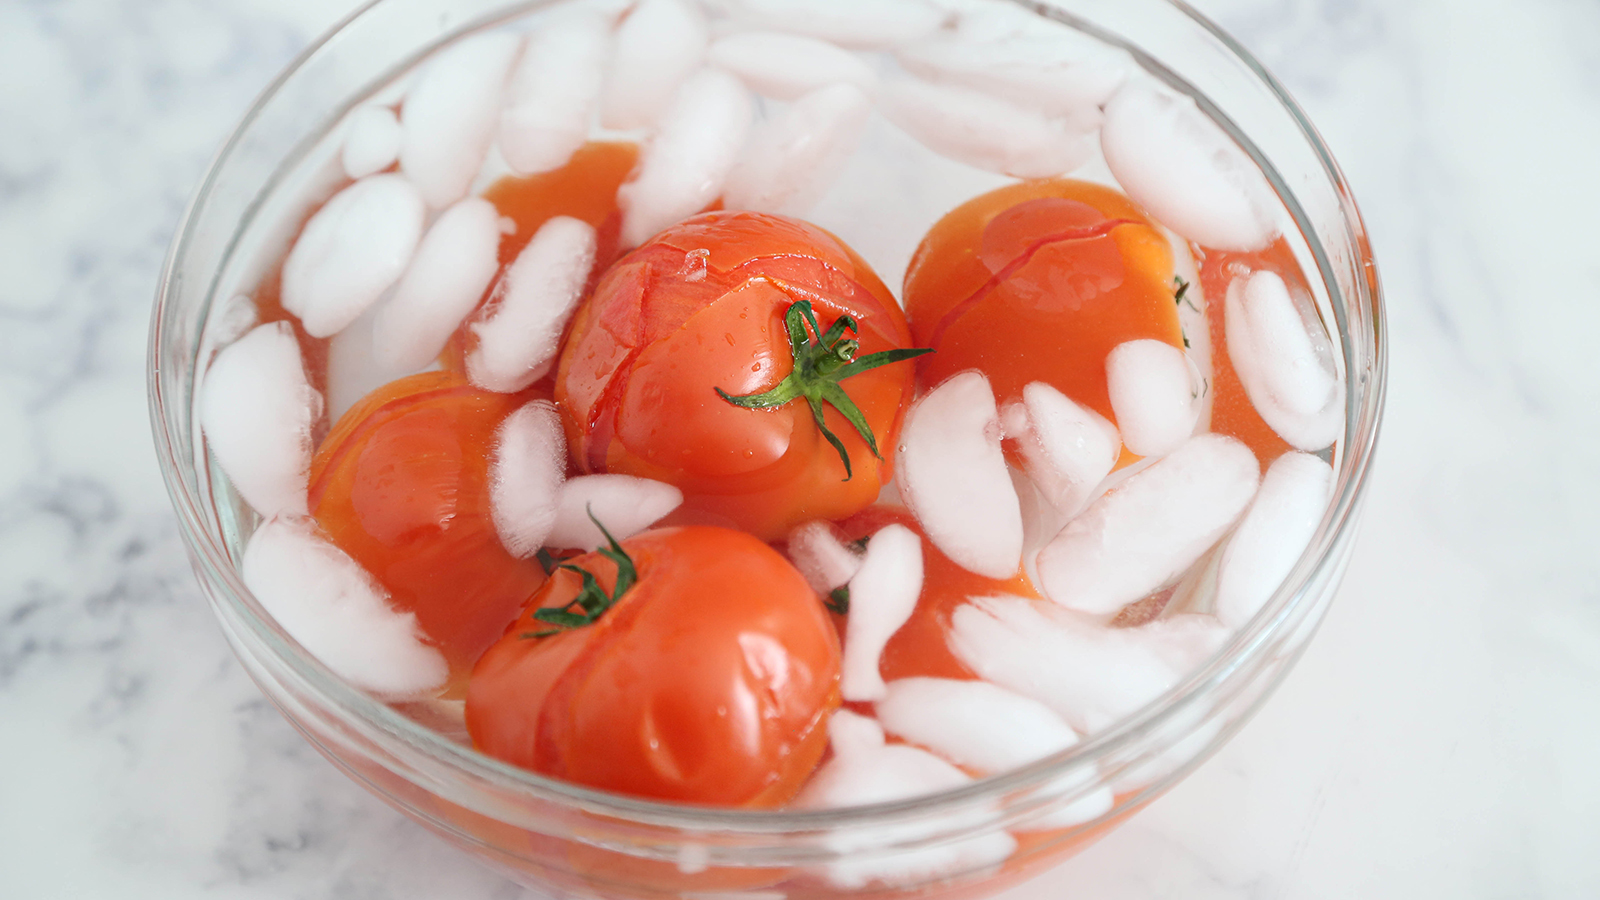
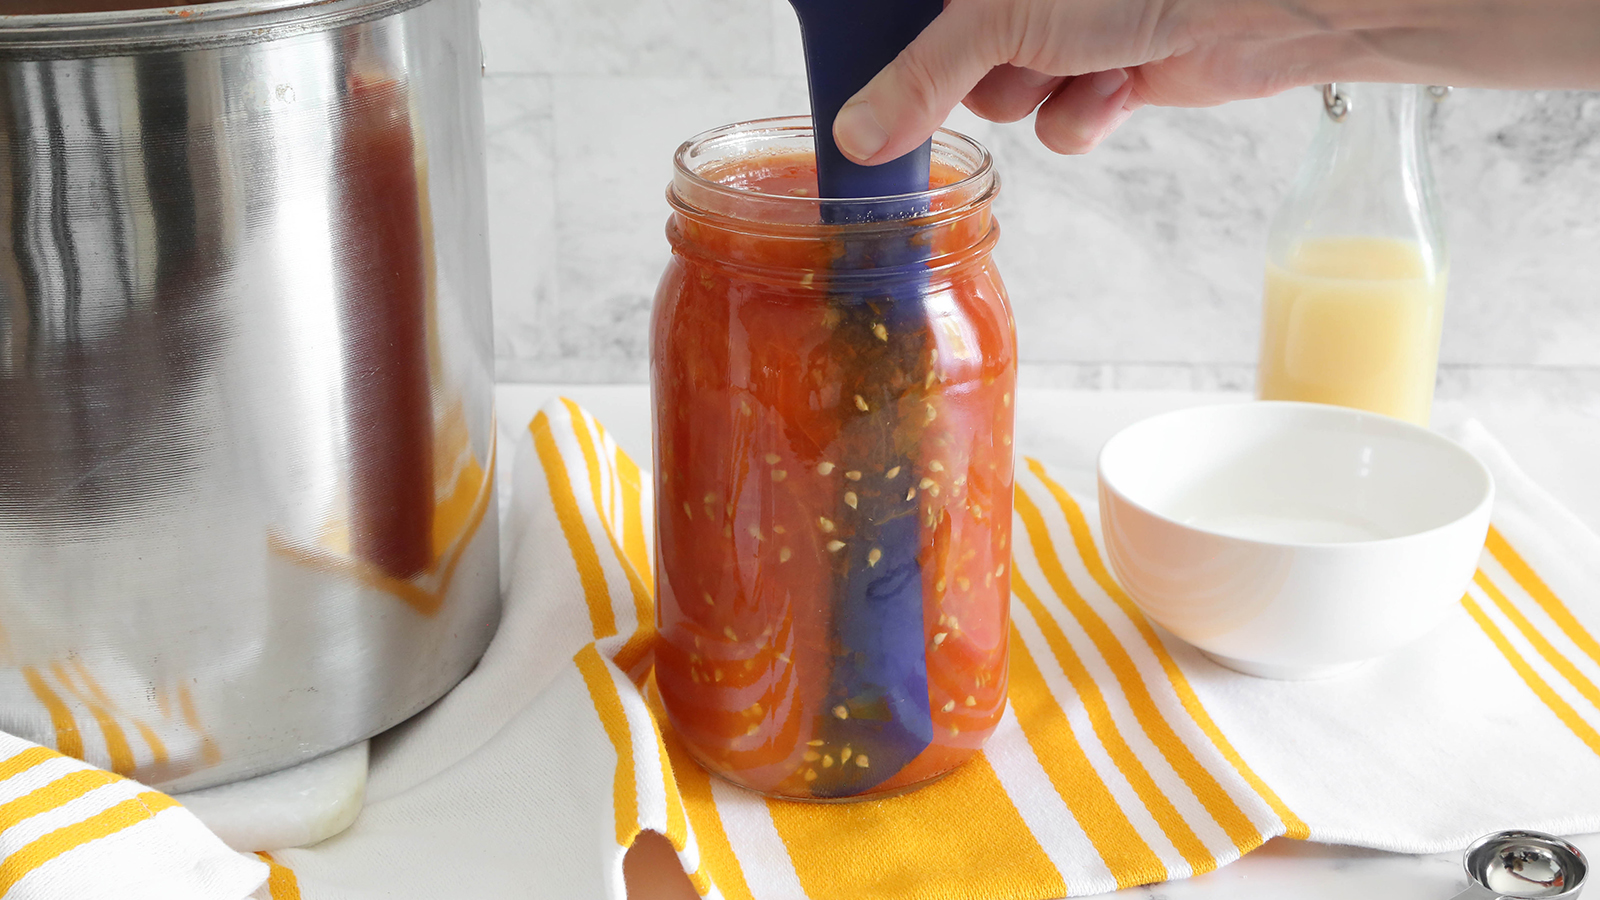
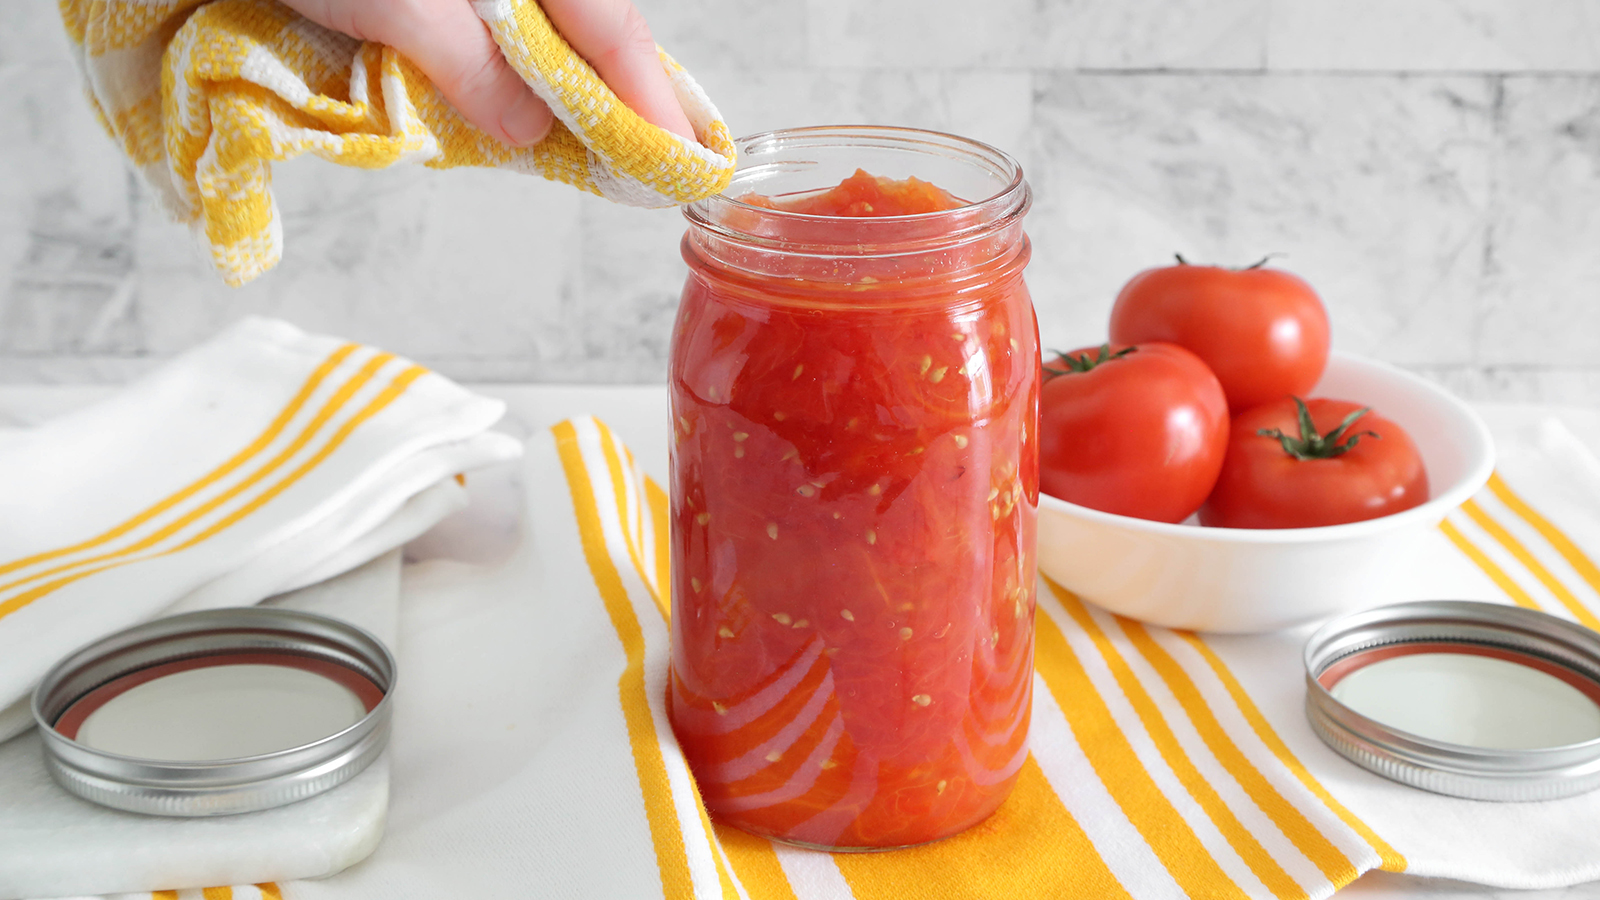
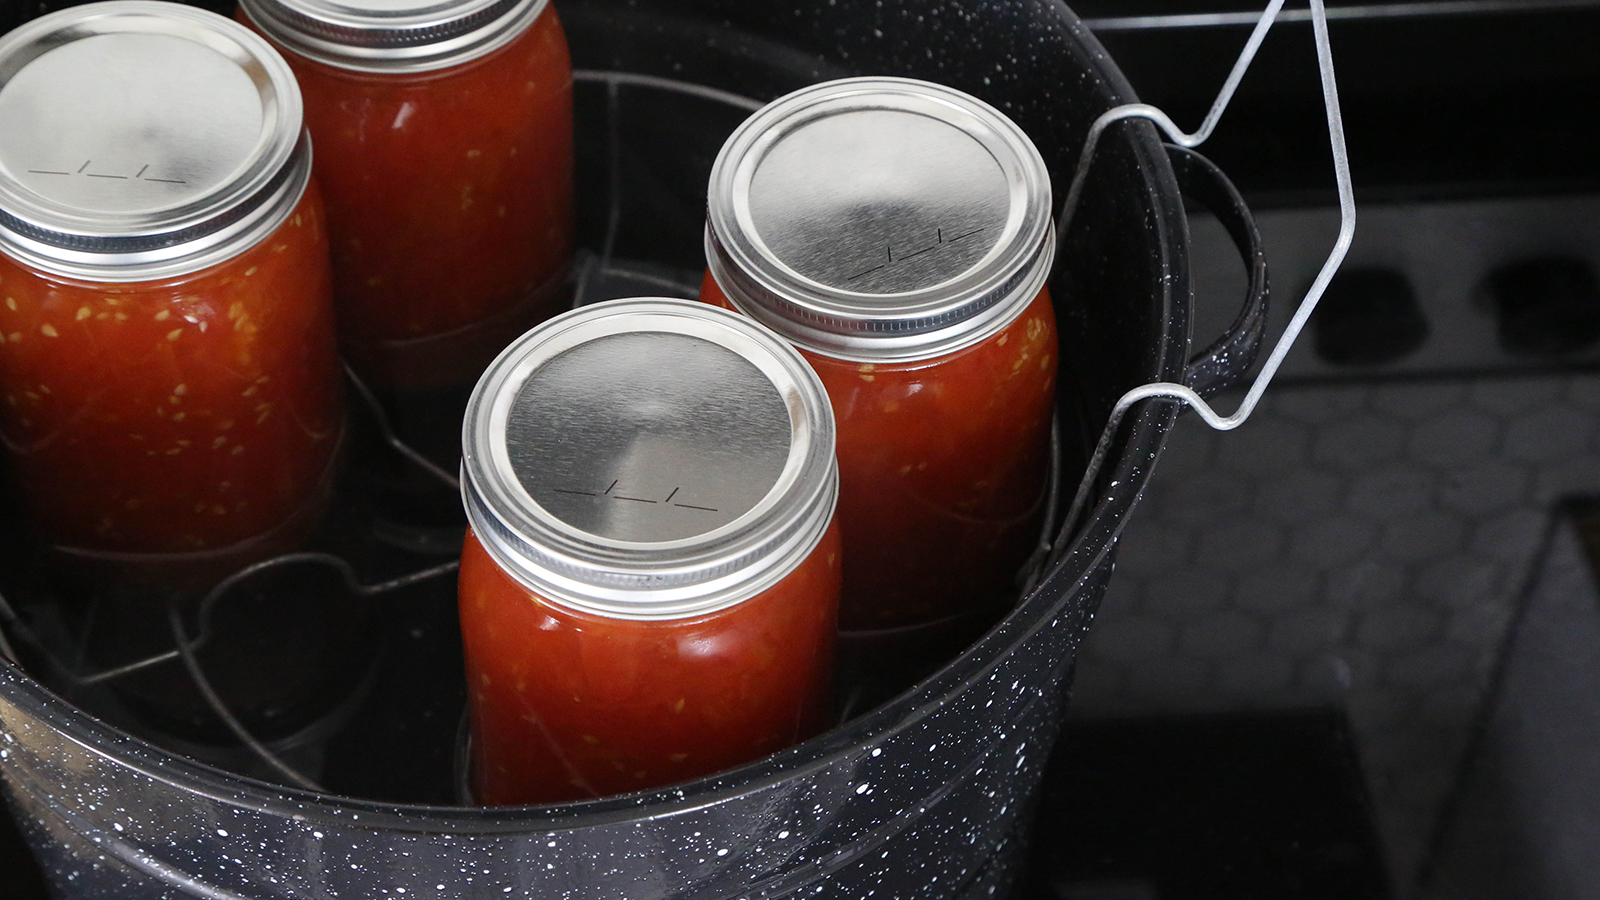
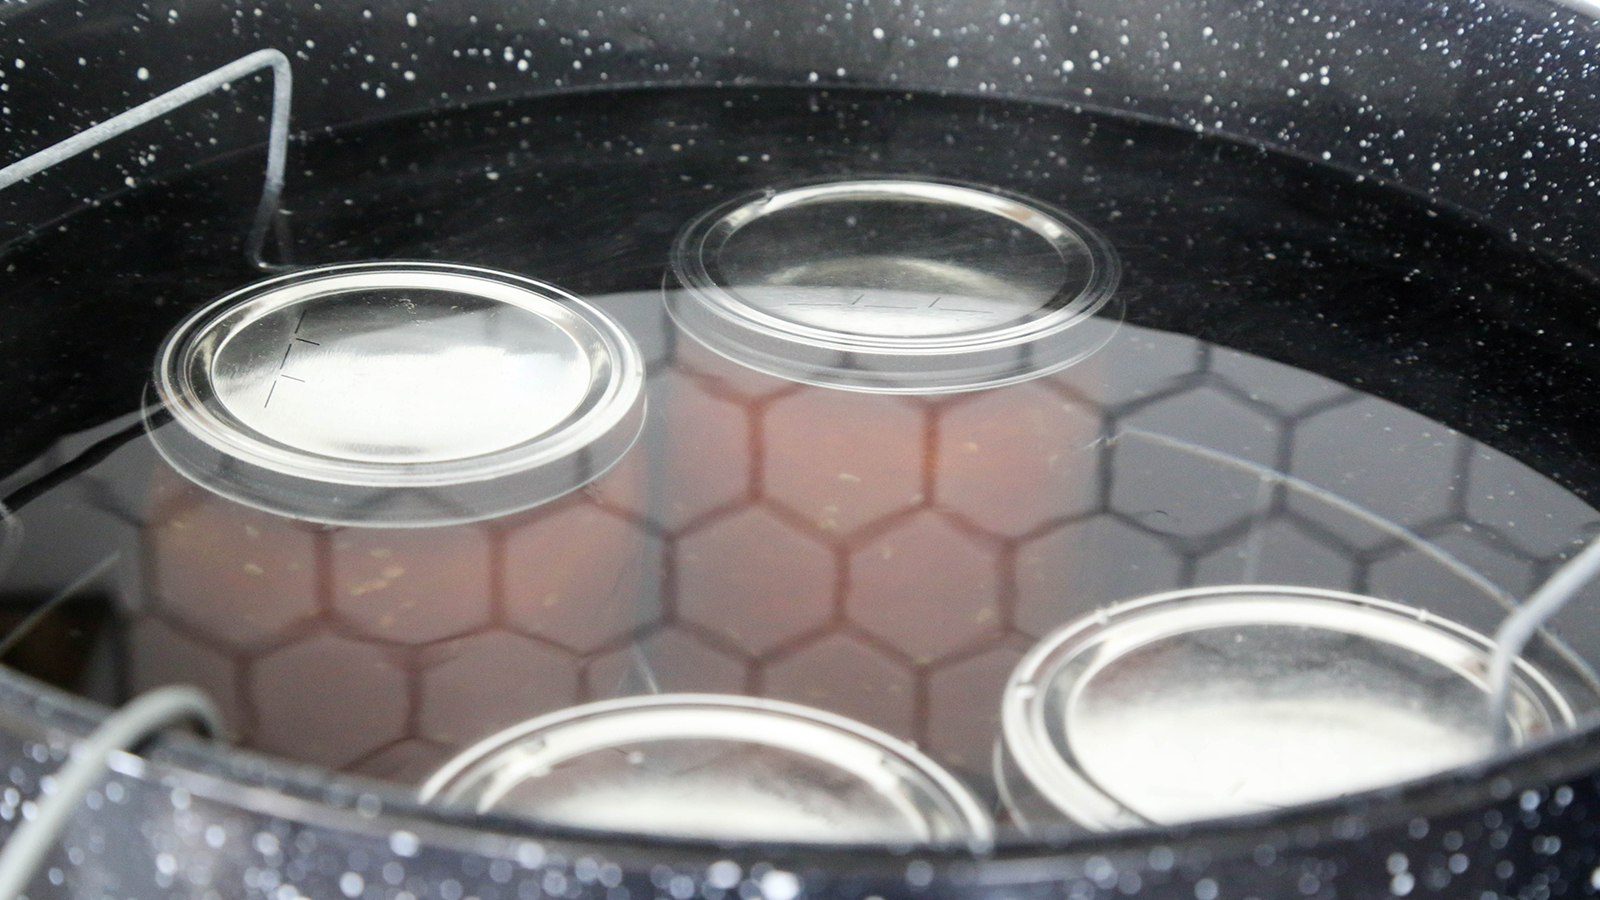
Canning your own tomatoes at home will bring garden-fresh flavor to all kinds of dishes year-round. Learn how to safely preserve them with our simple guide.

By Heather Baird

Preserving Tomatoes at Home

Once tomatoes ripen, there’s only a small window of time to enjoy them before they spoil. If you find yourself with a bumper crop, or have acquired a bounty—you can preserve them! Yes, it takes some planning and prep work, but the end result is well worth the effort. The water bath method used here is simple and requires no special talent to master (not to mention minimal investment!). Canning your own tomatoes may seem intimidating at first, but it’s a simple routine. However, there are important steps that accompany the process for a safe and quality end result. Follow this tested method exactly for the best product, and do not deviate from the amounts, cooking times, or storage recommendations (as this can result in food safety issues).

Step 1: Pick a Peck

Practically any variety of tomato can be preserved, as long as they’re blemish-free, without dark streaks or cracks. Whenever possible, choose vine-ripened tomatoes in peak season. Some are better than others, depending on what you want as an end result. Varieties known as paste tomatoes (such as Roma and San Marzano) are favorites, as they are highly versatile, flavorful, more fleshy with fewer seeds, and cook down easily. You’ll need about 3 ½ lbs. per quart (or two pints).

Step 2: Acidification & Salt

Gather two more ingredients: lemon juice and salt. They play an important part in the canning process. Even though tomatoes are acidic, it is critical to add lemon juice to each jar of tomatoes. This will ensure a low enough pH level to avoid botulism. Fresh lemon juice may seem like the best option, but acid levels can vary between lemon varieties. Opt for bottled juice, which is uniformly acidified by the manufacturer. As for salt, it’s optional but recommended for enhancing flavor. Avoid using iodized salts, which can cloud the liquid and change the color of canned tomatoes over time. Use kosher salt or canning salt instead.

Step 3: Gather Your Equipment

Standard Mason jars with rims and fresh (unused) lids are a necessity for canning. Make sure they are all without cracks, chips, dents or rust. Wash them well in soapy water and rinse well. You can purchase a water bath canner with a metal rack insert, but any large metal pot with a tight fitting lid that is deep enough may be used to water process the jars. A ladle and jar funnel will make life easier when packing the tomatoes in jars. A rubber-coated jar-lifter helps prevent burns when removing hot jars from the water bath.

Step 4: Sterilize Jars & Lids

Wash your hands properly before beginning the sterilization process. Sterilize the jars and lids by heating them in a large sauce pot of simmering water. The temperature should not exceed 180°F, or it could damage the sealing compound on the lids. Allow the jars and lids to sit in the pot until you’re ready to fill them. Also, this is a good time to fill your water bath canning pot halfway with hot water and heat to a simmer. Keep the water hot for processing while you prep the tomatoes.

Step 5: Blanch the Tomatoes

Wash and drain enough tomatoes for only one canner load. Fill another sauce pot with water and bring to a boil. Working in batches, lower 4-5 tomatoes into the boiling water at a time with a sterilized spoon, cooking for 30 seconds, or just until the skins split. If the skins on your tomatoes are tough or thick, cut an X into the bottoms of the fruit before adding them to the water. This helps the skins to split without overcooking the tomatoes. Fish them out with a sterilized slotted spoon or a spider.

Step 6: Shock the Tomatoes

Immediately plunge the tomatoes into an ice bath. This stops the cooking process and cools down the tomatoes for peeling. It only takes 30 seconds to 1 minute in the ice bath for the tomatoes to cool.

Step 7: Peel & Prep

Slip the skins off of the tomatoes. They should peel right off without much resistance. Cut out the cores using a small, clean paring knife. Keep the tomatoes whole, cut them into halves, quarter or chop them—it’s up to you! Whole tomatoes are best for slow-simmered sauces. Quartered and diced are great in stews and soups.

Step 8: Quick Cooking

Place the tomatoes in a large sauce pot. Add just enough water to cover them. Bring to a boil, and once bubbling, cook for 5 minutes. Remove the pot from the heat source.

Step 9: Pack the Tomatoes

Remove jars one at a time from the hot water using the sterilized tongs. Place a jar on a clean kitchen towel to steady it and to catch drips. Add the lemon juice to the jars. You’ll need 2 tablespoons for quart jars and 1 tablespoon for pint jars. (You can also use manufactured citric acid; ½ teaspoon for quart jars and ¼ teaspoon for pints.) It is important that the right concentration of acid is present in each jar to assure the tomato mixture is unquestionably safe. Pack the tomatoes into the hot jar and, using a sterile ladle, ladle the cooking water over them leaving ½” of headspace. If using salt, add 1 teaspoon of salt to quart jars, or ½ teaspoon to pint jars.

Step 10: Remove Air Bubbles

Slide a small plastic or silicone spatula between the tomatoes and the jar to remove any trapped air bubbles (metal spatulas can potentially scratch and damage the glass jars). Repeat this process 2-3 times to be sure there are no hidden air bubbles.

Step 11: Tidy Up

Wipe the rims and threads of the jars using a clean, damp kitchen towel. Remove the lids from the hot water using sterile tongs and center them on the jars so that the sealing compound lines up with the rims. Add screw bands and tighten lightly. Do not overtighten the bands. Oxygen needs to escape from the jar during the canning process, and it cannot exhaust if the bands are too tight.

Step 12: Process the Jars

As you fill and lid each jar, set them into the canning rack in the boiling water canner. If you don’t have a rack insert, you can improvise with a silicone mat. Lower it into the bottom of the pot with tongs and place jars on top. This will add a buffer between the jars and the bottom of the pan. It will also keep them steady in the actively simmering water.

Step 13: The Right Water Level

After all of the jars have been loaded and lowered into the canner, make sure the water level comes over the lids by 2 inches. If you’re coming up short, add boiling water to the pot until the lids are immersed.

Step 14: Process & Cool

Cover the pot and bring the water to a boil. When the water boils, set a timer for 45 minutes for quarts, or 40 minutes for pints. When the timer sounds and processing is done, turn off the heat and remove the lid from the pot with tongs. Let cool for 5 minutes before removing jars. Remove the jars using the sterile rubber-coated jar lifter and stand them upright together on a dry towel to cool. Cool 12-24 hours. You may hear the lids pop when they seal during this time.

Step 15: Labeling & Storage

Check the seals on the jars by pressing them in their centers. They should be concave. You can also remove the band and gently try to lift the lid off with your fingertips. If you can’t lift the lid off, then you have a good vacuum seal. If your jars don't seal properly, remove the lids and replace with new lids, then reprocess them within 24 hours using the same processing time. Label each jar with the date and product (whole tomatoes, crushed, etc.). Store in a cool, dry, dark place. Tomatoes canned using this method can be stored for up to 18 months.

KEEP SCROLLING FOR NEXT STORY