Community Pick
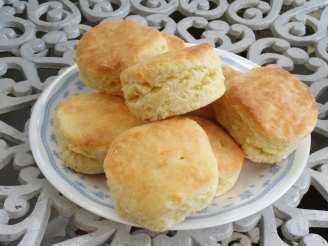
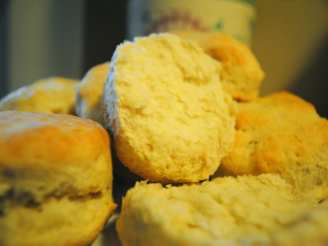
Southern Buttermilk Biscuits
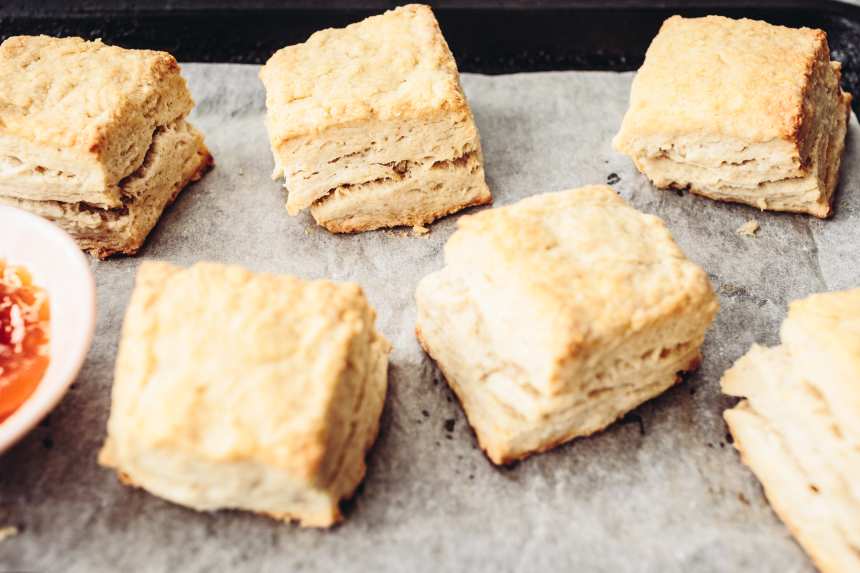
photo by Izy Hossack


- Ready In:
- 22mins
- Ingredients:
- 6
- Yields:
-
10 biscuits
ingredients
- 2 cups unbleached all-purpose flour, plus more for dusting the board (if you can get White Lily flour, your biscuits will be even better)
- 1⁄4 teaspoon baking soda
- 1 tablespoon baking powder (use one without aluminum)
- 1 teaspoon kosher salt or 1 teaspoon salt
- 6 tablespoons unsalted butter, very cold
- 1 cup buttermilk (approx)
directions
- Preheat your oven to 450°F.
- Combine the dry ingredients in a bowl, or in the bowl of a food processor.
- Cut the butter into chunks and cut into the flour until it resembles course meal.
- If using a food processor, just pulse a few times until this consistency is achieved.
- Add the buttermilk and mix JUST until combined.
- If it appears on the dry side, add a bit more buttermilk. It should be very wet.
- Turn the dough out onto a floured board.
- Gently, gently PAT (do NOT roll with a rolling pin) the dough out until it's about 1/2" thick. Fold the dough about 5 times, gently press the dough down to a 1 inch thick.
- Use a round cutter to cut into rounds.
- You can gently knead the scraps together and make a few more, but they will not be anywhere near as good as the first ones.
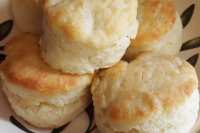
- Place the biscuits on a cookie sheet- if you like soft sides, put them touching each other.
- If you like"crusty" sides, put them about 1 inch apart- these will not rise as high as the biscuits put close together.
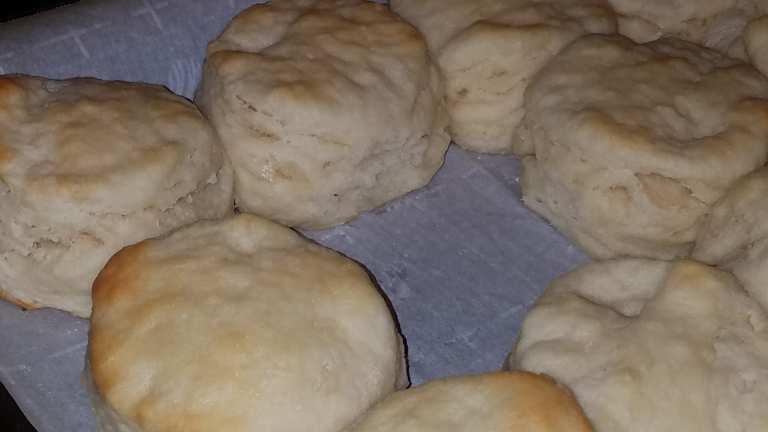
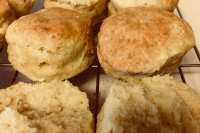
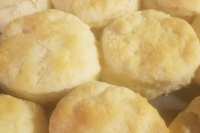
- Bake for about 10-12 minutes- the biscuits will be a beautiful light golden brown on top and bottom.
- Do not overbake.
- Note: The key to real biscuits is not in the ingredients, but in the handling of the dough.
- The dough must be handled as little as possible or you will have tough biscuits.
- I have found that a food processor produces superior biscuits, because the ingredients stay colder and there's less chance of overmixing.
- You also must pat the dough out with your hands, lightly.
- Rolling with a rolling pin is a guaranteed way to overstimulate the gluten, resulting in a tougher biscuit.
- Note 2: You can make these biscuits, cut them, put them on cookie sheets and freeze them for up to a month.
- When you want fresh biscuits, simply place them frozen on the cookie sheet and bake at 450°F for about 20 minutes.
Questions & Replies
-
I usually follow the recipe on the White Lily bag, except I substitute 1/4 cup salted butter for the shortening. The last two batches I made did not want to come together, did not want to get done and were crumbly. What do you suggest? *Edit - I just realized I cooked them at 450 instead of my normal 475. That could be part of the problem!
see 22 more questions
Reviews
-
These biscuits were exceptional: tender and moist. The instructions were easy to follow and clear, and my biscuits were perfectly golden brown after the stated 10 minutes. My yield was exactly 24, and the entire plate was devoured by myself, my hubby, and our 2 dinner guests. (Biscuits are not all that common here in Canada and seem to be a real treat; my girlfriend's husband couldn't get enough and demanded my friend get the recipe.) My only variation was due to the fact that I was out of unsalted butter, so I used regular butter and cut back on the salt. While I do use buttermilk to bake with, I had never made biscuits with it; that's going to change from now on, as this recipe will become one of my standards.
-
Luscious, melt in your mouth, buttery biscuits! The dough was easy to handle and cut which made it possible for my 6 year old to help roll and cut the biscuits (she was thrilled). Your instructions were great in mentioning not to overbake by looking for a golden brown color rather than brown which saved me from baking the biscuits too long. Best yet, my 12 year old actually ate an entire biscuit and she's about as picky as they come. Thanks!
-
Delicious, light and tender biscuits... this is my default recipe for biscuits!! I even passed the recipe on to my sister's Very Southern MIL, and she uses it as her default recipe too. DO NOT skimp on the butter... and handle them as gently as possible! I usually do fold the dough over a few times while lightly kneading in order to get those layers that I love. Thanks for the recipe!
-
You can freeze the butter (I put the whole stick in the freezer). Run the frozen butter over a grate, medium holes, then stir the butter in the flour mixture. Much faster than pinching and probably does a better job. The dough can be cut into squares or triangles instead of using a biscuit cutter and having to reroll the scraps.<br/> <br/>The biggest (very, very tall) and lightest I ever had was at Bob Evans Restaurant. Unbelievable!
-
These were very, very good, but flat. Fearful of over mixing (first time biscuit maker here), I barely touced the dough and those turned out nothing like the picture here. The ones I "pieced together" at the end, expecting them to be the ones that did not turn out well, actually fluffed up a lot more than the first ones. So some mixing/kneading is definitely necessary. I think it will just take some trial and error on my part. Also I suspect my baking soda and powder are older than I realized, though that doesn't account for the second batch being fluffy and the first not. Either way, the flavor is excellent and I will be making these again and again now that the tip on the food processor worked out so well. Just be aware it is definitely possible to undermix as well as over mix. There is such heavy handed warning here about over mixing that it actually made me fearful to handle the batter. That was a mixtake.
see 784 more reviews
Tweaks
-
UPDATED REVIEW: I made these again and this time they DID rise. My boyfriend was very careful not to overwork the dough and the baking powder was fresh (although it did have aluminum). I used almond milk with vinegar for the buttermilk and margarine instead of butter. The biscuits were delicious and pulled apart easily. I will use this recipe every time now for my vegan biscuits and gravy.
see 39 more tweaks
RECIPE SUBMITTED BY
P48422
United States


