Hard Rolls (Using a Stand Mixer)

"Oh how I miss hard rolls! Similar to Kaiser rolls, but crustier, when well buttered, these are a typical quick breakfast in the fast-paced metropolis of NYC and north-eastern NJ. A northern comparison to biscuts and gravy here in the southern USA, but these can be eaten on-the-go for a morning meal and are a lot less messy! These rolls will keep all day in a brown paper bag in your bread box."
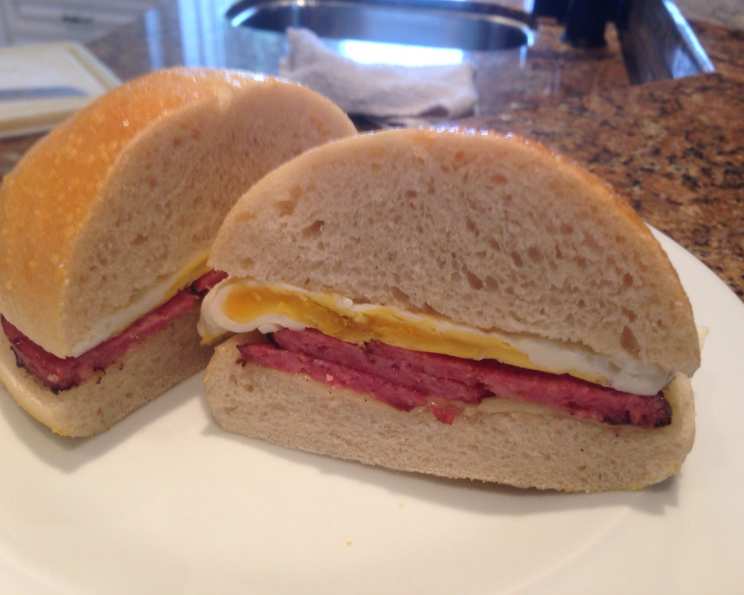
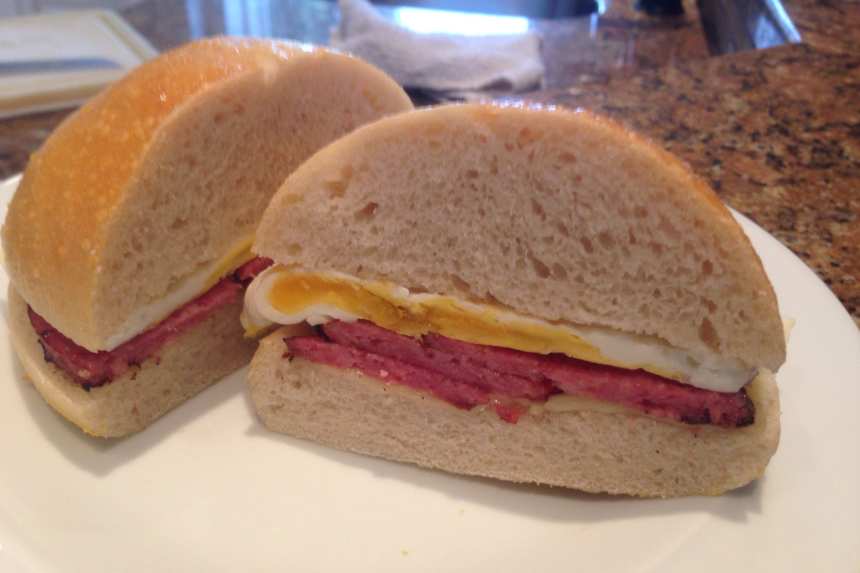
photo by carolann


- Ready In:
- 45mins
- Ingredients:
- 8
- Yields:
-
4 rolls
- Serves:
- 4
ingredients
- 1 (1/4 ounce) package active dry yeast
- 1 1⁄4 cups warm water (110F.)
- 2 teaspoons sugar
- 3 cups unbleached all-purpose flour (or bread flour)
- 1 teaspoon kosher salt
- cornmeal (for dusting)
- 1 egg yolk (beaten with 1 Tbsp water for eggwash)
- 1 tablespoon poppy seed
directions
- In a large bowl (or your KitchenAid), dissolve yeast with 3/4 cup of the water and sugar. Mix in remaining water, flour, and salt. Mix until dough starts to form. If too sticky, add a bit more flour. Knead for 2-3 minutes or until smooth and elastic. Put dough into an oiled bowl, turn to coat, cover with a clean towel, and let rise in a warm place, free from draft, until doubled in size (about 2 hours).
- Preheat oven to 400°F If you have a baking stone, dust lightly with cornmeal and put into preheated oven. If not, use a cookie sheet. Place a shallow baking pan filled with boiling hot water on bottom of your oven for extra crusty rolls.
- ROLLS: Remove dough to a floured surface. Punch down dough and shape into 4 rolls. Place rolls on a peel (large wooden spatula), also lightly dusted with cornmeal, or on a cookie sheet sprinkled with cornmeal. Cover and let rise again for 20 minutes. Slit each roll once and brush tops with egg wash and sprinkle lightly with poppy seeds. If on a peel, slide loaves onto stone or tile; otherwise put cookie sheet in oven. Bake for about 25 minutes or until golden and baked through.
- NOTE: To check for doneness, thump the bottom; if they sound hollow, they're done.
Questions & Replies

Got a question?
Share it with the community!
Reviews
-
 Please don’t put a cold baking stone into a pre-heated 400 degree oven. Your baking stone will suffer thermal shock and likely crack. Put the stone in a cold oven and pre-heat both at the same time.
 -
 Not exatcly a hard rool, but a great roll anyway. It was more dense than a hard roll, but made a great bacon, egg and cheese sandwich.(made for the Please Review my Recipe Tag Game. July 08.)
 -
 The recipe came together easily; but the rolls were denser than traditional NJ hard rolls and they were UUUUUGE! :) Next time, I'll get 6 out of them. (oh yes, I will make them again!). I took the recipe through the first rise, made the rolls, covered and slipped them in the frig overnight where they proofed slowly the second time. I wanted to bake them up in the morning. Didn't require any more time baking either. I'm thinking this might make a nice loaf of sandwich bread as well.
 -
 Good but not chewy like the hard rolls I use to get up in Jersey. It was still great for my pork roll, egg and cheese.
 -
 the rolls were big - really big! The crust was almost perfect but the crumb was a little too dense for me - I prefer the crumb to be lighter. However, my solution will be to let the initial rise be longer, cut the dough into 6 pieces and then allow the rolls to rise for a lot longer before baking. Thanks for a good starting recipe!
see 8 more reviews
Tweaks
-
 I’ll make it into six rolls next time but they are delicious and very easy. Forgot to egg wash and add poppy seeds, will do that next time too! My Taylor ham and egg sandwich tasted like a New Jersey diner offering??
RECIPE SUBMITTED BY

2Bleu
Duncan, South Carolina
Original Zaaarite. Food lovers.
Lynnda passed away in March 2020. Her recipes live on here for everyone to enjoy and Rick continues the tradition. We will forever live together through our food. Live well. Eat well.?

