A fun, easy-to-create awning, perfect for a donut-themed party.
Materials
Total time: 1.5 hours
• 1 20” x 30” white foam board
• Yardstick
• Utility knife
• Pencil
• Hot glue and gun
• Tape
• Roll of decorative paper
• 1 20” x 30” white poster board
• Cup or small bowl to trace
• Glue stick
• Double sided foam tape
1 Make The Frame
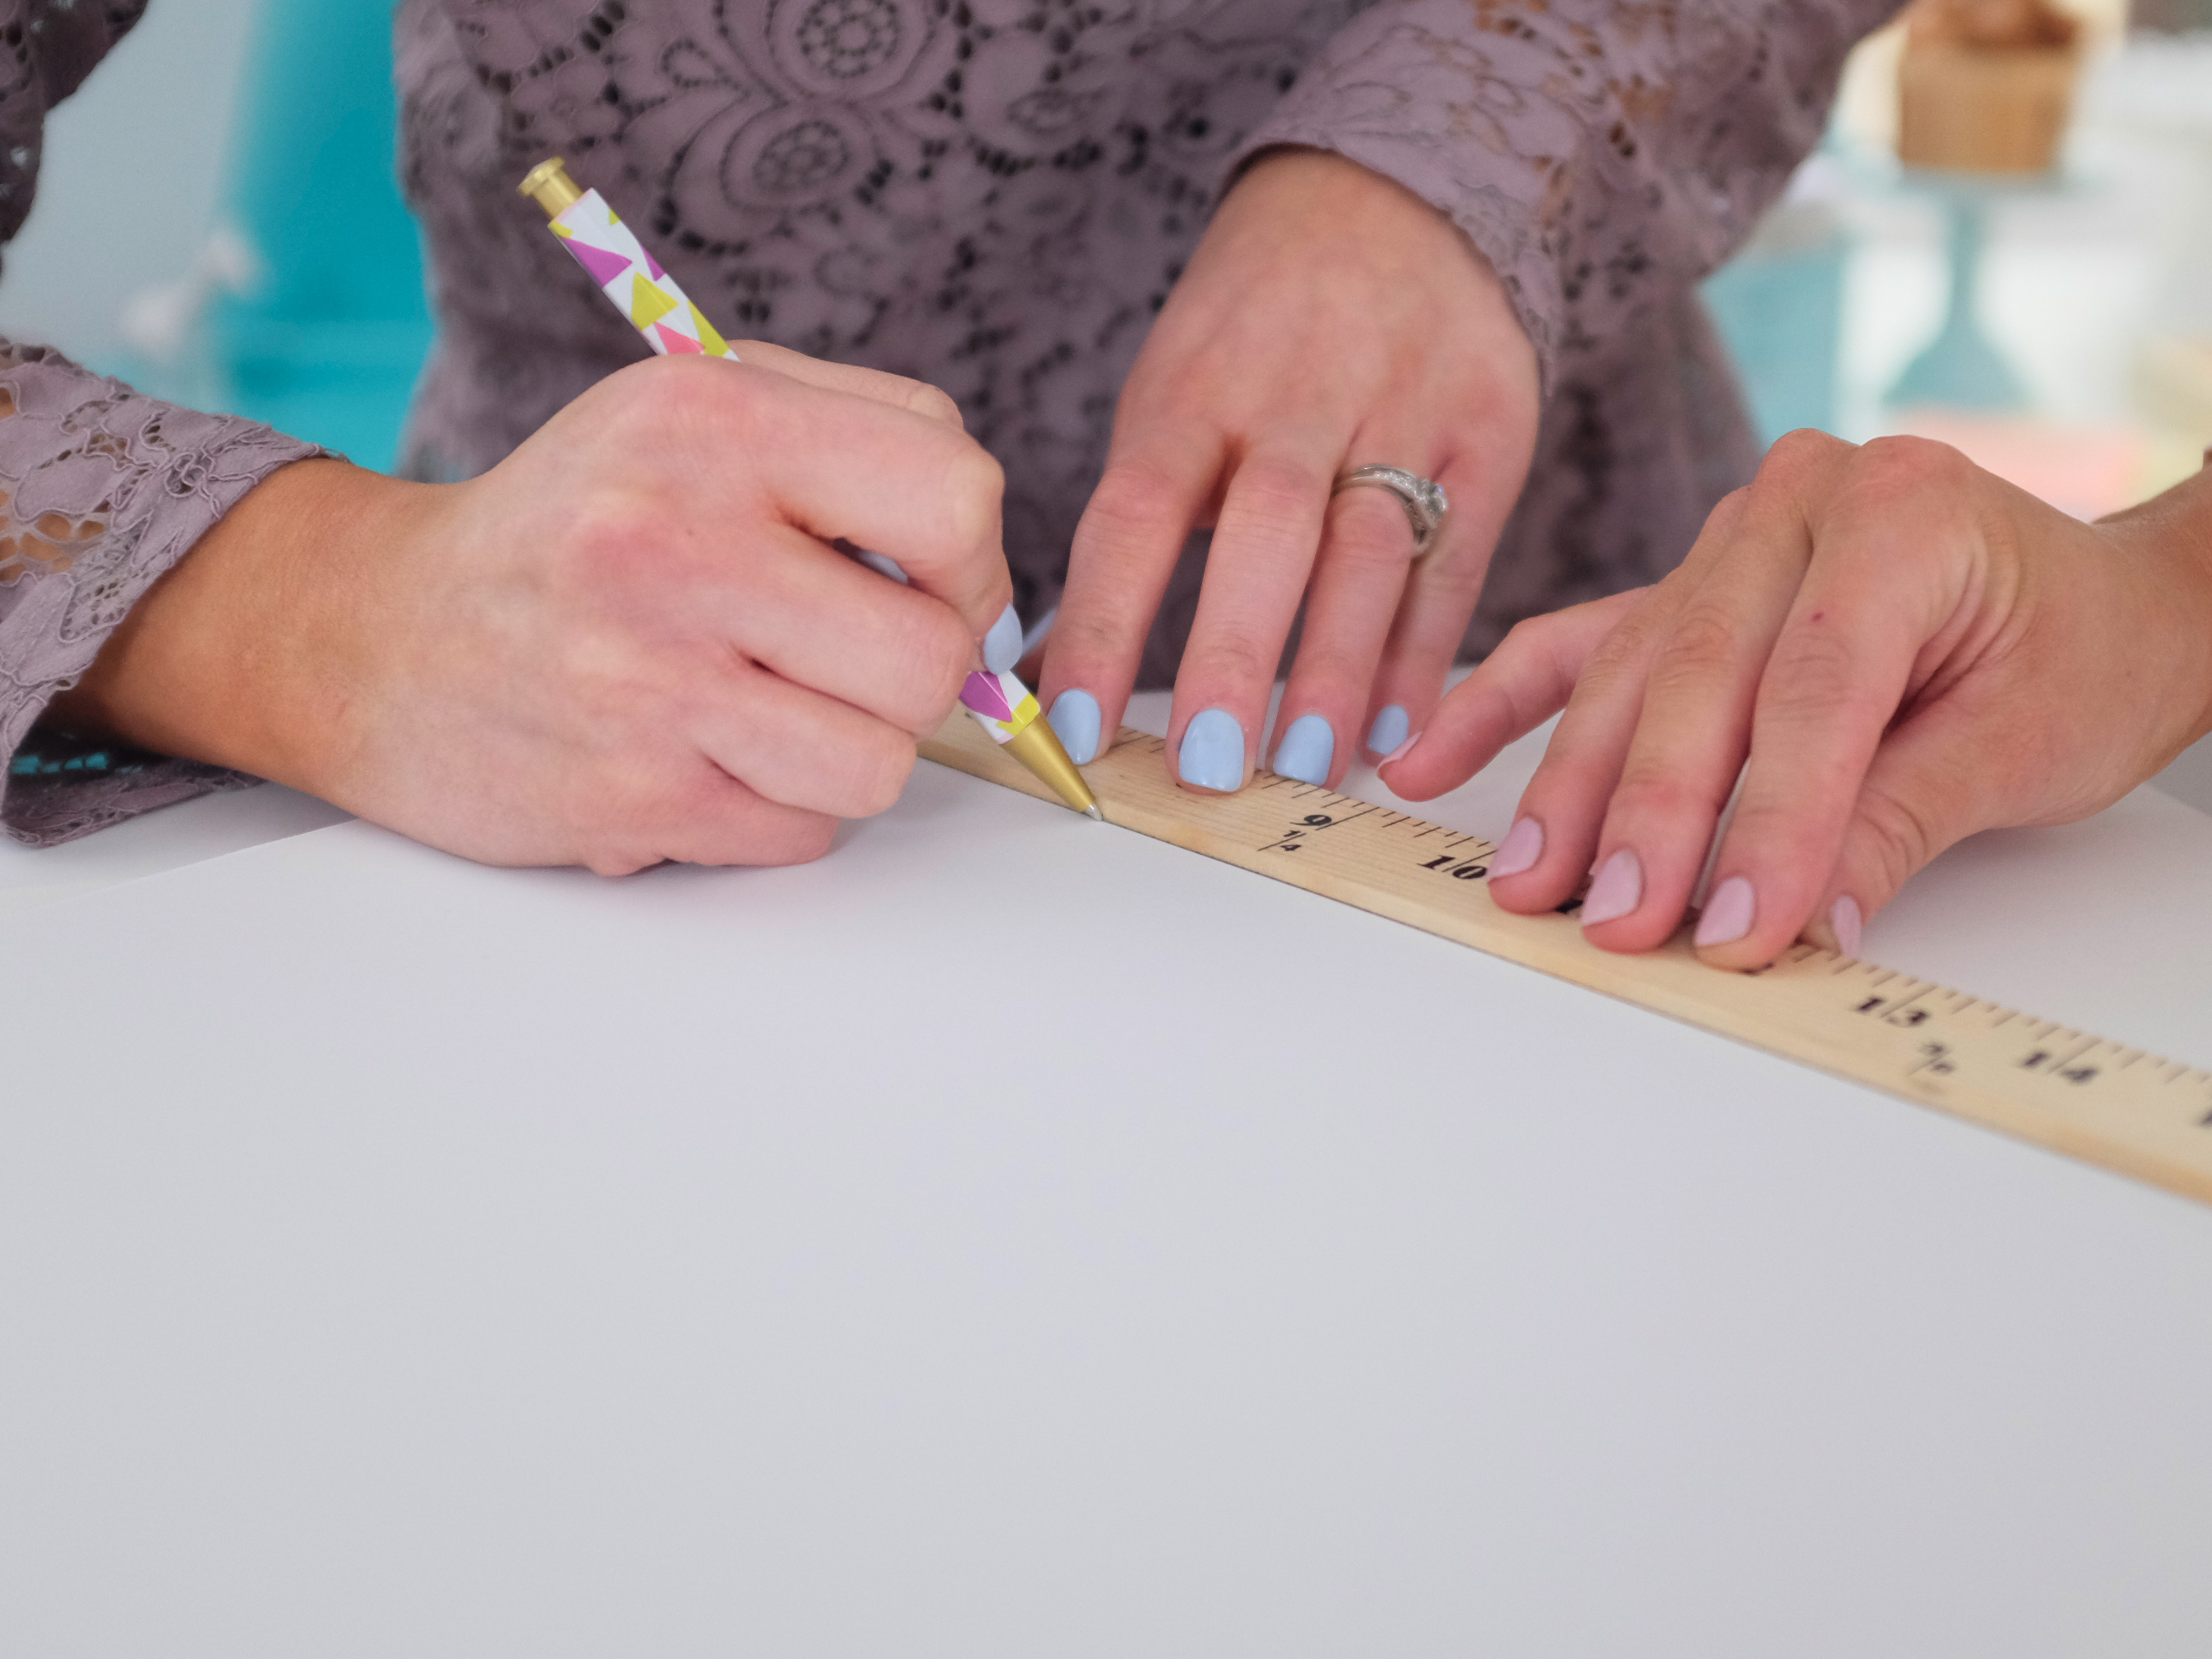
Place your yardstick along the shorter edge of your foam board and trace along the other side. Repeat this step 3 times, then cut along the lines with a utility knife to create 4 strips, about 1 1/2 inches wide.
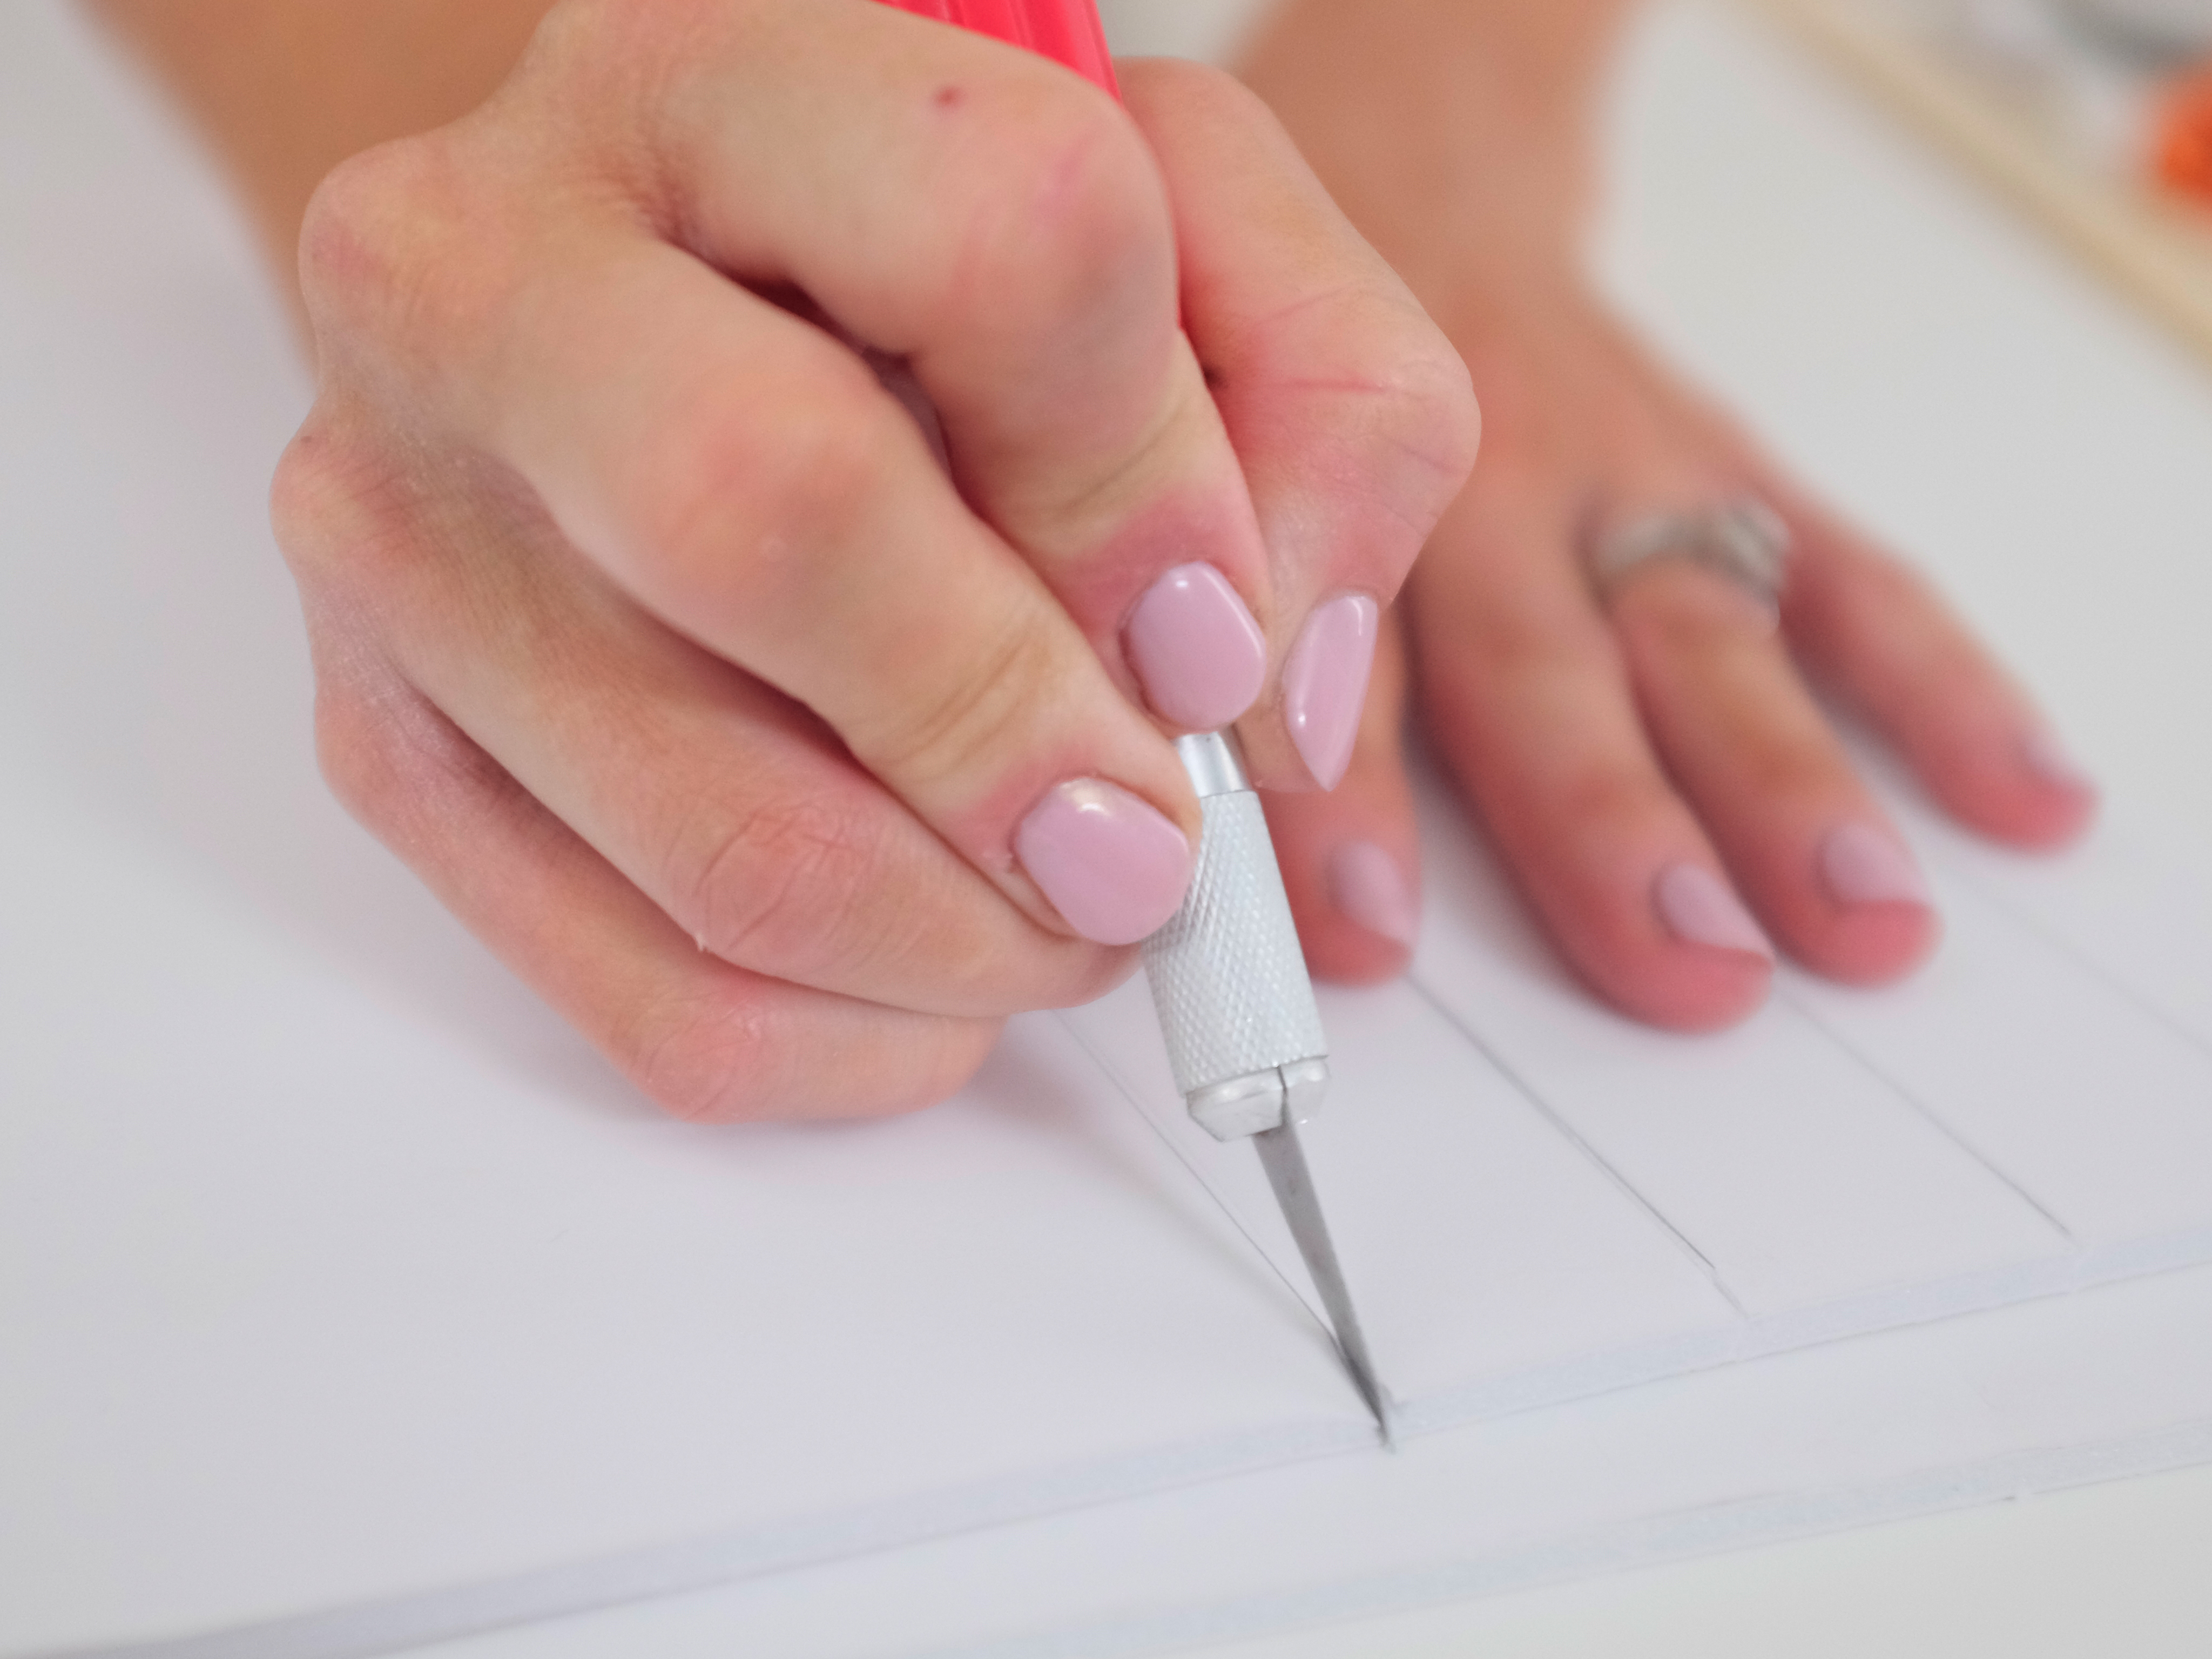
2 Cut The Strips

Cut another strip twice the previous width, about 3 inches wide and one strip about twice that width, about 6 inches.
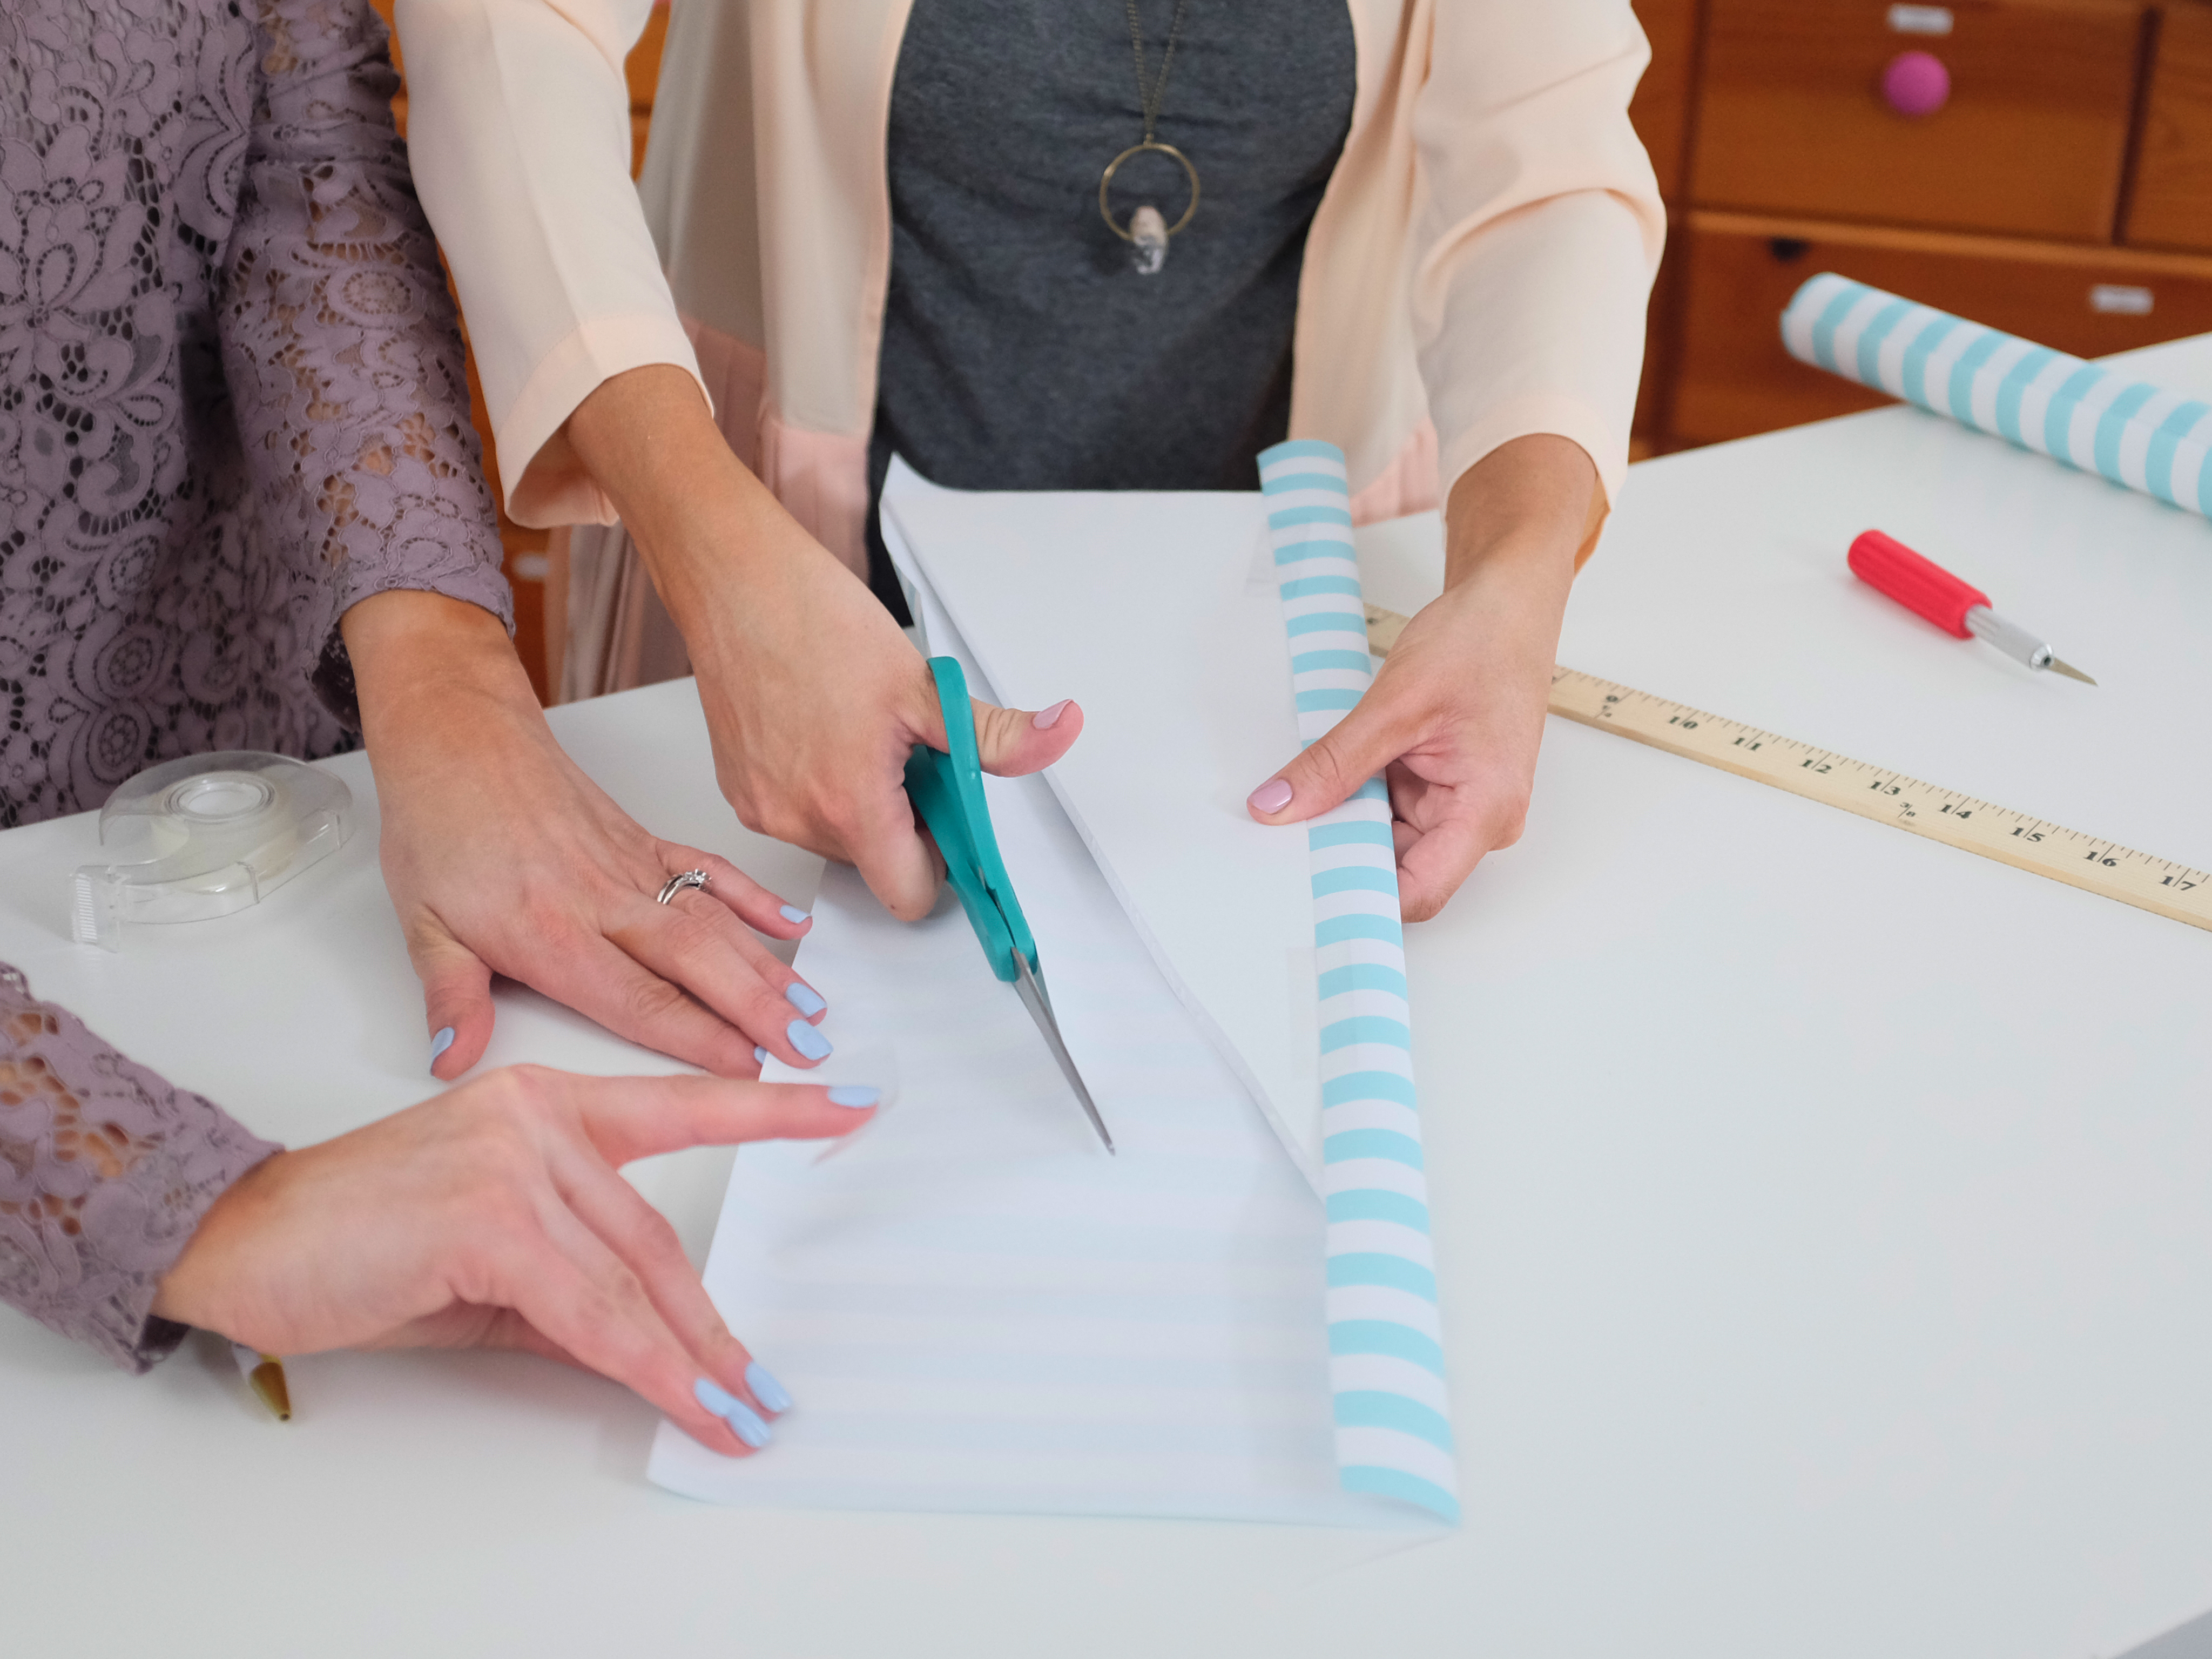
3 Trim Your Paper
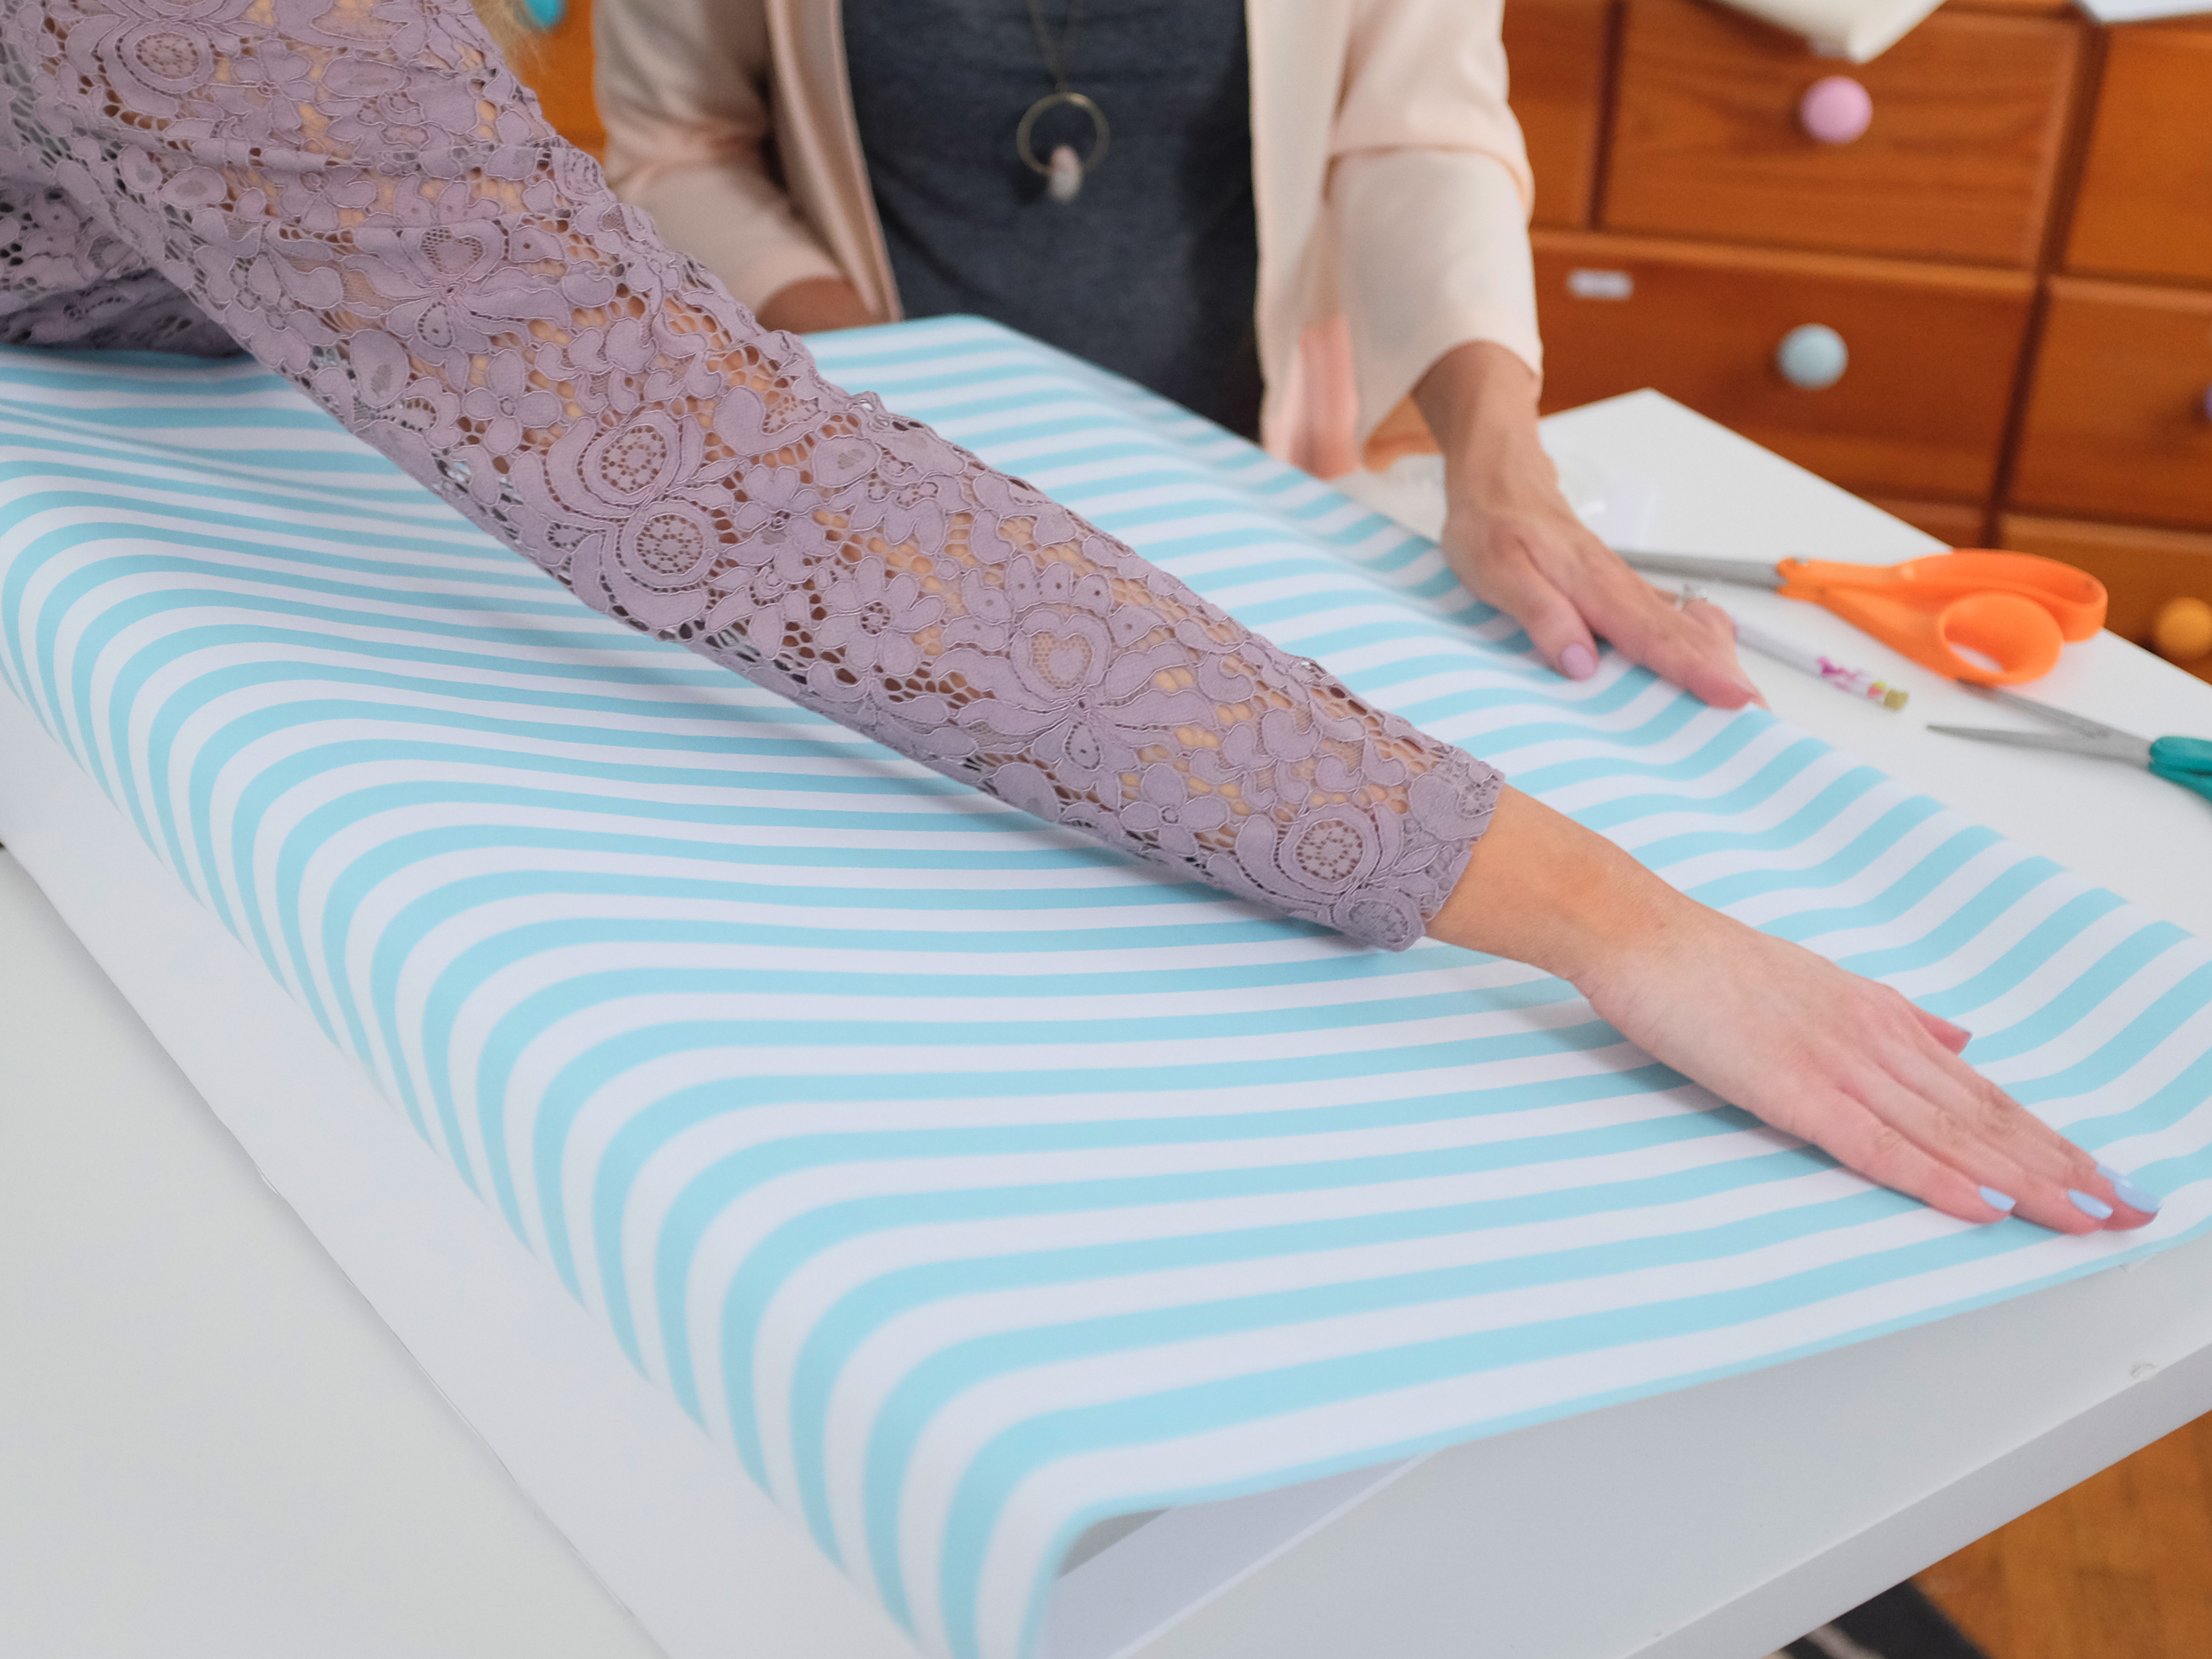
Match the 3-inch strip and the 6-inch strip up to your roll of paper and then cut them to this length.
4 Glue Your Frame

Stand the widest foam strip (the 6-inch wide one) up on its side. Hot glue two of the 1 1/2-inch strips to the top corners of this piece, resting the other end of them on your work surface (so the two small strips are forming a diagonal line).

Now place the 3-inch strip laying flat underneath the ends of the diagonal strips. Hot glue these in place.
The other two 1 1/2-inch strips will be glued between the 6-inch piece and the 3-inch one, horizontally along your work surface. Cut them to this length before gluing in place.
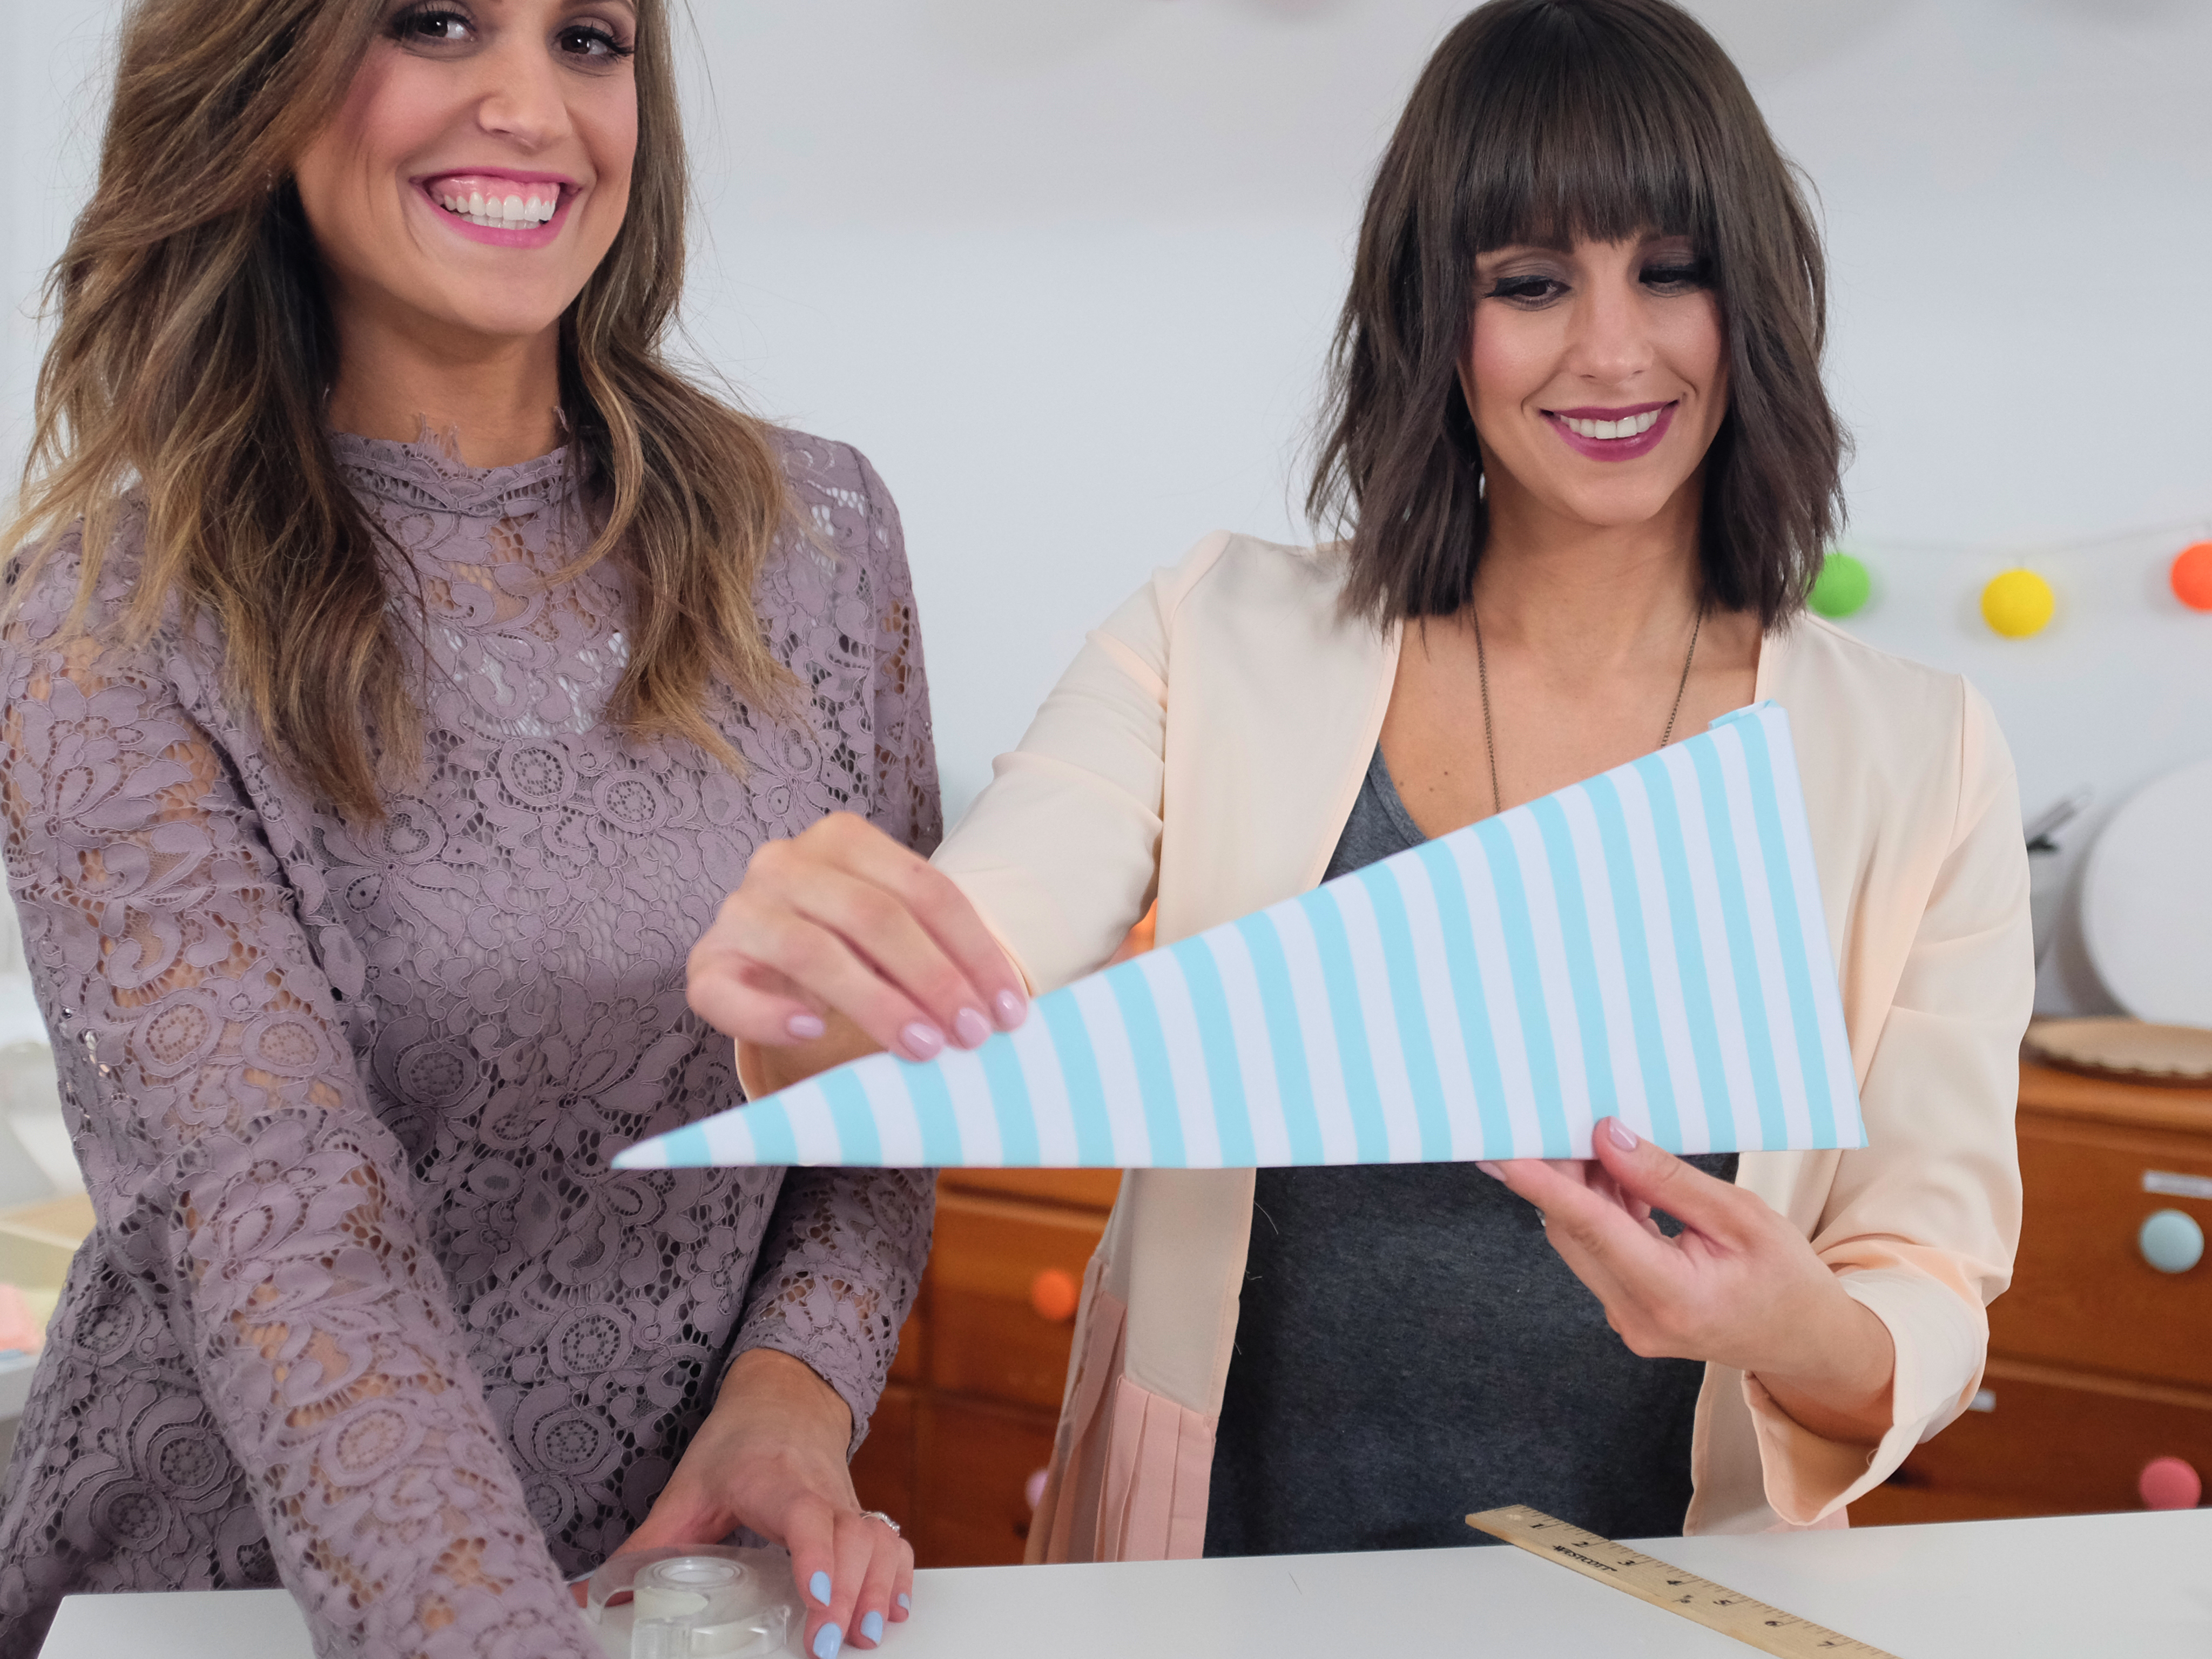
5 Create The Sides
Now you should have a sturdy triangle form. Lay the 3-inch piece on its side and trace the triangle onto your foam board. Repeat this step, so you have two triangles traced onto a foam board.
Cut the triangles out with your utility knife.
6 Decorate the Sides
Now cover the foam triangles in your chosen decorative paper, wrapping it around all the sides and securing with tape on the back.
7 Cover Your Awning
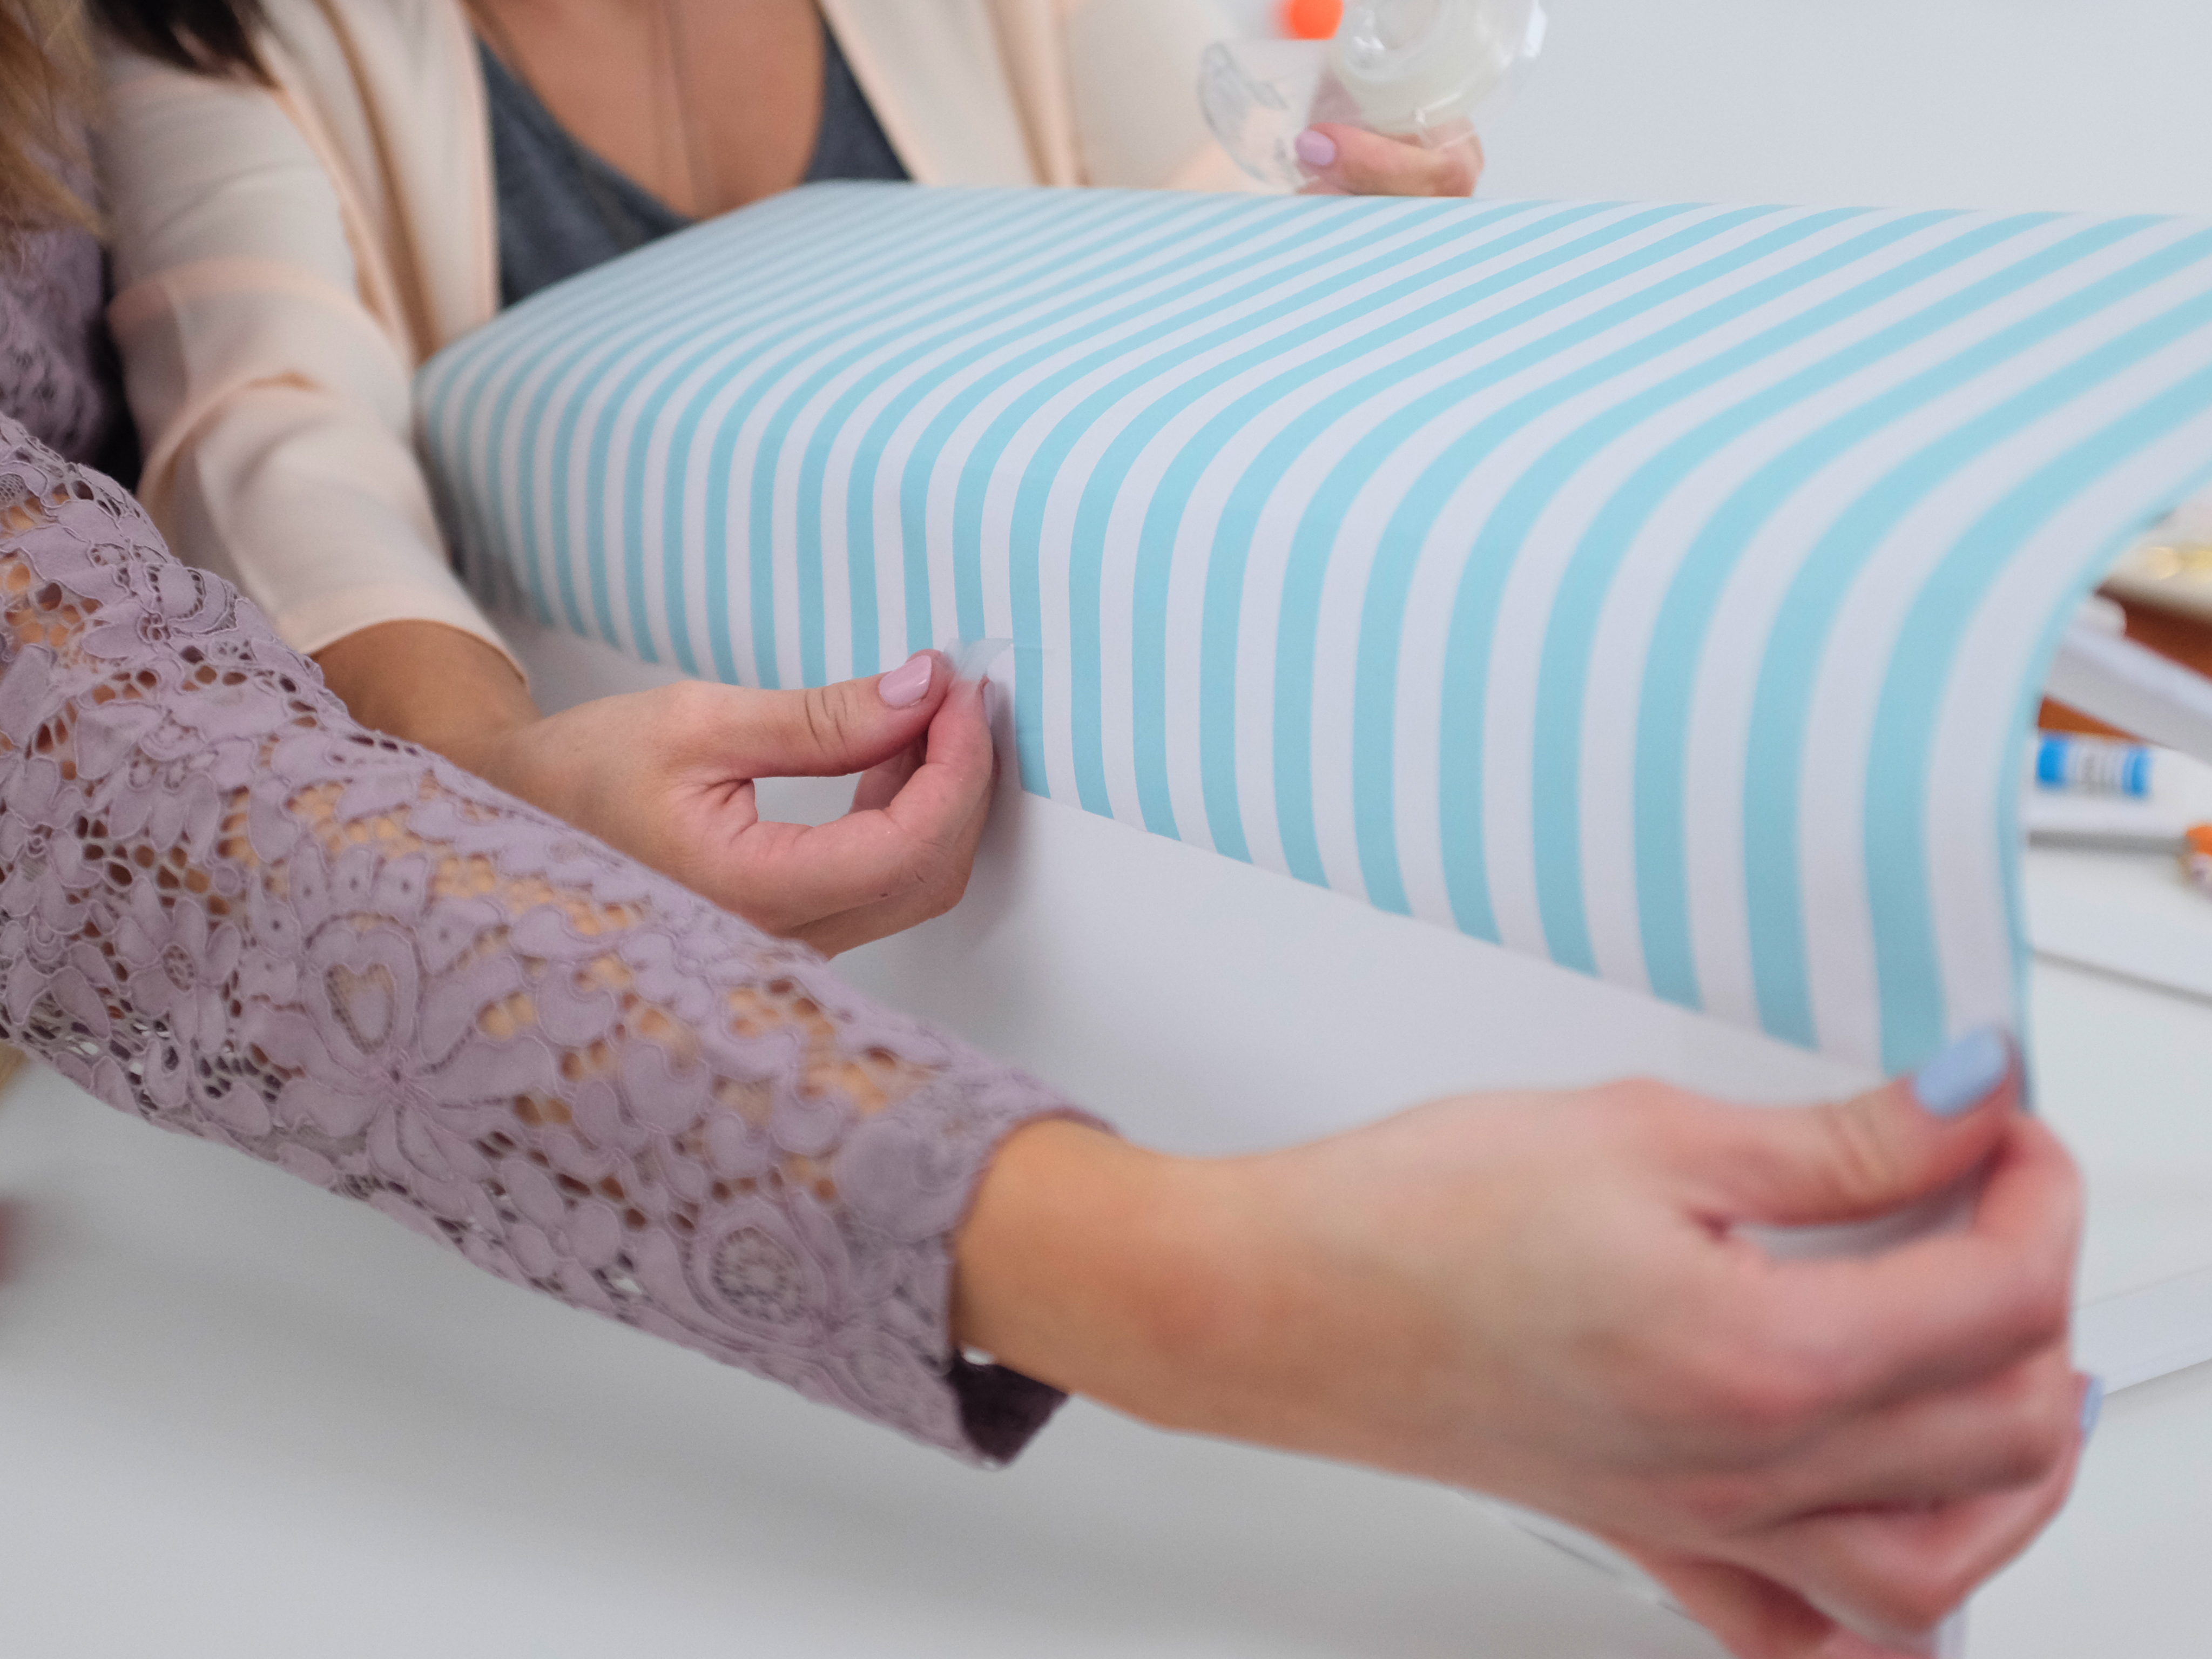
Now we are going to cover the whole form in the decorative paper to make our main awning piece. Attach tape rolls along the top of the diagonal strips in varying places, about 4 rolls per strip.
Unfurl some of your paper and tape it to the back of this form (behind the 6-inch piece).
Keeping the paper attached behind the form, roll it down over the diagonal pieces while pressing it onto the tape rolls as you go.
Once you’ve reached the bottom of the form, cut the paper a little longer than the bottom and fold this under the 3-inch bottom piece, taping or gluing in place underneath it.
8 Attach the Sides
Glue the paper-covered triangles we made in step 9 to the appropriate sides of your form using a hot glue gun.
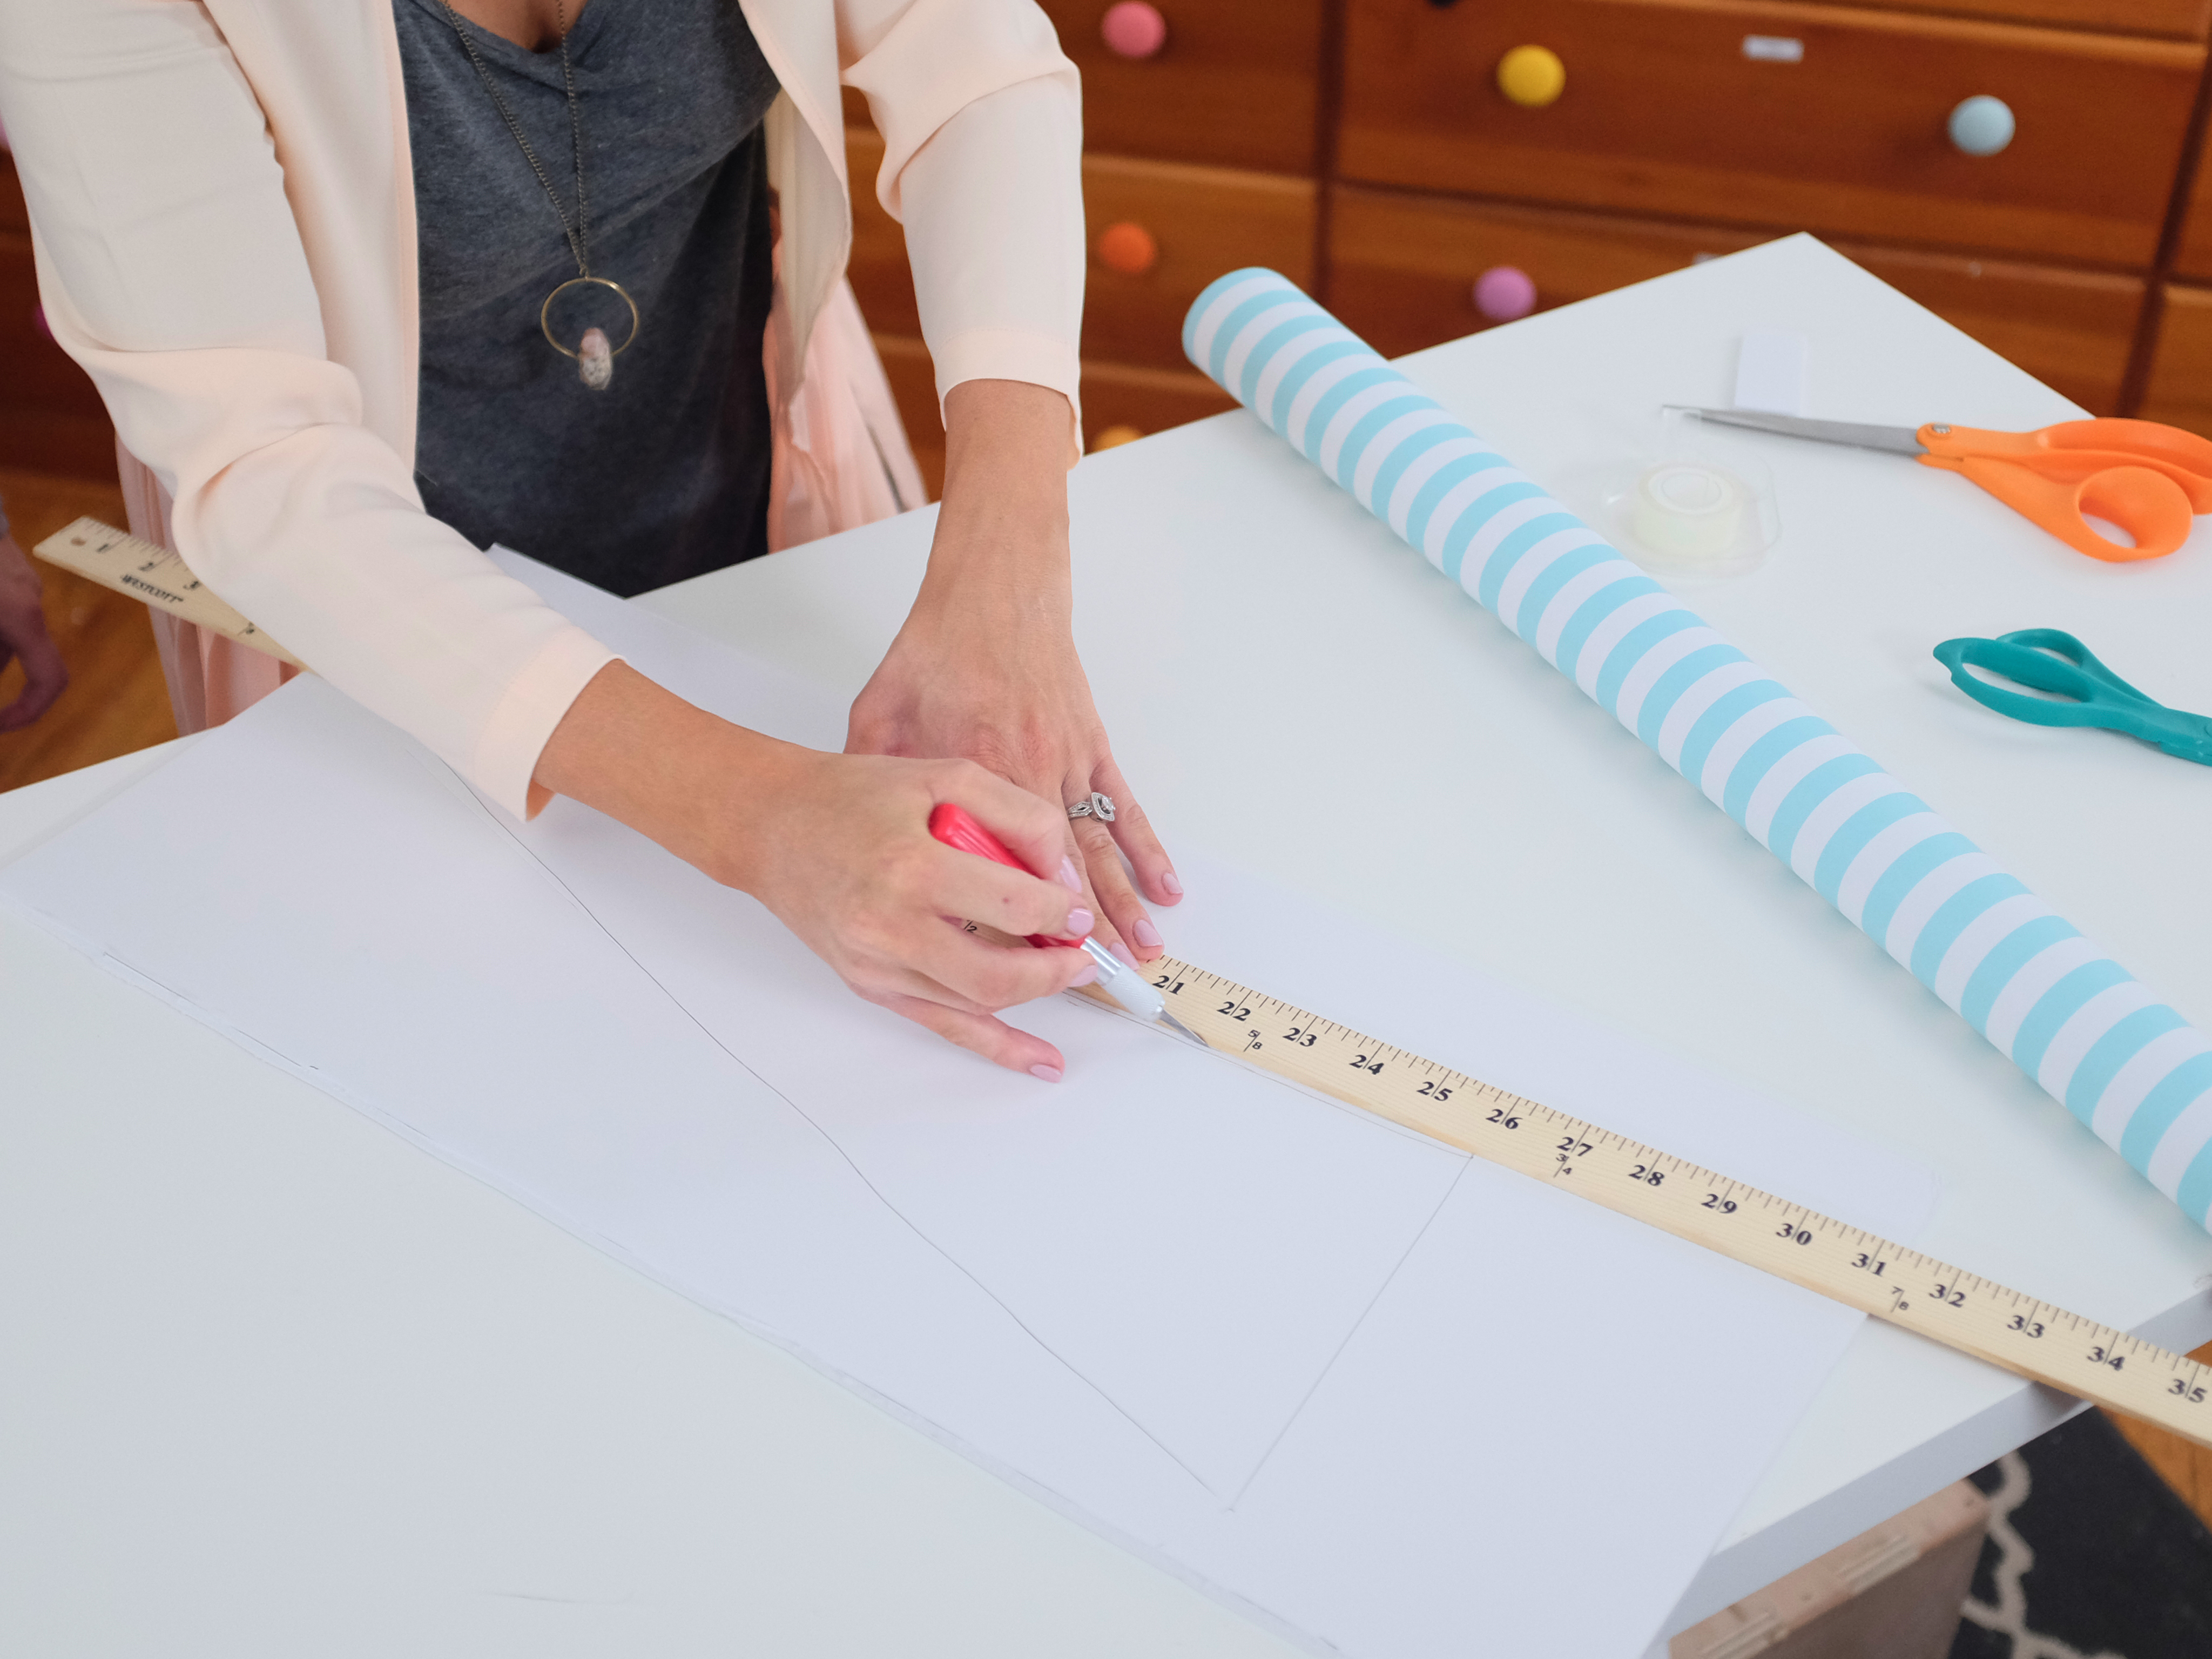
9 Start your Scallop
To make the scalloped edging, cut two wide strips out from the long side (30-inch side) of your poster board, a little bigger than the diameter of a cup or small bowl. In our case, our bowl is 3 1/2 inches wide, so we cut 4-inch strips.
With a glue stick, glue your decorative paper to one side of these strips, making sure the pattern lays the same way as it does on your awning and will match up when you attach it to the bottom.
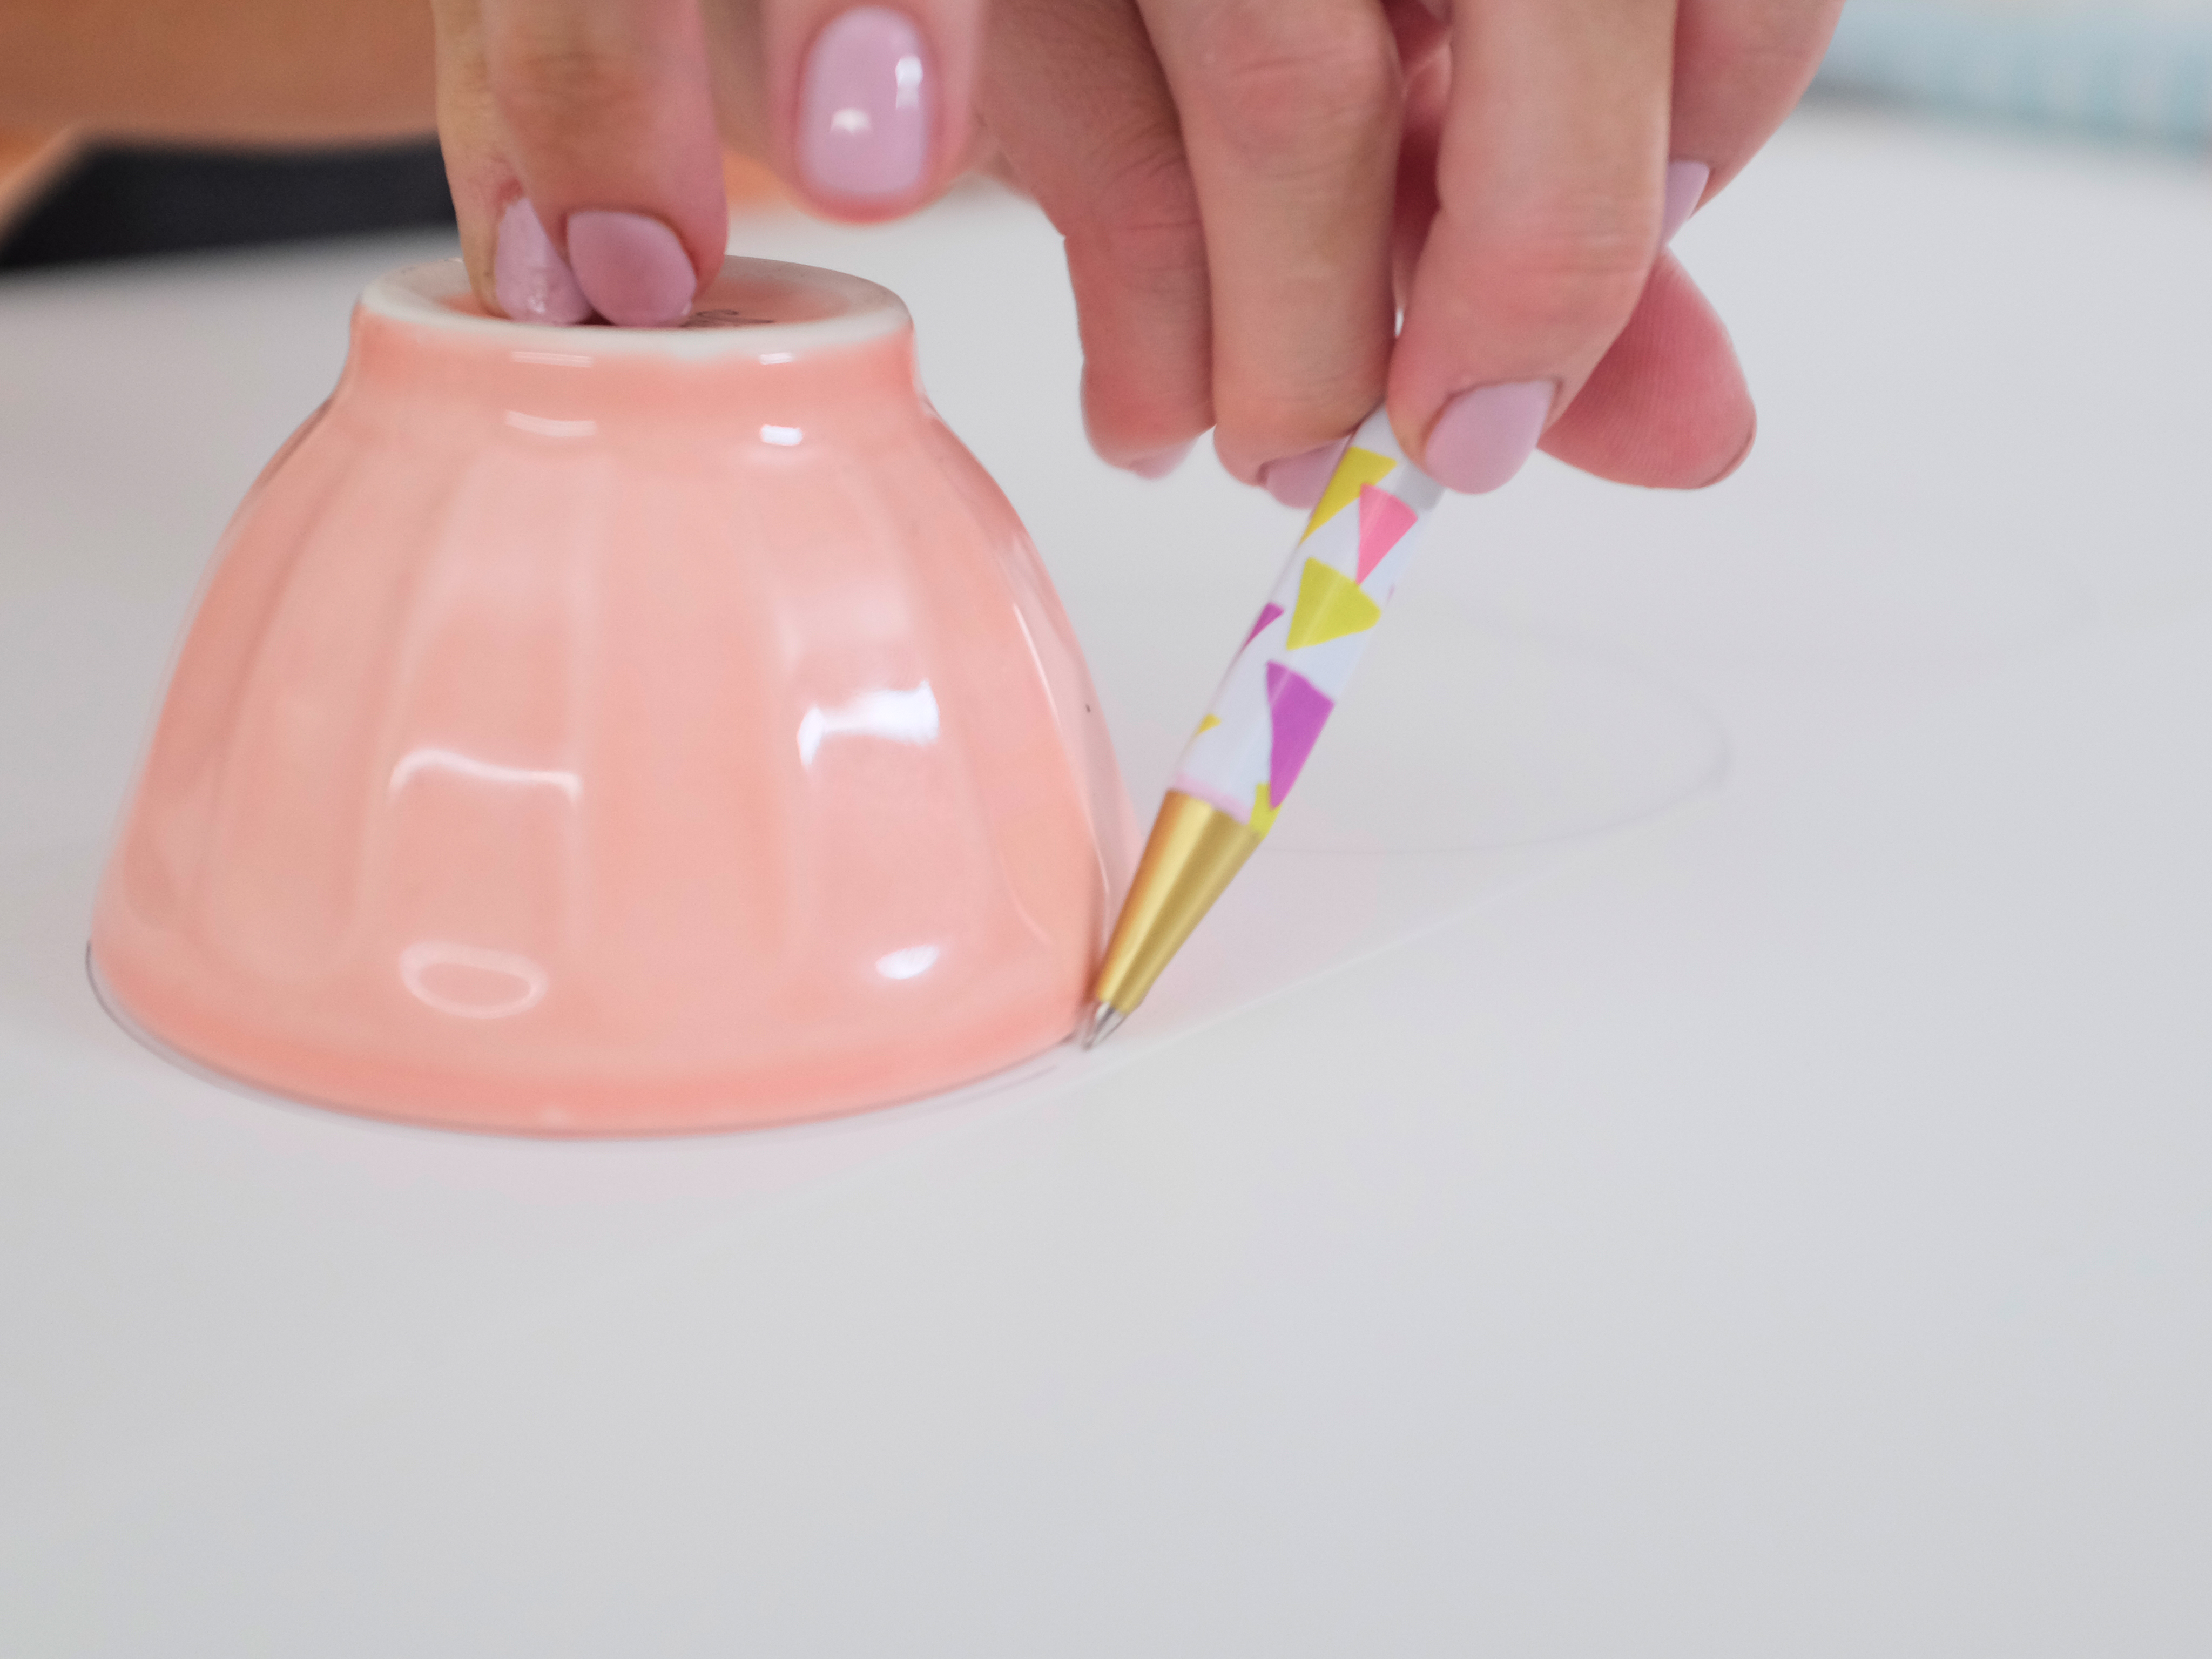
Trace your bowl repeatedly onto the other side of one strip so that the sides of the circles touch one another.
10 Cut The Scalloped Edge
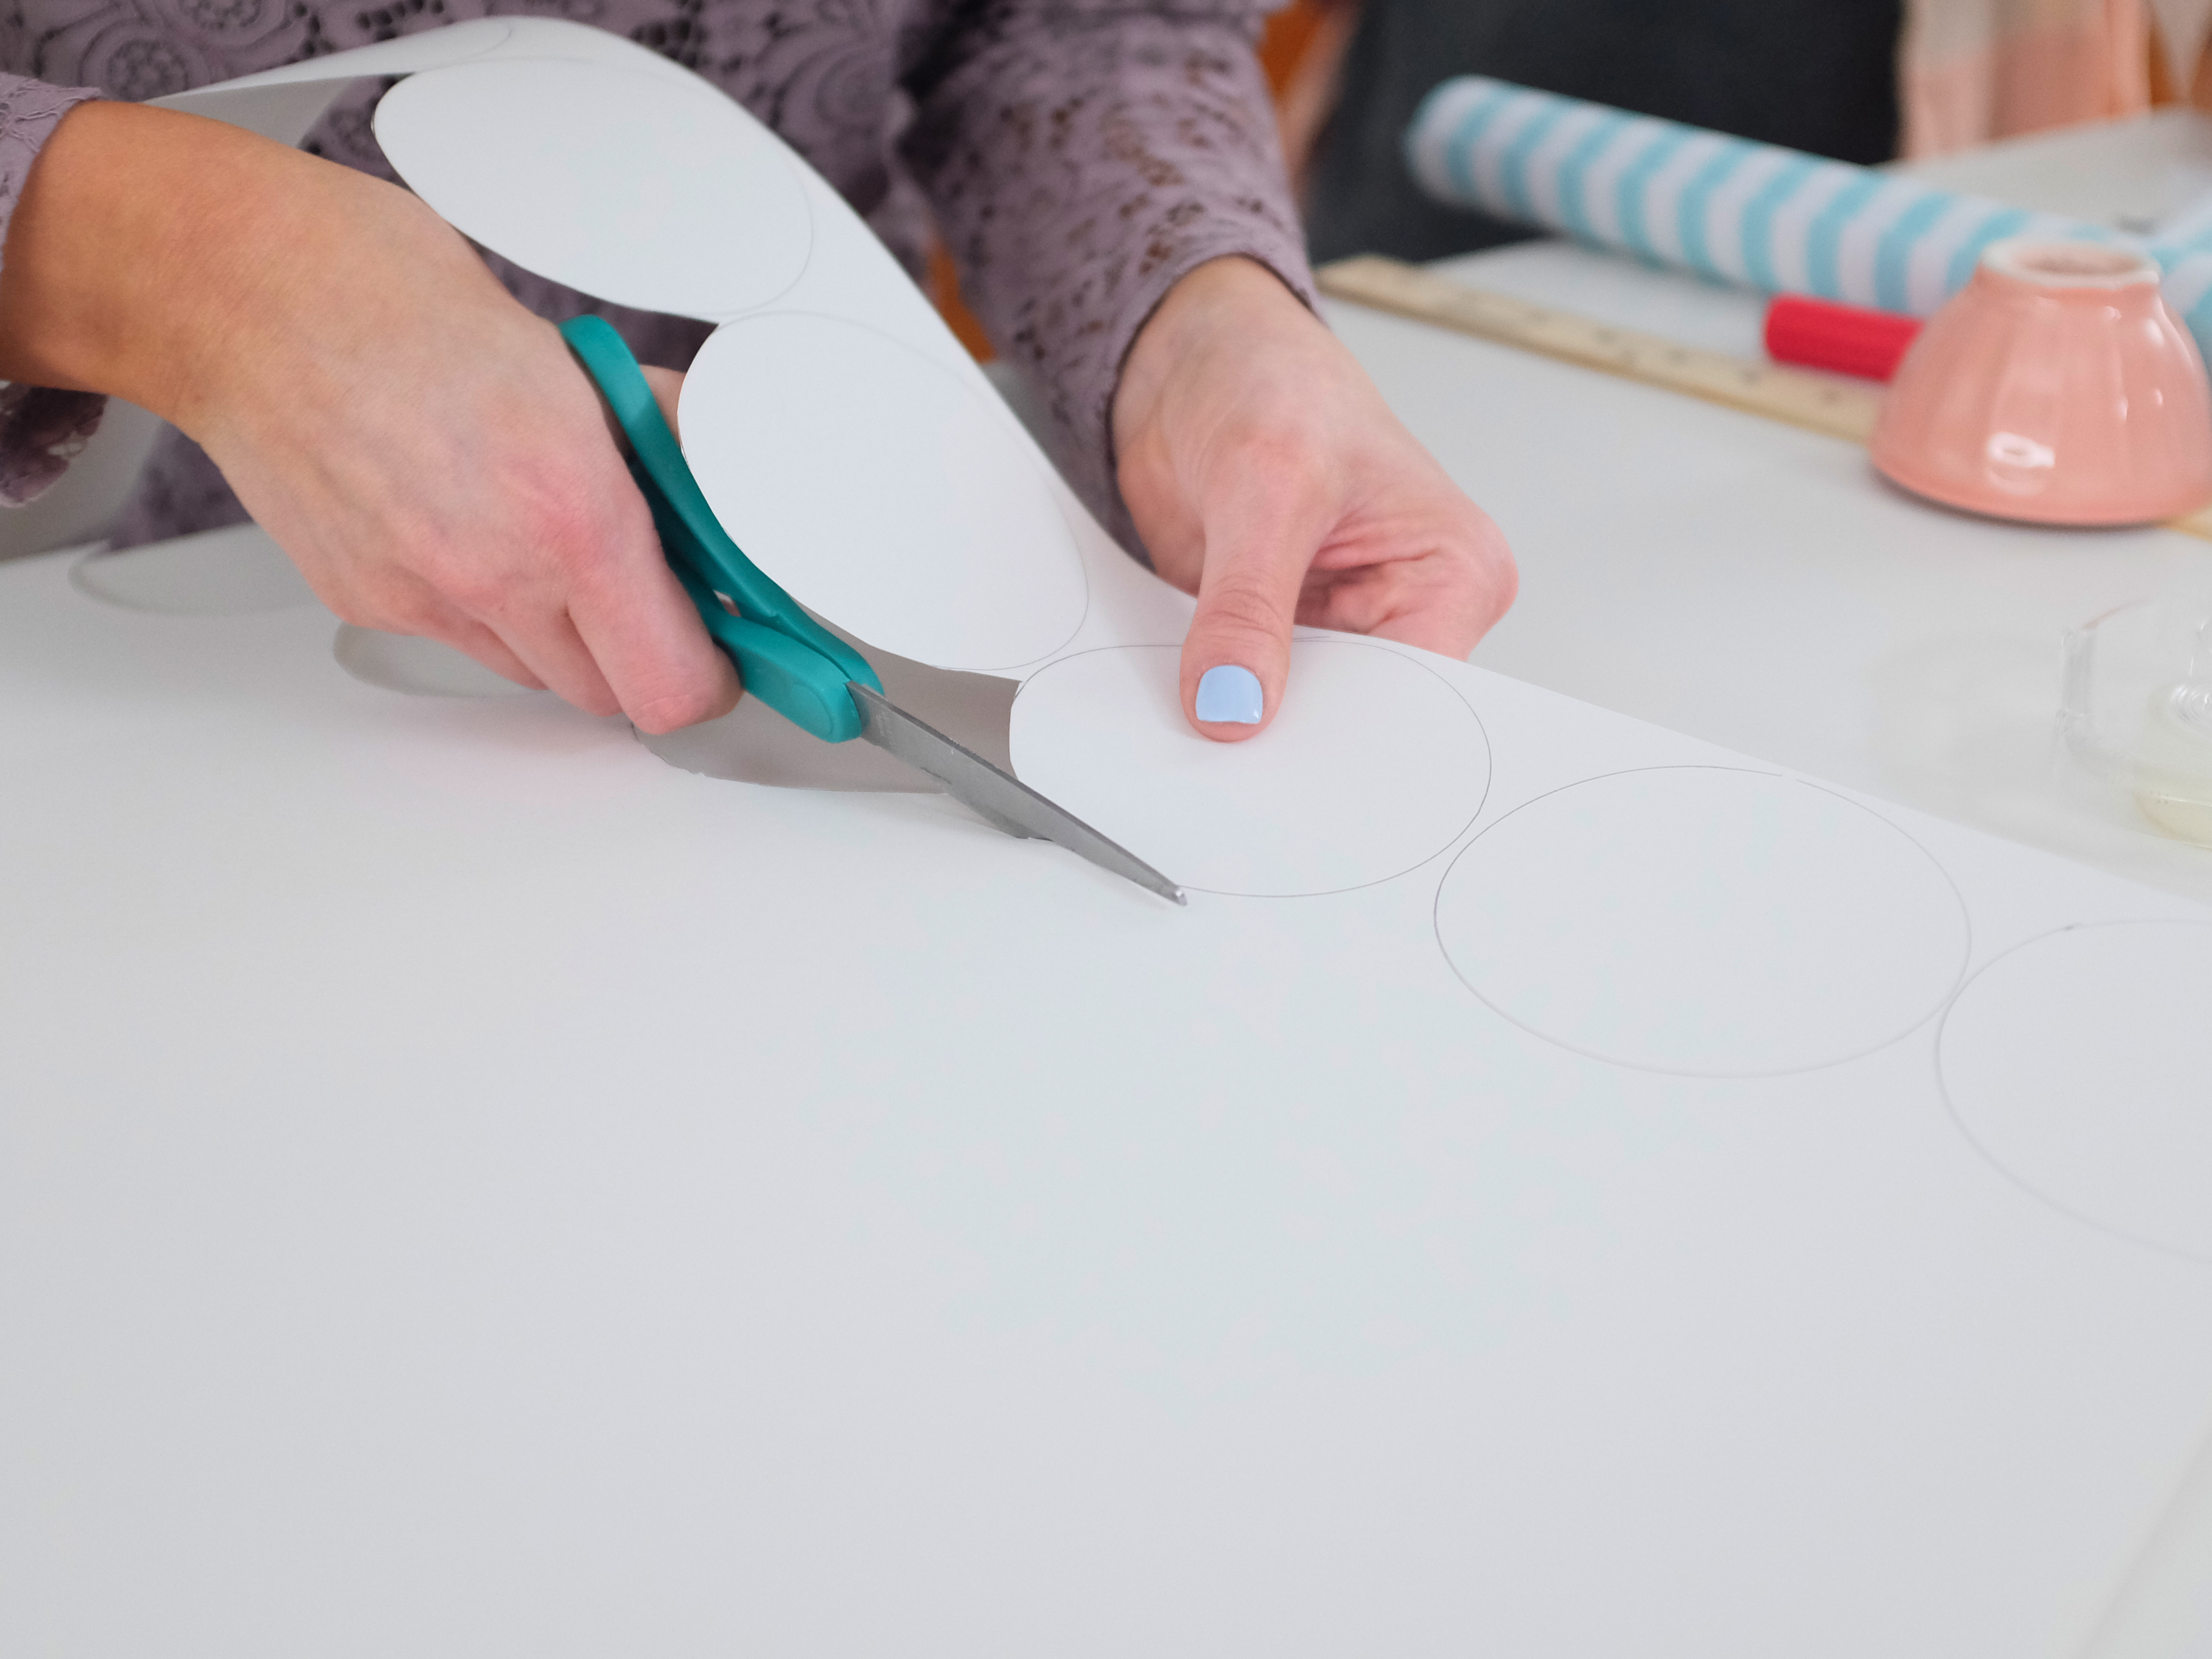
Cut along the bottom edge of the circles, to make a scalloped edge.
Trace this scalloped edge onto the other strip and then cut that strip as well.
11 Attach the Scalloped Edge
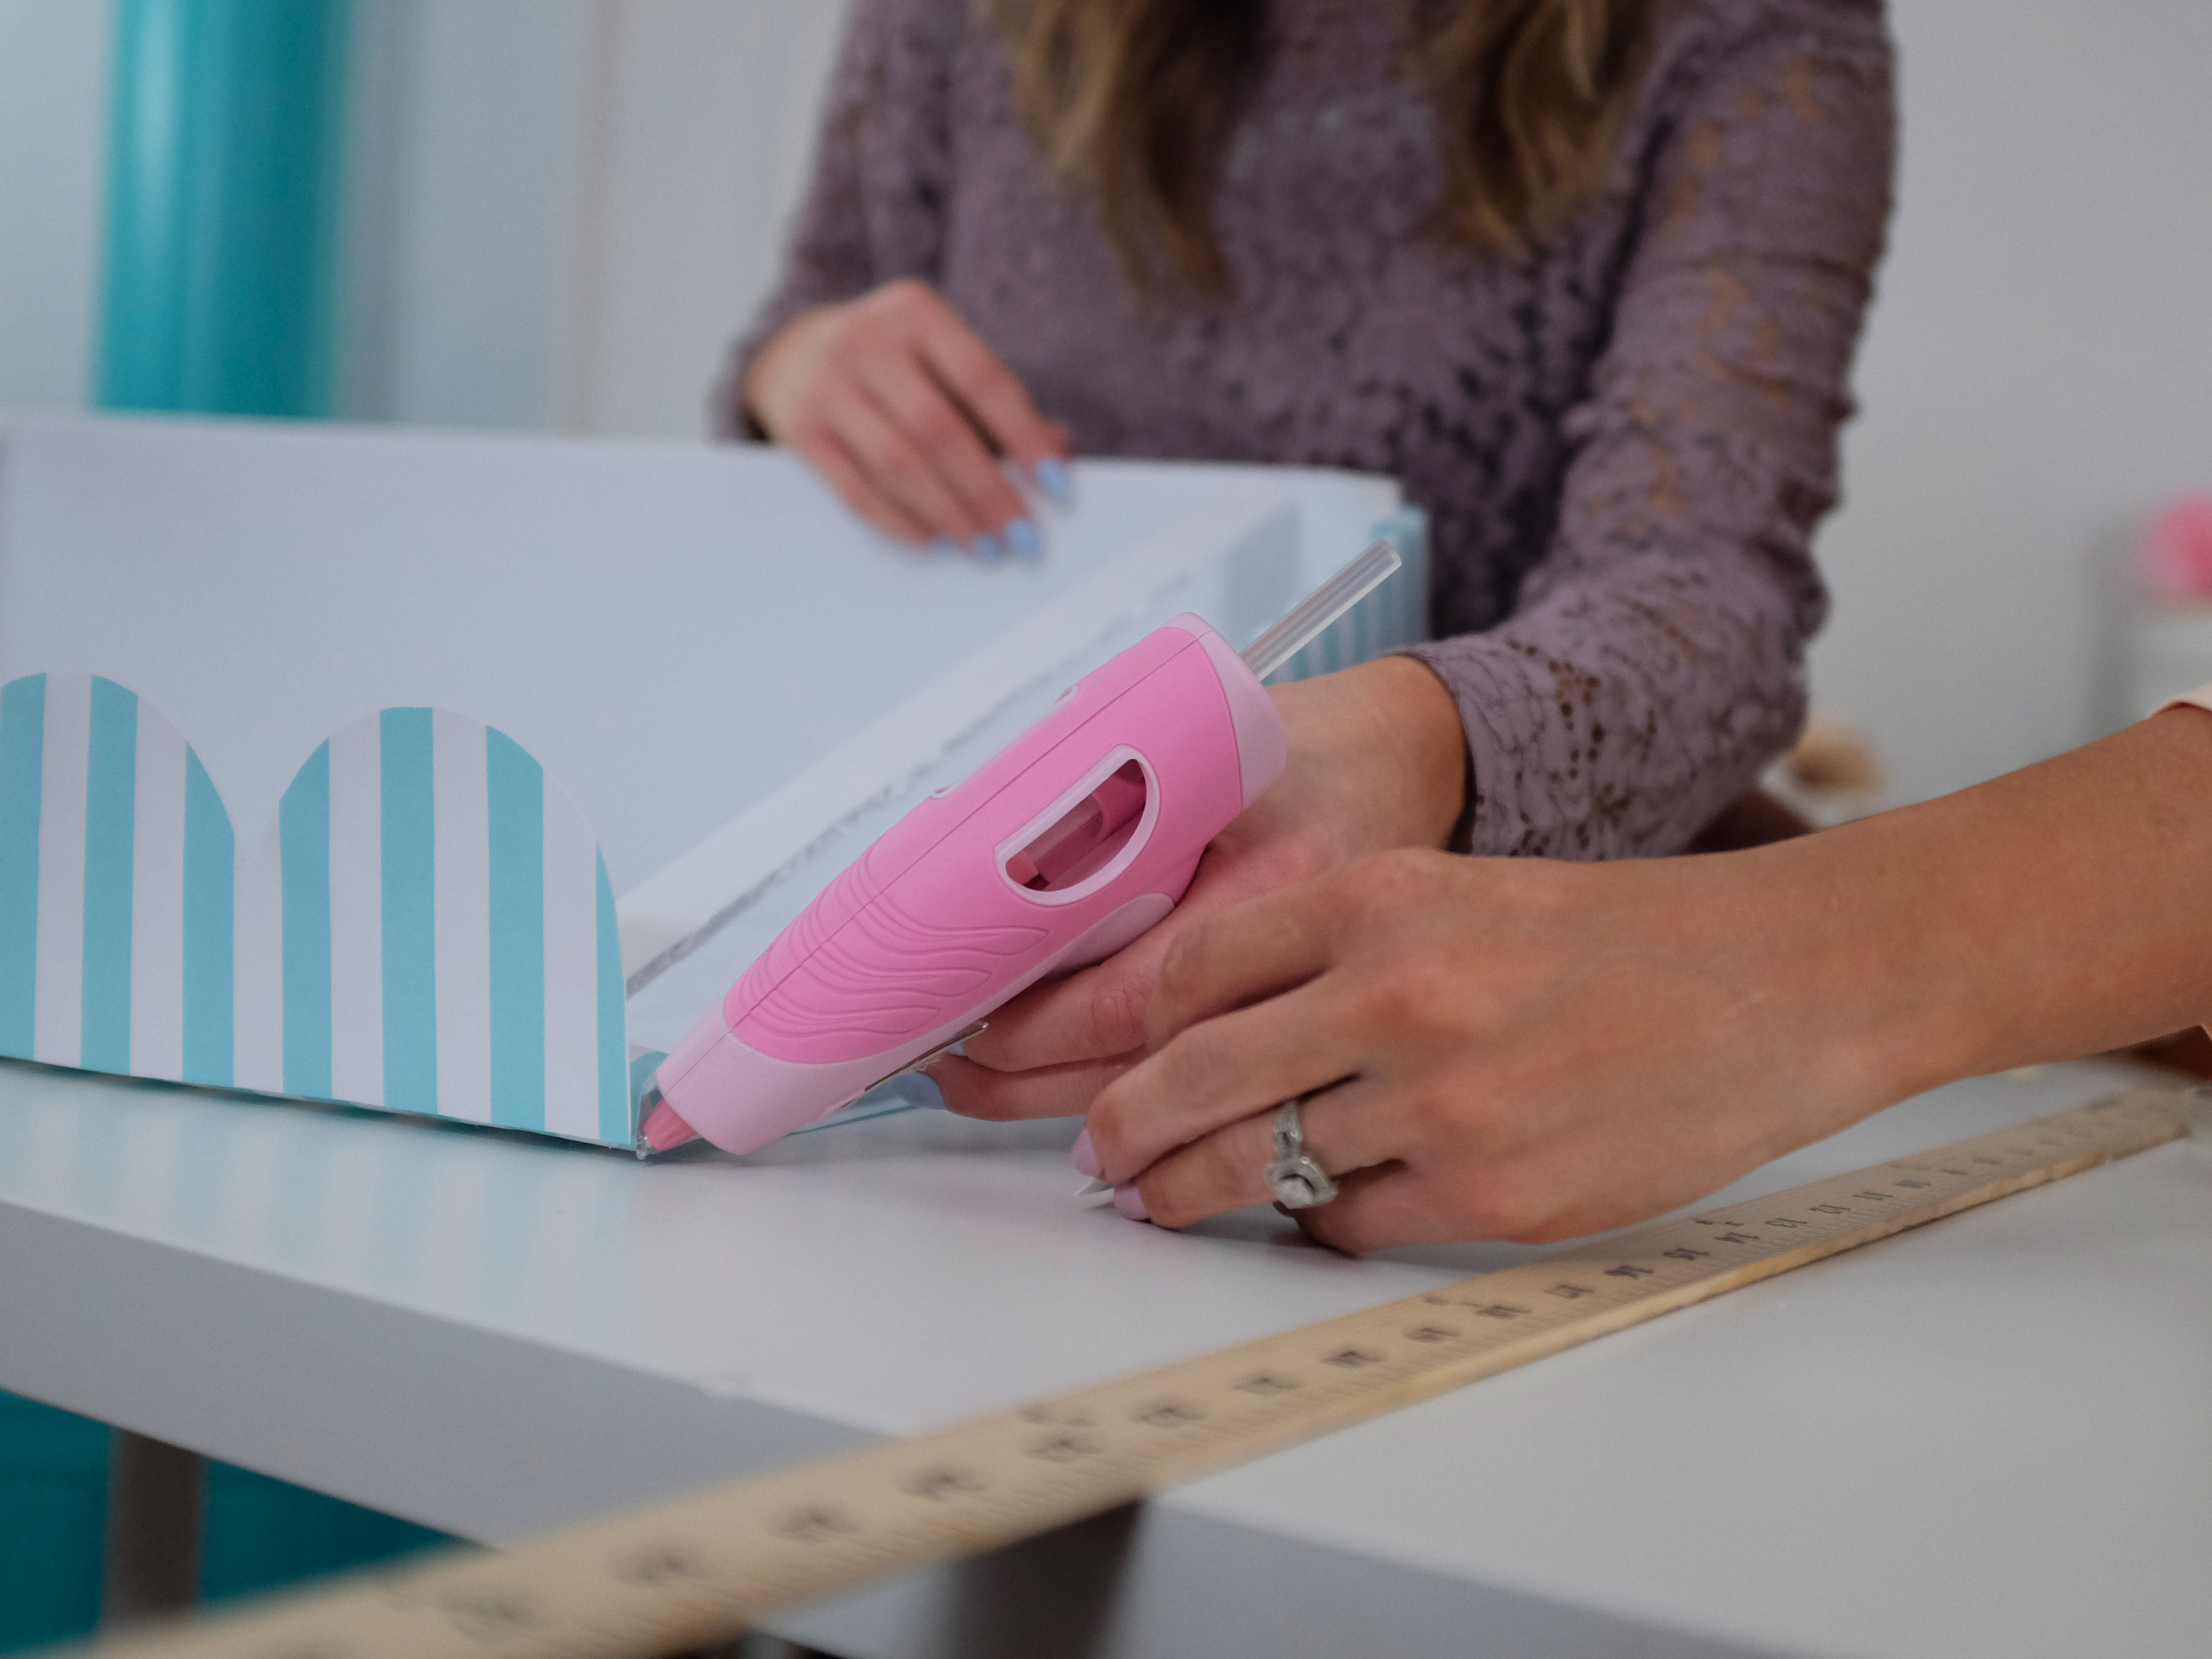
Using a glue gun, attach these strips in place on the front and sides of the awning form, cutting off any excess.
12 Hang Your Awning
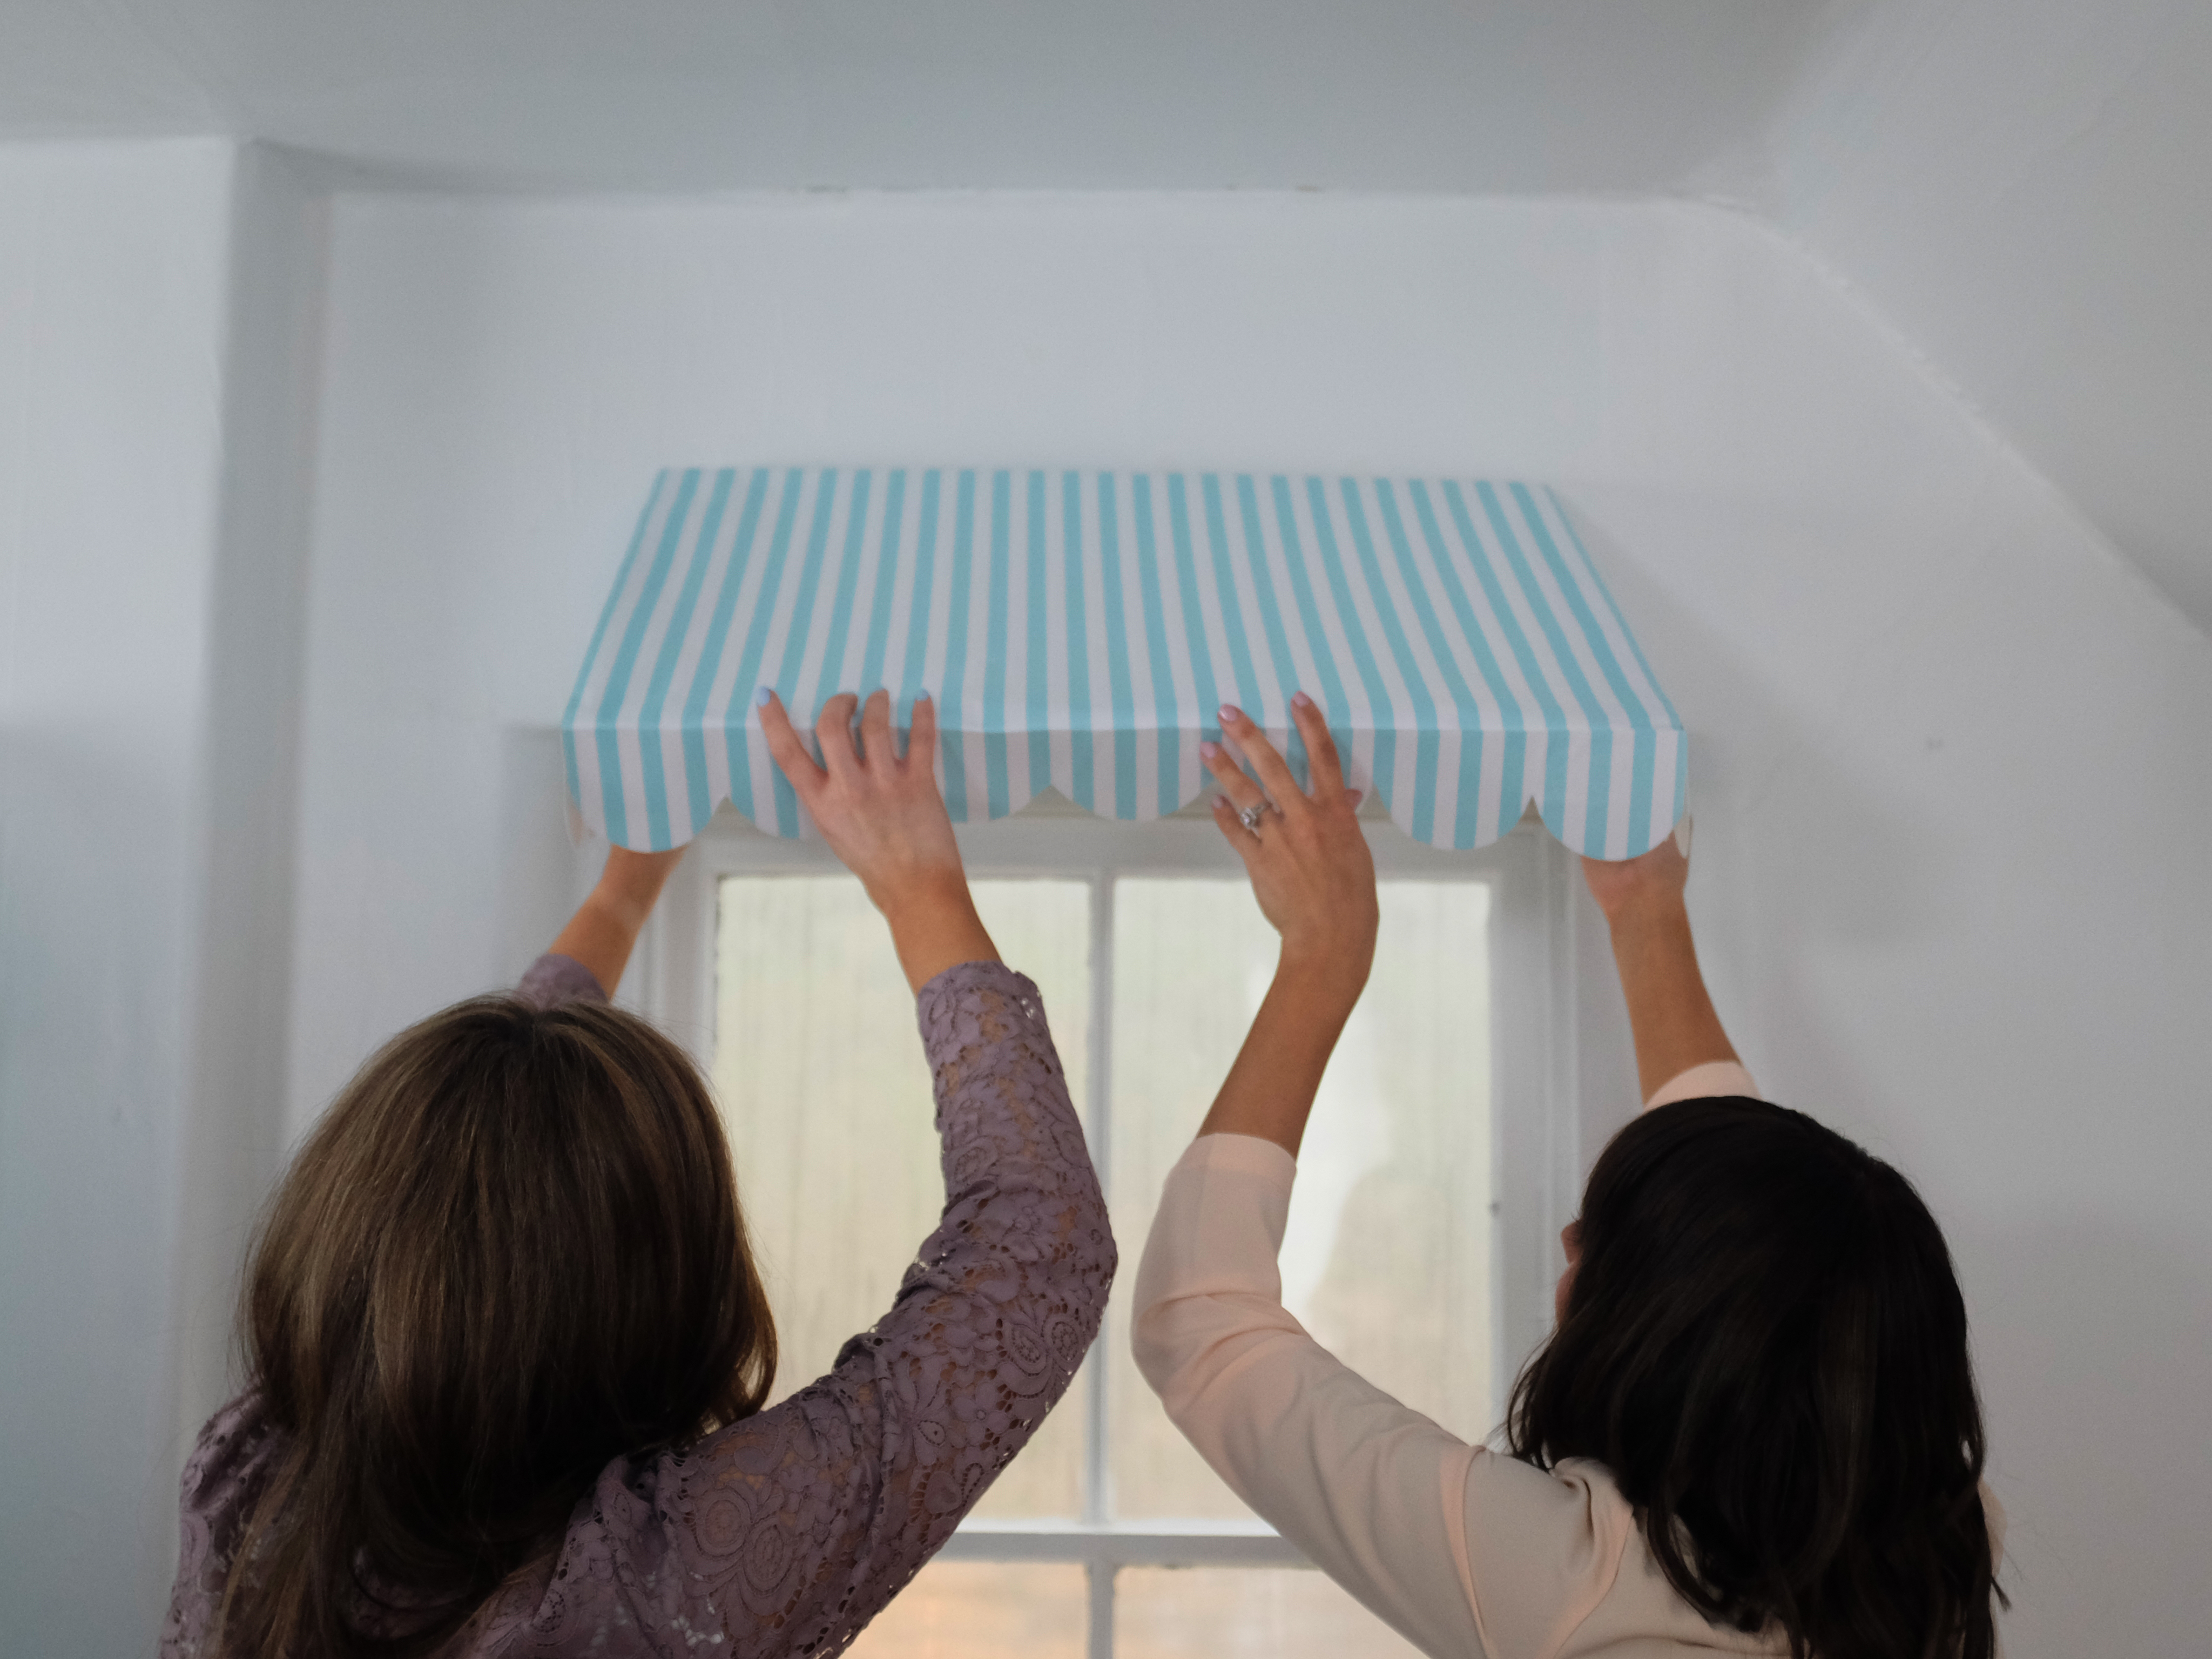
Attach double sided foam tape to the back of your awning.
Use a level to attach it to the wall above your table. Now it's time to make the donuts and cut out a bunch of festive confetti!