Brain Cookies With Blood Glaze

"A great halloween cookie"
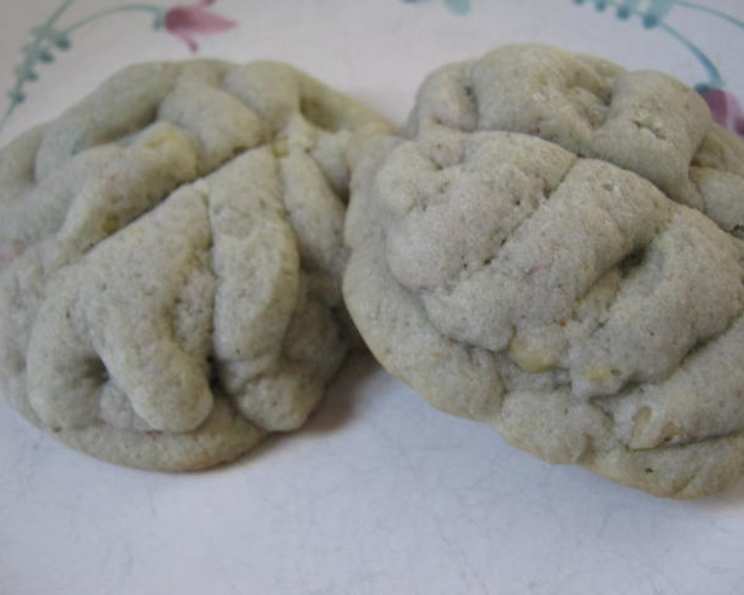
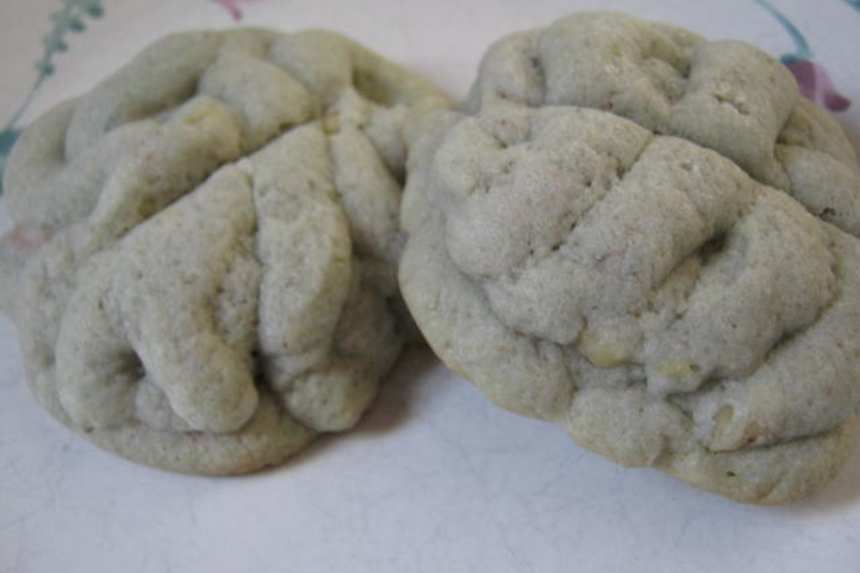
photo by Julie F


- Ready In:
- 52mins
- Ingredients:
- 12
- Serves:
-
24
ingredients
-
Brain Cookies
- 1 cup unsalted butter, softened
- 1 cup sugar
- 3 cups all-purpose flour
- 1⁄2 teaspoon baking soda
- 1⁄2 teaspoon salt
- 2 large eggs
- 1⁄2 cup very finely chopped walnuts or 1/2 cup pecans
- 1 teaspoon vanilla
- 5 drops red food coloring
- 9 drops blue food coloring
-
Blood Glaze
- 2 cups icing sugar
- 35 drops red food coloring
directions
- Preheat the oven to 350 degrees F.
- Line 2 large baking sheets with parchment paper and set aside.
- In a large bowl, cream together the butter and sugar.
- Into a separate bowl, sift together the flour, baking soda, and salt.
- Alternating with the eggs, add the flour mixture to the butter mixture, beating well after the each addition.
- Fold in the nuts, vanilla, and red and blue food coloring, being careful not to overmix the dough.
- Place the dough in batches in a potato grinder and push the dough out onto the prepared baking sheets in long tubes of dough.
- With your fingers, loosely pat and arrange the dough strands into clumps resembling brains, pushing to form 2 hemispheres and shaping into a walnut-like shape.
- Bake until golden brown on the bottom, 12 to 14 minutes.
- Remove from the oven and transfer to a wire rack to cool.
- To make the blood glaze: in a small bowl, combine the icing sugar with the food coloring to make a thick glaze, whisking together.
- Drizzle the "blood" onto the cookies and serve either warm or at room temperature.
Questions & Replies

Got a question?
Share it with the community!
Reviews
-
 Everyone thought these looked fantastic! I used a spaetzle maker to squeeze the dough out. I used my cookie scoop to place the dough into it and then squeezed each cookie out individually so that they were all the same size. I formed each group of stands into a loose brain shape and then used a plastic knife to separate the two hemispheres of the brain. The cookies seemed a bit dry but I think I might have overcooked them, plus I like my cookies on the softer side. They were a bit time-consuming but the end product was worth it.
 -
 This is a wonderful cookie. I first found this recipe by Emeril Legasse. My daughter was doing a project on Albert Einstein and these cookies were the perfect thing to go along with them. They are a marvelous grey color and hold their shape quite well. I used my cookie press with a plate with large holes in it, then shaped it into a walnut shape. I took a knife and made an indentation down the middle before cooking the cookies. It held up fairly well, but I did use the knife after they came out of the oven to go over the cut again. I opted not to use the ''blood' gel because I wanted mine to look less Halloweenish. I highly recommend making these. They were easy to make and looked just like brains! Thanks for sharing.
RECIPE SUBMITTED BY

Alia55
Canada
After several floods to my basement, I am starting to input all of the many many recipes that I've been collecting for years. I didn't realize just how many I had saved up... must make note to self.. step away from the cookbooks!