PART OF Healthy

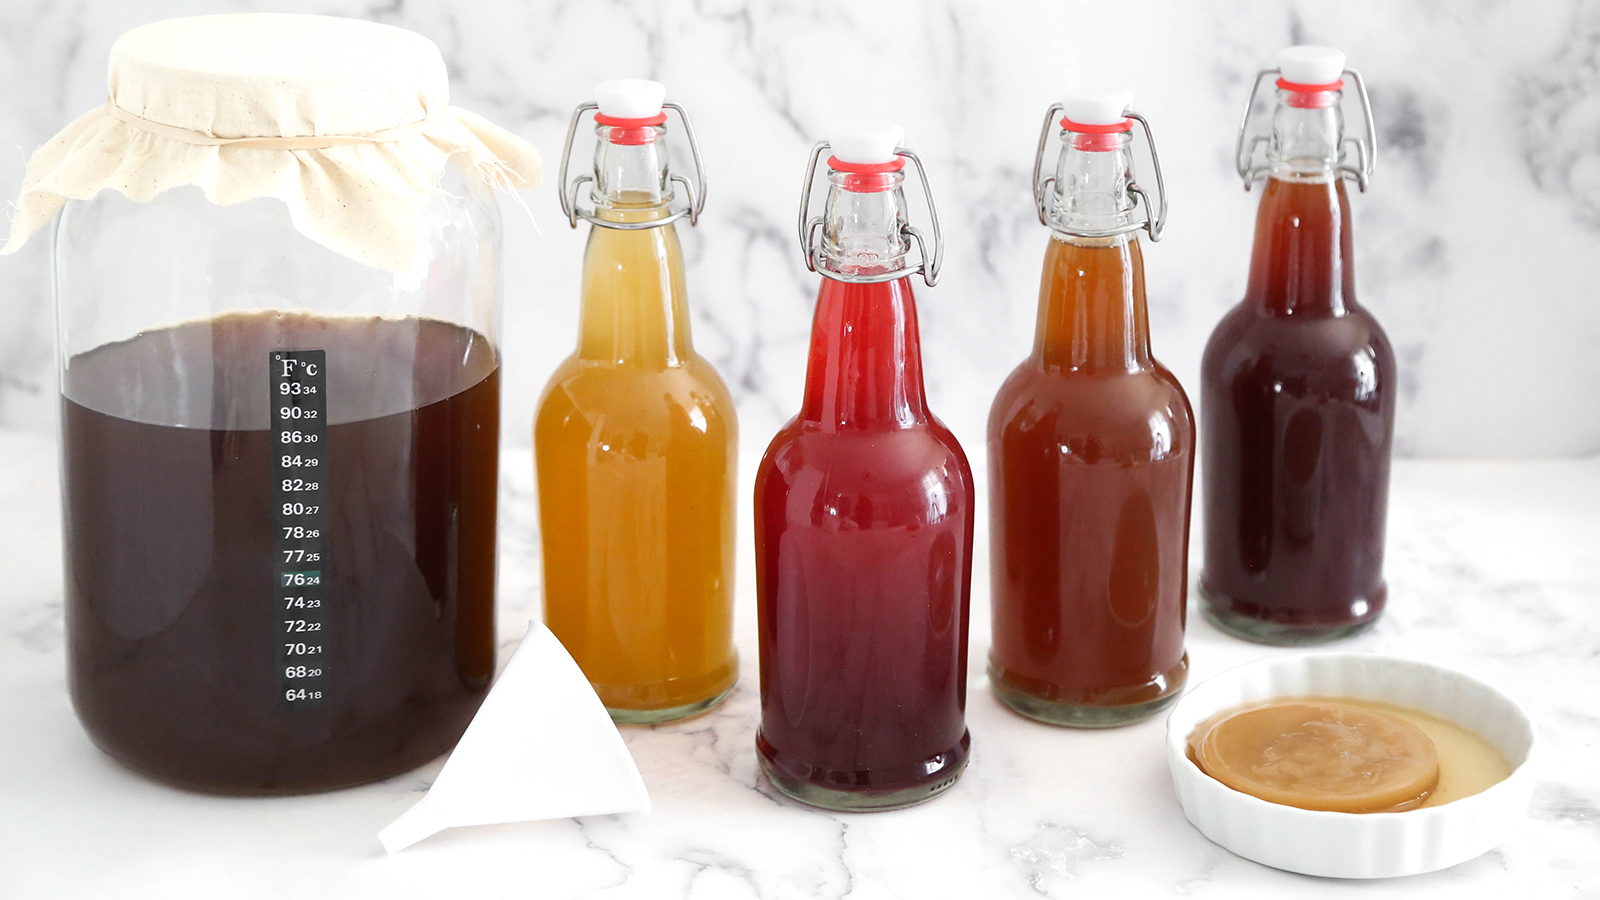
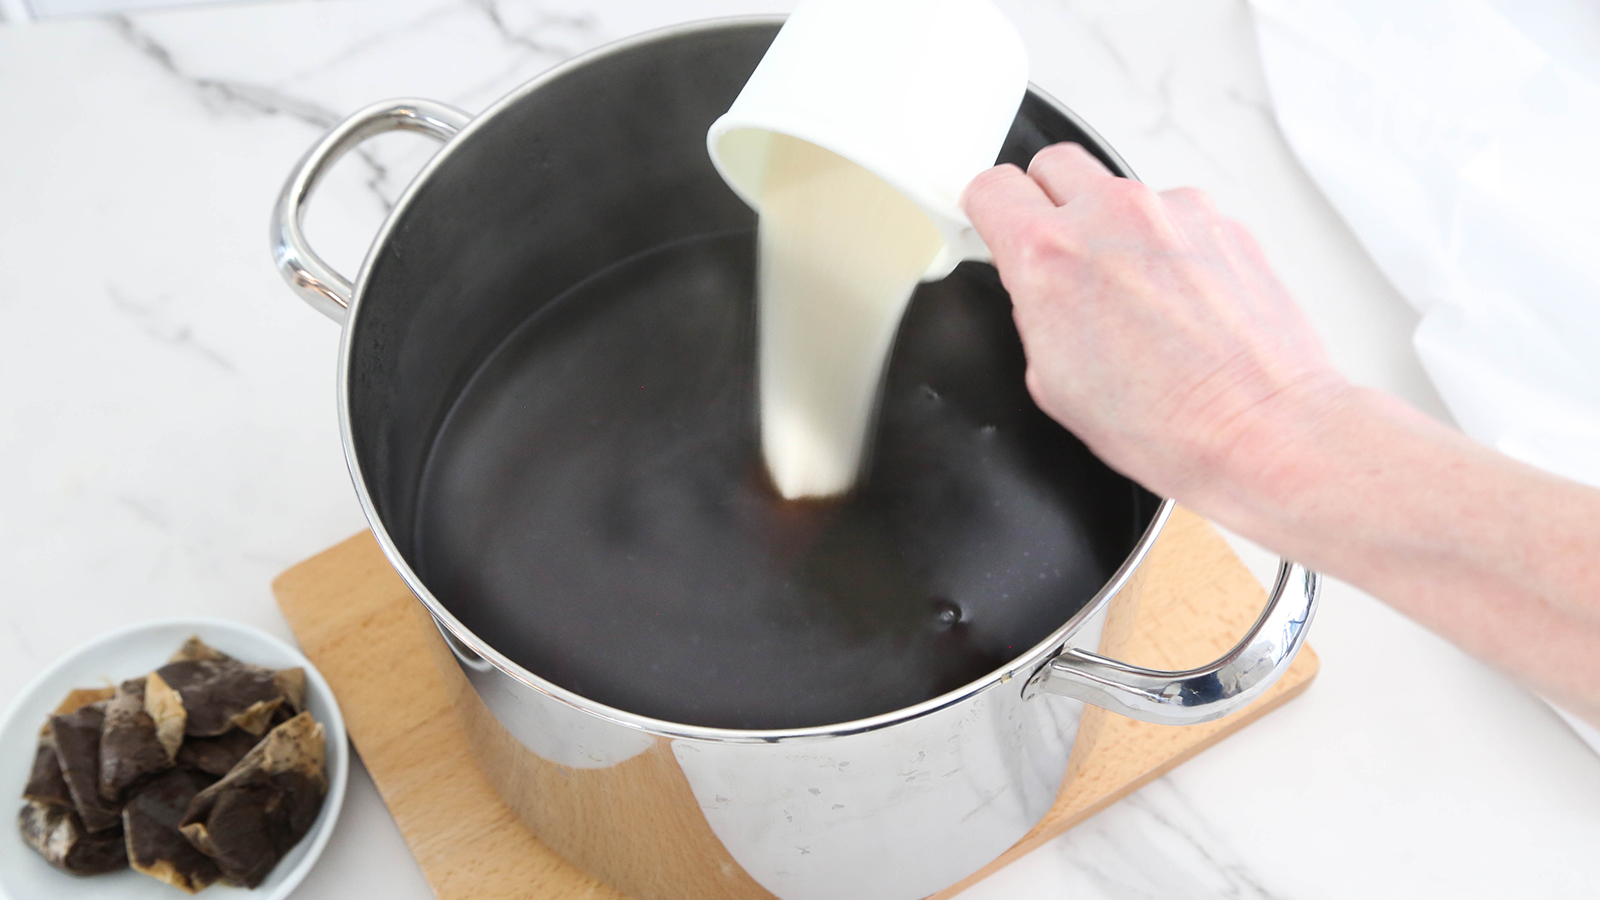
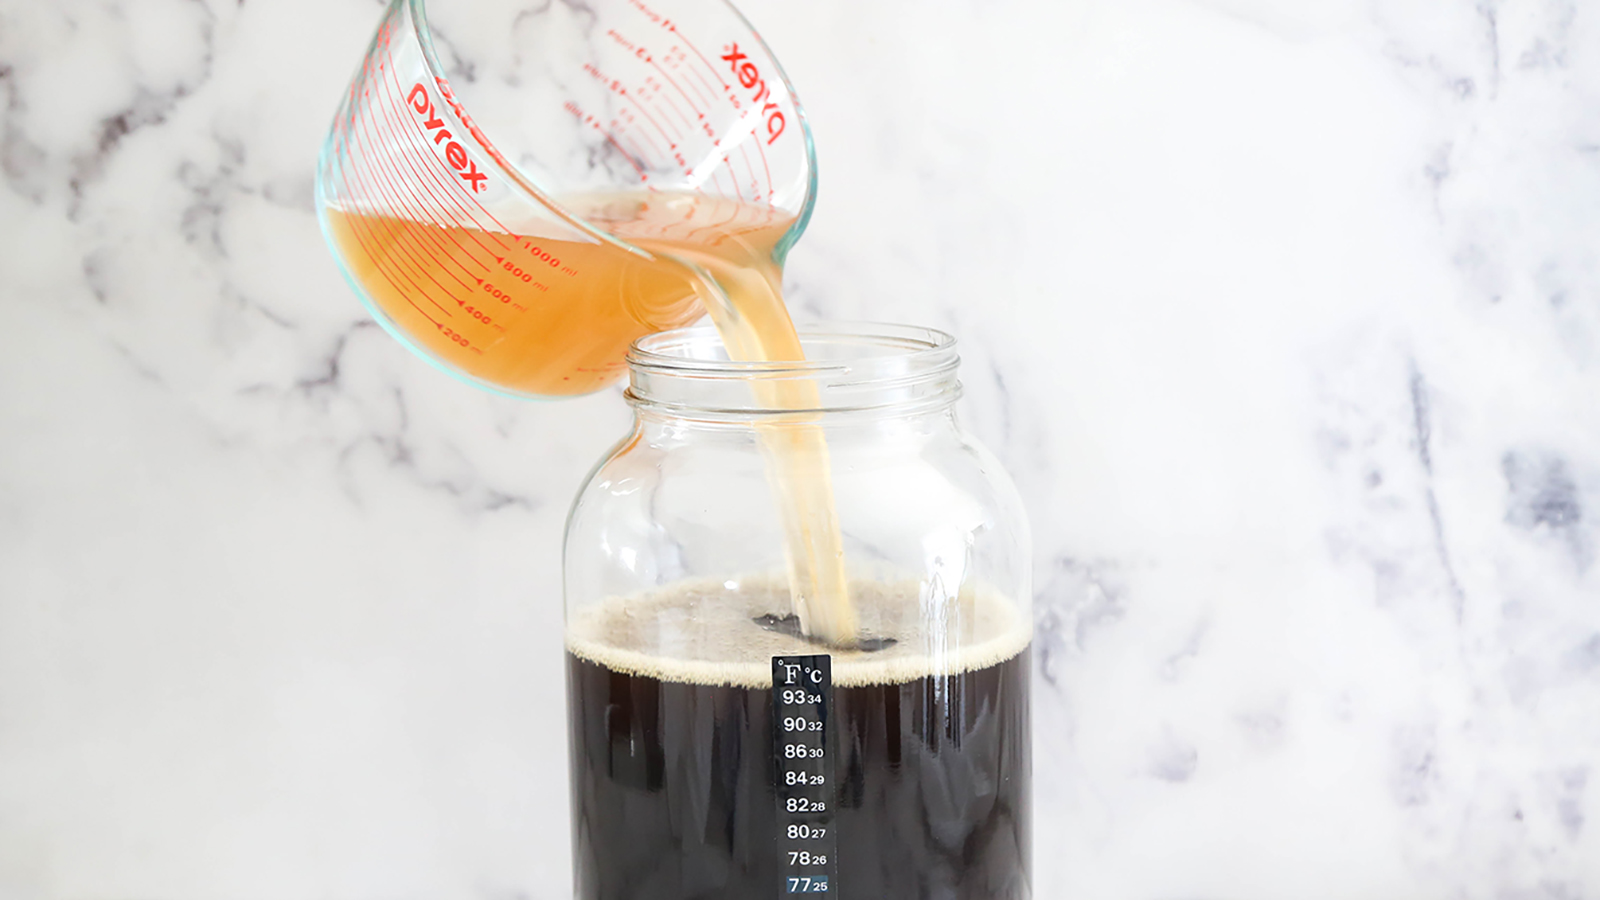
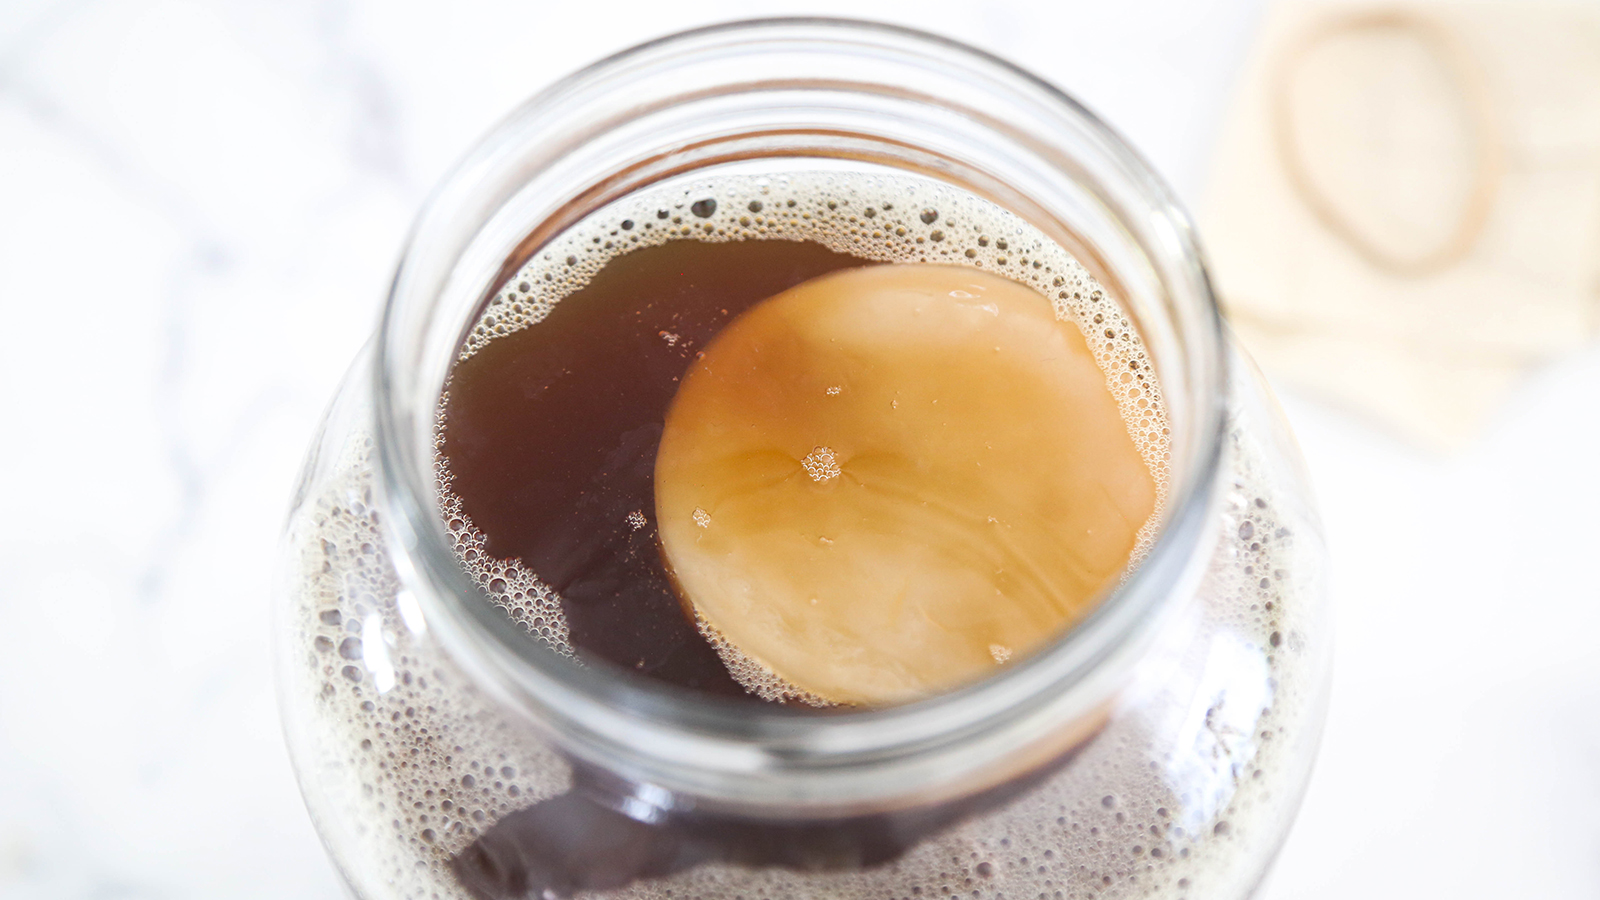
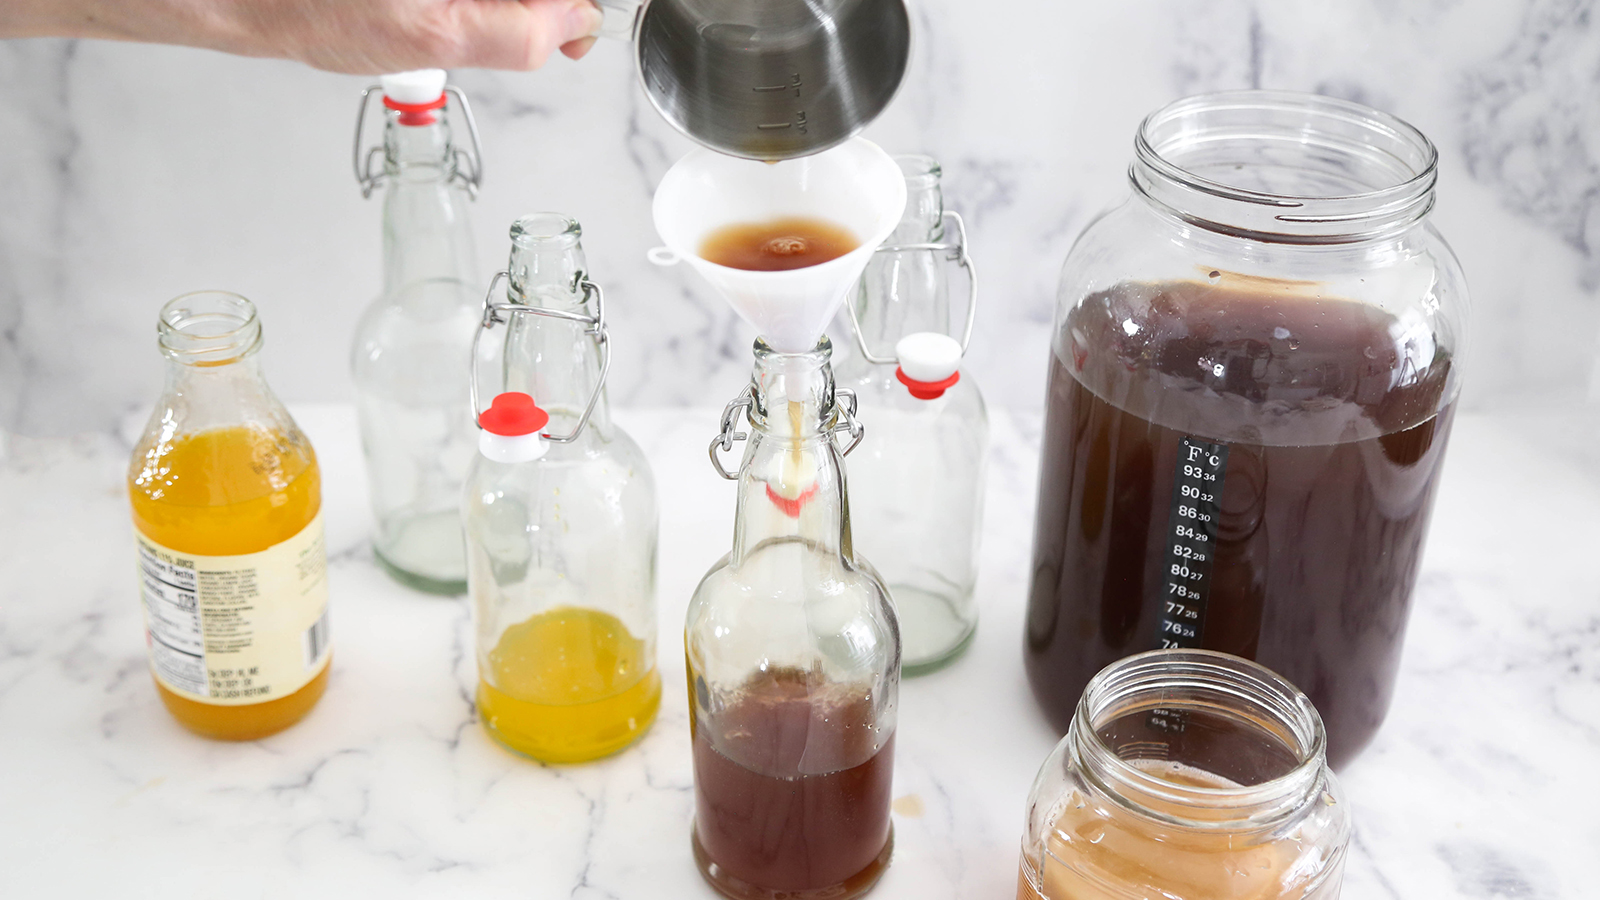
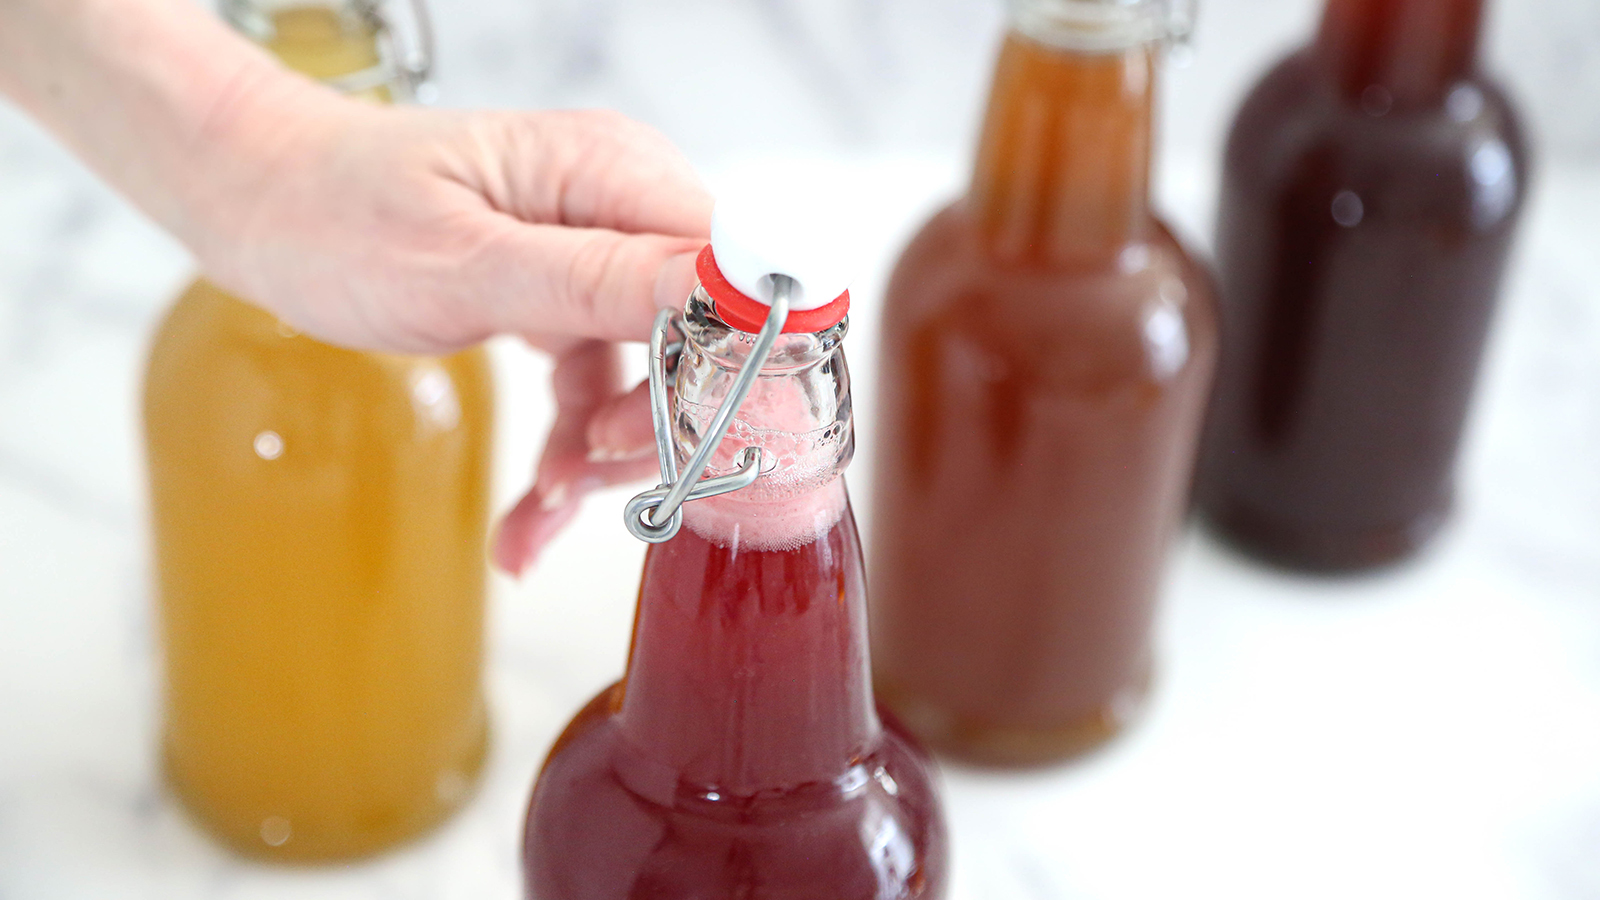
How to Make Kombucha at Home

Making kombucha doesn’t have to be complicated—use our straight-forward guide for a fizzy home brew that is endlessly variable. Want to start with your own SCOBY? Check out our helpful guide for growing one at home!

What Is Kombucha?

Kombucha is a fermented tea drink that is sweet, tart and fizzy. It’s touted as a cure-all by many, but it’s scientifically confirmed to be rich in probiotics. This curious carbonated tea beverage originated in ancient China as a medicinal drink and has since worked its way around the globe. So why make it at home? Homemade kombucha is fresher, and adaptable to your personal taste. You control the level of fermentation, flavor, and sweetness. Before you preserve or ferment anything, it is important to follow all canning and processing instructions included in the recipe and refer to USDA guidelines about the sterilization of canned products.

Equipment You'll Need

Getting started takes a small investment in simple tools and equipment for storage. But you may already have some of the items on hand. You’ll need a big pot in which to brew tea, and a glass gallon jar for the first fermentation. A strip thermometer for the jar is optional, but will help keep track of your brew’s temperature (kombucha likes warmth). Add to this some swing-top bottles which are air-tight for the second fermentation. A small funnel is also helpful when you’re bottling your brew. All pieces of equipment need to be sterilized before using.

Start with a SCOBY

SCOBY stands for Symbiotic Culture of Bacteria and Yeast. It’s a thick, slimy, cloudy, rubbery, pancake-shaped disk. It’s the thing that jump starts fermentation of the kombucha, and creates all those good probiotics. Admittedly, it’s pretty weird-looking. You can buy a SCOBY from health food stores, or reputable online shops that sell kombucha-making products. A small puck will arrive packaged in its own liquid ready to use (pictured right). Or, use our guide to grow your own! A large SCOBY can be propagated in a gallon jar (pictured left). It’s not complicated, but it does take a few careful measures along with watching and waiting.

Brew Some Tea

Thoroughly wash and dry your cooking pot. It should be spotlessly clean. Fill it with 3 ½ quarts of filtered water. Bring to a boil and add 8 black tea bags. Steep for 7-10 minutes. Carefully remove the tea bags while the tea is still very hot.

Sweeten It Up!

Add sugar to the hot tea and stir until dissolved. Regular granulated sugar or organic cane sugar will work best. The majority of the sugar is consumed by the yeast in the SCOBY and converts the sucrose in it to healthy acids during fermentation, greatly reducing the sugar content in your finished kombucha. Allow the tea to cool to room temperature.

Add Starter Tea

Transfer the cooled sweetened tea to the gallon glass jar. Your first batch of kombucha will need some starter tea to create a friendly environment for fermenting. The starter tea makes the sweet tea acidic, which prevents bad bacteria from forming in the first few days of fermentation. Purchase a bottle of plain, neutral-flavored kombucha (without fruit juice added). If you grew your own SCOBY, you can also use two cups from your own SCOBY jar. Pour two cups into the tea and stir.

Add the SCOBY

Place the SCOBY into the top of the jar. It should float, but it may sink. Either way is fine, because the bubbles created by fermentation over the next few days will help the SCOBY to rise to the top. Using clean hands, cover with a piece of muslin or another tightly-woven cloth, and secure with a rubber band. Don’t use cheesecloth! It is too loosely woven and will attract fruit flies.

First Fermentation

Allow the tea to ferment at room temperature, out of direct sunlight, for 6 to 10 days. After a week’s time, use a clean straw to withdraw some of the liquid to taste test the brew to your desired level of fermentation. The longer the fermentation, the more tart and sour the tea gets. The first fermentation time depends on your room temperature. Ideally, warm temperatures between 70-78 degrees F will allow for good fermentation. (This is where the strip thermometer comes in handy; it’s easy to keep track of the temperature.) Keep in mind that longer your tea ferments, the more the sugar will be consumed by the yeast, and the less sweet your kombucha will taste.

Second Fermentation

The second stage of fermentation happens in air-tight bottles. For one gallon of kombucha, you’ll need seven 16-ounce bottles. Make sure the bottles are spotlessly clean. At this stage you can add extra sweetener, fruit juices, or herbs to the bottles to flavor the kombucha. We’ve used unsweetened organic cranberry, blueberry, and mango juice. Add up to ¼ cup of inclusions to each bottle before topping it off with kombucha. Leave about a half inch of head room in each bottle.

Get Fizzy!

Store the bottles of kombucha out of direct sunlight at room temperature. This can be anywhere from 68-78 degrees. Allow them to stand for 1-10 days. Carbonation usually happens in 1-4 days. The CO2 that creates kombucha's effervescent nature will build up in your bottles. And because the bottles are glass, this can be difficult to gauge. Using clean hands, burp the bottles every day or two to check and relieve pressure. To burp, slowly and carefully open the cap, and then put it back on. You may hear a hissing noise and bubbles may rise. This is a good sign that your kombucha is well carbonated and ready to store in the refrigerator. Refrigeration will stop the carbonation.

Enjoy!

It’s time to raise a glass to good health. Drinking your own cold, fizzy home brewed kombucha is something to celebrate! Now that you have all the basics, you’re ready to continue your journey. Remember, practice makes perfect.

KEEP SCROLLING FOR NEXT STORY