PART OF Smart Shopping
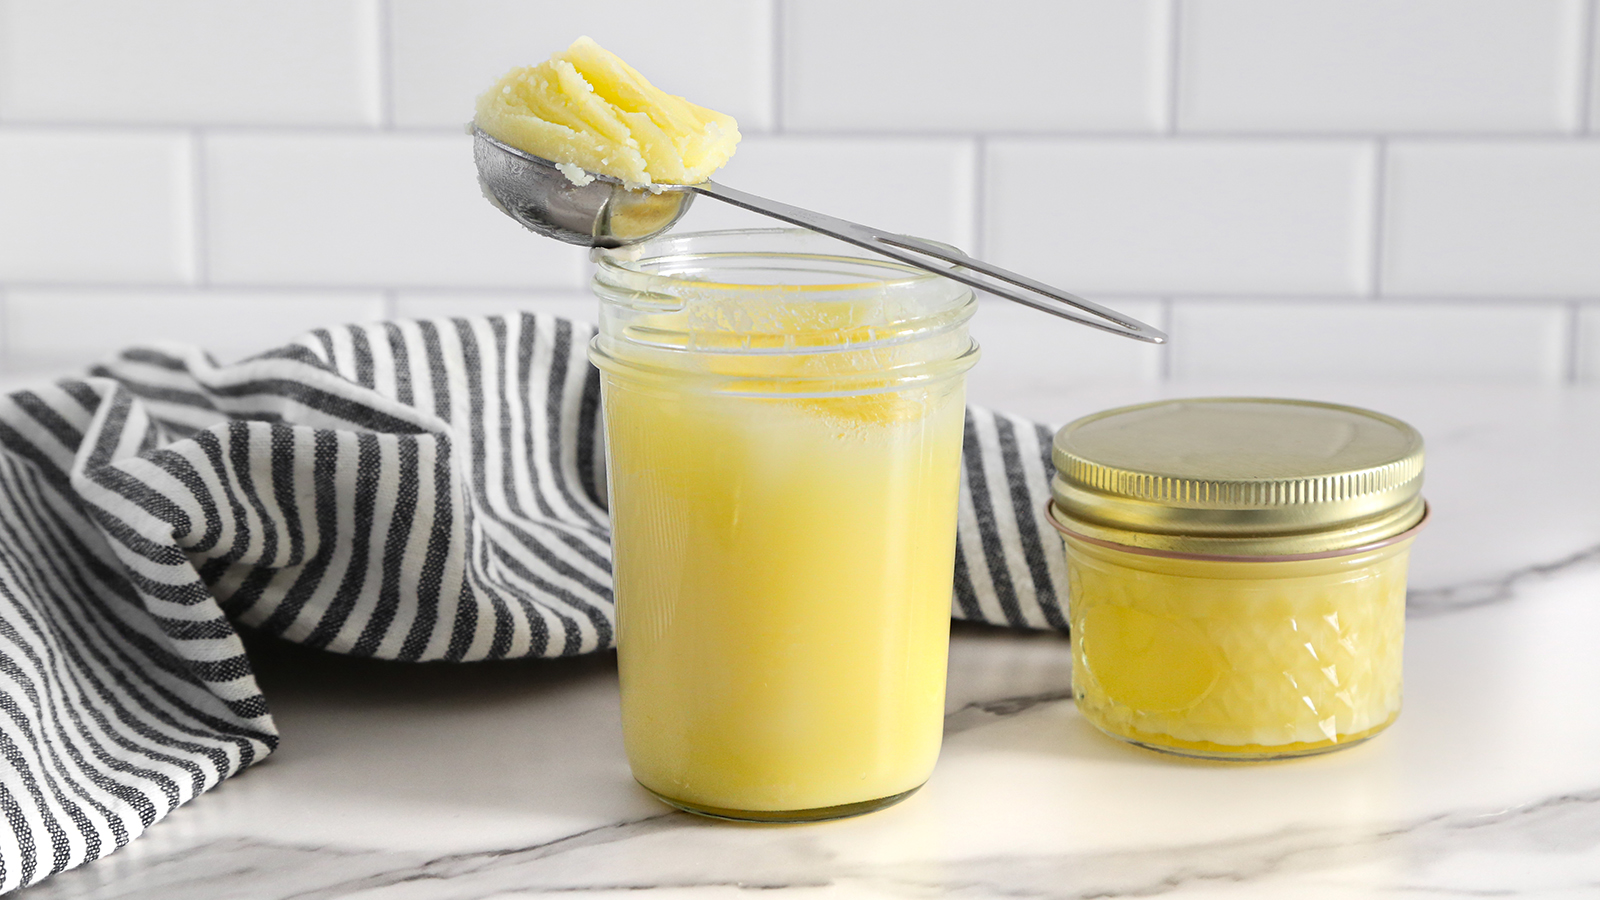
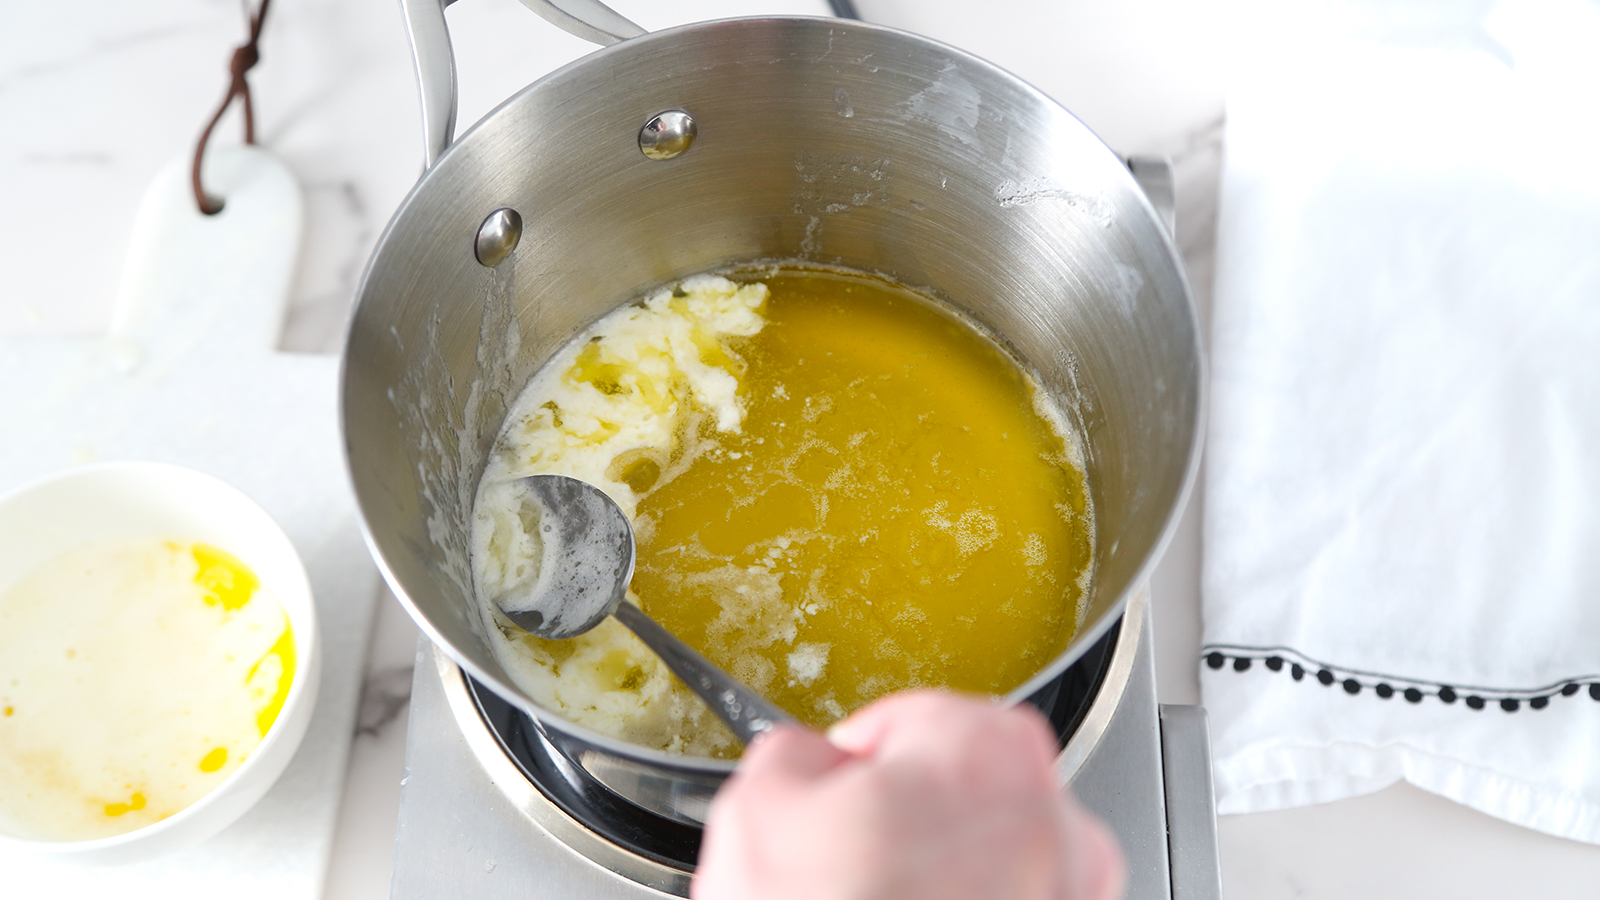
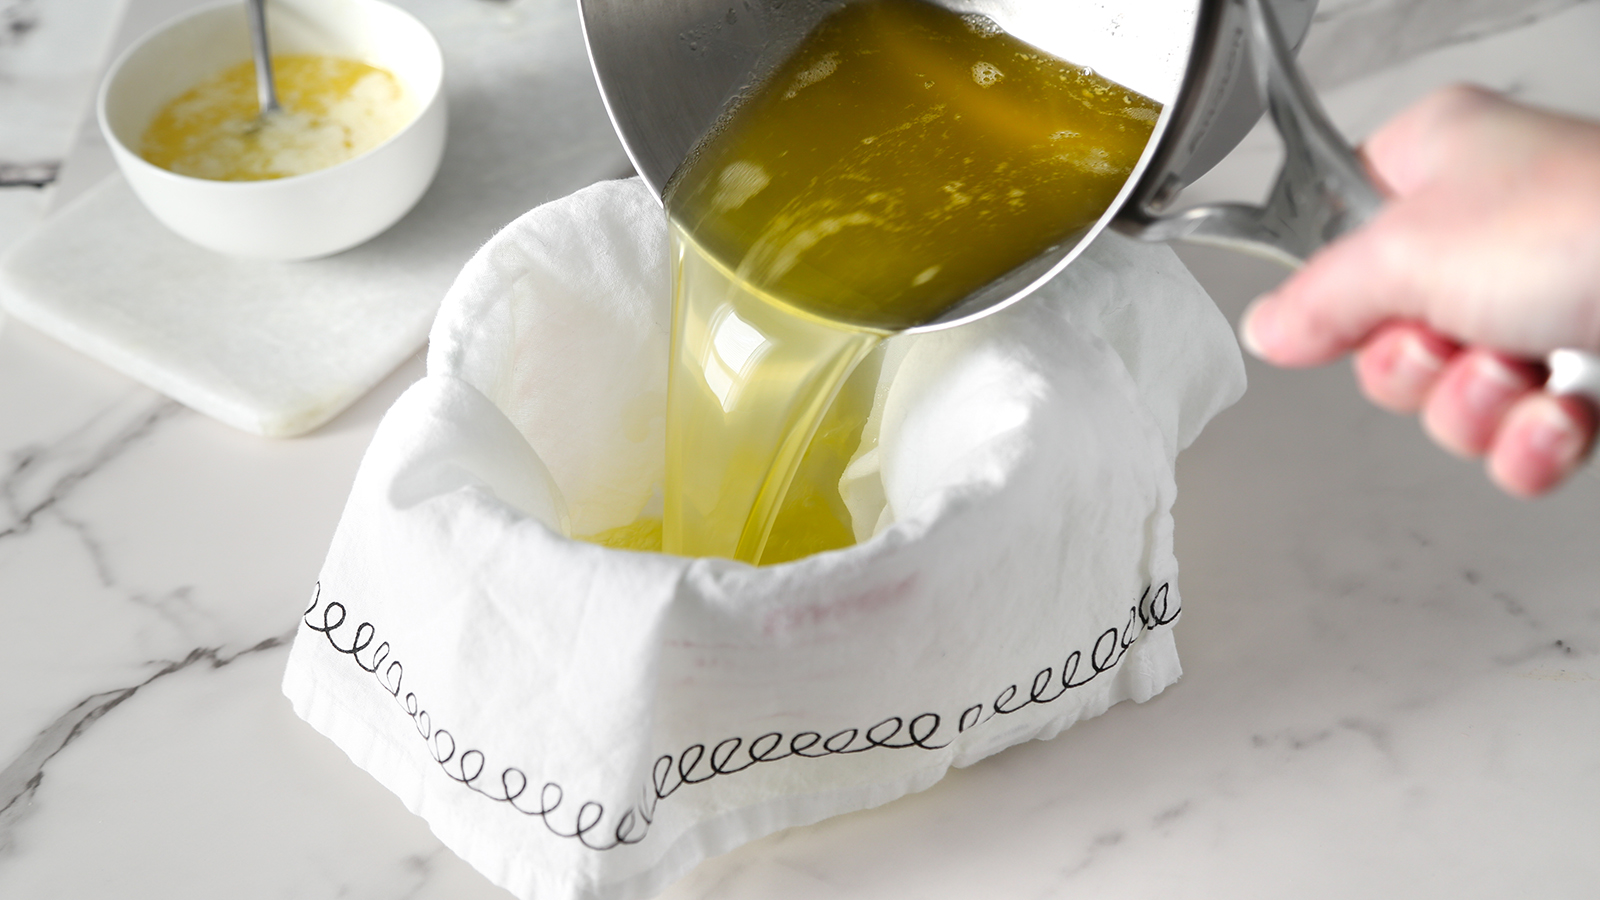
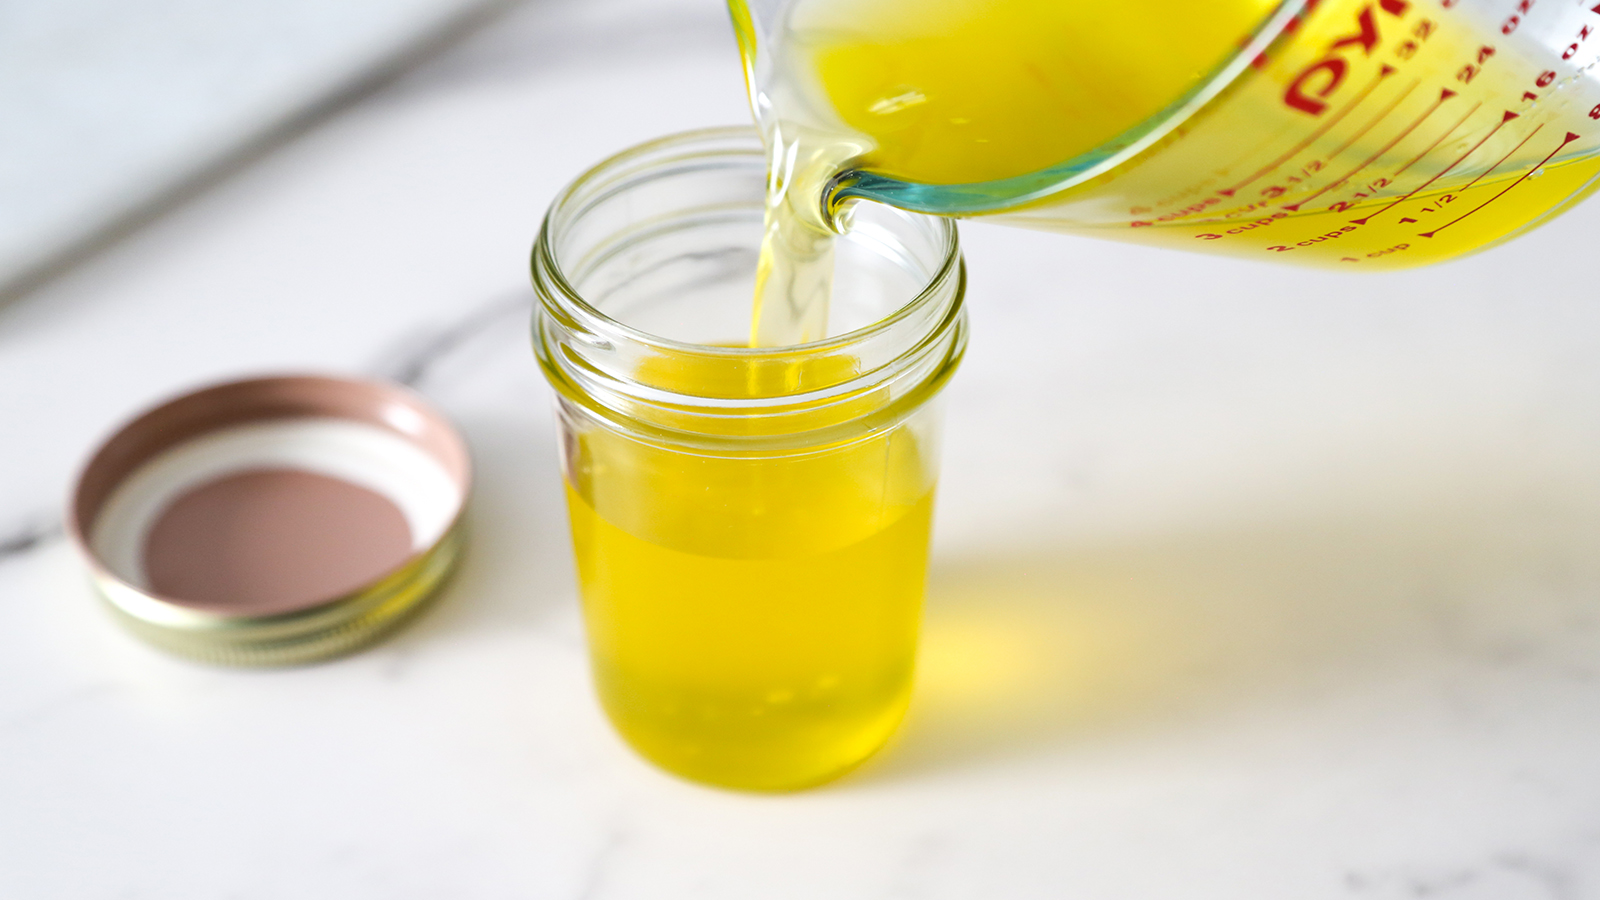
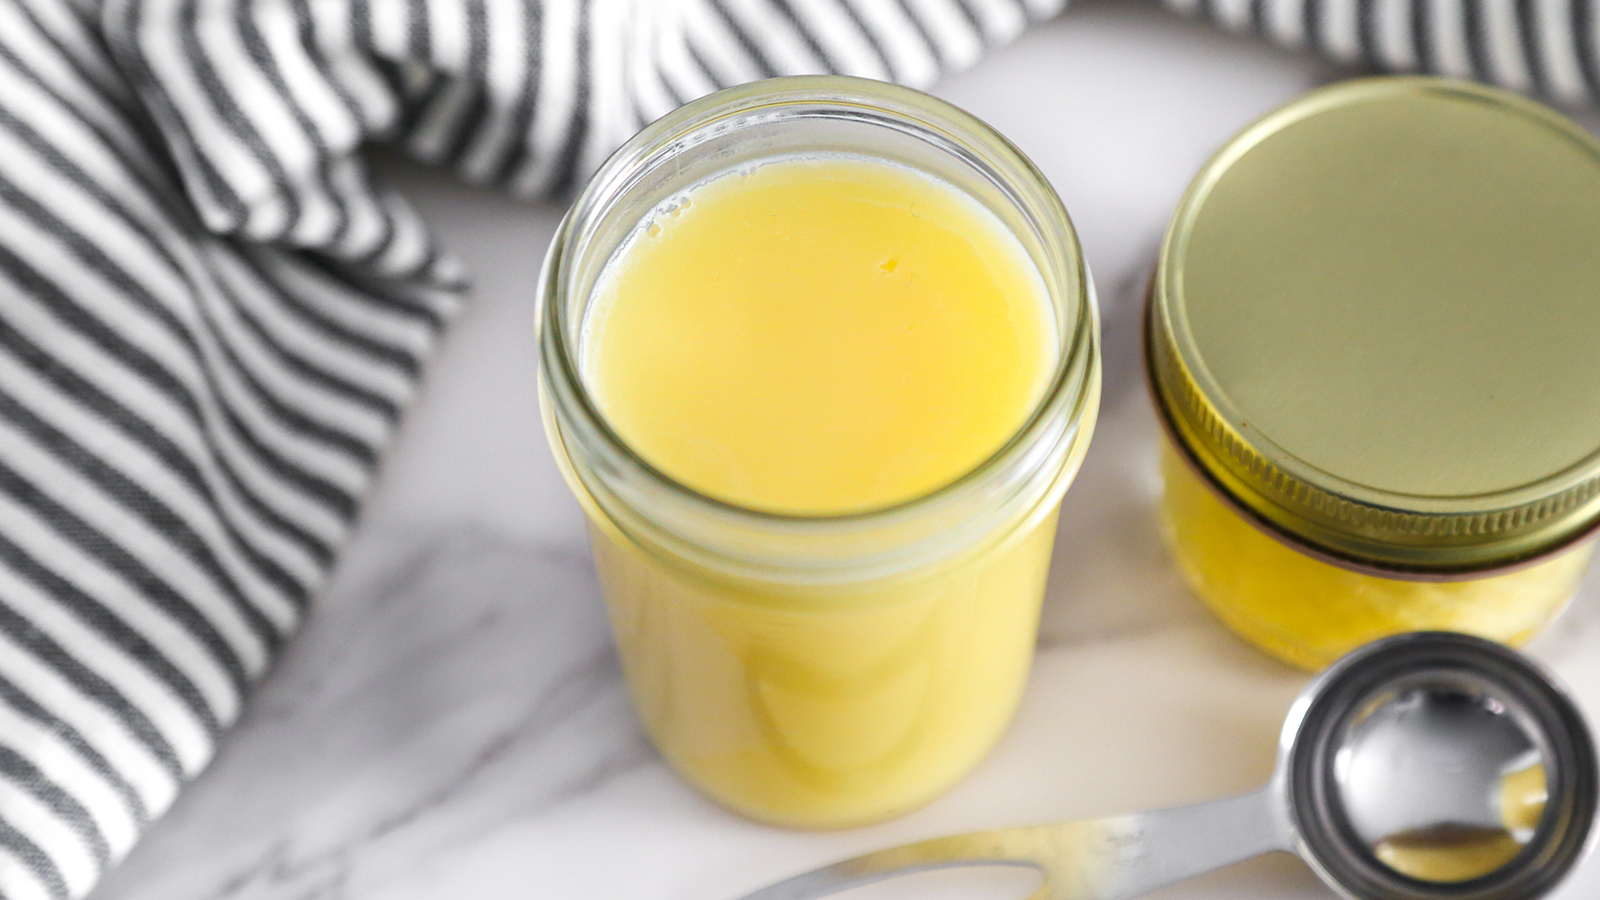
How to Make Ghee

Ghee—sometimes called clarified butter—is a delicious, nutty-tasting cooking fat that is used in all kinds of dishes. You can buy it at the store, however, homemade ghee has superior flavor and it’s easy to DIY!

By Heather Baird

Make Ghee at Home

What makes ghee so great? The rich, nutty flavor alone is worth adding it to your all of your favorite dishes. Aside from its distinct flavor, it has many other virtues. Ghee is a type of clarified butter that has all the milk solids removed. This makes it lactose and casein—free, so those with related food sensitivities can enjoy using it in their cooking. It’s considered a healthy fat because of its high smoke point (about 465°F) and, according to food scientists, it also contains a good amount of vitamins, minerals, and omega-3 to omega-6 fatty acids. It is perhaps best known and used in Indian cooking, but can be used in any cuisine.

Convinced yet? Let’s get started.

Use the Best Butter

Although ghee can be made from practically any grade of unsalted cow butter, you should always use the highest quality possible. Grass-fed cow butter will yield a beautiful bright yellow ghee, and it contains more vitamins and minerals. Cut the butter into cubes before adding it to a medium saucepan.

Start Low & Slow

Add all of the butter cubes at once to the saucepan. Use a light colored stainless steel pot so you can best see the various cooking stages of the butter. Place the saucepan on a burner over low heat. Melt the butter and bring it to a simmer.

Skim the Solids

About five minutes into cooking, as the butter simmers, it will foam on top. Use a spoon to skim the foam from the surface of the butter. Repeat this step a few times until the foam subsides.

Keep Cooking

Continue to cook the ghee over low heat. The middle layer of butter should be mostly clear, with some milk solids clumping together on top. Skim some of this off, but don’t get too finicky about removing every last bit. Some of the milk solids will drop to the bottom of the pan. Stir the mixture and cook for about 25 minutes, or until the butter is clear and translucent.

Visual Cues

The ghee is done when it is clear and deep yellow. It should also be fragrant with a nutty aroma. Stir the ghee well to dissipate any remaining bubbles on top. Remove the ghee from the stove top and let it cool for 5-7 minutes.

Strain the Ghee

Line a mesh sieve with cheesecloth or a thin tea towel. Place the lined sieve over a liquid measuring cup (4 cup capacity or larger is ideal) and pour the clarified butter through the sieve. The cloth will strain out any leftover milk solids, producing a bright yellow perfectly clear liquid.

Liquid Gold

Pour the gorgeous yellow ghee into canning jars for storage. The ghee can be used in its liquid form immediately, however, you should allow it to cool completely before lidding the jars.

A Shelf-Stable Wonder

Because there is no water content in ghee, it is inhospitable to bacteria. Ghee will keep for up to three months in the pantry and up to one year in the refrigerator. Use your homemade ghee in any dish that you’d use butter. It’s a staple in curries, but it’s also great for pan-frying crispy potatoes. Drizzle it over roasted vegetables or freshly popped popcorn.

KEEP SCROLLING FOR NEXT STORY