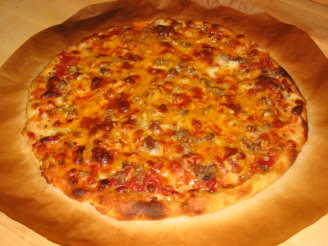
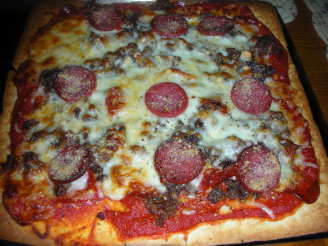
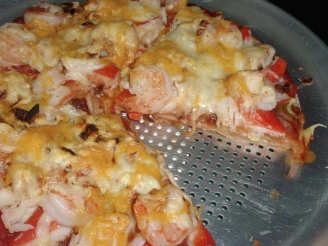
Thin Cracker Crust Pizza

"I have looked long and hard for this recipe.
I have made alot of test-pizzas. My family and friends say this is the best pizza they have ever had. This is a recipe that you need to plan ahead but well worth it."
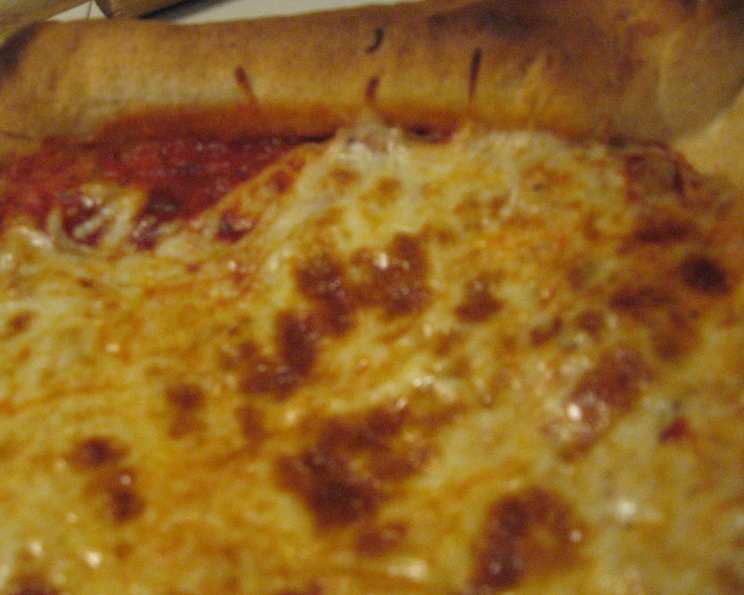
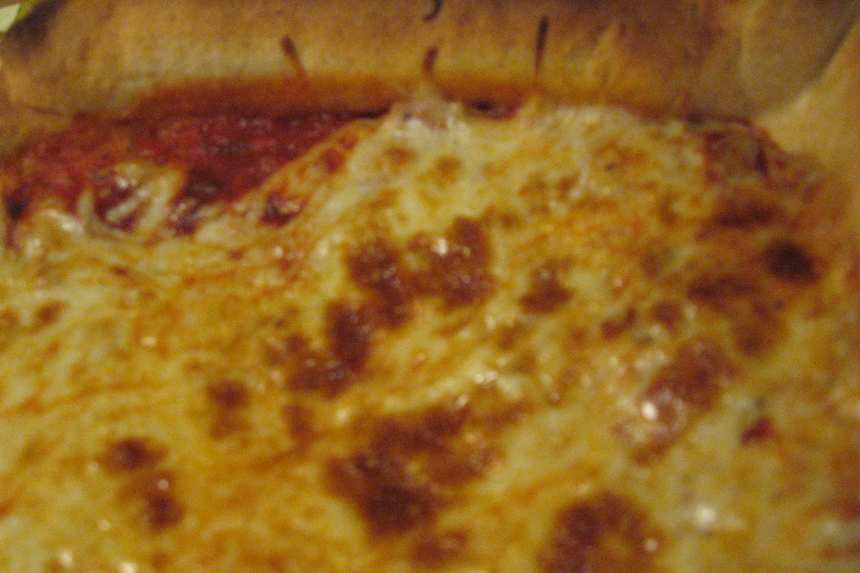
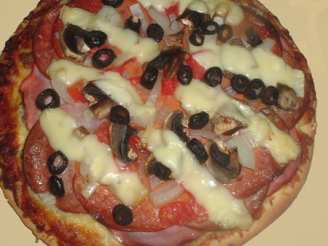
photo by scancan

- Ready In:
- 30mins
- Ingredients:
- 6
- Yields:
-
3 pizza crusts
- Serves:
- 24
ingredients
- 3 1⁄2 cups high- gluten flour
- 3⁄4 cup warm water
- 1 tablespoon vegetable oil
- 1 1⁄2 teaspoons active dry yeast
- 1 1⁄2 teaspoons sugar
- 1 teaspoon salt
directions
- In a heavy-duty stand mixer (e.g., KitchenAid) fitted with dough hook, add the water, oil, yeast, salt, and sugar. Mix thoroughly until yeast has fully dissolved. Add flour and mix on low speed until all of the flour and water have mixed and a stiff dough ball forms, about 3 to 4 minutes. Stop mixing as soon as the dough ball forms as this type of dough should not be kneaded.
- Place the dough ball into a large bowl and cover tightly with plastic wrap. Let the dough rise for 24 hours in the refrigerator before using.
- Preheat your oven to 500 °F about one hour before you plan to bake the pizza.
- Turn the dough out onto a large surface and dust with flour. Using a heavy rolling pin (or dough sheeter), roll the dough out very thin to form a 24-inch or larger circle. If you're using a cutter pizza pan (recommended), dust the pan lightly with flour, place the dough in the pan and dock. Use the rolling pin to trim off the excess dough drooping over the sides of the pan. If you wish to cook the pizza directly on a pizza stone (not using a pan), then place the dough on a dusted pizza-peel, dock, and fold the edge over 1-inch all the way around and pinch it up to form a raised lip or rim.
- Optionally, pre-cook the crust for 4 minutes before adding any sauce or toppings. Remove the crust from the oven and pop any large air pockets that may have formed. Add the sauce, shredded mozzarella cheese, and your favorite toppings. Continue baking, on the lowest oven rack, rotating the pan half way through so that it cooks evenly, until crust is sufficiently browned and crisp, about 10 to 15 minutes. Remove the pizza from the oven and slide pizza out of cooking pan onto a large wire cooling rack or cutting board. Allow to cool for 5 minutes before transferring to a serving pan. This step allows the crust to stay crisp while it cools, otherwise the trapped steam will soften the crust.
Questions & Replies

Got a question?
Share it with the community!
Reviews
-
 This is DKM's recipe from pizzamaking.com, copied without the crucial instructions and commentary. The amount of water is correct; the amount of flour is approximate. The correct ratio is 3/4 cup water, 1 pound of high gluten (bread or pizza) flour. Mix as directed. My KitchenAid has a J style dough hook, and I've found that the paddle works better. The resulting dough will be shaggy and may have a bit of dry flour remaining. Compress into a ball, wrap in lightly oiled plastic wrap, and refrigerate a minimum of 24 hours. This step is essential for proper hydration and flavor development. The dough ferments, it doesn't rise. Expect 30% increase in bulk. give or take. Remove the dough from the refrigerator an hour or so before use. The final dough is very dense, suitable for passing through a dough sheeter. It can be rolled by hand, but takes some effort. On the plus side, it sticks to nothing and has little to no snap-back. The recipe is scaled for a 20" to 22" commercial cutter pan; rolled out to 1/8" is about right. Dock before dressing. Prebaking is optional, helps with crispiness if you use a lot of sauce. I bake dressed pies at 500 degrees on the lowest oven rack, or slide directly onto the grates of a fully preheated gas grill.
 -
 the amount of water should read "1-3/4 cup of water"<br/>have not tried this recipe just read the reviews and noticed that yes 3/4 cup of water is not enough for 3 1/2 cups of flour
 -
 I gave this crust only 4 stars simply because I had to add more water to make the dough come together, otherwise, this is a good pizza dough recipe. As for taste, I always add basil to the dough; a good way to add flavor to a crust. I didn't do the overnight rise because I wanted a dough I could use within a couple hours. The crust came out just the way my husband likes it, thick crust-style, even though I rolled it out to 1/8". I had enough dough for two 13" pizzas.
 -
I love thin crispy pizzas so I had to try this and the taste was actually pretty good but the measurements were just way off and I pretty much had to add more of everything to get a nice smooth dough. This recipe needs some kitchen testing to come up with the right quantities and I'm sure it'll be perfect once it works for everyone. I also added a little more sugar and that gave it a really great taste and so although I had to fix it up quite a bit my kids loved it.
-
 It was okay. I needed to add more water, the dough was originally very dry and crumbly. Added a full cup of water. Baked up nice and crispy though, but the crust tasted like it was missing something.
RECIPE SUBMITTED BY

shawnajean
United States
?I love cooking. I love collecting recipes