Strawberry Jam

"This jam is cooked the old-fashioned way, without added pectin, and it is a two-day process. The berries themselves provide the pectin, and the jam is cooked until most of its moisture evaporates, resulting in a more concentrated strawberry flavor. When you make jam with added pectin, the added pectin "sets" all the excess water which is in the fruit, leading to a weaker-tasting jam. If you wish to make jam using pectin, there are several pectin jam recipes elsewhere on this site. I use a small amount of balsamic vinegar in the jam because it helps to bring out the flavor of the strawberries. You will use the cold plate test to check the set of this jam. I have included instructions on how to do this below. PLEASE NOTE: This is not an extra-firm set jam. It is spreadable, but it will not be one single, solid mass in the jar. If you would like a store-bought jam consistency, you should use a pectin-added recipe."
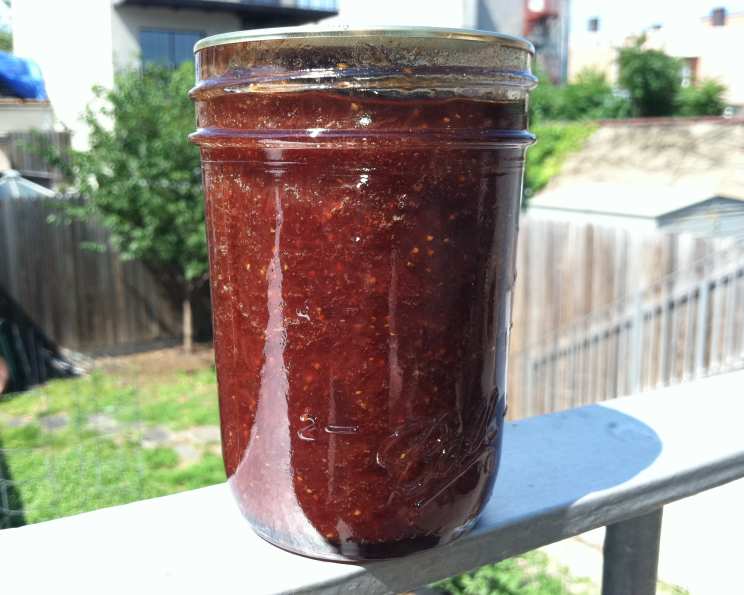
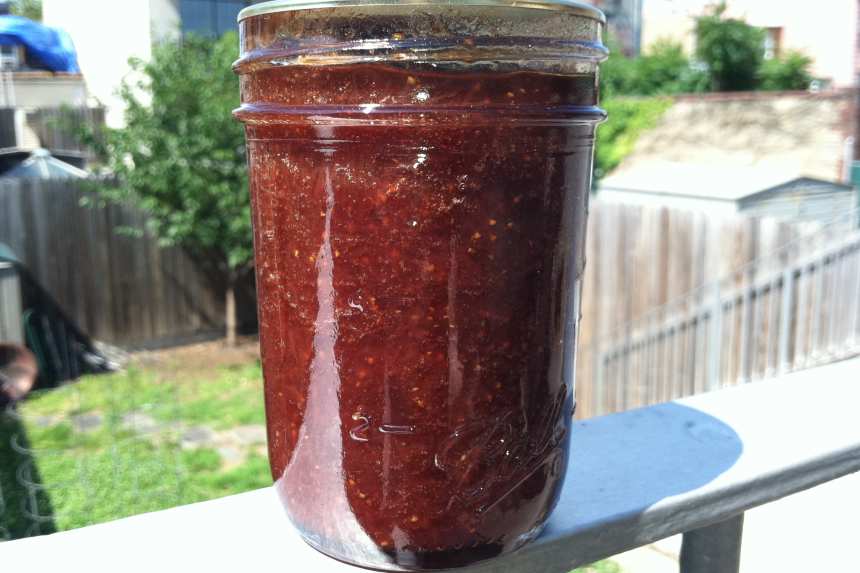
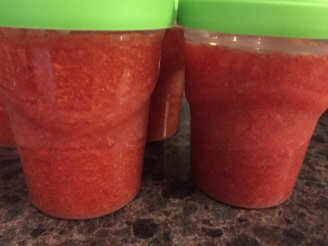
photo by xtine

- Ready In:
- 48hrs 35mins
- Ingredients:
- 6
- Yields:
-
6 half pints
ingredients
- 1814.36 g strawberries
- 141.74 g lemon juice
- 28.34 g balsamic vinegar
- zest of one lemon, minced fine
- 1419.54 ml sugar
- 4.92 ml butter
directions
- Day 1: (FYI: Steps 2 - 6 are for macerating the berries. Macerating the berries in the sugar allows the sugar to penetrate the fruit fully, which gives the jam a better texture. However, if you wish to make this a one-day jam process, you can just skip the maceration and start cooking straight away at step 7 after combining the chopped/mashed berries and sugar).
- Before you hull the berries, wash them. You wash them before you hull them so they will not absorb excess water.
- Hull the berries and measure out 4 pounds. Take one pound of berries and mash them with a potato masher ( you may want to chop them first to make this process easier). Take the remaining 3 pounds of berries and halve them or quarter them if they are very large.
- Mix the mashed berries and the halved berries together in a large (10 to 12 quart) stainless steel stock pot (do not use aluminum as the berries may react with it).
- Add the sugar to the berries in the pot and mix well to combine. Cover well and let sit for 8 hours on your kitchen counter.
- After 8 hours have passed, bring the berries to a boil over high heat, stirring occasionally. You want them to come to a full boil. Be careful once the mixture reaches a boil, as it will more than double in volume (this is why I say to use a large stock pot). Once they have reached a boil, take them off the heat, stir and cover. Let them rest on the counter for another 8 hours or overnight.
-
Day 2:
- TIP: 1 ounce = 2 tablespoons, you may be more comfortable measuring out the lemon juice and vinegar this way.
- Add the lemon juice, balsamic vinegar, and lemon zest to the sugar/strawberry mixture, and mix well to combine.
- Place two or three small saucers in the freezer. You will use these later to check the set of the jam.
- Pour the strawberry mixture into an 11 to 12 quart preserving pan or other wide, non-reactive kettle. If you do not have a preserving pan, use the widest non-reactive pan you have. The wider the pan, the more quickly moisture will evaporate from the mixture, and this is what you want when you are making jelly, jam, or marmalade.
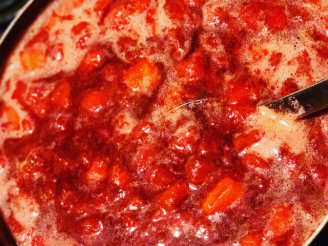
- Bring the mixture to a boil over high heat, stirring frequently to make sure it is not sticking to the bottom of the pan. Continue to cook over medium-high heat for 30 minutes, and continue to stir every two minutes or so to make sure the jam is not sticking to the bottom of the pan.
- After the jam has cooked for 30 minutes, take it off the heat and place a drop of the jam mixture (try to get the "jelly" part of the mixture, avoiding the berries; I use a 1/4 teaspoon measure to dip out the drop) on one of the saucers you've kept in the freezer, & place the saucer back in the freezer for 3 minutes. After 3 minutes, take the saucer out of the freezer and tilt it vertically to see how quickly the jam runs. If it runs quickly, the jam is not ready and needs to be cooked longer. If it runs slowly, nudge the drop of jam with your finger. If it "wrinkles" or pushes up when you nudge it with your finger it is done. If the jam is not set, continue cooking over medium-high heat, checking the set again every 5 minutes. It usually only takes me 30 to 35 minutes of cooking over medium-high heat on my second largest burner for this jam to set.
- When the jam is set, mix in the teaspoon of butter, stirring well until it is completely melted into the mixture and all the foam on the jam has subsided. Continue to stir for 1 minute to make sure the berries are well distributed throughout the jam.
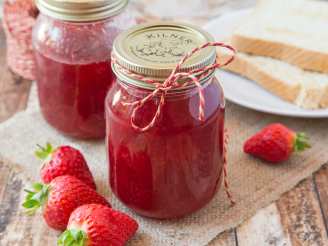
- Ladle the jam into sterilized canning jars, leaving 1/4" headspace. Wipe the rims of the jars with damp paper towels to remove any jam which got on the rims or the threads. Place the lids and the bands on the jars, just tightening the bands fingertip tight.
- Process in a boiling water bath for 5 minutes, then remove and let sit, undisturbed, for at least 12 hours before checking seals. It is important to let them sit undisturbed for 12 hours because the sealing compound on the lids is still cooling and hardening, completing the seal. While the jars cool, you will hear a "plink" type sound from each jar - this is the jars completing the vacuum seal as the final air escapes the jar. After 12 hours have passed, remove the bands and check the lids - press down in the center of the lid. If you cannot push the lid down any further, the jar is sealed. If the lid "gives" a bit, and you can push it down, the jar did not seal. You can either put the band back on the jar, and reprocess it for another 5 minutes, or you can just put it in the fridge and use it within 3 months.
Questions & Replies

Got a question?
Share it with the community!
Reviews
Have any thoughts about this recipe?
Share it with the community!
RECIPE SUBMITTED BY

<p>I'm originally from Atlanta, GA, but I now live in Brooklyn, NY with my husband, cat, and dog. I'm a film and video editor, but cooking is my main hobby - if you can call something you do multiple times a day a hobby. <br />I enjoy all types of food, from molecular gastronomy to 70's suburban Mom type stuff. While I like to make recipes from cookbooks by true chefs, I don't turn my nose up at Campbell's Cream of Mushroom - I'm not a food snob. <br /> I love foods from all nations/cultures, and I am fortunate enough to live in NYC so I can go to restaurants which serve food from pretty much anywhere on the globe. Because of this most of my recipes tend to be in the Western European/American food tradition - I find it easier to pay the experts for more complicated delicacies such as Dosai, Pho & Injera. I really enjoy having so many great food resources available to me here in NYC. One of my favorite stores is Kalustyan's http://www.kalustyans.com/ <br />they have every spice, bean, & grain in the world. If there's something you can't find, look on their website. I bet they'll have it and they can ship it to you! <br />Many of my recipes are Southern, because that's the food I grew up on. I hope the recipes I have posted here will be useful to folks out in the 'zaar universe! <br /> <br /><img src=http://i23.photobucket.com/albums/b399/susied214/permanent%20collection/Adopted1smp.jpg border=0 alt=Photo Sharing and Video Hosting at Photobucket /> <br /><img src=http://i23.photobucket.com/albums/b399/susied214/permanent%20collection/smPACp.jpg border=0 alt=Photo Sharing and Video Hosting at Photobucket /> <br /><img src=http://i23.photobucket.com/albums/b399/susied214/permanent%20collection/PACfall08partic.jpg border=0 alt=Photobucket /> <br /><img src=http://i23.photobucket.com/albums/b399/susied214/permanent%20collection/IWasAdoptedfall08.jpg border=0 alt=Photobucket /> <br /><img src=http://i38.photobucket.com/albums/e110/flower753/Food/my3chefsnov2008.jpg alt= /></p>