Sourdough Starter from Flakes

"These are the instructions to make your own sourdough starter by using dried starter flakes. Sourdough starter can be used to make breads, cakes, english muffins and pancakes, just to name a few.
The starter is like a pet and to keep it healthy and active there are a few simple rules:
Never use metal bowls, containers or spoons. Containers and bowls should be large enough to allow for the expansion of the starter as it proofs. Use lukewarm bottled water--the starter does not like chlorinated water. Use or feed every 7 to 14 days. Keep the storage container clean, so wash and dry the container each time the starter is used.
With this recipe you will have 2 cups of starter at the end of 3 or 4 days and ready to use in a recipe. If you are not planning to use immediately, dump out 1/2 of the starter at each feeding and reduce the amount of flour and water by 50%, this will save flour. When feeding starter, always add at least twice as much flour/water as you have starter, i.e. if you have 1/4 cup starter, add at least 1/2 cup flour and 1/2 cup water. If you have any questions please feel free to zmail me!"
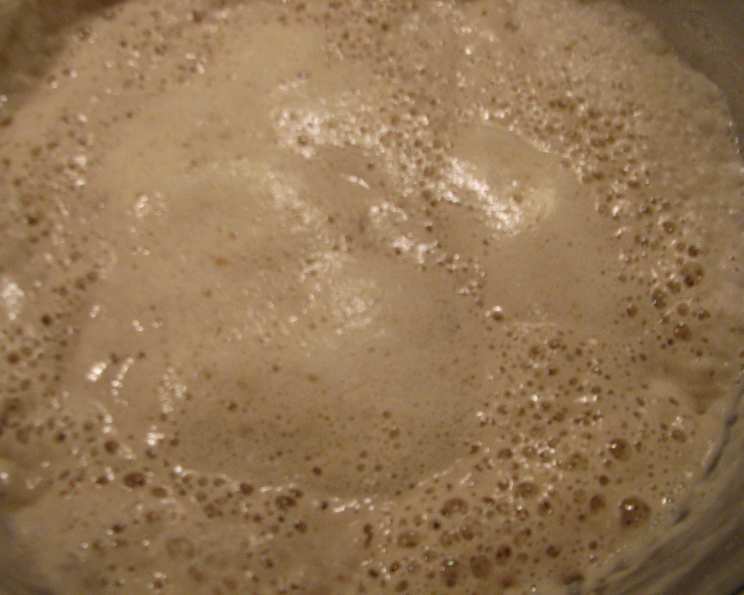
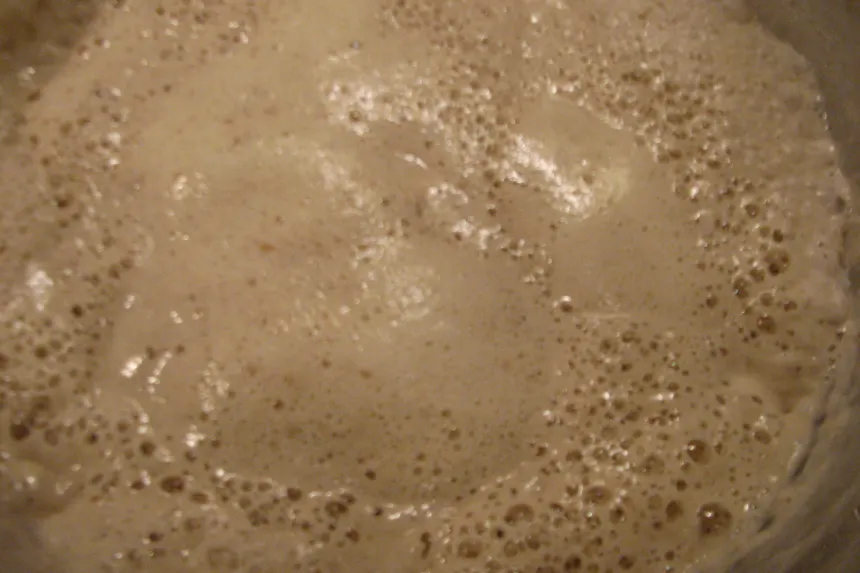
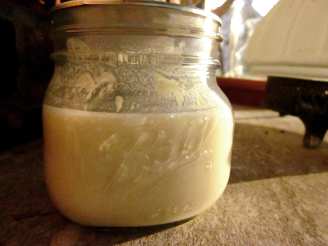
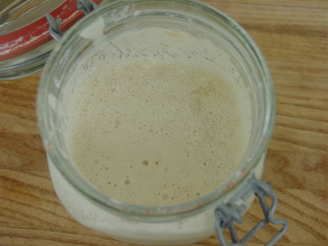
photo by Galley Wench

- Ready In:
- 72hrs 5mins
- Ingredients:
- 3
- Yields:
-
2 Cups
ingredients
- 2 tablespoons sourdough starter, flakes
- 2 cups bottled water
- 2 cups flour
directions
-
First Feeding:
- In a glass or plastic bowl (never use metal) add the dried starter flakes, 1/2 cup of lukewarm (bottled) water and 1/2 cup of flour.
- Note: If you wish a stronger flavor add one or two tablespoons of rye flour to the first feeding.
- Using a plastic or wooden spoon (never metal) stir mixture vigoursly to add air.
- Cover loosely and place in a warm draft-free area (I leave it on my counter top).
- Allow the starter to proof for 8-14 hours (mixture should become very bubbly (don't worry if you see no activity, just continue with second feeding).
- Second Feeding.
- To the mixture add 1 1/2 cups lukewarm water and 1 1/2 cups flour, stir vigoursly.
- Cover loosely and place in a warm, draft-free area and allow to proof for 8-14 hours, until bubbly.
- Note: At this point I suggest making some flakes as a back up -- see Preserving Starter below.
- You should now have approximately 2 cups of active starter that is ready to use. Always save 1/4 cup of starter for future use, so if your recipe calls for more than 1 1/2 cups of starter then it will be necessary to add equal parts of water and flour and proof for another 8-14 hours.
-
Maintaining the Starter:
- After removing the quantity needed for the recipe, save approximately 1/4 cup of starter and discard (or make flakes) any additional starter. Place the saved starter in a glass jar or plastic storage container. Do not use an air tight container as the gases need room to escape. I use a glass jar with a small hole punched in the top (Since I do not want the starter to touch metal, I place a small piece of plastic wrap over the top before screwing on the metal cap). Next, stir in one-half cup each of flour and water, let sit on the counter for 30 to 45 minutes, then close the container and place in the refrigerator. This will preserve your starter until the next time you need it. The starter can be stored in the refrigerator for up to two weeks. If you must go longer than this, remove the container every two weeks or so and dump all but ¼ cup down the drain. Feed again, as above, to reactivate starter.
- Preserving your Starter.
- It is a good idea to preserve some of your starter in case something goes wrong. If your starter dies, you will have to purchase or get some more from somebody and start over. I have learned a method that can be used to preserve the starter for a long time without constantly adding flour or water. This method also makes it easier to share your starter with your friends.
- During the normal course of preparing your starter for bread baking and when it is active and bubbly, pour a small puddle of the starter onto some wax paper and spread it out with the back of a spoon so that the starter forms a very thin layer on the wax paper. Let it completely dry out overnight. The next day, bend the wax paper and the starter will break apart like potato chips. Place the starter chips in a plastic zip lock bag sealed tightly and then into the refrigerator. It is also a good idea to write the date and type of starter on the outside of the bag.
- Starter can be kept this way for up to six months with no ill effects, though I have heard you can probably go up to year. To reactivate it, place the starter chips in equal amounts of flour and water and put it in a warm place for 12 hours. I make these starter chips every three months or so to ensure I have a fresh backup for all my sourdough starters.
Questions & Replies

Got a question?
Share it with the community!
Reviews
-
 Awesome recipe and info!
 -
 GW how sweet of you to post this, it's a great reminder and the instructions are clear and precise. This is just exactly how I do and will continue to activate my starter flakes.
 -
Awesome - this worked very well for me to reactivate flakes - and it is EASY. The instructions that came with the flakes I ordered online were not as simple - and thanks to this recipe, I've tossed those out! Thank you!
RECIPE SUBMITTED BY

Galley Wench
Oro Valley, Arizona
"Life is not a journey to the grave with the intention of arriving safely in a pretty and well preserved body, but rather to skid in broadside . . . Chardonnay in one hand . . .chocolate in the other; the body thoroughly used up, totally worn out and screaming "WOO-HOO, what a ride!!"