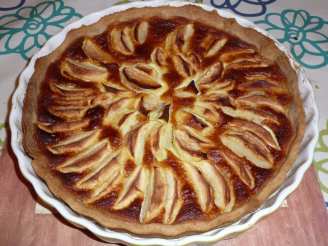
Queijadas De Sintra (Portuguese Cheese Tarts With Cinnamon)

"Portuguese towns and cities alike are incredibly proud of their traditional sweets and pastries. Sintra, a beautiful hill town not far outside of Lisbon, is understandably proud of this recipe. It is believed that this recipe dates from the 14th Century! The actual recipe is, understandably, a close-guarded ages old secret, but this is a close approximation that I found on the internet. I visited Sintra a few years ago and was amazed at how wonderful these tarts tasted! These keep longer than most pastries if stored in an airtight container. (I'm not too sure of the yield - what I have provided is an approximation)."
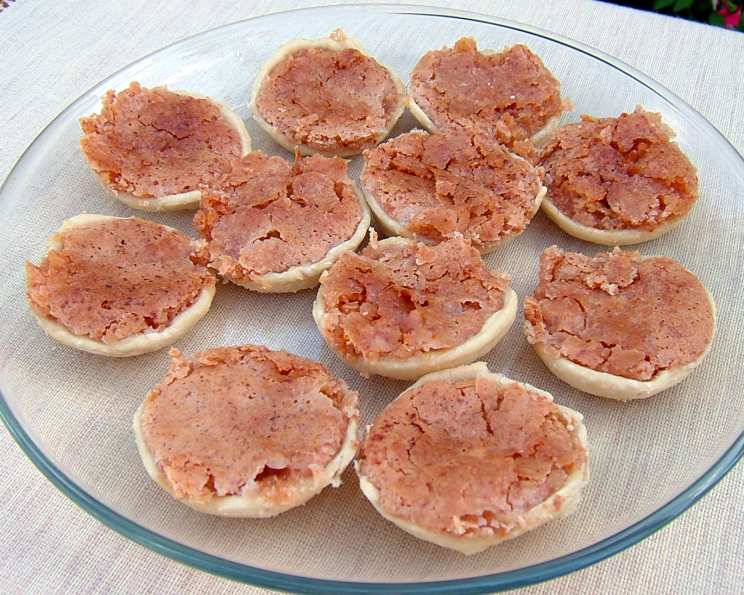
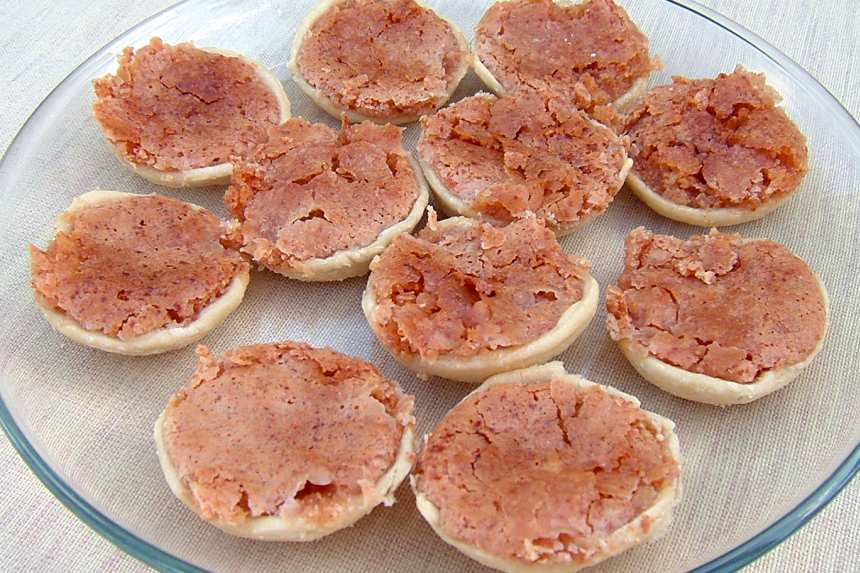
photo by PanNan

- Ready In:
- 4hrs 20mins
- Ingredients:
- 10
- Serves:
-
20
ingredients
-
PASTRY
- 2 cups sifted all-purpose flour
- 1⁄4 teaspoon salt
- 2 tablespoons vegetable shortening
- 1⁄2 - 2⁄3 cup ice water
-
CHEESE FILLING
- 1⁄4 lb fresh mozzarella cheese, cut into 1/2-inch cubes (at room temperature)
- 4 tablespoons unsalted butter, cut into pats
- 1 3⁄4 cups sugar
- 1 teaspoon ground cinnamon
- 4 large egg yolks
- 1⁄2 cup un-sifted all-purpose flour
directions
- For the pastry: Combine the flour and salt in a large bowl.
- With a pastry blender, cut in the shortening until the texture of fine meal.
- Forking briskly, drizzle just enough ice water over the mixture to make it hold together.
- Shape into a ball, wrap in wax paper, and refrigerate several hours.
- Meanwhile, prepare the filling: In a food processor fitted with the metal chopping blade (or in a blender or electric mixer set at highest speed), process the mozzarella, butter, sugar, and cinnamon about 60 seconds nonstop until smooth and creamy.
- Scrape down the work bowl sides with a rubber spatula and beat 60 seconds longer.
- Note: It will take longer for the electric mixer to reduce the mixture to creaminess, perhaps 3 to 4 minutes of steady beating.
- Add the egg yolks, one at a time, beating well after each addition.
- Add the flour and pulse the motor on once or twice to blend.
- Transfer the mixture to a small bowl; cover and chill several hours.
- When ready to bake the queijadas, preheat the oven to 400 degrees Fahrenheit.
- Divide the pastry in half and roll, first one half, then the other, as thin as paper, on a lightly floured pastry cloth with a lightly floured, stockinette-covered rolling pin.
- Cut into rounds with a 3 1/2 inch cutter.
- Also re-roll and cut the scraps.
- Fit the pastry into plain or fluted tart tins measuring 2 1/2 inches across the top.
- Set the tins on baking sheets, then half-fill each tart shell with the cheese mixture.
- Bake uncovered for 18 to 20 minutes, just until the filling is puffy and a rich amber brown.
- Remove the tarts from the oven, cool until easy to handle; then using a small pointed knife, gently pry the tarts from the tins.
- Serve at room temperature.
Questions & Replies

Got a question?
Share it with the community!
Reviews
-
I made these for a Portuguese student staying with me. She said that she had something similar back home in the town she is from. She did say the crust is usually a bit chewy (referencing the older review). The taste was amazing, though. I would have never guessed mozzarella cheese (I would have said cream cheese), and while I am not a fan of cinnamon, it wasn't overpowering. I am also a crap cook, and these came out really well, and were not that hard! Brava!
-
 These were unusual, I just had to try them. You would never know there is mozzarella cheese in them, it is completely absorbed in the filling mixture. The filling is not overly sweet and tastes of cinnamon. I was expecting the pastry to be similar to pie crust, but it was came out rather chewy and tough. Maybe I did something wrong? I would change that part next time, but overall they were enjoyed by all. Thanks for sharing your recipe.
RECIPE SUBMITTED BY

<p><strong><em>Thank you to everyone who has tried my recipes!</em></strong> I appreciate your feedback and the fact that you took the time to post a review.</p>
<p> </p>
<p>I am a vegetarian (pescetarian) who occasionally indulges in sushi and seafood, so the majority of my recipes reflect my preferences. I always try to offer substitutions in my recipes that can be made for my carnivorous friends. <br /> <br />I believe that vegetarians can make just about ANY meat dish under the sun by making smart substitutions of vegetarian mock meats, tofu, or vegetables. If a dish calls for meat or poultry, I NEVER let that stop me. I can make just about ANYTHING vegetarian...and taste just as good, if not BETTER, than the real thing. <br /> <br /> <br /> <br /><img src=http://i23.photobucket.com/albums/b399/susied214/projects/200_PACpic.jpg border=0 alt=Photo Sharing and Video Hosting at Photobucket /><img src=http://i23.photobucket.com/albums/b399/susied214/projects/pacbanner.jpg border=0 alt=Photo Sharing and Video Hosting at Photobucket /><img src=http://i23.photobucket.com/albums/b399/susied214/permanent%20collection/Adopted1smp.jpg border=0 alt=Photo Sharing and Video Hosting at Photobucket /></p>