Pita Bread -- Using the Master Recipe #309834

"The following is the baking instructions to make pitas using the dough made with Recipe #309834. Now you can make delicious fresh pitas whenever you need them . . . perfect solution for a small family! The only special equipment needed is a baking stone. The Master recipe will make four pounds of dough . . . the recipe below will use 1 pound of dough, making 4 pitas."
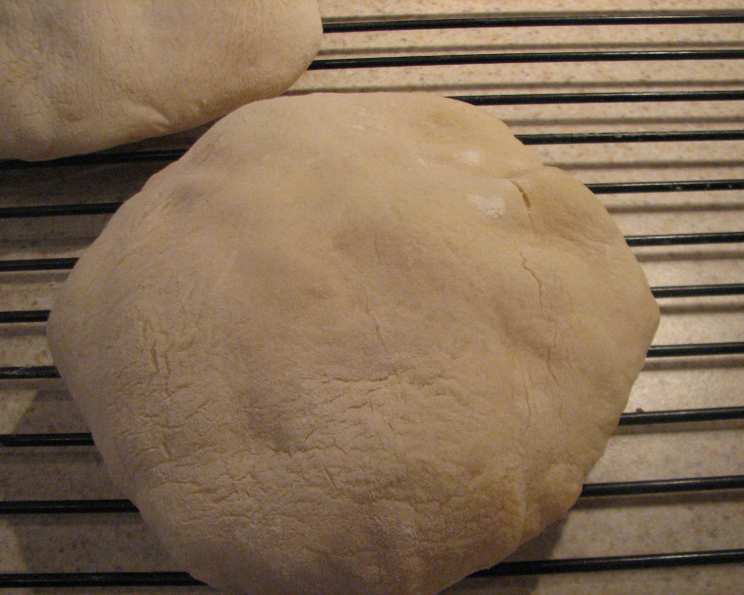
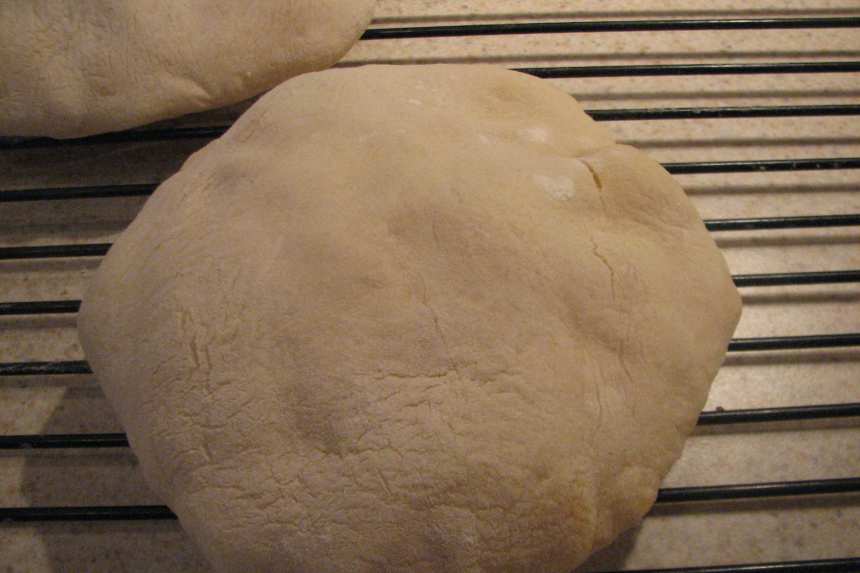
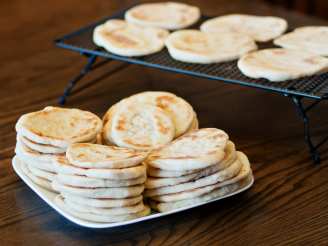
photo by Galley Wench


- Ready In:
- 12mins
- Ingredients:
- 6
- Yields:
-
4 Pita Pockets
ingredients
- 1 1⁄2 cups beer, 12 oz. bottle, room temperature lager such as Budweiser (Note Water can be substituted however it will somewhat effect the flavor)
- 1 1⁄2 cups water, warm approximately 100 degrees
- 1 tablespoon white vinegar
- 1 1⁄2 tablespoons instant yeast
- 1 1⁄2 tablespoons coarse salt
- 6 1⁄2 cups unsifted unbleached all-purpose flour (29.25 ounces)
directions
- Refer to Recipe #309834 for instructions to prepare the dough necessary to make the pitas.
- TO BAKE: (Dough should be refrigerated for at least 24 hours).
- Twenty minutes before baking, preheat the oven to 500 degrees with a baking stone.
- Just before baking, dust a pizza peel with flour.
- With wet hands, pull up one end of the refrigerated dough (Recipe #309834). Using a serrated knife, cut off a 1-pound, or grapefruit-size, piece of dough. (Note a 1 pound piece of dough will make 4 pitas so adjust the amount needed as necessary.)
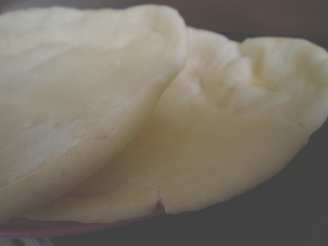
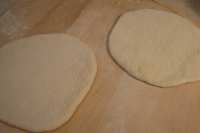
- Divide the dough into 4 pieces (no larger than 4 ozs. each) and shape into a ball by stretching the surface of the dough around to the bottom on all four side, rotating a quarter-turn as you go.
- Place the dough on a flour-dusted pizza peel, dusting the top with flour.
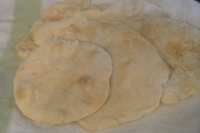
- With a rolling pin, roll the dough out into rounds with a uniform thickness of 1/8 inch. This is important, because if it's too think, it may not puff.
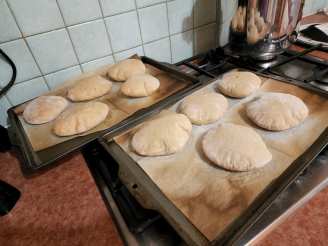
- With a quick motion, slide the pitas from the pizza peel directly onto the preheated baking stone.
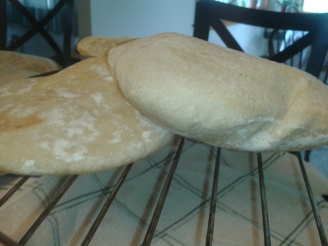
- Bake for 5 to 7 minutes, until lightly browned and puffed.
- For authentic, soft-crusted results, wrap the pitas in a clean cotton dish towel and set on a cooling rack when baking is complete.
- The pitas will deflate slightly as they cool, however the space between the crust will still be there.
- Serve with your favorite filling.
- Once cooled the pitas can be stored in a zip-lock bag.
Questions & Replies

Got a question?
Share it with the community!
Reviews
-
 Great fresh bread, but boy, did rolling these out thin enough give new meaning to "pita" bread, LOL! I needed these for Recipe#423400, so I divided the 1 lb piece into 8 pieces instead of 4. I ended up using quite a bit more flour for dusting in order to be able to roll these out — the wet dough kept sticking to me, the rolling pin, and occasionally the pizza peel too! My kitchen looked like a bomb had gone off by the time I was done fighting with those ornery little suckers (due, of course, to my lacking as a bread maker, not to the recipe), and my dog was looking at me like I was completely out of my tree, lol. All the frustration went out the window as soon as I saw that first perfectly round, beautifully puffed little pita bread in the oven. I can't say much for the appearance of the rest of my pitas, but the flavor and texture made up for the high percentage of uglies I made. The beer gives these a nice tang, and as difficult a time as I had rolling these out, it WAS really nice not having to knead or do multiple rises. By the way, these were perfect in the recipe I used them in. Now I need to try some of the other methods with my remaining dough! Thanks for posting :)! Made by a fellow Queen of Quisine for ZWT6 Greece
 -
 I am giving this 5 stars based on flavor and texture, but you do need a baking stone to achieve a pocket. I made mine on a very hot heavy cast iron griddle (over low heat) but it didn't work very well (I didn't want to turn on the oven because it was too hot). I will make them properly next time.Thank you Galley! Made for Swizzle Chick and ZWT6.
 -
 It's a hit. At a chosen moment I am able to make pita. No fuss, no kneading. And they puffed beautifully. The dough was very soft and slightly sticky but I don’t mind as long as I have nice fresh pitas. I don’t have pizza stone - baked mine on upside-down large pyrex dish. Thanks for posting.
 -
 This certainly was an interesting and fun way of making bread! I am so used to the conventional method that I think I am still in shock about how easy and effective this method is. The only problem I had,was that my dough was on the sticky side,so rolling it to make the pitta was not easy.In fact I gave up and pulled them by hand,and it worked pretty well. Once I am over my shock,I will be trying your other suggestions for this dough GW. Thank you...
RECIPE SUBMITTED BY

Galley Wench
Oro Valley, Arizona
"Life is not a journey to the grave with the intention of arriving safely in a pretty and well preserved body, but rather to skid in broadside . . . Chardonnay in one hand . . .chocolate in the other; the body thoroughly used up, totally worn out and screaming "WOO-HOO, what a ride!!"