Community Pick
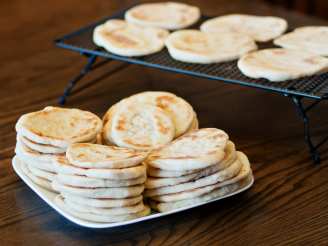
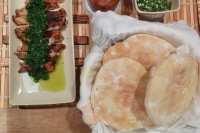
Pita Bread

"An inexpensive recipe for pitas/pocket bread."
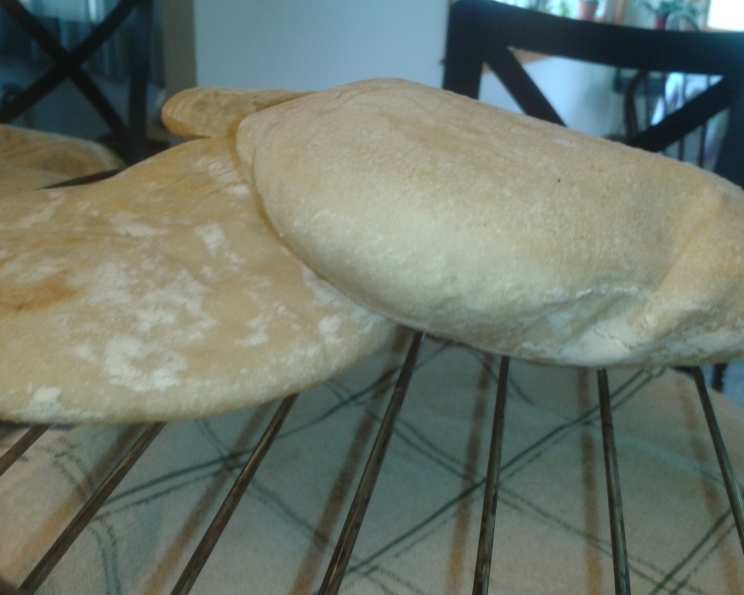
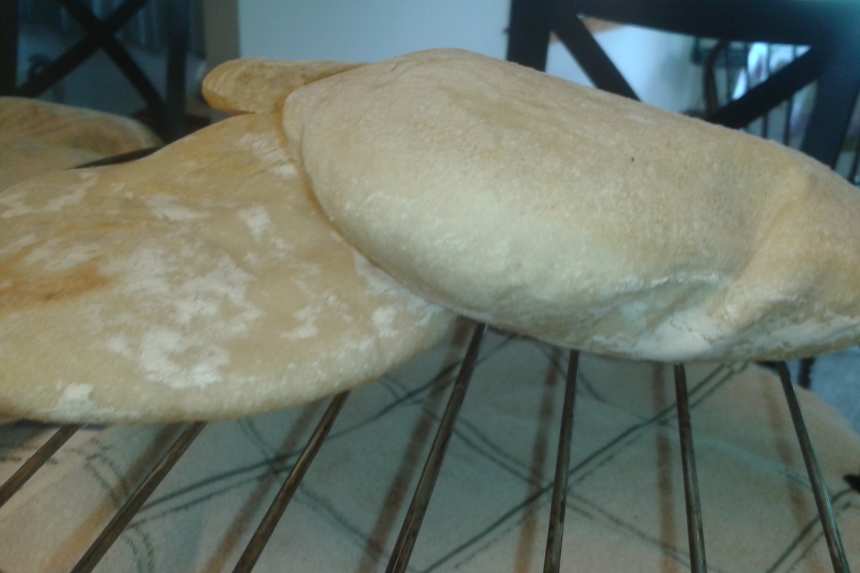
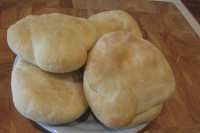
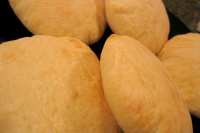
photo by DeeBee


- Ready In:
- 3hrs 3mins
- Ingredients:
- 6
- Yields:
-
12 pita breads
ingredients
- 3 1⁄2 cups bread flour (plus extra for dusting)
- 1 teaspoon salt
- 1 packet dry active yeast
- 1 teaspoon sugar
- 1 teaspoon olive oil
- 1 1⁄3 cups water
directions
- Sift flour and salt together in a large bowl.
- Combine yeast, sugar and 1/3 cup very warm water-give a quick stir and set aside for 5 minutes to activate yeast.
- Make a well in the flour/salt mixture and add the yeast, 1 cup warm water and the olive oil.
- Gently stir to gather dough into a ball-you may need a touch more water-depending on where you live, altitude.
- Turn out and knead for 10 minutes.
- Put into a LIGHTLY greased large bowl, cover and place in a warm spot for around 1 1/2 to 2 hours.
- Punch down and knead to smooth.
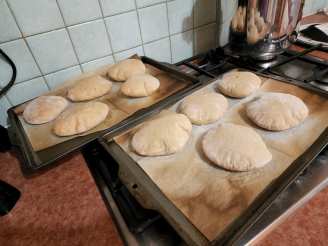
- Cut dough into 12 pieces, form into rounds, roll out and place on a dusted baking sheet, cover and let rest for 45 minutes.
- Preheat oven to 500F degrees.
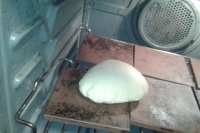
- I use my large cast iron skillet for this part, so I place it in the oven and when really hot I place in two pitas and let bake for around 3 minutes-you can broil for 1 minute if you like, just to get the tops browned.
- I wrap the cooked pitas in a slightly damp tea towel for a minute or two-then cool and place in plastic bags.
- This process can also be done on a cooking sheet.
Questions & Replies

Got a question?
Share it with the community!
Reviews
-
 Very good and very easy to make. Like some other reviewers, I used my bread machine to mix up the dough. Just threw all the ingredients in the bread pan and ran it all the way through the dough cycle, then followed the rest of the directions beginning with step 7. I didn't even sift the flour and salt, as directed. I prefer to make everything whole wheat when I can, but I was too timid to use all whole wheat flour the first time trying this. Instead, I used 1 1/2 cups all-purpose flour and 2 cups stoneground whole wheat flour. I got good results with this. I divided dough into 12 pieces at first, but quickly decided that this wouldn't make pitas as large as I wanted. I ended up making only 4 large rounds, which I cut in half after baking. This gave me pitas that were closer to the size of the ones I would buy in the store. There wasn't any instruction on how thick/thin to roll out the dough, but I kept mine pretty thick (just under 1/2"), and they came out just like I wanted them. Even at this size and thickness, I baked each one of them for 3 minutes and they were done. (I used a timer.) I didn't bother broiling them because I didn't trust myself not to burn them! I baked them one at a time on a cooking stone that I placed in the oven before turning it on. 500 degrees on the middle rack worked just fine for me. I only baked one at a time, since I wasn't sure how they'd turn out, but with such a short baking time, I'd probably just bake them one at a time again next time, too. I just slid a spatula under them and used my hand to help carry them to the oven, where I just sort of tossed them onto the baking stone! They puffed up and cooked exactly like they were supposed to, I think. Since I cooked them one at a time, I would wrap one in the damp towel until the next one came out of the oven, then the newly baked one would go into the towel while another was baking. Once I removed them from the damp towel, I cut each of them in half using scissors and placed them all in a ziploc bag. They were very soft and pliable, and each of them had a pocket, but (like many of the pitas I've bought from the store) one half of the pocket was rather thin, so you couldn't stuff the pockets too well without tearing them. I don't know if this is because I made mine larger and thicker than directed or not. At any rate, they were quite good, and I will definitely be making them again!
 -
 These turned out wonderful, I made them last week and froze 2. They came out perfect as well. They do taste better then store bought. I will be making these often. Thank you.
 -
 These were good .. will make them again, they taste a lot better than store-bought pita!!
 -
 Fantastic!<br/>I can't buy really fresh pita bread around here and it is one of my all-time favorite things to eat in this world.<br/>I had fun making these and they came out great.<br/>I made the dough in my bread machine, stacked them between waxed paper (well floured) and baked them on my preheated cast iron pizza pan 450 degrees.<br/>It only took a minute per side to cook them through.<br/>I like my pita bread very soft.<br/>The flavor was perfect and they puffed up beautifully.
 -
Used whole wheat flour instead of regular (3.25 cups), and loaded the ingredients into my bread machine on "dough" cycle in place of steps 1-6. Rolled into 6 pita breads (I like them big enough to stuff sandwich-style), rose a 2nd time, and baked... and these pocketed PERFECTLY! I hadn't realized pocketing could be that simple.
see 52 more reviews
Tweaks
-
Used whole wheat flour instead of regular (3.25 cups), and loaded the ingredients into my bread machine on "dough" cycle in place of steps 1-6. Rolled into 6 pita breads (I like them big enough to stuff sandwich-style), rose a 2nd time, and baked... and these pocketed PERFECTLY! I hadn't realized pocketing could be that simple.
-
 This recipe is wonderful! To make it healthy I used whole wheat flour and honey instead of the sugar. Fantastic! I am super excited to have this recipe!
 -
The only think I changed was use Instant yeast instead of dry active, and they turned out absolutely wonderful! Thanx for sharing the recipe DiB's! I've tried 2 other Pita recipes, and so far this one has been the best!! :)
RECIPE SUBMITTED BY

Diana Adcock
Geneseo, Illinois