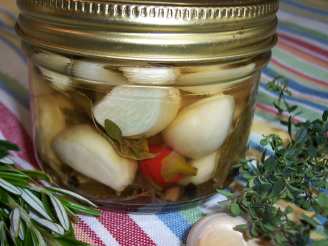
Pickled Garlic

"This pickled garlic is great for snacking on straight from the jar, or you can add it to salads or even cooked recipes.
Many grocery stores now carry peeled garlic. If you live near a Korean market, that is a great place to buy peeled garlic, as they always have it and generally have a high turnover, so the garlic is very fresh.
I put 1/4 teaspoon of Pickle Crisp in each jar, but Food.com doesn't know what that is, so it won't let me put it in the ingredients list. You can use it or leave it out; I like to use it because it keeps the garlic crunchy. Put it in the jar at the same time as you put the spices in. "Cooking Time" is processing time."
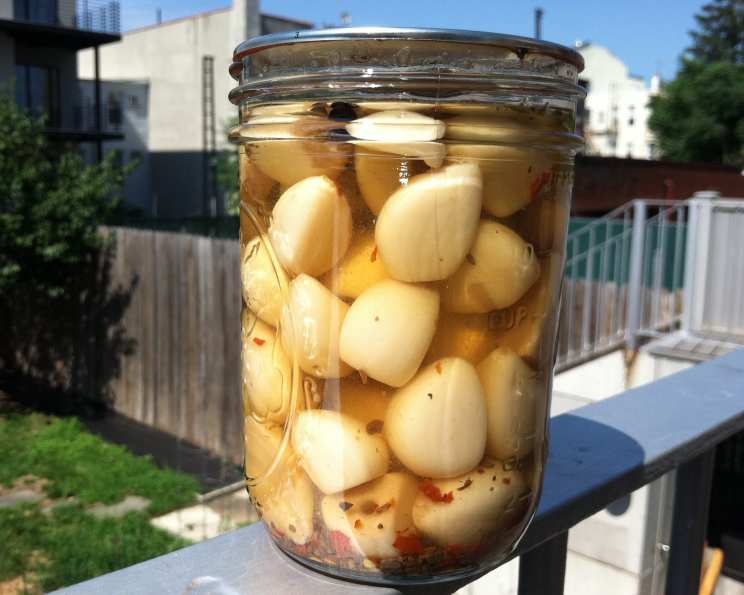
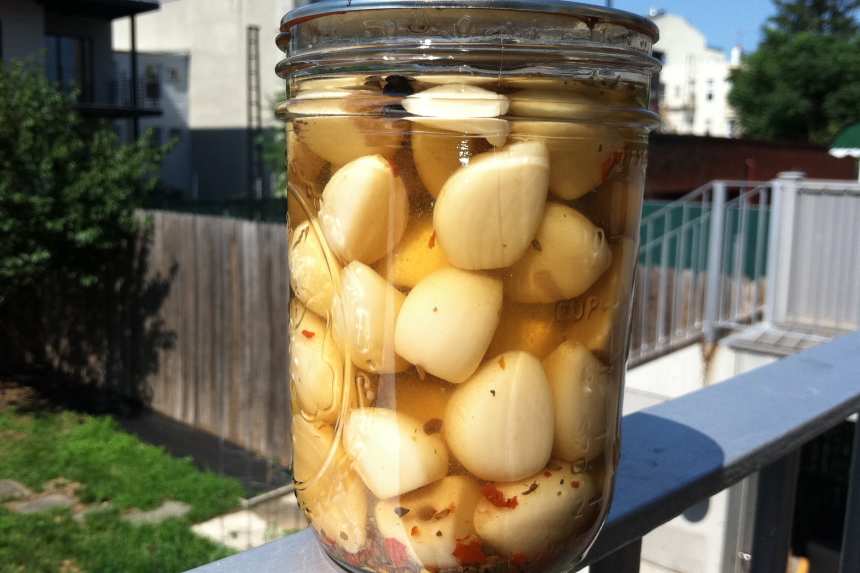
photo by xtine

- Ready In:
- 30mins
- Ingredients:
- 9
- Yields:
-
4 pints
ingredients
- 3 lbs peeled whole garlic cloves
- 6 cups white vinegar
- 1 tablespoon pickling salt
- 1⁄2 cup sugar
- 2 teaspoons crushed red pepper flakes, divided
- 1⁄2 teaspoon celery seed, divided
- 1 teaspoon dried oregano, divided
- 12 peppercorns, divided
- 4 bay leaves
directions
- Fill a large bowl with ice and fill halfway with water. This is the ice bath you will use to stop the cooking after you blanch the garlic.
- Bring a very large pot of water to a full rolling boil. Place all the garlic in the boiling water and blanch for 1 minute. Do not wait for the water to return to a boil, begin timing the minute as soon as you place the garlic in the water.
- Drain the garlic and place it in the ice water bath. Let the garlic stay in the ice water until it is entirely cool.
- In a large nonreactive pot, combine the vinegar, pickling salt and sugar. Bring just to a boil over high heat, stirring to make sure all the salt and sugar are dissolved.
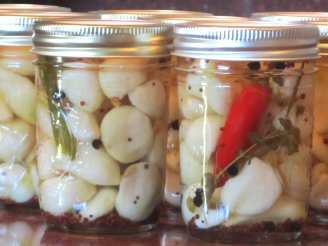
- Distribute the spices evenly between 4 pint jars: 1/2 teaspoon crushed red pepper flakes, 1/8 teaspoon celery seed, 1/4 teaspoon dried oregano, 3 peppercorns and one bay leaf in each jar. If you are using Pickle Crisp, now is the time to add it. Add 1/4 teaspoon to each jar.
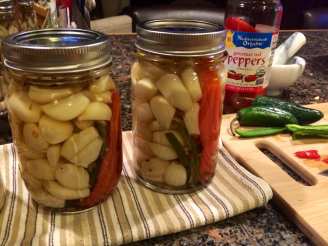
- Distribute the garlic evenly between the 4 jars, leaving 1" headspace.
- Ladle the boiling vinegar mixture into the filled jars, leaving 1/2" headspace.
- Use a chopstick or other thin, non-metal utensil to run around the sides of the jar to make sure there are no air bubbles left in the jar. Wipe the rims of the jars with damp paper towels to remove any brine which got on the rims or the threads. Place the lids and the bands on the jars, just tightening the bands fingertip tight.
- Process in a boiling water bath for 15 minutes, then remove and let sit, undisturbed, for at least 12 hours before checking seals. It is important to let them sit undisturbed for 12 hours because the sealing compound on the lids is still cooling and hardening, completing the seal. While the jars cool, you will hear a "plink" type sound from each jar - this is the jars completing the vacuum seal as the final air escapes the jar. After 12 hours have passed, remove the bands and check the lids - press down in the center of the lid. If you cannot push the lid down any further, the jar is sealed. If the lid "gives" a bit, and you can push it down, the jar did not seal. You can either put the band back on the jar, and reprocess it for another 15 minutes, or you can just put it in the fridge and use it within 3 months.
- Let the garlic sit for at least a month before using, so the flavors can develop. The longer it sits, the better it gets.
Questions & Replies

-
 Could I omit or lower the sugar to make more diabetic friendly? And how much pre made pickling spice would you recommend?
 -
 Can you reuse the pickled juice or does it get thrown out?
 -
 Thank you for this recipe. Its my first time pickling garlic. I just finished boiling the jars to seal. Do i put them in the fridge after 12 hours? Do i have to wait a month before opening the jars? Just want to do it correctly. Sorry if stupid questions.
 -
 3lbs of garlic!?
 -
can you make these in 1/2 pint jars and just divide the spices accordingly?, Thanks, Penny
Reviews
-
Really good recipe however the garlic should take no more than 30 sec. to blanch in boiling water. You can also do it in hot tap water but it takes about 2 min. You can speed the process up further by slicing off the stem end of the garlic first.
-
 I've used this recipe for two years now, and have since double the amount of garlic I grow so I can make more pickled garlic. This is now a favorite at family gatherings.
 -
 the metric system measurements are incorrect and difficult to understand
Tweaks
-
Add jalepenos and beets into this recipe for a healthy side for sandwiches and snacking. ??
RECIPE SUBMITTED BY

<p>I'm originally from Atlanta, GA, but I now live in Brooklyn, NY with my husband, cat, and dog. I'm a film and video editor, but cooking is my main hobby - if you can call something you do multiple times a day a hobby. <br />I enjoy all types of food, from molecular gastronomy to 70's suburban Mom type stuff. While I like to make recipes from cookbooks by true chefs, I don't turn my nose up at Campbell's Cream of Mushroom - I'm not a food snob. <br /> I love foods from all nations/cultures, and I am fortunate enough to live in NYC so I can go to restaurants which serve food from pretty much anywhere on the globe. Because of this most of my recipes tend to be in the Western European/American food tradition - I find it easier to pay the experts for more complicated delicacies such as Dosai, Pho & Injera. I really enjoy having so many great food resources available to me here in NYC. One of my favorite stores is Kalustyan's http://www.kalustyans.com/ <br />they have every spice, bean, & grain in the world. If there's something you can't find, look on their website. I bet they'll have it and they can ship it to you! <br />Many of my recipes are Southern, because that's the food I grew up on. I hope the recipes I have posted here will be useful to folks out in the 'zaar universe! <br /> <br /><img src=http://i23.photobucket.com/albums/b399/susied214/permanent%20collection/Adopted1smp.jpg border=0 alt=Photo Sharing and Video Hosting at Photobucket /> <br /><img src=http://i23.photobucket.com/albums/b399/susied214/permanent%20collection/smPACp.jpg border=0 alt=Photo Sharing and Video Hosting at Photobucket /> <br /><img src=http://i23.photobucket.com/albums/b399/susied214/permanent%20collection/PACfall08partic.jpg border=0 alt=Photobucket /> <br /><img src=http://i23.photobucket.com/albums/b399/susied214/permanent%20collection/IWasAdoptedfall08.jpg border=0 alt=Photobucket /> <br /><img src=http://i38.photobucket.com/albums/e110/flower753/Food/my3chefsnov2008.jpg alt= /></p>