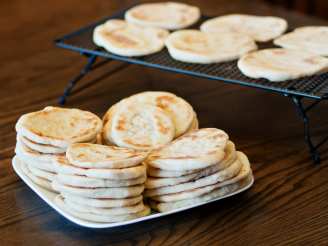
Peppy's Pita Bread

"This is an ABM recipe I've had for years. I don't remember where I got it from, but it has always come out perfectly and has never let me down."
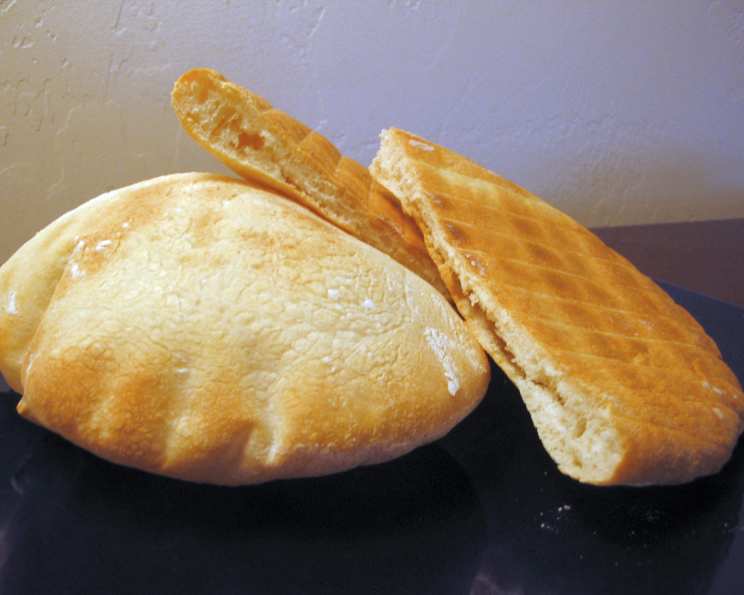
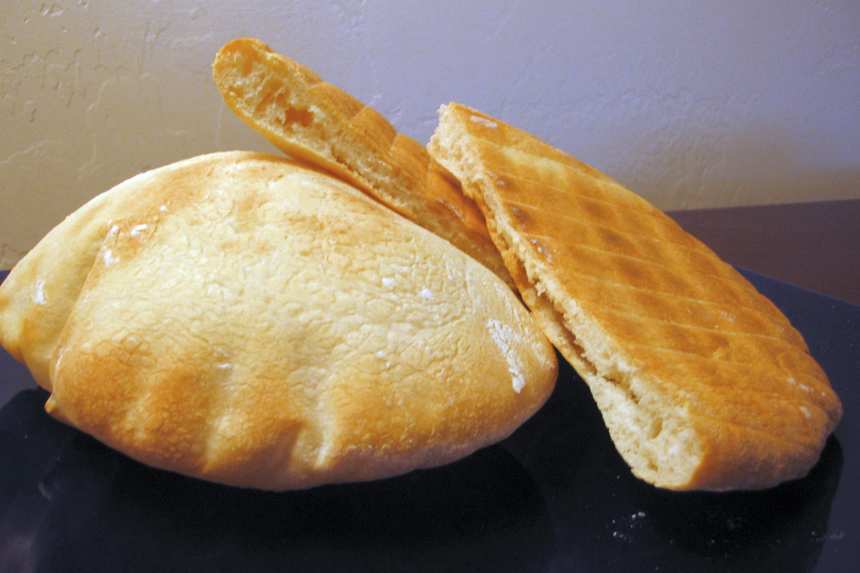
photo by Chilicat

- Ready In:
- 50mins
- Ingredients:
- 6
- Serves:
-
8
ingredients
- 1 1⁄8 cups water
- 3 cups all-purpose flour
- 1 teaspoon salt
- 1 tablespoon oil
- 1 1⁄2 teaspoons sugar
- 1 1⁄2 teaspoons active dry yeast
directions
- Place all ingredients in bread pan, select Dough setting and start. When dough has risen long enough, machine will beep. Turn dough onto a lightly floured surface. Gently roll and stretch dough into 12-inch rope.
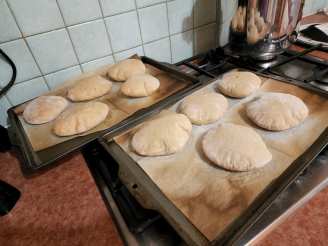
- With a sharp knife, divide dough into 8 pieces. Roll each into a smooth ball. With a rolling pin, roll each ball into a 6 to 7-inch circle. Set aside on a lightly floured countertop; cover with a towel. Let pitas rise about 30 minutes until slightly puffy.
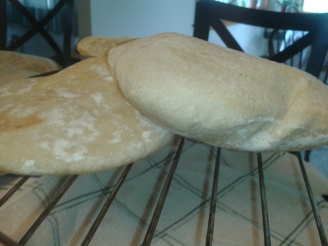
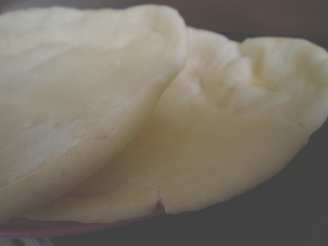
- Preheat oven to 500°F Place 2 or 3 pitas on a wire cake rack. Place cake rack directly on oven rack. Bake pitas 4 to 5 minutes until puffed and tops begin to brown. Remove from oven and immediately place pitas in a sealed brown paper bag or cover them with a damp kitchen towel until soft. Once pitas are softened, either cut in half or split top edge for half or whole pitas. They can be stored in a plastic bag in the refrigerator for several days or freezer for 1 or 2 months.
- Avoid using too much flour while rolling them out. Keep unrolled balls covered to prevent drying out.
- Handle with care while rolling and transferring. Tears or creases cause them not to puff up while baking.
- Avoid overbaking - they will turn crisp and brittle.
Questions & Replies

Got a question?
Share it with the community!
Reviews
-
 Wow. So easy and such delicious pitas. I made mine with my Kitchenaid and let rise about an hour before shaping. I baked for 5 minutes and they came out so soft and fluffy. They would be perfect for stuffed pita sandwiches as they bubble up quite a bit. I don't think I will be buying pita again because they do not taste as good as these ones!
 -
These were simple to make and even simpler to eat! I actually had a problem with over-cooking them at first, but no loss as I just turned them into pita chips to have with hummus. When I finally got the hang of it, the result was soft, flavorful little pita breads. Lovely recipe! Thanks for sharing!
-
 These worked well for me. They had a nice texture and puffed beautifully with pockets in all of them. I really appreciated the tips on softening the pitas after they came out the oven. Great tips! I froze most of them and look forward to having them on hand for future use. Thank you for sharing your recipe! Reviewed for ZWT3.
RECIPE SUBMITTED BY

I grew up here...
<img src="http://i201.photobucket.com/albums/aa107/chilicat-zaar/156807760503_0_BG.jpg">
and ended up here.
<img src="http://i201.photobucket.com/albums/aa107/chilicat-zaar/Mt-Lemmon.jpg">
Both places are beautiful in their own way, although Arizona is where I learned that the little marshmallows in the Lucky Charms box are actually supposed to be crisp and crunchy, not gummy and all stuck together. What a revelation!
<img src="http://i3.photobucket.com/albums/y53/DUCHESS13/Zaar%20World%20Tour%203/ZWT3-Participation.gif">
<img src="http://i201.photobucket.com/albums/aa107/chilicat-zaar/Vixens.jpg" border="0" alt="The Mixin Vixens">
<img src="http://i19.photobucket.com/albums/b158/bella_donata/My%20Art/Recipezaar/RedWhiteBlue.jpg" border="0" alt="Made by Bella14ragazza"> <img src="http://i42.photobucket.com/albums/e347/Saturn6666/KiwiDutch/3chefstag1.jpg">
<img src="http://www.recipezaar.com/members/home/1535/CLC1.gif">
<img src="http://i23.photobucket.com/albums/b399/susied214/permanent%20collection/PAC08Main.jpg" border="0" alt="Photobucket">
<img src="http://i23.photobucket.com/albums/b399/susied214/permanent%20collection/adoptedspring08.jpg" border="0" alt="Photobucket">