Mini Tomato and Basil Tartlets

"I am not sure where I found this recipe, but these are great appetizer's and they freeze so well. The family loves these for a quick and easy snack after work or school. Parmesan cheese can be substituted for cheddar if you prefer. Finely chopped spring onions, can also be added or substituted for basil.
I have included tips on freezing below."
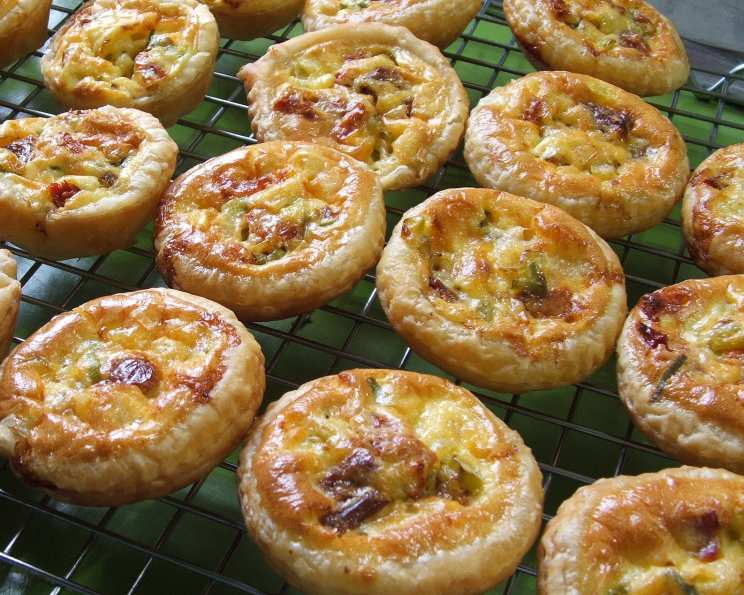

photo by Fairy Nuff

- Ready In:
- 40mins
- Ingredients:
- 7
- Serves:
-
24
ingredients
- 3 sheets puff pastry, thawed
- 1⁄2 cup sun-dried tomato, well chopped
- 1⁄2 cup fresh basil, chopped
- 1⁄3 cup cheddar cheese, finely grated
- 3 eggs
- 1⁄2 cup sour cream
- sea salt and pepper
directions
- Preheat oven to 180°C.
- Grease two tartlet trays with 12 holes in each tray.
- Use a 7cm (3in) round cookie cutter to cut circles from the pastry then place into tartlet holes.
- Combine the tomatoes, basil and cheese in a bowl then divide the mixture between pastry shells.
- In another bowl whisk together the eggs and sour cream salt and pepper, then spoon a small amount into each pastry shell.
- Carefully stir each of the tartlets to combine the filling and the egg mixture.
- Bake in preheated oven for about 20 minutes or until golden brown. (If freezing see cooking tip below.).
- Remove from oven and allow to cool.
- TIP~ If the filling is cooked but the underside of the pastry is still uncooked as some ovens will cook pastry better than others, place them upside-down on an oven tray and brown briefly under the grill. Be careful that they don't burn.
- IF FREEZING ~.
- Cook tartlets until just lightly browned and filling is just firm.
-
TO FREEZE.:
- Let tartlets completely cool and flash freeze the tartlets on a tray lined with baking paper and when frozen transfer to a freezer bag or plastic container.
- To Defrost ~.
- Remove from freezer and defrost on bench, or in the fridge or in the microwave; you can also put one or two in the lunch box and they'll be defrosted by lunchtime.
- To reheat ~ (from frozen).
- Place frozen tartlets on tray and place in warm oven and cook for approx 10 minutes.
Questions & Replies

Got a question?
Share it with the community!
Reviews
-
 We love this recipe!! Half an hour out of the oven saw half of these goodies gone. Didn't have any decent basil so used the spring onion/scallion option. Easy to make and they taste just as good cold. I brushed melted butter on the pans and had no trouble with either the colour or removing the quiches. Thanks Tisme for your recipe!!
RECIPE SUBMITTED BY

Tisme
Australia


