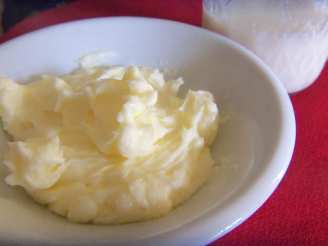
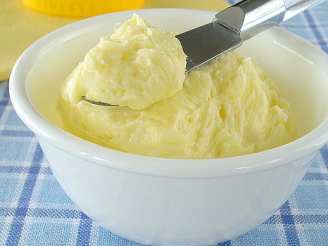
Homemade Butter

"How to make fresh butter yourself. This is a great project for a school class, using smaller amounts of cream and baby food jars. It tastes so much better than margarine, even with almost expired cream :-) Using 1 cup of cream , you will end up with about 1 cup of butter and 1/2 cup of buttermilk. I don't like to put salt in mine, but it helps preserve the butter, especially if you keep it in a butter bell."
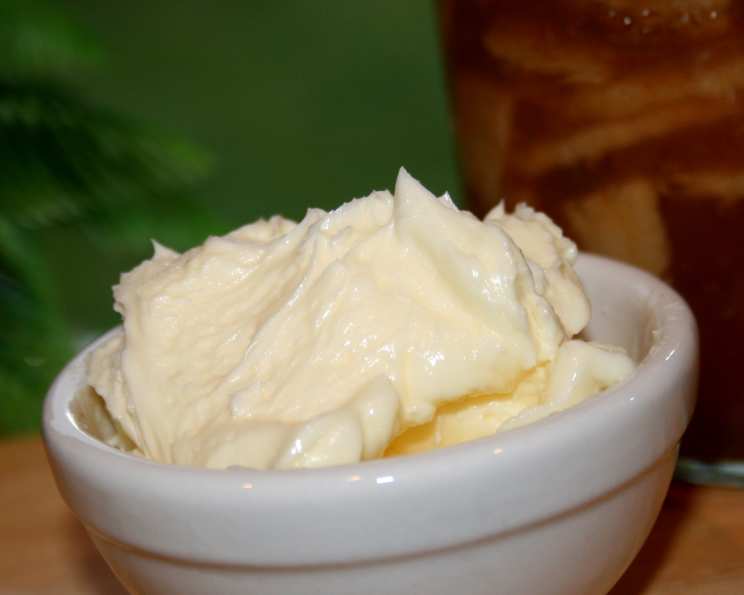
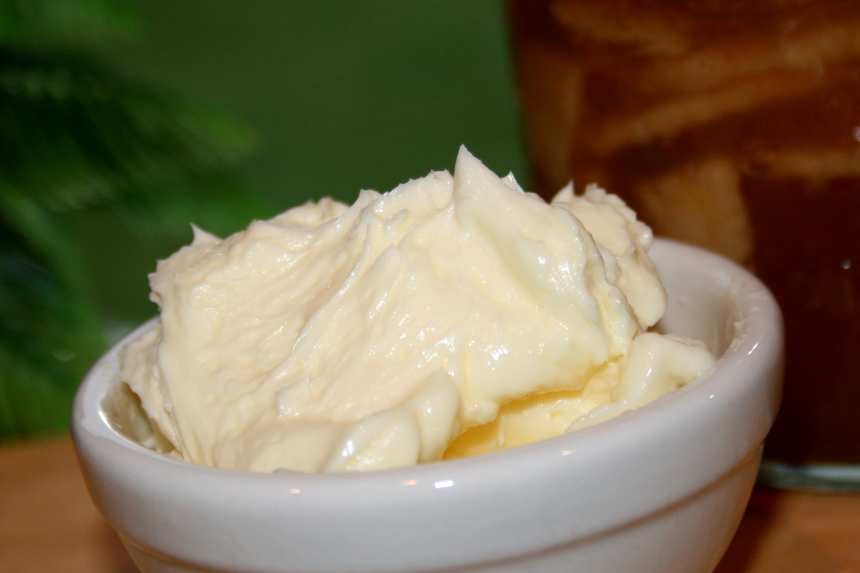
photo by Tinkerbell


- Ready In:
- 20mins
- Ingredients:
- 2
- Serves:
-
30
ingredients
- 1 cup fresh heavy cream
- 1⁄2 teaspoon salt (optional)
directions
- Prepare a screw top jar. It must be clean, dry, and not smell like it's previous contents. (Peanut butter jars work great, as well as baby food jars for smaller portions).
- Pour the cream into the jar, and put the lid on. You will need to leave the jar about half empty to have space to shake, so adjust the amount of cream accordingly.
- Shake the jar vigorously. After a bit, it will coat the sides of the jar, then become whipped cream. Keep shaking - it will start to separate. Its done when it is totally separated into butter and buttermilk.
- NOTE: I stopped every minute to open the jar and take a picture (and let my arm rest :-) ) and it took 7 minutes of shaking. After several reviews, I thought that I'd mention that it takes some people longer - even 20 or 30 minutes - but it is still worth the time to make :D .
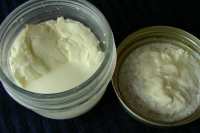
- Pour the buttermilk into a separate container, and enjoy!
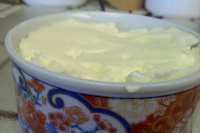
- A great project for school kids is to use the buttermilk to make biscuits or bread, and then eat it with the butter. While it is very soft at first, it gets rather hard as you store it in the fridge, and will need to soften if you plan to use it as a spread. (If you don't eat it all right away!).
- While researching cheese making I discovered that the resulting butter milk is 'old fashioned' and purchased buttermilk is thicker as it is cultured in a process similar to yogurt. (Someone mentioned this in a review as well.) I have used it with great success in a few recipes without knowing that there was a difference.
Questions & Replies

Got a question?
Share it with the community!
Reviews
-
 Thanks to you I saved the expired cream and made ghee out of it. I used a hand mixer. Took me about 15min to get to the butter.
 -
-
 Super awesome, I'm in the process of making more sourdough as we speak and I noticed your link to this recipe, I'm so glad I did. We never buy margarine, personally I can't see who would want to eat something processed so much that it's an ingredient away from being plastic, yuck! We have always purchased real butter before and I thought this would be neat to try.<br/><br/> This was easy! I made our butter in about 5 minutes, nice little arm workout with all of that shaking. I used one of those GNC plastic cups to shake up the first batch of butter in and the pressure from all of the shaking made the top pop off and I had some of the whipped cream on the floor, myself, and the wall that I was standing next too, my fault. Once cleaned up I continued with what was left inside of the container and was pleased with the result. The second batch I found a screw top container which worked much better, we now have a little container on our counter with fresh butter and of course I had to try some on toasted sourdough bread that I made 2 days ago cause I couldn't wait for the fresh batch and I don't want to waste it. YUM YUM YUM!!!!
 -
 we kept shaking and shaking and after about 20 minutes, no butter or buttermilk. Instead we are taking it and making baked alaska out of it. Edit to post. We took our cream in a container to the paint shop and had them mix it in their paint mixing machine! That was the trick for us. great sweet cream butter. Served this on some buttermilk pancakes that was made with the leftover buttermilk. Great idea and great science project for my daughter!
 -
 I've made this recipe many times years ago when my kids were young. It never once failed. As a matter of fact, it was one of our most popular playgroup activities. The kids used to love spreading the fresh butter on freshly baked bread that they also helped to make.
 -
 You have to use the right kind of cream for making butter, or it won't turn out so well. It needs to be just cream without all those fillers (carageenan and such), and it should be at room temperature. I'm not sure if ultra-pasteurized works as well as just pasteurized or raw cream, so if you have trouble with ultra-pasteurized, you might try another type of cream. Cream used for butter making by hand (as opposed to with a blender or other appliance) is sometimes soured a little to make it easier to separate the butterfat from the liquid. If you want to try that, just let it sit out at room temperature for about 12 hours, give or take (depending on ambient temperature); adding a little buttermilk can help, too. Also, keep in mind that the buttermilk resulting from butter-making is completely different from the cultured "buttermilk" available in stores. The flavor and consistancy are different, and they may yield different results in baking, too.
see 11 more reviews