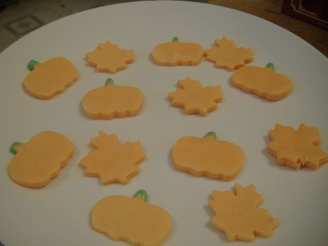
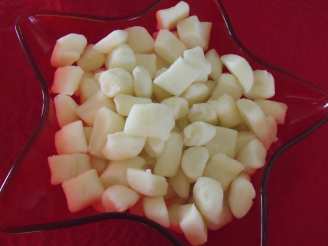
Hannah's Butter Mints

- Ready In:
- 30mins
- Ingredients:
- 9
- Yields:
-
100 pieces
ingredients
- 1 1⁄2 cups sugar
- 1⁄4 cup water
- 1⁄2 cup light corn syrup
- 2 tablespoons butter
- 1 pinch salt (about 1/16 teaspoon)
- 1⁄2 teaspoon peppermint extract, divided
- food coloring
- 1⁄2 lb powdered sugar (about 2 cups)
- cornstarch
directions
- Decide how many colors you want. You will need to butter or spray a baking sheet for each color. Put some cornstarch in a shallow dish to use for dipping your fingers later.
- Cook the sugar, water, corn syrup, butter, and salt over medium heat for about 7 to 10 minutes, stirring occasionally.
- When it reaches 270 degrees F, remove the pan from the heat and let it stand until it stops bubbling. (270 degrees is Soft Crack Stage. It will form threads that bend when dropped in ice water.).
- Divide the mixture between the greased baking sheet(s) and let it stand for 5 minutes or until it is cool enough to handle.
- Drop food coloring and peppermint flavoring on each batch of candy. Remember to divide the 1/2 teaspoon peppermint flavoring by however many batches you have divided the candy mixture into. For example, if you have put half the mixture on each of two baking sheets, drizzle each with only 1/4 teaspoon of peppermint flavoring.
- Use the cornstarch to dip your fingers, and then begin pulling the candy straight out without twisting it. Fold it half and stretch it again.
- Continue to pull and fold the candy until it is no longer clear, but opaque and creamy looking. It should become very pale, almost white. This will take quite a while, so it is great to do with a friend. Don't worry the candy won't set as it cools, so there is no rush. If your arms get tired, rest and stretch again in a few minutes.
- Stretch the candy into a rope about 1/2 inch in diameter, and begin snipping off 1/2 inch pieces with a pair of scissors into a baking pan filled with the powdered sugar.
- Toss the candy with sugar to coat, making sure none of the pieces are sticking together, and let it sit overnight.
- The next morning, sift the pieces out of the sugar and place them in a pretty dish. Try not to eat them all.
Questions & Replies
Got a question?
Share it with the community!
RECIPE SUBMITTED BY
ctrmom
United States


