Easter Eggs - Decorate and Dye Options

"You can have so much fun decorating Easter eggs - it's not just for kids! Here are a few suggestions for both decorating and dying. I had to lump all of the decorating ideas together because I couldn't list the different items in the ingredients. The ideas are easy, just take a look! I hope you find something that can express your artistic flair! Enjoy!"
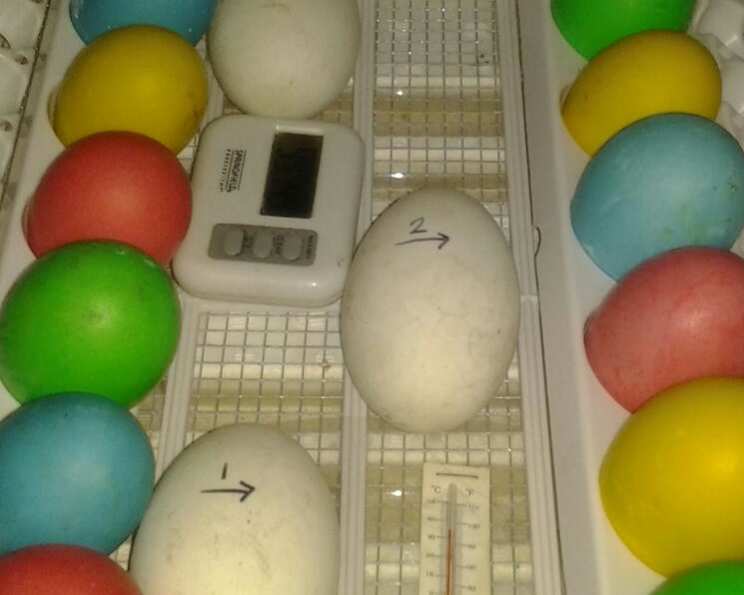
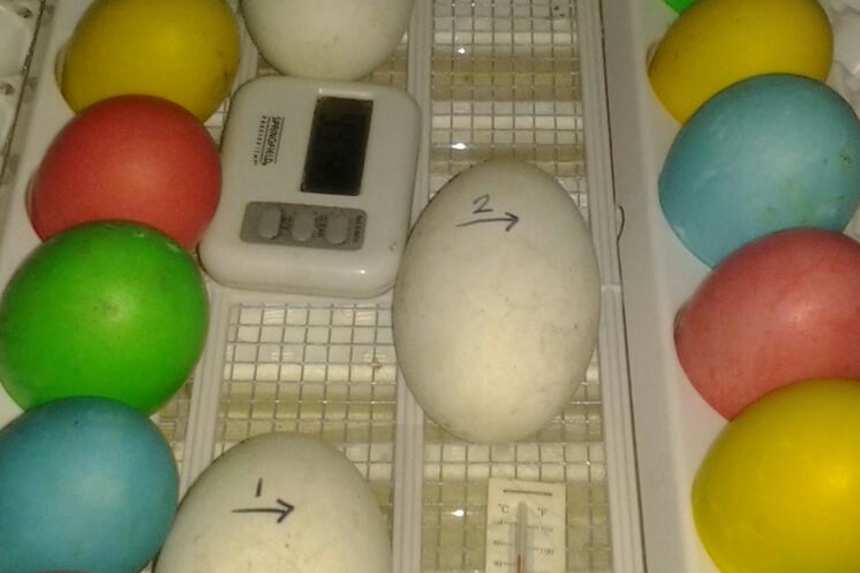
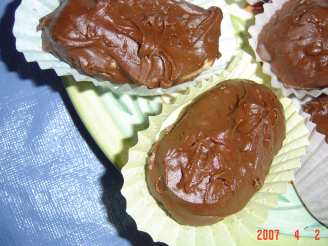
photo by rosie316

.jpg)
.jpg)


- Ready In:
- 40mins
- Ingredients:
- 4
- Yields:
-
1 batch
ingredients
directions
- DECORATING THE EGGS: Wrap different sized elastic bands around eggs. Wrap them snugly but not tight enough to break the eggs -- OR tie string around eggs in a random or set pattern -- OR use a white crayon to write words, make a design or pattern on your eggs -- OR place tape on eggs to create a pattern or stripes around the eggs -- OR place shaped stickers on the eggs. They can be shapes, letters, numbers, etc.
- DYING THE EGGS: For each color, mix hot water, vinegar and food coloring in a heat proof, narrow, deep dish, such as a canning jar. Mix the colors to your preference. Use 20 drops of just one color or combine colors to create many different shades and hues.
- Using tongs, submerge eggs for 3-5 minutes for a lighter shade and up to 10 minutes for a deeper shade. Remove with tongs.
- DRYING THE EGGS: You can set the eggs on wax paper if you can set the eggs on the elastics, tape or stickers. Let eggs dry for 1 to 2 hours and refrigerate -- OR you can poke many flat head pins on a thick piece of cardboard or foam board. Set eggs on top of the pins. Let eggs dry for 1 to 2 hours.
- Remove whatever decorating items you used and refrigerate.
Questions & Replies

Got a question?
Share it with the community!
Reviews
-
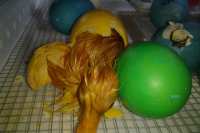
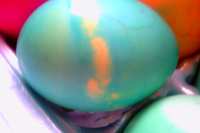
 March 30, 2013: "Hi", and "Happy Easter" to all... I made my beautifully colored eggs this year using this method (rather than the store bought dissolve a tablet and dip method). However, I did get somewhat creative with this concoction. Coloring live eggs is dangerous... I let the water COMPLETELY cool before dipping them... (I did not want to hard boil them). Just be sure that you have latex gloves on, and have plain paper (like waxed, butchers paper) over your table/counter top while preparing these... (edible food coloring can permanently stain some surfaces). Thank you for sharing this recipe. Made for PRMR - Spring 2013. UPDATE June 7, 2014: I forgot to mention that we did this again with this years spring hatch! Soooo much fun, Nif! The grand-kids love waiting for their Easter eggs to become "real". I'm attempting to add photos of the new babies, but it might not get approved at this point in time (I should have done it immediately). The color of the eggs, once again, stayed intact in the incubator and the babies have no harm from the dye or vinegar (although I do use a smaller amount of the vinegar than stated, and I DO cool the water to room temp before dunking). Just thought I would update you, hun! :)
 -
 Thanks for the post! It has been years since I have coloured eggs and as we live in Australia, there are no colouring kits like when I grew up. I can't wait!!!
 -
 This was enjoyable even for my great big teenager. I used loosely wrapped masking tape and different colors to create a sort of tie-dye effect. We also made plain ones. So much fun! Thanks for posting!
 -
 We experimented with stickers and a white crayon and just had a good time. A wonderful way to bring family together for Easter fun. Thanks for all the ideas on decorating eggs.
 -
 We had so much fun and the eggs turned out so pretty! Due to the age of the children we only did plain solid colors. Nif just loved your suggestions and directions as they make egg dying and decorating a snap. Thanks so much for the post.
RECIPE SUBMITTED BY

Nif_H
Canada
I love great food and I particularly like trying cuisines new to me! Although I don't prepare as much food as I used to, creating in my kitchen is still one of my favourite things to do. Enjoy!