Deep-Dish Apple Pie

"From Cooks Illustrated: "We wanted mounds of tender, juicy apples in our deep-dish pie, but first we had to wade through half-baked apples, soupy fillings, and sodden crusts." Use a combination of tart and sweet apples for this pie. Good choices for tart are Granny Smiths, Empires, or Cortlands; for sweet, we recommend Golden Delicious, Jonagolds, or Braeburns. Wrap leftovers tightly in plastic wrap and store at room temperature for up to 24 hours. To reheat, remove the wrap and warm the pie in a 350-degree oven for 15 to 20 minutes. See below for freezing instructions"
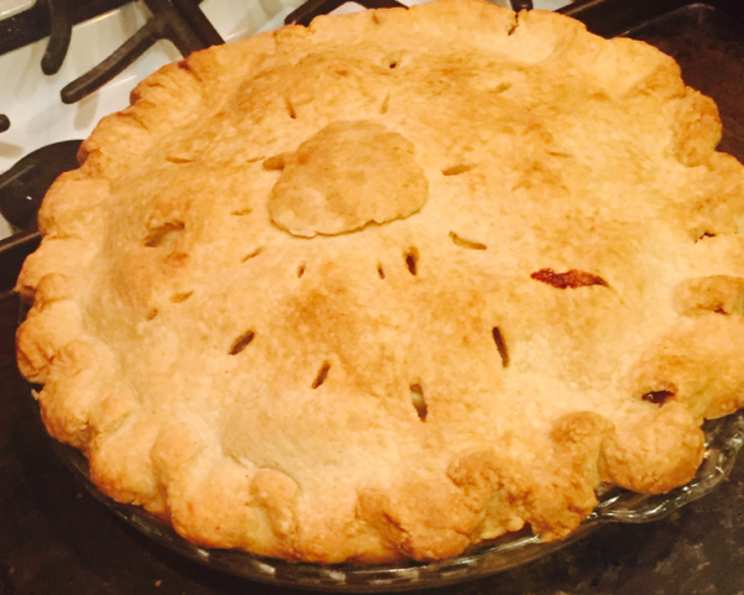
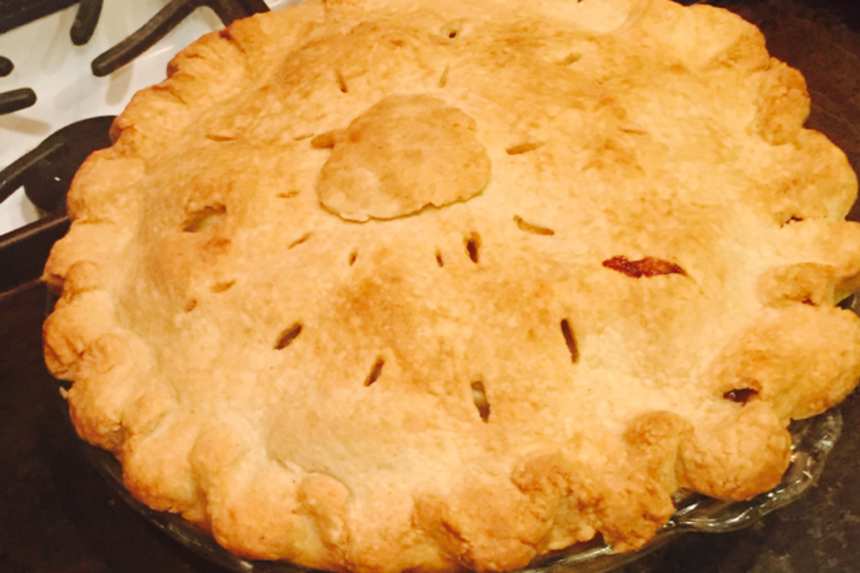
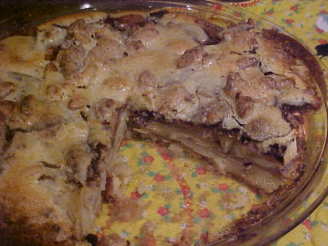
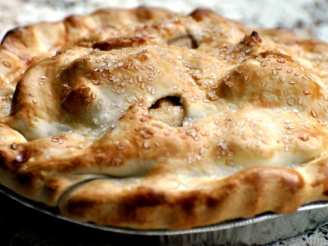
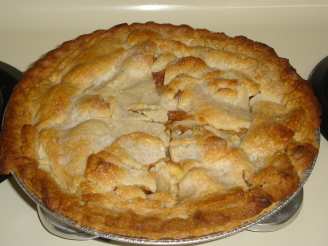
photo by Bonnie S.


- Ready In:
- 1hr 5mins
- Ingredients:
- 17
- Yields:
-
1 9 inch pie
- Serves:
- 8-10
ingredients
-
FOR THE ALL-BUTTER PIE PASTRY
- 591.47 ml unbleached all-purpose flour, plus additional
- all-purpose flour, for work surface (12 1/2 ounces)
- 4.92 ml table salt
- 14.79 ml sugar
- 236.64 ml unsalted butter, cold, cut into 1/2-inch cubes and frozen for 10 minutes
- 44.37 ml sour cream
- 78.78 ml ice water (or more)
-
FOR THE APPLE FILLING
- 118.29 ml granulated sugar
- 4.92 ml granulated sugar
- 59.14 ml light brown sugar, packed
- 1.23 ml table salt
- 14.79 ml lemon juice
- 2.46 ml lemon zest, grated
- 0.61 ml ground cinnamon
- 1133.98 g tart apples, about 5 medium, peeled and cut into 1/4-inch-thick slices (see note)
- 1133.98 g sweet apples, about 5 medium, peeled and cut into 1/4-inch-thick slices (see note)
- 1 egg white, beaten lightly
directions
- For Pastry: Process flour, salt, and sugar together in food processor until combined, about 3 seconds. Add butter and pulse until butter is size of large peas, about ten 1-second pulses.
- Using fork, mix sour cream and 1/3 cup ice water in small bowl until combined. Add half of sour cream mixture to flour mixture; pulse for three 1-second pulses. Repeat with remaining sour cream mixture. Pinch dough with fingers; if dough is floury, dry, and does not hold together, add 1 to 2 tablespoons ice water and process until dough forms large clumps and no dry flour remains, three to five 1-second pulses.
- Turn dough out onto work surface. Divide dough into 2 balls and flatten each into 4-inch disk; wrap each disk in plastic and refrigerate until firm but not hard, 1 to 2 hours, before rolling. (Dough can be refrigerated for up to 24 hours. Let thoroughly chilled dough stand at room temperature for 15 minutes before rolling.).
- For Pie: Mix 1/2 cup granulated sugar, brown sugar, salt, zest, and cinnamon in large bowl; add apples and toss to combine. Transfer apples to Dutch oven (do not wash bowl) and cook, covered, over medium heat, stirring frequently, until apples are tender when poked with fork but still hold their shape, 15 to 20 minutes. (Apples and juices should gently simmer during cooking.) Transfer apples and juices to rimmed baking sheet and cool to room temperature, about 30 minutes. While apples cool, adjust oven rack to lowest position, place empty rimmed baking sheet on rack, and heat oven to 425 degrees.
- Remove 1 disk of dough from refrigerator and roll out between 2 large sheets of parchment paper or plastic wrap to 12-inch circle, about 1/8 inch thick. (If dough becomes soft and/or sticky, return to refrigerator until firm.) Remove parchment from one side of dough and flip onto 9-inch pie plate; peel off second layer of parchment. Working around circumference, ease dough into plate by gently lifting edge of dough with one hand while pressing into plate bottom with other hand. Leave dough that overhangs plate in place; refrigerate until dough is firm, about 30 minutes.
- Meanwhile, roll second disk of dough between 2 large sheets of parchment paper or plastic wrap to 12-inch circle, about 1/8 inch thick. Refrigerate, leaving dough between parchment sheets, until firm, about 30 minutes.
- Set large colander over now-empty bowl; transfer cooled apples to colander. Shake colander to drain off as much juice as possible (cooked apples should measure about 8 cups); discard juice. Transfer apples to dough-lined pie plate; sprinkle with lemon juice.
- Remove parchment from one side of remaining dough and flip dough onto apples; peel off second piece of parchment. Pinch edges of top and bottom dough rounds firmly together. Following illustrations 1 through 4, trim and seal edges of dough, then cut four 2-inch slits in top of dough. Brush surface with beaten egg white and sprinkle evenly with remaining teaspoon sugar.
- Set pie on preheated baking sheet; bake until crust is dark golden brown, 45 to 55 minutes. Transfer pie to wire rack and cool at least 1 1/2 hours. Cut into wedges and serve.
-
Freezing Instructions:
- We tried two different methods for freezing: (1) fully assembled and ready to go directly from freezer to oven and (2) divided into separate components of crust and cooked apple filling to be thawed, assembled, and baked. Both versions were good, although the reassembled pie was deemed marginally better for its slightly flakier, more evenly browned crust. You'll probably want to choose one method or the other based on how long you expect to keep a pie (or its components) in the freezer.
- Assembled pies kept well for up to two weeks in the freezer; after that, the texture of the crust and apples suffered. To freeze an assembled pie, follow the recipe all the way through sealing the pie crust, but do not brush with egg wash. Freeze the pie for two to three hours, then wrap it tightly in a double layer of plastic wrap, followed by a layer of foil, and return it to the freezer. To bake, remove the pie from the freezer, brush it with egg wash, sprinkle with sugar, cut slits in the top crust, and place directly on the baking sheet in the preheated oven. Bake 5 to 10 minutes longer than normal.
- For a longer freezer storage time of several months, freeze the crust and apples separately. Freeze individual batches of the cooked, drained apple filling in quart-sized freezer bags (this doubles as a great alternative to canning). Then make the pie dough, shape it into two 4-inch disks, wrap the disks tightly in a double layer of plastic wrap and foil, and freeze. When you're ready to make the pie, simply thaw the apples and crust in the refrigerator the night before, assemble as per the recipe instructions, and bake as directed. Of course, you can always just freeze the apples and make the crust fresh the day you bake the pie.
Questions & Replies

Got a question?
Share it with the community!
Reviews
-
 Holy cow amazing. There's rarely a pie that tastes better than it looks. The crust is the best I've ever had. I've made it twice now, both times with amazing results. The only downside is that it is not the simplest recipe. It is worth the time, although I recommend making more than one at a time and freezing the extra for after the finish of pie #1. That should be about 24 hours or less if I recall correctly.
 -
 I generally use the recipe from the Better Homes and Gardens cookbook, which produced a pie we like and I have always gotten good feedback on. I decided on a whim to try a new recipe and chose this because it is from Cooks Magazine and Americas Test Kitchen, both of which I consider reliable sources for quality recipes.<br/><br/>I became skeptical because of the additional time (and mess) involved with this version as compared to my old standard, however I followed it faithfully (minus the lemon as I didn't have any handy). It was pretty worth it!<br/><br/>The crust is easily the best pie crust I have ever made or eaten, hands down, no contest. The filling was okay, while the apples where tender I prefer more spices and also some thickened juices in with the fruit rather than only fruit. I might still pre-cook the filling next time, but I will try reserving and thickening some of the juice and adding additional spice to better suit my personal taste. This recipe does eliminate the soupy, wet bottomed pie problem that can occur when the juices don't thicken sufficiently though, and perhaps if we had served it al la mode we wouldn't have even missed them.<br/><br/>That said, this pie is solid and the crust is perfect. If you follow the recipe as is the results won't disappoint.
 -
 This is a very easy way to make apple pies I love it. I'm just disappointed if you truly want deep dish pie you need at least 20 medium apples & of course you will have to adjust all your other ingredient's.
 -
 I saw the episode of America's Test Kitchen where they made this pie and had to make it myself. It's a little bit of time and effort (especially making the crust) but it turned out so good! The crust was amazing and very flaky and buttery and the apples were perfectly cooked. I've tried making several apple pies and this was by far the best of the bunch. This is the one I'm making from now on!
RECIPE SUBMITTED BY

senseicheryl
Ocean View, New Jersey