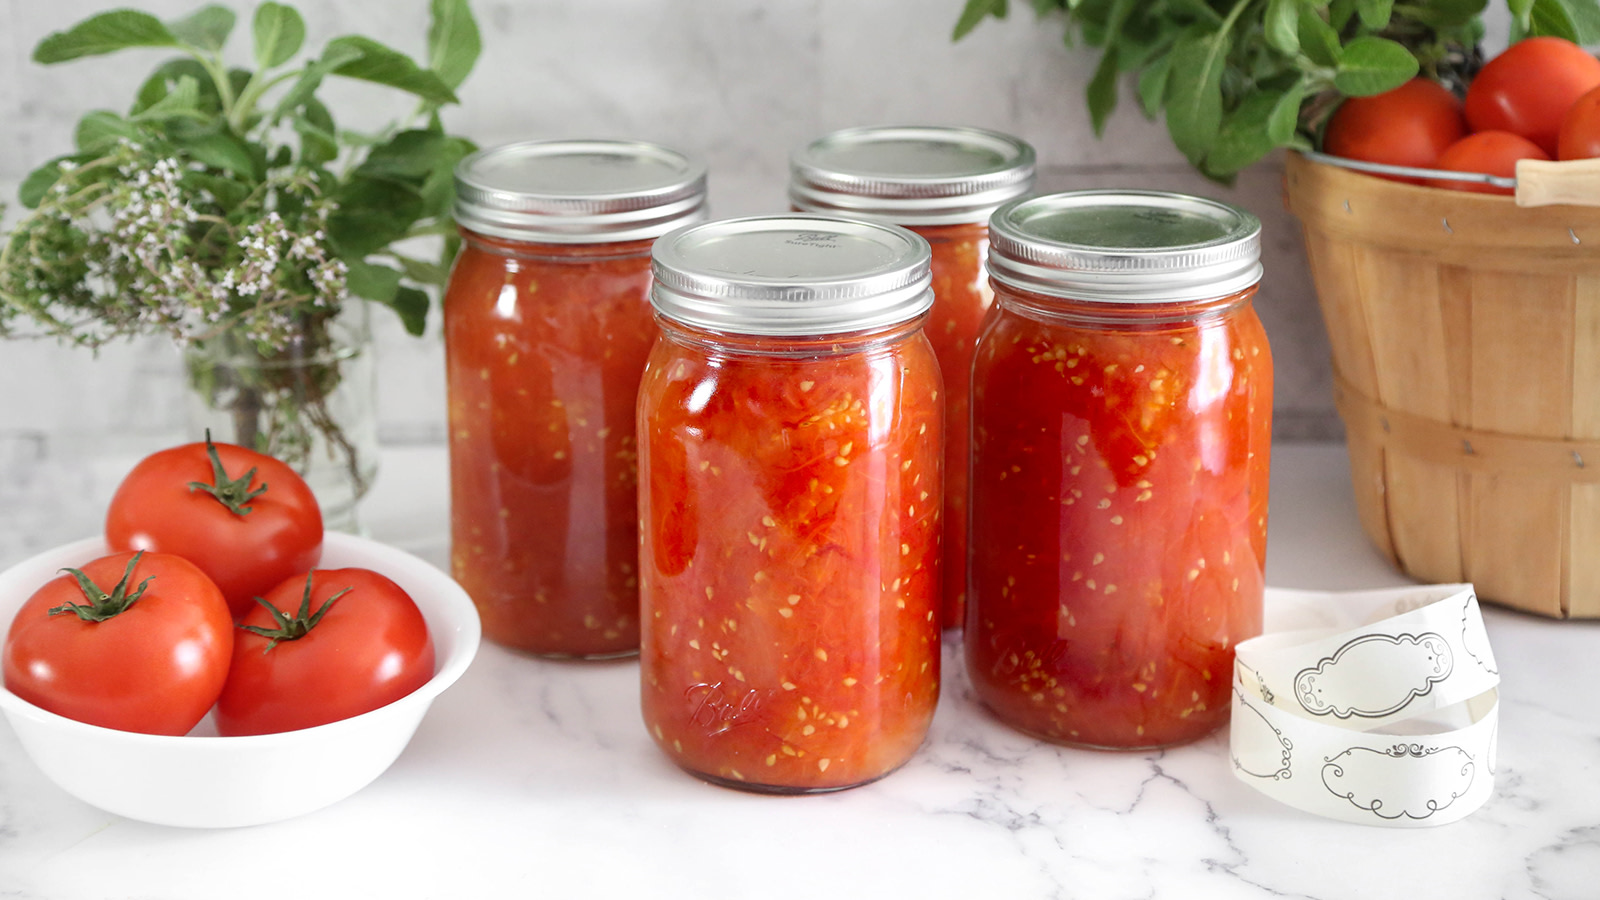
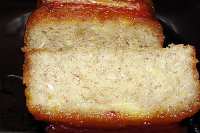
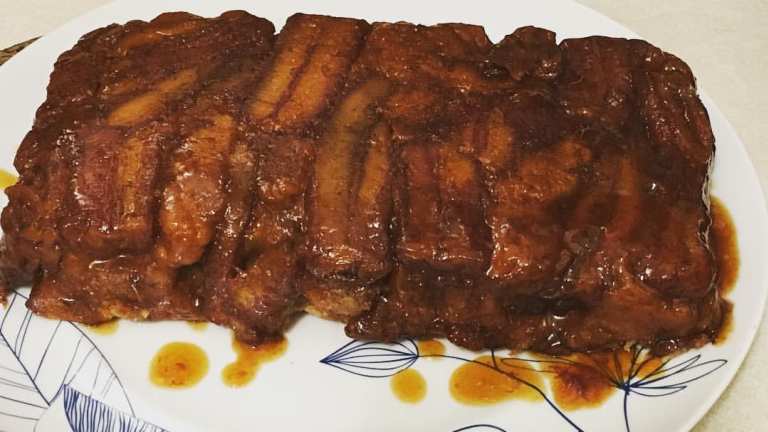
Caramelized Banana Loaf Cake

"Thie loaf is really like a cake with the caramelized banana. It's beautiful. From Rachael Ray."
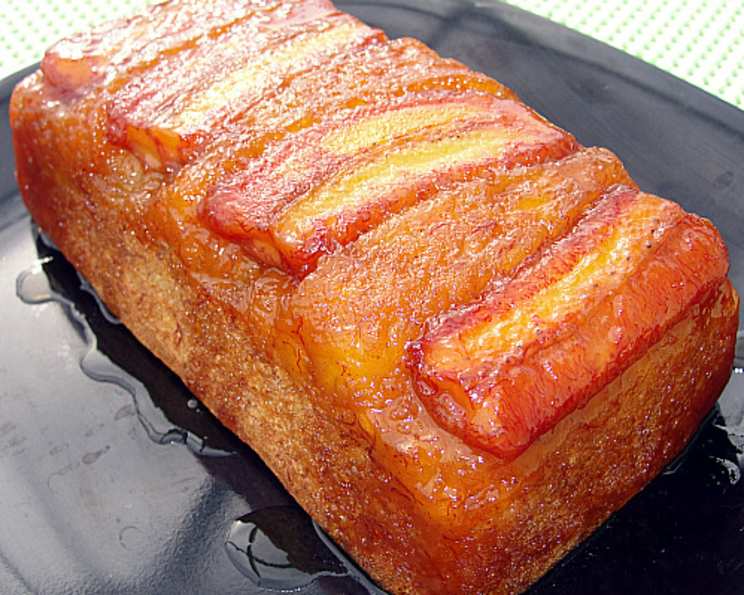

photo by diner524


- Ready In:
- 1hr 30mins
- Ingredients:
- 11
- Serves:
-
6
ingredients
- 3 -4 large bananas
- 3⁄4 cup sugar
- 2 tablespoons unsalted butter, in 1 piece
- 1 large egg
- 1 large egg white
- 1 teaspoon pure vanilla extract
- 1 cup flour
- 1 teaspoon baking powder
- 1 teaspoon cinnamon
- 1⁄4 teaspoon salt
- 1⁄2 cup vegetable oil
directions
- Position a rack in the center of the oven and preheat to 325°F Grease a 5-by-9-inch loaf pan. Trim both ends off each of 3 bananas to fit crosswise in the pan; reserve the ends. Halve the long banana pieces lengthwise; peel and transfer to a plate.
- In a large, heavy skillet, bring 1/4 cup sugar and 2 tablespoon water to a boil, without stirring. Cook until the water has evaporated and the mixture starts turning amber. Remove from the heat and swirl in the butter with a fork. Add the long banana pieces cut side down and cook over low heat for 1 minute; transfer to the prepared loaf pan, arranging them crosswise, cut side down. Drizzle the remaining caramel on top.
- In a medium bowl, mash the banana end pieces to equal 1 cup (add more banana if necessary). Mash in the remaining 1/2 cup sugar. Beat in the whole egg, egg white and vanilla.
- In a large bowl, whisk the flour with the baking powder, cinnamon and salt. Add the banana mixture and oil, whisk until blended. Scrape the batter over the bananas in the pan and bake until a toothpick inserted in the center comes out dry, 50 to 55 minutes. Let cool on a rack for 10 minutes; invert the cake onto a platter and let cool completely.
Questions & Replies

-
 Can this be frozen?
 -
Can this be frozen? I'm alway
Reviews
-
 Delicious!!! I made 1/2 of the recipe and used a mini loaf pan to bake it in, but otherwise, followed exactly as written. This turned out wonderfully moist and so yummy!! Thanks for sharing the recipe. Made for PRMR Tag.
 -
Super easy and absolutely delicious!!!
-
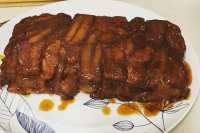
 I don't have an oven but I do have an oven toaster. It's small but it worked! <br/>And it only took 20 minutes!! But because the toaster is small the electric bar inside is very close to the cake tin. so I had to cover the cake with foil once it turned brown otherwise it would burn.<br/>It didn't look exactly like the picture on here, it was kind of dry looking on the bananas, but overall it tastes GREAT!<br/>Thank you for sharing this. All it needs now is a big wallop of fresh cream :D
Tweaks
-
I used gluten free flour instead of the white flour and it turned out just as delicious. You can do a one to one ratio and it turns out perfectly. I used: Pamela's All Purpose Gluten Free Flour (Non-dairy)- although I don't have an allergy to dairy so that matters less.
-
RECIPE SUBMITTED BY

<p><strong><span>I'm the host of Bargain Basement tag game in the cooking game forum. You're welcome to play anytime. You'll be surprised to find great recipes that were never reviewed. <br /></span></strong></p>
<p>~~~~~~~~~~~~~~~~~~~~~~~~~~</p>
<p><strong><span>I want to say a big thank you to everyone who tries my recipes and post photos. I don't always have the time to say thanks to each of you but be sure it's so appreciated :)</span></strong></p>
<p>~~~~~~~~~~~~~~~~~~~~~~~~~~</p>
<p> </p>
<p><img src=http://i195.photobucket.com/albums/z205/jubespage/zwt6%20banners%20and%20photos/captain.jpg alt=width=150 height=200 /></p>
<p><br /><img src=http://i27.photobucket.com/albums/c175/emmyduckie/zwt/ZwizzleBadge.jpg alt=width=200 height=300 /><br /> <br /><a title=banner3 href=http://www.flickr.com/photos/26630178@N05/3510953178></a><img src=http://farm4.static.flickr.com/3387/3510953178_b35b3086a8.jpg alt=banner3 width=500 height=250 /> <br /><img src=http://i23.photobucket.com/albums/b399/susied214/permanent%20collection/captain.jpg border=0 alt=Photobucket /> <br /><img src=http://i23.photobucket.com/albums/b399/susied214/permanent%20collection/PAC08Main.jpg border=0 alt=Photobucket /> <br /><img src=http://i23.photobucket.com/albums/b399/susied214/permanent%20collection/adoptedspring08.jpg border=0 alt=Photobucket /> By Brooke The Cook in WI <br /><img src=http://i147.photobucket.com/albums/r317/j_welcome/pics2/food/PRMRcopy.jpg alt=/ /> <br /><a href=http://www.recipezaar.com/bb/viewtopic.zsp?p=3510511#3510511> <br /> <br /><img src=http://i23.photobucket.com/albums/b399/susied214/projects/200_PACpic.jpg border=0 alt=Photo /> <br /> <br /></a><a title=Photo href=http://www.flickr.com/photos/boomette1/514183676></a><img src=http://farm1.static.flickr.com/252/514183676_f79b486466_m.jpg alt=good width=240 height=137 /> <br /><img src=http://i23.photobucket.com/albums/b399/susied214/permanent%20collection/Adopted1smp.jpg border=0 alt=Photo /> <br /><img src=http://i23.photobucket.com/albums/b399/susied214/permanent%20collection/smPACp.jpg border=0 alt=Photo /></p>
<p><img src=http://img.photobucket.com/albums/v726/annacia/Permanent%20Banners/ZTAA-sm.jpg border=0 alt=Photobucket /></p>
<p><img src=http://i21.photobucket.com/albums/b280/carolinamoon21/Ingredients/BANNERS/Pets-STKR.jpg alt=width=200 height=200 /></p>