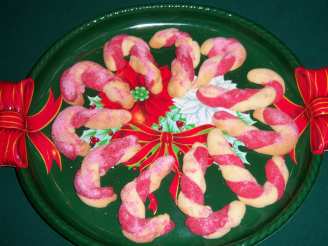
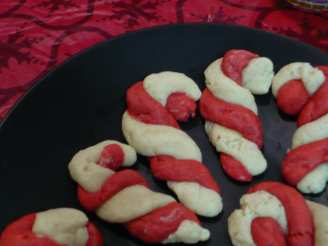
Candy Cane Cookies

"Plan ahead...needs to chill. Guests will have a merry time munching these mild mint cookies. The cute crunchy canes are easy to form once you color the dough--just roll into ropes and twist together."
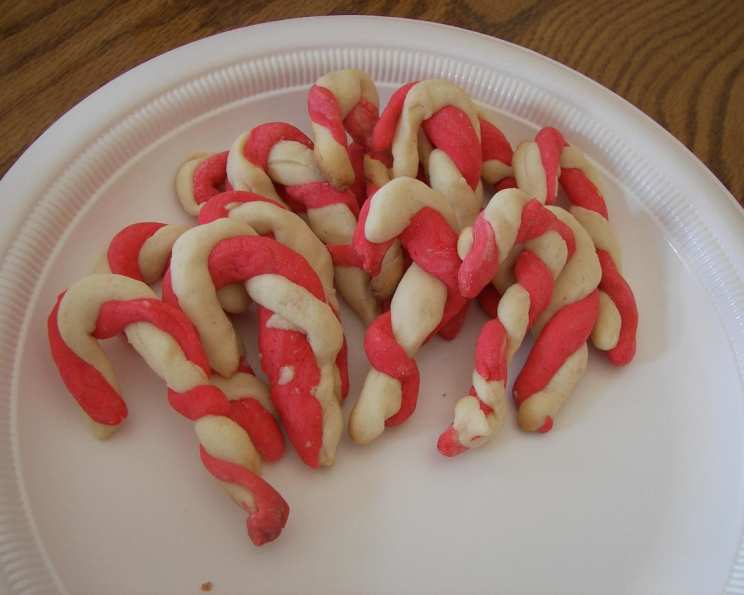
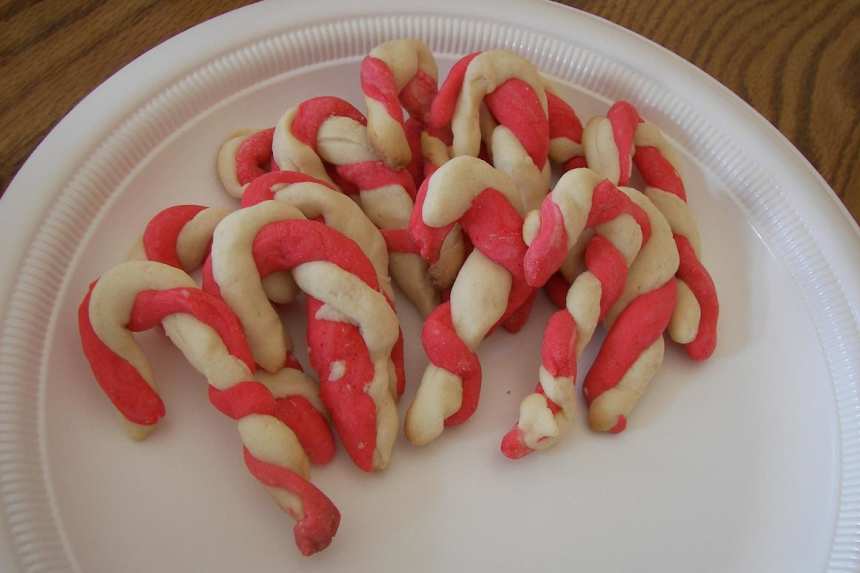
photo by anme7039


- Ready In:
- 47mins
- Ingredients:
- 12
- Yields:
-
72 cookies
ingredients
- 1⁄2 cup butter, softened (no substitutes)
- 1⁄2 cup shortening
- 1 cup sugar
- 1⁄4 cup confectioners' sugar
- 1⁄2 cup milk
- 1 egg
- 1 teaspoon peppermint extract
- 1 teaspoon vanilla extract
- 3 1⁄2 cups all-purpose flour
- 1⁄4 teaspoon salt
- green food coloring
- red food coloring
directions
- In a bowl, cream butter, shortening and sugars.
- Beat in milk, egg and extracts.
- Gradually add flour and salt.
- Set aside half of the dough.
- Divide remaining dough in half; add green food coloring to one portion and red food coloring to the other.
- Wrap dough separately in plastic wrap.
- Refrigerate for 1 hour or until easy to handle.
- Roll ½ teaspoonfuls of each color of dough in to 3-inch ropes.
- Place each green rope next to a white rope; press together gently and twist.
- Repeat with red ropes and remaining white ropes.
- Place 2 inches apart on ungreased baking sheets.
- Curve one end, forming a cane.
- Bake at 350° for 11-13 minutes or until set.
- Cool for 2 minutes; carefully remove to wire racks.
- (Recipe courtesy: Taste of Home's Quick Cooking Magazine).
Questions & Replies

Got a question?
Share it with the community!
Reviews
-
 I've been making these for years but couldn't quite get them right - then I used this recipe and they turned out perfect! I also used a thin confectioners sugar-milk-mint glaze and dusted them with crushed candy canes :-) A really great recipe.
 -
 These are a very festive addition to a Christmas cookie tray, but the taste didn't appeal to me. As fussy as they were to prepare, I guess I hoped they would be wonderful. But my grand kids loved them! I added a couple tablespoons of additional flour and the chilled dough was easy to work. I also followed another reviewer's idea and glazed the warm cookies and then sprinkled with crushed Starlite peppermint. Following the 1/2 tsp. portioning and the 3" length, this recipe.yielded 10 dozen nice 2 or 3 bite cookies. Thanks for posting this one!
 -
 Although time consuming, these were wonderful! Took to a cookie exchange and they were a big hit! I did deviate from the directions a little, I didn't add the extracts until AFTER everything was mixed and then once I had my dough and it was split into 2 colors I added the mint to only one color and the vanilla to the other. My kids like mint but this way it was not overbearing the cookie. Some people said just right others said could use a little more(and I doubled the receipe but not the extract). Once I had my system down I was cranking out cookies like a well oiled machine! Thanks, great receipe!
 -
 I have made these for Christmas one year using a recipe very similar to this one. Of course the cookies tasted great, but they were a little tedious to make, and they were also too delicate to put into cookie baskets. The idea is great, though, and if you are planning on serving them on a platter, or you don't mind if they get a little broken up, these cookies are very good. :)
 -
 These are a classic that I have made many times at Christmas. I like to separate the dough and then leave one ball white and add almond extract instead of vanilla and then I make the other half red and add the peppermint extract. These always turn out well. You can make them very small or large...as long as all the cookies on the tray are the same size, they turn out great...pull out as soon as the bottem edges have a hint of brown...but tops should not be brown at all. The only downside to this cookie is that they are difficult to store without breaking. I will continue to make these for the kids each year. Thanks for sharing the recipe!
see 2 more reviews
RECIPE SUBMITTED BY

Sweet Tooth8482
United States