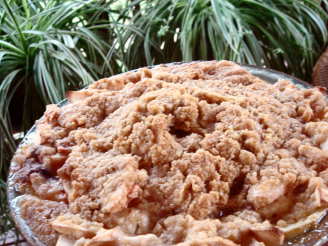
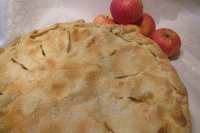
Brown Sugar Apple Pie to Die For

"A recipe from the blog Care2"
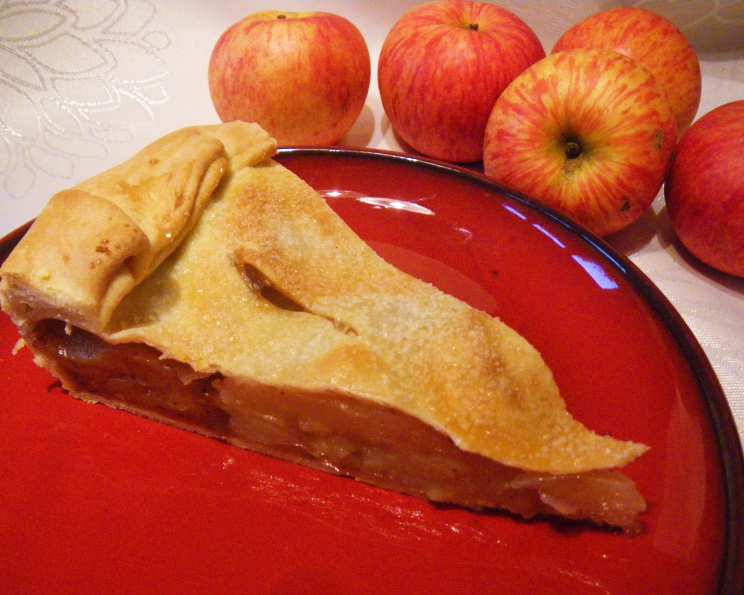
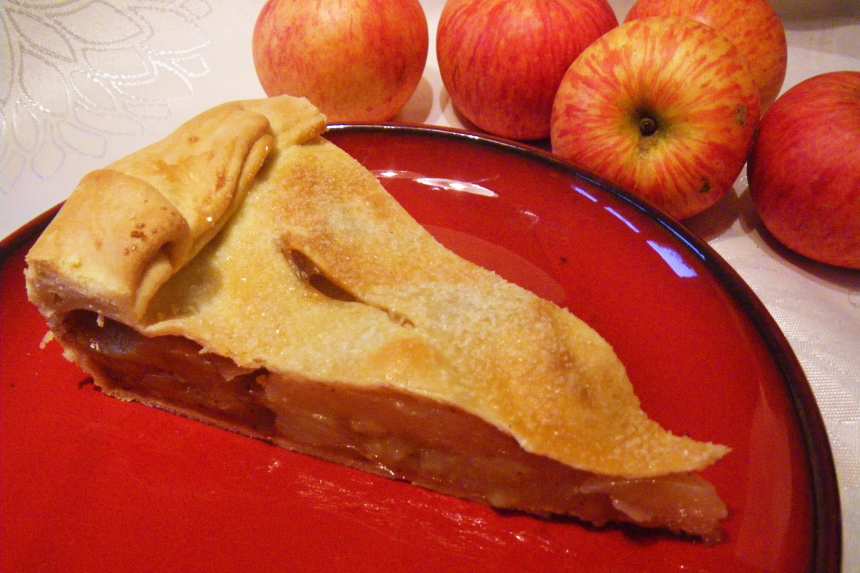
photo by Artandkitchen


- Ready In:
- 1hr 30mins
- Ingredients:
- 10
- Yields:
-
1 pie
ingredients
- 1 double crust, refrigerated
- 8 cups apples, peeled, cored, and sliced
- 1⁄2 cup light brown sugar, firmly packed
- 1 tablespoon fresh lemon juice
- 1⁄2 teaspoon ground cinnamon
- 1⁄4 teaspoon ground nutmeg
- 2 tablespoons cold unsalted butter, cut into little pieces
- glaze
- milk
- granulated sugar
directions
- If you haven’t already, prepare the pastry and refrigerate for at least one hour, until firm enough to roll.
- On a sheet of lightly floured wax paper, roll the larger portion of pastry into a 13 1/2-inch circle with a floured rolling pin. Invert the pastry over a 9-inch deep-dish pie pan. Center it, then peel off the paper. Gently tuck the pastry into the pan, without stretching it, and let the overhang drape over the edge of the pan. Refrigerate. Preheat the oven to 400°F.
- While the pie shell chills, make the filling. Combine the apples, brown sugar, lemon juice, cinnamon and nutmeg in a large mixing bowl; toss well to mix. Set aside while you roll the top pastry.
- On another sheet of lightly floured wax paper, roll the other half of the pastry into an 11 1/2-inch circle. Turn the filling into the refrigerated pie shell, smoothing the apples with your hands. Dot the top of the pie with butter, dropping the pieces here and there over the apples.
- Lightly moisten the rim of the pie shell with a wet finger or pastry brush. Invert the top pastry over the filling, center it, then peel off the paper. Press the top and bottom pastries together along the dampened edge. Trim the pastry with scissors or a paring knife, leaving a 1/2-inch overhang all around, then sculpt the overhang into an upstanding ridge. Make several 2-inch-long slits in the top pastry, at the 12, 3, 6, and 9 o’clock positions; the bottom of each slit should just reach the ege of the pie. Lightly brush the top pastry with milk and sprinkle with granulated sugar.
- Place the pie directly on the center oven rack and bake for 30 minutes. Remove the pie from the oven and place it on a large, dark baking sheet covered with aluminum foil. Reduce the oven temperature to 375°F Put the pie on the baking sheet back in the oven and bake for an additional 30 minutes; when the pie is done, you should be able to see the juices bubbling up onto the crust.
- Transfer the pie to a cooling rack and let cool for at least an hour before slicing.
Questions & Replies

Got a question?
Share it with the community!
Reviews
-
 Thanks for your suggestion.<br/>I have prepared a big, big pie with your recipe (I have a lot of apples from the garden).<br/>For all ingredients I used the 1.5 (multiplicated by 1.5) amount. I used a 12 inch pie pan. For baking, I tried to do it directly 60 Minutes by 350°F in the pie pan without covering. <br/>Was wonderful and everybody took a second piece.<br/>I will do this pie again!
RECIPE SUBMITTED BY

<p><strong><span>I'm the host of Bargain Basement tag game in the cooking game forum. You're welcome to play anytime. You'll be surprised to find great recipes that were never reviewed. <br /></span></strong></p>
<p>~~~~~~~~~~~~~~~~~~~~~~~~~~</p>
<p><strong><span>I want to say a big thank you to everyone who tries my recipes and post photos. I don't always have the time to say thanks to each of you but be sure it's so appreciated :)</span></strong></p>
<p>~~~~~~~~~~~~~~~~~~~~~~~~~~</p>
<p> </p>
<p><img src=http://i195.photobucket.com/albums/z205/jubespage/zwt6%20banners%20and%20photos/captain.jpg alt=width=150 height=200 /></p>
<p><br /><img src=http://i27.photobucket.com/albums/c175/emmyduckie/zwt/ZwizzleBadge.jpg alt=width=200 height=300 /><br /> <br /><a title=banner3 href=http://www.flickr.com/photos/26630178@N05/3510953178></a><img src=http://farm4.static.flickr.com/3387/3510953178_b35b3086a8.jpg alt=banner3 width=500 height=250 /> <br /><img src=http://i23.photobucket.com/albums/b399/susied214/permanent%20collection/captain.jpg border=0 alt=Photobucket /> <br /><img src=http://i23.photobucket.com/albums/b399/susied214/permanent%20collection/PAC08Main.jpg border=0 alt=Photobucket /> <br /><img src=http://i23.photobucket.com/albums/b399/susied214/permanent%20collection/adoptedspring08.jpg border=0 alt=Photobucket /> By Brooke The Cook in WI <br /><img src=http://i147.photobucket.com/albums/r317/j_welcome/pics2/food/PRMRcopy.jpg alt=/ /> <br /><a href=http://www.recipezaar.com/bb/viewtopic.zsp?p=3510511#3510511> <br /> <br /><img src=http://i23.photobucket.com/albums/b399/susied214/projects/200_PACpic.jpg border=0 alt=Photo /> <br /> <br /></a><a title=Photo href=http://www.flickr.com/photos/boomette1/514183676></a><img src=http://farm1.static.flickr.com/252/514183676_f79b486466_m.jpg alt=good width=240 height=137 /> <br /><img src=http://i23.photobucket.com/albums/b399/susied214/permanent%20collection/Adopted1smp.jpg border=0 alt=Photo /> <br /><img src=http://i23.photobucket.com/albums/b399/susied214/permanent%20collection/smPACp.jpg border=0 alt=Photo /></p>
<p><img src=http://img.photobucket.com/albums/v726/annacia/Permanent%20Banners/ZTAA-sm.jpg border=0 alt=Photobucket /></p>
<p><img src=http://i21.photobucket.com/albums/b280/carolinamoon21/Ingredients/BANNERS/Pets-STKR.jpg alt=width=200 height=200 /></p>