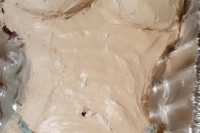
Boob Cake

"I came up with this on a lark after a friend had breast reduction surgery and we needed something to honor her with at a PTA meeting. The only thing I forgot was a nipple ring. Have fun, why not get creative with a "torso cake" complete with toasted coconut shreds!"
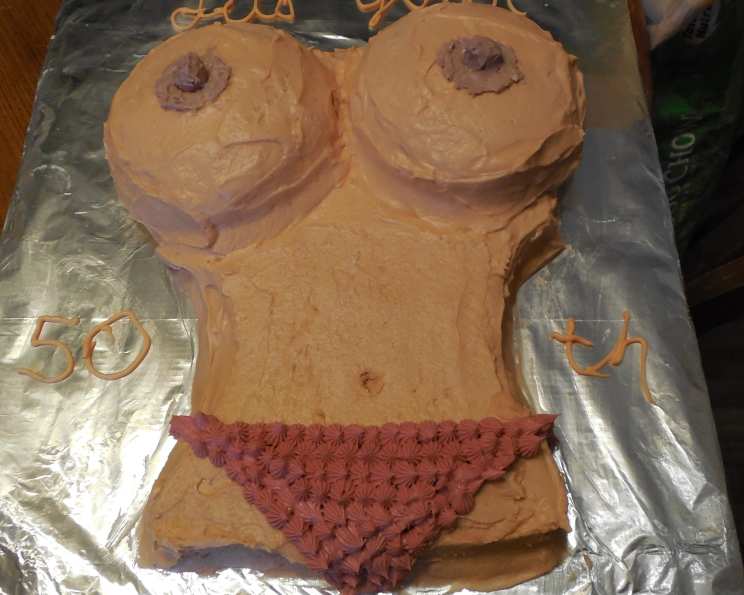
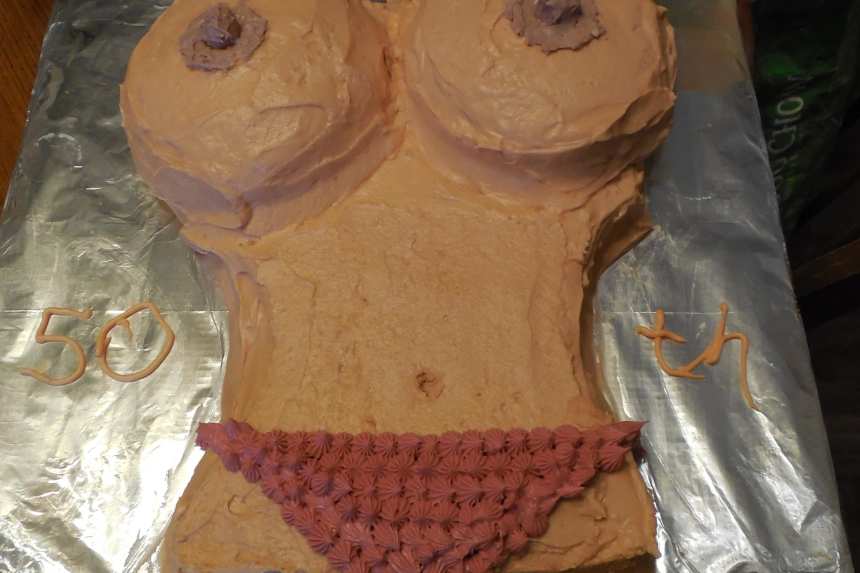
photo by Maelynn L.


- Ready In:
- 1hr 10mins
- Ingredients:
- 17
- Serves:
-
20
ingredients
-
cake
- 1064.65 ml flour
- 709.77 ml sugar
- 118.29 ml cocoa
- 14.79 ml baking soda
- 7.39 ml salt
- 236.59 ml salad oil
- 44.37 ml white vinegar
- 14.79 ml vanilla
- 709.77 ml cold water
-
frosting
- 453.59 g cream cheese
- 113.39 g butter
- 9.85 ml vanilla
- 680.38-907.18 g powdered sugar
- 2 small gumdrops
- yellow food coloring
- red food coloring
- green food coloring
directions
-
For cake:
- Sift first five ingredients into large bowl.
- Add next four ingredients and mix well.
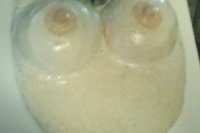
- Fill two small stainless steel mixing bowls (mine are about 7" in diameter and 4" deep) to a depth of about 2" with batter. No need to grease.
- Pour remainder of batter in a 9 x 13 pan.
- In a 350 oven, bake the bowls for about 20 minutes and the 9 x 13 about 30 minutes.
- Cool cakes completely.
-
For frosting:
- Beat cream cheese well.
- Add butter and vanilla and beat till smooth.
- Add powdered sugar until you like the consistency and sweetness.
- Mix 8 drops of yellow food coloring, 6 drops of red and 2 drops of green.
- Add coloring mixture a few drops at a time until you get a good flesh color. The colors I have given are for Caucasian coloring. For darker skin tones, you might try using blue instead of green. See what the food coloring box suggests.
- Invert the large layer onto a serving tray. If desired, split it into two layers and frost in between as well as on top.
- FYI - the scrapings from the cake pan are very moist and delicious, and my family's favorite part of this cake.
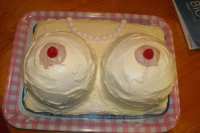
- Place the boobs appropriately and frost them.
- Save a few tablespoons of frosting and add additional food coloring mixture to it in order to get a good color for the nipples and areolas.
- Frost areolas, then coat the gumdrops with frosting and place them in the middle of the areolas.
- Enjoy the reactions!
Questions & Replies

Got a question?
Share it with the community!
Reviews
-
 This cake is fantastic! I used this recipe to make my husband a butt cake for his birthday and it was a hit! I got many compliments on taste! This cake is also very easy to make and doesn't have too many ingredients which is a plus.
 -
 Great job!
 -
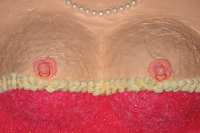
 GREAT CAKE! It turned out chocolatier than I would have expected, which was nice. I won't comment on the baking part because I messed it up ( not your fault. Demented oven). I used corn oil, light cream cheese, light margarine, 1 6/7 libs icing sugar and strawberry & banana flavouring instead of red & yellow colouring.The colouring was, surprisingly, perfect - peachy skin. It tasted fab too, and really set off the chocolate cake. The icing was slightly runny and didn't harden immediately - which is good when you have to ice a big cake like this ! There was loads of icing left over - I have a tupperware of it in the fridge now :P - so I could have split the base and done the middle, although it seemed a bit thin. For the nipples, I didn't tint any icing at all - instead I wound 2 red liquorice whips into spirals for the areolas and chopped another one up for the nipples (four 2cm sticks each). That worked reasonably well, although you need to make a little hole in the breat to dig in the end of the liquorice whip, otehrwise it unravels! I made this to raise awareness for breast cancer and it really did. What I loved about this cake was that it wasn't just a novelty shape, but it genuinely tasted delicious as well. I can't wait to make it again! <3, the NOOBchef.
 -
I made this for a bachelor party. I did have to cook the boobs for about 45 minutes instead of 20 minutes. I also took them out of the bowls while hot and "shaped" them with my hands to look more like natural breasts. When the base cake was cooked, I also shaped that to look more like a torso. I also used a pink jelly bean for the nipple. Also since the bride to be had pierced nipples, I had had to pierce the cake! I stuck half a toothpick through the nipples and placed metal beads at the ends.
-
This is a very tasty recipe. Was fun to make. I made this as a torso cake for my fathers 55th birthday and 32nd wedding anniversary. I made out of the same recipe the male anatomy for my mothers cake. I choose this recipe in memory of Chef I Am. Theres a picture posted in the marthon for Chef-I-Am page 25. Thank you for a great recipe was great and will make again.
see 2 more reviews