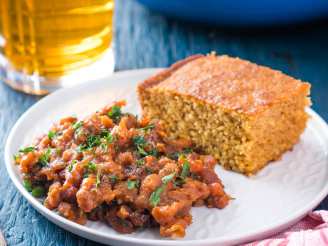
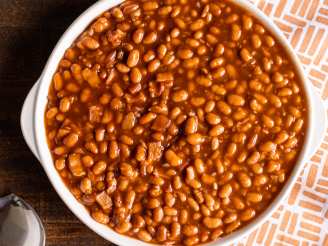
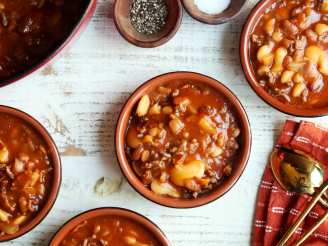
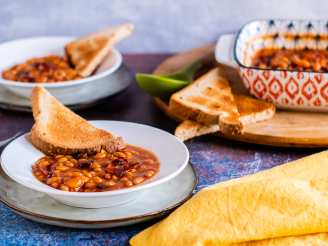
Baked Beans (Canned)

"I have a pressure canner with a weighted gauge and have been having fun using it. I like the idea of preserving my own food. That way I know what is going into it... hopefully less sodium and no corn syrup! I also dream of saving money as well but still need to find a source for cheaper lids.
*It is very important to know that if you "tweak" a canning recipe, you are in danger of changing it into an unsafe recipe. If you are not familiar with acidity of foods, don't change this! Also, you MUST use a pressure canner and not a water bath canner.
This recipe came from the book Canning and Preserving for Dummies copyright 2009. Time does not include soaking time... start this the day before!"


- Ready In:
- 5hrs 20mins
- Ingredients:
- 8
- Yields:
-
6 pints
ingredients
- 680.38 g dried navy beans
- 170.09 g bacon
- 1-2 large onion
- 118.35 ml brown sugar, packed
- 14.78 ml salt
- 7.39 ml mustard powder
- 177.44 ml orange juice (optional)
- 118.35 ml molasses (I use Grandma's molasses which has a higher concentration of sugar)
directions
- Soak beans in 3 quarts of water, (make sure they are covered!) for 12-18 hours. Drain but do not rinse.
- Return beans to pot and cover with 3 quarts of fresh water. Bring to a boil over high heat. Reduce the heat; cover and simmer until the bean skins begin to split. Drain the beans, reserve the liquid.
- Transfer the beans to a 4-quart or larger covered baking dish. Chop the bacon and onions. Add them to the beans. Combine the brown sugar, salt, mustard, and molasses in a large mixing bowl. Add 4 cups of the reserved bean liquid (or 1 cup orange juice and 3 cups water). Pour the sauce mixture over the beans. Don't stir! Cover the beans and bake them in a preheated 350-degree oven for 3 to 3.5 hours. The consistency should be like a thick soup. Adds more liquid if the beans become too dry.
- While the beans are baking, prepare your canning jars and two-piece caps (lids and screw bands) according to the manufacturer's instructions. Keep the jars and lids hot.
- Ladle the hot beans into your prepared jars, leaving a 1-inch headspace. Release any air bubbles with a nonreactive tool, adding more beans as necessary to maintain the proper headspace. Wipe the jar rims; seal the jars with the lids and caps, hand tightening the bands.
- Process your filled jars in a pressure canner at 10 pounds pressure for 1 hr 20minutes (pints) or 1 hr 35minutes (quarts). After the pressure in the canner has returned to 0, wait an additional 10 minutes, and then carefully open the canner lid.
- Remove the hot jars with a jar lifter. Place them on a clean kitchen towel away from drafts. After the jars cool completely, test the seals.
- For added safety, boil the contents for 15 minutes before tasting or eating. (If you follow accurate canning protocol, that should not be necessary!).
- It takes a big pot to make this so if you want to double it, prepare two separate pots. My canner only holds 5 quarts so it can only hold a single batch anyways.
Questions & Replies

Got a question?
Share it with the community!
Reviews
Have any thoughts about this recipe?
Share it with the community!
RECIPE SUBMITTED BY

I am married and spend my time as a "home manager." [This is the PC way of saying that I'm a homemaker :o)] My daughter is a toddler and a joy most of the time. I'm blessed that she loves vegetables... she will even pick them over carbs!
I have always loved to cook and I like to try new things. It is hard for me to stick to a recipe though... I'm always changing things which is why I chose "Chef Tweaker".
Reviews: I follow the suggestions that are on the stars.
5 Stars = Outstanding!
4 Stars = Loved it
3 Stars = Liked it
2 Stars = OK
1 Star = Didn't Like it
No Star = Posting a comment only (I use this when I've tweaked too much!)
Pet Peeves: Recipe ingredients not written in the order required in the recipe.
<img src="http://i80.photobucket.com/albums/j166/ZaarNicksMom/PACsticker-Adopted.jpg">