
How to Carve a Pumpkin
Learn the steps behind this iconic Halloween decoration.

Carving a pumpkin is a Halloween rite of passage! That's right, it just wouldn't be Halloween without those classic toothy-grinned jack-o-lanterns gracing our porches and stoops. With the help of printed design templates readily available in stores or on the Internet, it's easy to get creative with more elaborate carvings and designs too. Whether you choose a classic jack-o-lantern, or a more intricate design, it's easy to create your very own pumpkin masterpiece at home.
1 Choose a Pumpkin

When choosing a pumpkin, consider it's health, color and size. A healthy pumpkin will last the longest — choose a pumpkin free of nicks, bruises and cuts. It is also important to pick a pumpkin with a sturdy stem. Select one whose color you like, with consistent coloring all around. Finally, choose a pumpkin big enough for the design you have in mind.
2 Prepare Your Work Area

Prepare your work area before you start cutting your pumpkin. Choose a sturdy table to work on or find a flat place outside. Cover the surface with several sheets of newspaper, a large trash bag or brown paper grocery bags you've cut open to lay flat. If working outside with a breeze, use masking tape to secure your work surface covering.
For easy clean-up when the carving is done, simply wrap all the mess in your work surface covering and dispose of it.
3 Cut a Lid

Cut a circle about 2 inches from the stem all the way around. You want the circle to be large enough to insert your hand, but not too large. When cutting, make the cut slightly angled at about 45 degrees toward the center of the pumpkin rather than cutting completely vertically. This will keep the lid from slipping into the pumpkin when you place it back on.
Place the lid upright on your work surface and cut off any attached pulp. Set the lid aside.

4 Scoop Out the Guts

Now for the fun part! Use your hands, a large spoon or a scraper to remove the pumpkin guts. Scrape the pumpkin walls to thin them to allow more light to shine through once the pumpkin is lit.
5 Draft Your Design
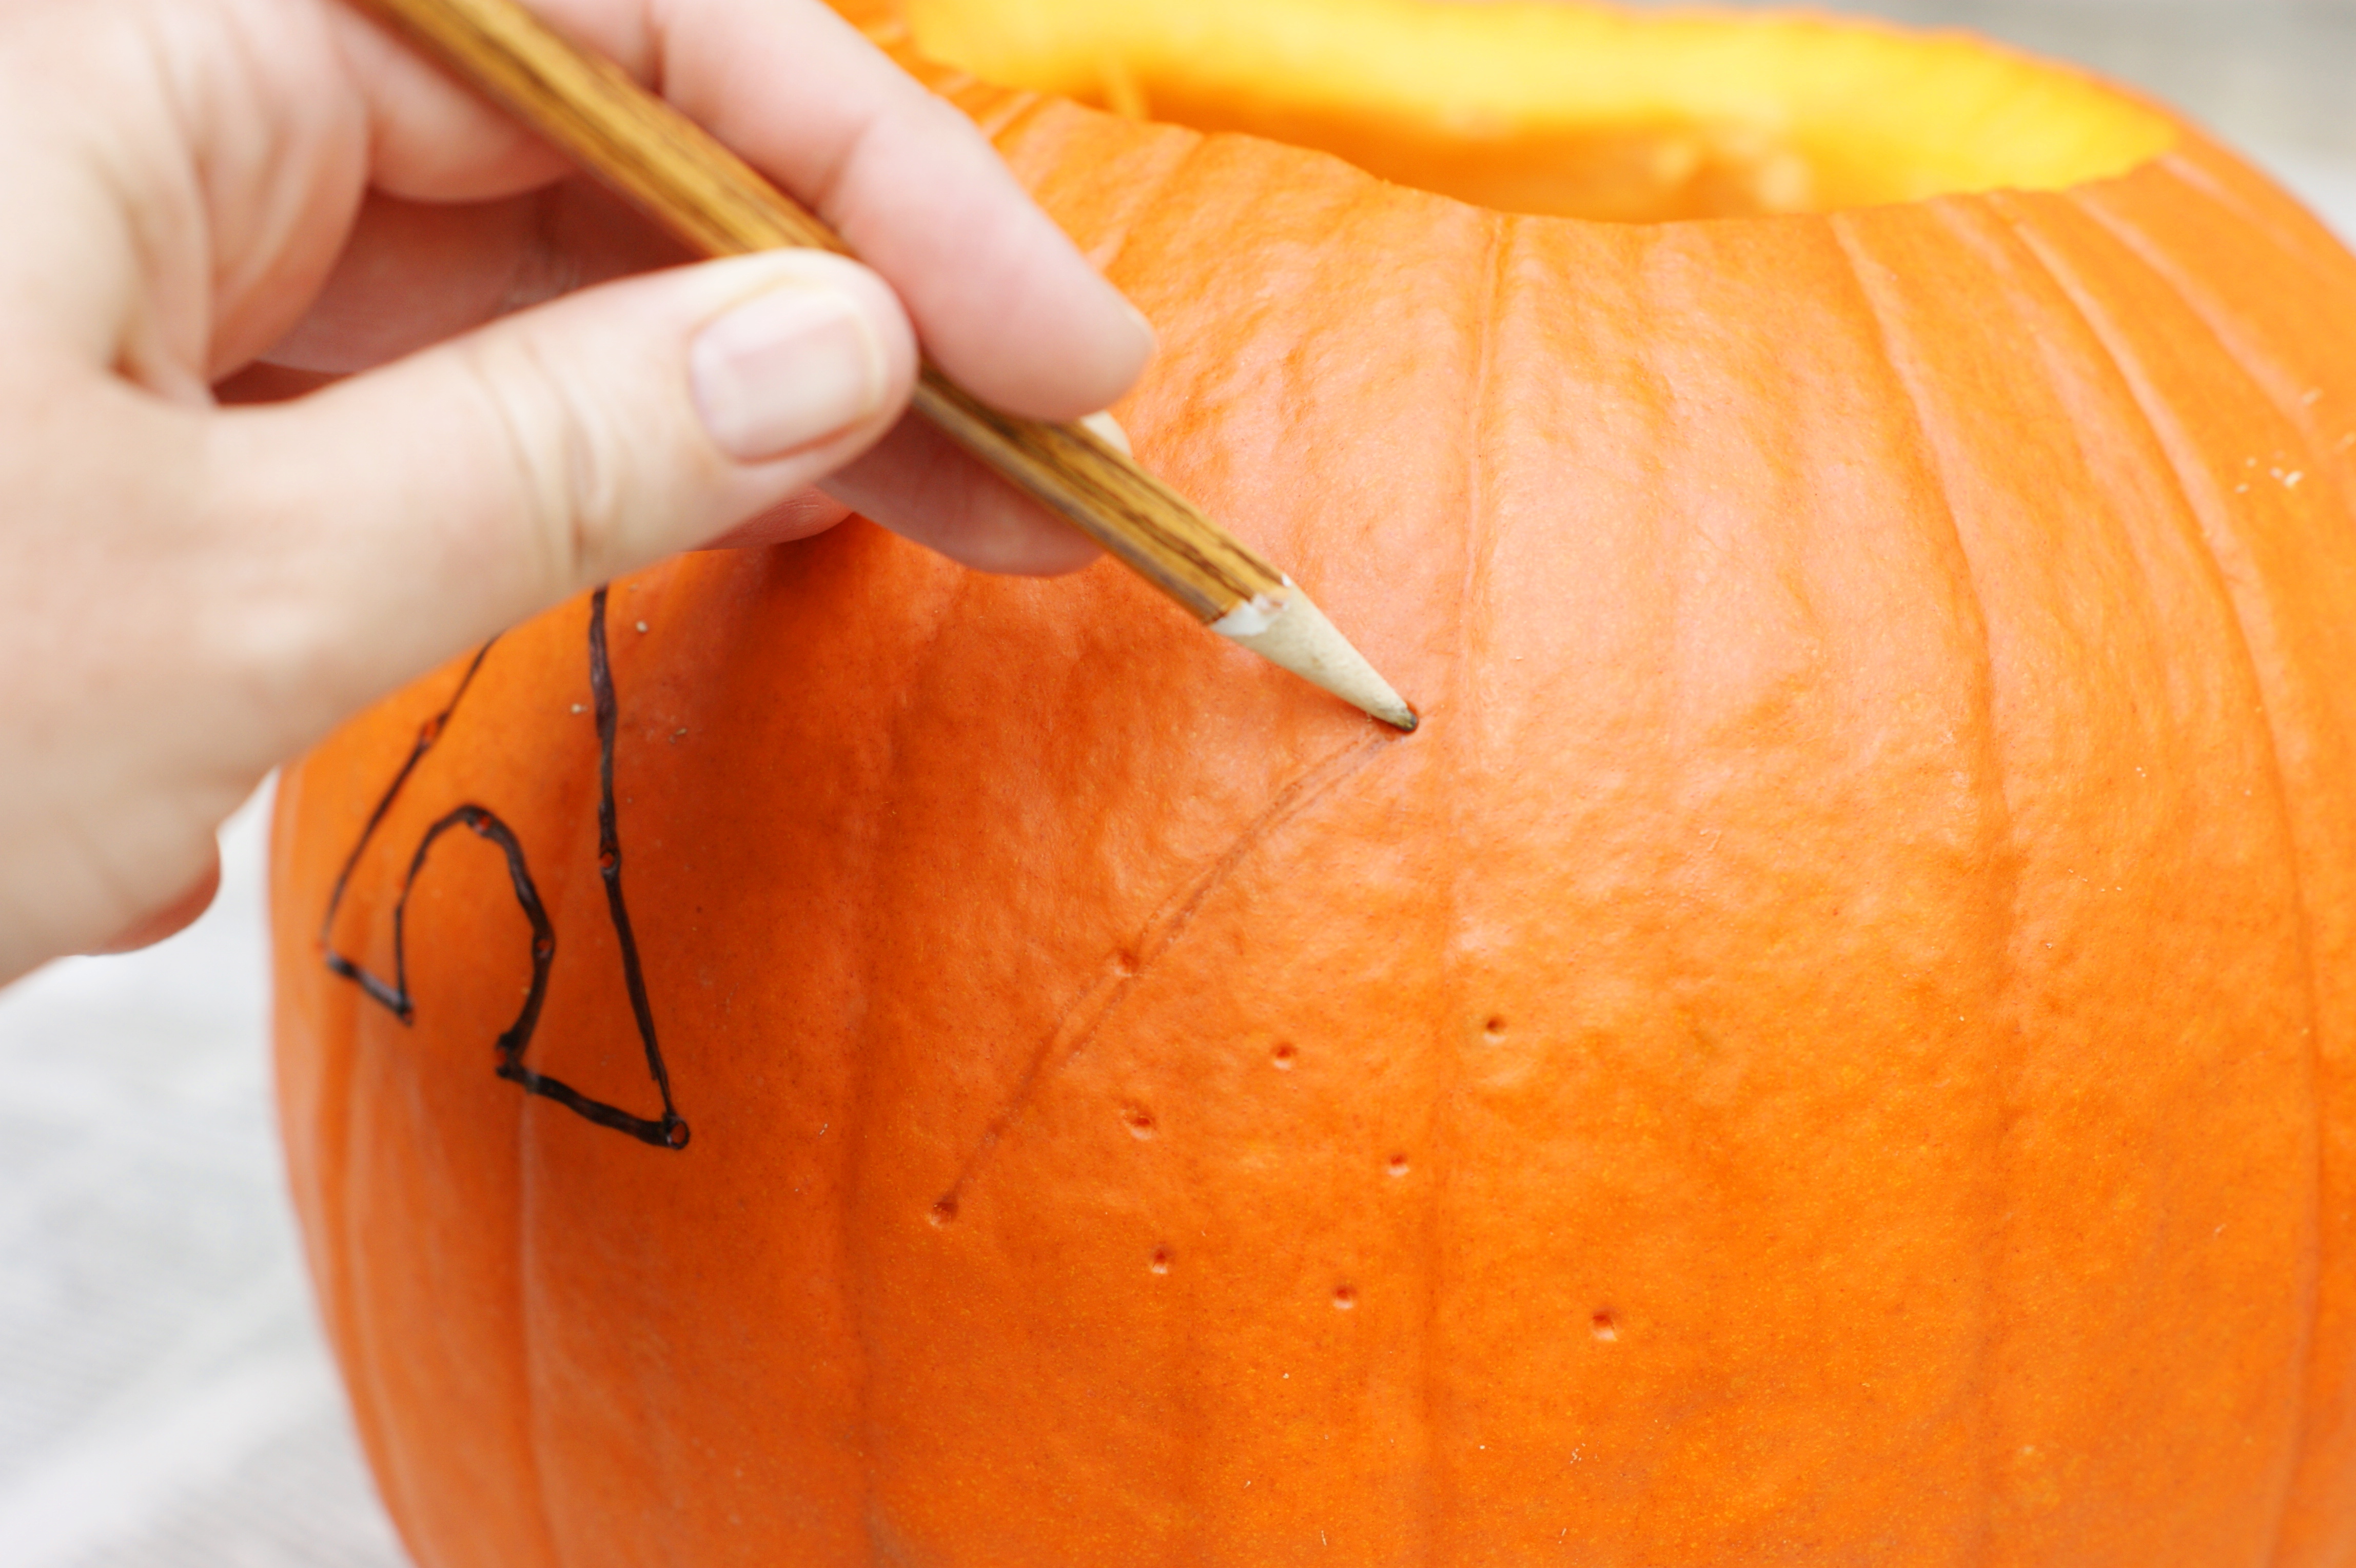
For simple designs, sketch the design's outline onto the pumpkin's surface with a pencil. If it's difficult to see the pencil sketch, trace over the design with a marker to make it more visible.
For more complicated designs, use tape to secure a printed paper template to the pumpkin's surface. Poke holes all along the design with a small nail, T-pin or other pointed tool — transferring dots to outline the design onto the pumpkin. Remove the paper template and use a pencil to connect the dots.
6 Carve Your Design

Use a pumpkin carving tool from a store-bought kit or a small serrated knife to carve out your design. Carve with a gentle back-and-forth sawing motion and carefully push cut pieces out with your fingers. For larger portions of the design, it's easiest to cut the area out in smaller sections.
7 Light the Pumpkin

Place a small candle or tea light inside the pumpkin and light the candle with a long match or lighter. Another option is to use a small battery-operated pumpkin light available at most stores around Halloween time. For safety, be sure to blow out the candle or turn off the light before leaving or going to bed.

8 Display and Enjoy Your Creation

Display your pumpkin on your front porch or stoop to let everyone enjoy your creative handiwork!