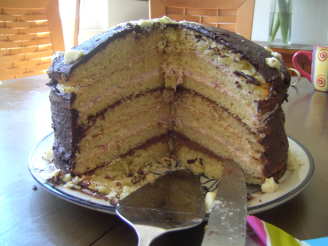
Dobosh Torte (Seven Layer Torte)

"A friend shared this recipe with me it's from the Maida Heatter's Book of Great Desserts. It makes a nice Holiday or dinner party dessert"
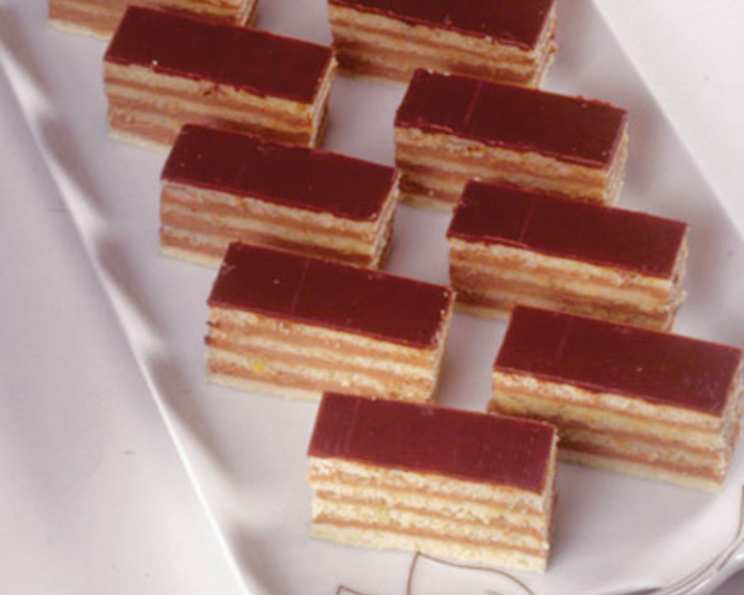
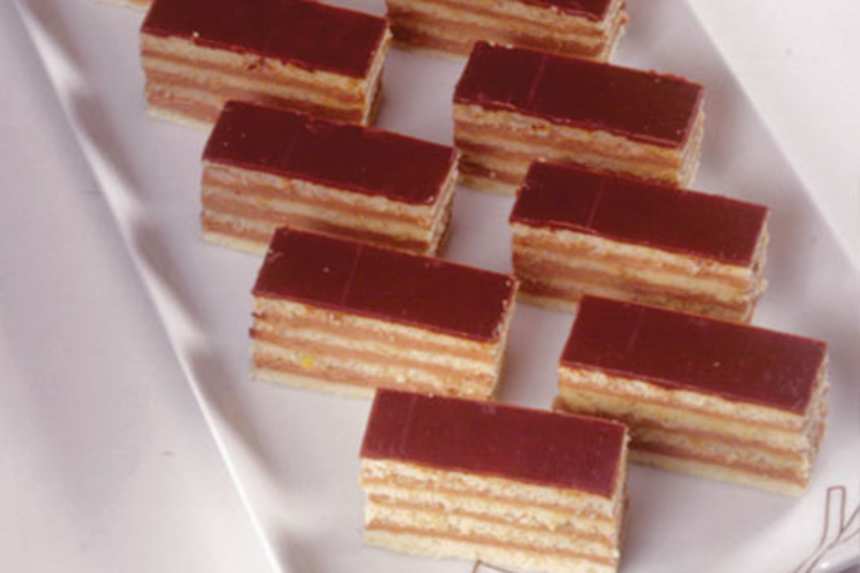
photo by Sladja

- Ready In:
- 37mins
- Ingredients:
- 11
- Serves:
-
12
ingredients
-
For Cake
- 7 eggs, separate out yolks
- 3 egg yolks, additional
- 3 1⁄2 cups confectioners' sugar (1 pound)
- 3⁄4 cup sifted all-purpose flour
- 1 tablespoon lemon juice
- 1⁄8 teaspoon salt
-
For FROSTING AND FILLING
- 1⁄2 lb good quality semisweet chocolate or 1/2 lb bittersweet chocolate
- 1 cup butter
- 1 teaspoon vanilla extract
- 3 egg yolks
- 2 tablespoons confectioners' sugar
directions
- To prepare for baking seven layers (the usual number): Tear off seven piece of aluminum foil, or baking pan liner paper (NOTE 1), each about 11-inches long.
- Spread softened butter lightly over a 10-inch square area in the center of each piece of foil or paper.
- Sprinkle with flour.
- Shake and tilt the foil or paper to make sure the buttered area is thoroughly floured and shake off any excess.
- On the floured area trace a 9-inch circle.
- (Use any 9-inch circular object as a pattern: the bottom of a 9-inch springform pan, an inverted 9-inch cake tin, or a 9-inch pot cover.) Repeat with remaining pieces of foil or paper.
- Set aside.
- Place rack in the center of the oven and preheat to 450 degrees.
- In the large bowl of an electric mixer at high speed, beat the 10 egg yolks for a few minutes til they are pale and lemon-colored.
- Reduce speed and gradually add sugar.
- Increase speed to high again and beat for 5 minutes or until very thick.
- Reduce speed and gradually add the flour, then again increase it to high and beat for 5 minutes more (mixture will be almost stiff), scraping the bowl occasionally with a rubber spatula.
- Mix in the lemon juice and remove from the mixer.
- (The mixture will be very thick-use your fingers to get it all off the beaters.) Beat the seven whites with the salt until they hold a point- stiff, but not dry.
- Since the yolk mixture is very thick, actually stir a few spoonfuls of the whites in to lighten it a bit.
- Then fold in a few large spoonfuls three or four times til the mixture lightens.
- Gently fold in the remaining whites.
- With a large serving spoon, place two or three large spoonfuls of the batter on one of the pieces of prepared foil or paper.
- Using the back of the spoon, spread the batter thin, slowly rotaing the paper with your left hand as you spread the batter with your right hand.
- Make it thin, but do not leave any holes in it.
- A 1/4- inch thickness should give you seven layers.
- Do not make the edges too thin.
- Follow the lines closely, but don't worry, the edges can be trimmed later.
- Slide a cookie sheet under the foil or paper and bake for 5 to 7 minutes or until the top is golden brown with dark brown spots.
- If the layers are thicker than mine are, they will take longer to bake.
- If they are not baked long enough they will stick to the foil or paper.
- Repeat with remaining layers.
- If you bake more than one layer at a time, rotate the positions of the pans during baking to insure even browning.
- When a layer is baked and out of the oven, lift the corners of the foil or paper and invert onto a rack.
- Peel off the paper and immediately invert the layer onto another rack to cool, right side up.
- (Letting the layer cool upside down will make it stick to the rack.) When you run out of racks, layers may cool on smooth toweling that has been dusted with confectioner's sugar.
- When you run out of room, cooled layers may be stacked if you sprinkle the tops lightly with confectioner's sugar and place wax paper between them.
- Cooled layers may be trimmed to even the edges.
- Working on a board, place an 8-1/2 inch or 9-inch pot cover or cake pan on the layer.
- Cut around with a small sharp knife and then cut with scissors.
- FILLING AND ICING: Melt the chocolate in the top of a double boiler over hot water on moderate heat.
- Remove from heat, stir until smooth, and set aside to cool completely.
- In small bowl of electric mixer cream the butter.
- Add vanilla and egg yolks and beat well.
- Add sugar and cooled chocolate.
- Beat until thoroughly mixed, scraping the bowl with a rubber spatula.
- Place four strips of wax paper around the outer edges of a cake plate.
- Place one cake layer on the plate and with a long, narrow metal spatula spread with a thin layer of the chocolate filling.
- If you have made more than seven layers, the filling must be spread very thin, in order to have enough for all.
- Place another layer on top, adjusting it carefully so that the edges are lined up evenly.
- Continue icing the layers, stacking them as evenly as possible.
- Spread the remaining chocolate smoothly around the sides first and then over the top.
- Remove wax paper strips by pulling each one out by a narrow end and refrigerate cake for at least several hours to set the icing.
- Store in refrigerator and serve cold.
- NOTES:If you use baking pan liner paper it must be buttered and flourd for this recipe or the layers will stick to it.
- This is a very firm cake; use a sharp heavy knife for serving.
- Dobosh Torte may be made a day ahead, or it may be frozen.
- For a variation you can put cherry, raspberry or strawberry jam or preserves between one or two layers instead of the chocolate filling.
Questions & Replies

Got a question?
Share it with the community!
Reviews
-
 We take turns at work, bringing in birthday cake for our coworkers. I brought this one in yesterday and everyone was impressed. I will definitely make this one again and again.
 -
 I think this is very close to the one my former MIL made. I think she sliced pound cake very thinly rather than make more cakes. It was my favorite birthday cake for quite sometime. I may try this.
 -
 I enjoyed Making this Cake as much as eating it! I'm always looking out for a new challenge and when my mom came over and decided to lend me a hand, we enjoyed a nice 'Mother Daughter time' If you are a chocolate lover with above average baking skills you will enjoy this cake just as much as we did!
 -
 Just like my Slovak Baba's Torte. Just one thing extra she used to do was to bless the oven for each of the layers. Such a great recipe. So glad you posted it. Thank-you.
RECIPE SUBMITTED BY
Steve P.
United States