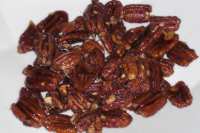
Spiced Candied Pecans

"Adapted from a recipe by Padma Lakshmi"
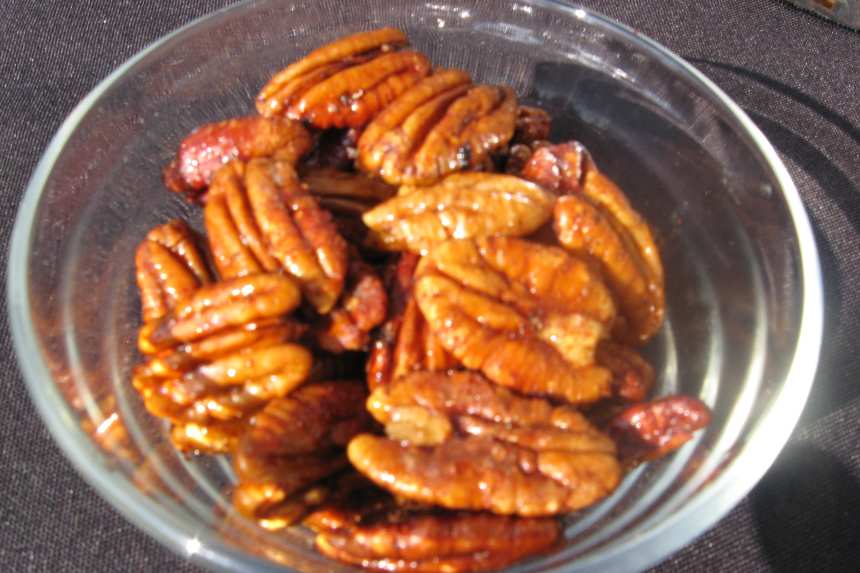
photo by mary winecoff


- Ready In:
- 15mins
- Ingredients:
- 4
- Serves:
-
2
ingredients
- 1 cup pecan halves or 1 cup any other nuts
- 1⁄4 cup real maple syrup
- 1⁄4 teaspoon chili powder
- 1 pinch salt
directions
- Toss nuts with other ingredients in a plastic bag until they are coated.
- Arrange nuts in a single layer on a nonstick foil lined baking sheet.
- Bake for 10-12 minutes at 375F or until the syrup begins to darken (be careful not to burn it!).
- Allow to cool in a single layer so they don't stick to each other.
Questions & Replies

Got a question?
Share it with the community!
Reviews
-
 5 Stars for taste, 4 stars for hassle, my pecans took the aluminum foil with them when I removed them, which is not normally required for spiced pecans. The taste was heavenly (or devilish?) with the chili pepper contrasting subtly with the maply syrup. Good recipe to use a Silpat on. Thanks for sharing this recipe, Sue! Made for Spring 2009 Pick A Chef.
 -
 Hey Sue, I made these spiced pecans twice today...the 1st time I made a single batch, which I baked the pecans on a heavily buttered, foil lined, baking pan, in a 375 degree oven for 10 mins., but a few of the pecans did burn, so the 2nd time when I made these...I tripled the recipe, plus I added 1-1/2 teaspoons of chili powder, and I added 1/4 teaspoon of salt. I then baked the pecans on a heavily buttered, 15.25 x 10.25 x .75 foil lined baking sheet, for 15 minutes in a 350 degree oven, and this time the pecans didn't burn, and I was pleased with the end results as to how they turned out. Thank you Sue for posting this recipe. This was the first time I had ever made candied pecans, and I highly recommend this recipe for others to try, as these were sooo good!! NOTE: If making a single batch, I would recommend doubling the chili powder, or at least add an 1/8 tsp more of the chili powder, and add a dash of salt (instead of a pinch). Also, just after the pecans are done baking in the oven, be sure to remove them from the baking sheet quickly, so they won't stick to the baking sheet. I placed mine on a large serving platter to cool.
 -
 How easy and delicious! I baked mine in a silicone baking dish which made clean up a breeze. I cooled them on a serving platter as suggested. Mmmmm! I plan on bringing them to a neighborhood potluck tomorrow as a snack, I am hoping there will be some left to bring! Thanks for posting this delicious recipe!
 -
 These were great! Very easy to do and I baked them on parchment paper so the clean up was a breeze. Made for Holiday Tag.
RECIPE SUBMITTED BY

PalatablePastime
Cincinnati
I am a longtime member since 2002.
While I have many recipes here, most of my current recipes are on my food blog at palatablepastime.com
I may occasionally post something extra I have here.
If you have questions, you can always contact me at contact@palatablepastime.com